Easy At-home Blowout for Silky Smooth Hair

This is the tutorial you need to turn even the frizziest hair into straight, silky hair.
Follow along to learn this sneaky blowout brush technique you can do at home, and be amazed at how silky your hair looks!
Best hair heat protector spray!
Tools and materials:
- Blow dryer
- Blowout brush
- Heat protection hair product
- Flat iron (optional)
- Hair clips
- Hairbrush
- Hair ties
- Mirror
- Spray bottle (optional)
- Comb
- Flat iron spray (optional)
1. Prepare your hair
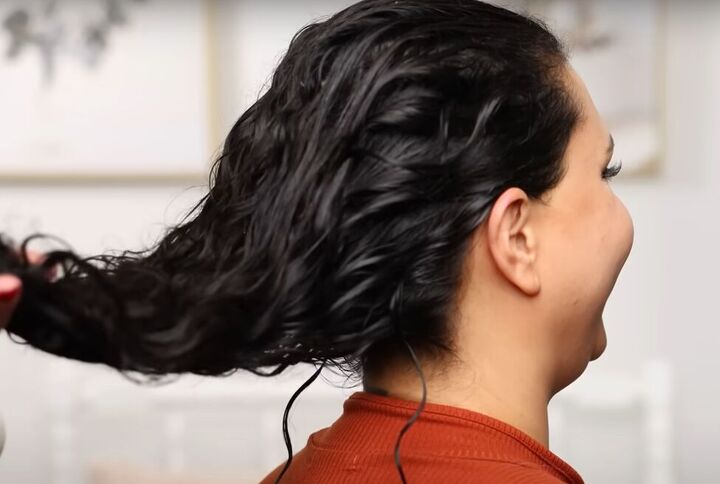
Start with freshly washed hair.
Make sure you choose hair products, including heat protection products, specifically suited to your hair type.
Brush through any after-wash hair products from roots to ends to evenly distribute it.
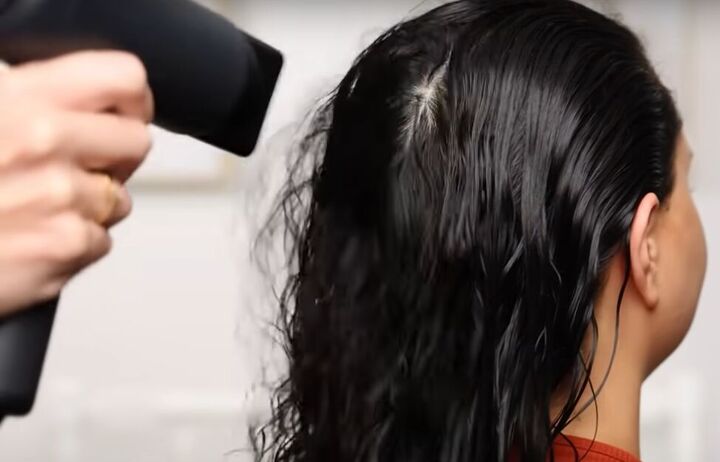
2. Rough dry your hair to minimize frizz
Before using the blowout brush, rough dry the hair with a blow dryer to remove about 50% of the moisture.
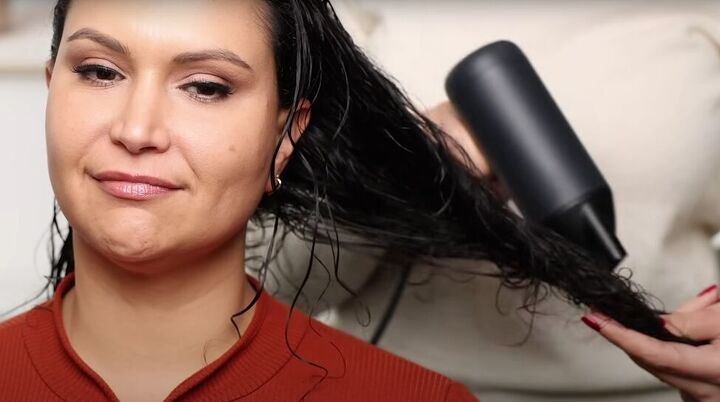
Concentrate the air down the hair shaft to minimize frizz.
The goal is to close the cuticle layer tightly, reducing frizz both immediately after the blowout and in different weather conditions.
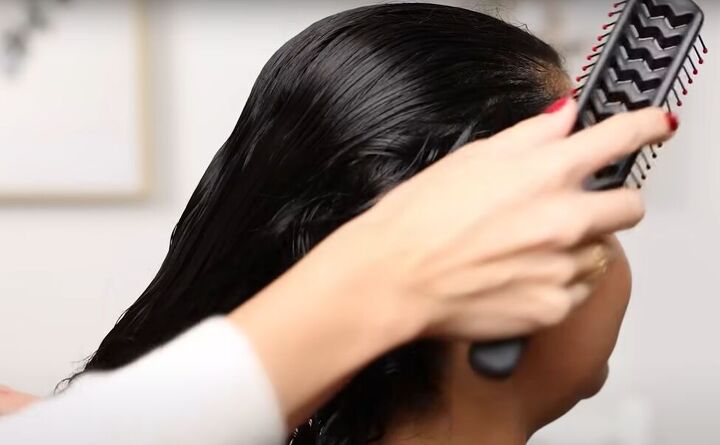
3. Section your hair for smoothness
Section your hair, working from the bottom up. Ensure each section is 100% dry before moving on to the next.
Each section you work on should be no wider than your blowout brush.
Properly dried sections prevent frizz, especially at the roots, and contribute to a smooth finish.
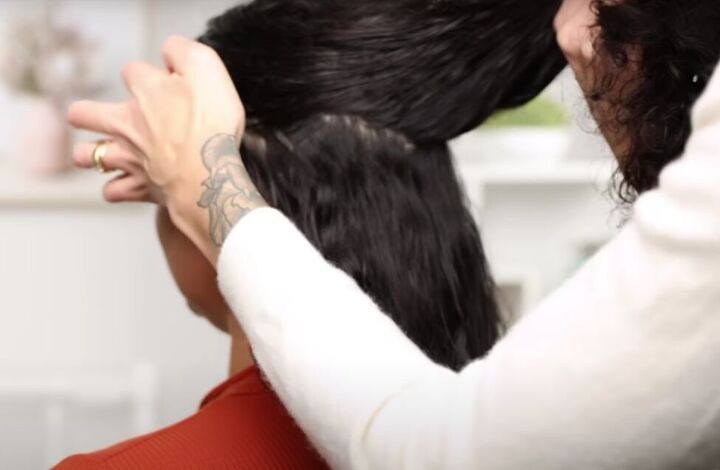
Work section by section from the bottom to the top of your head, only moving to the next section when the previous one is completely dry.
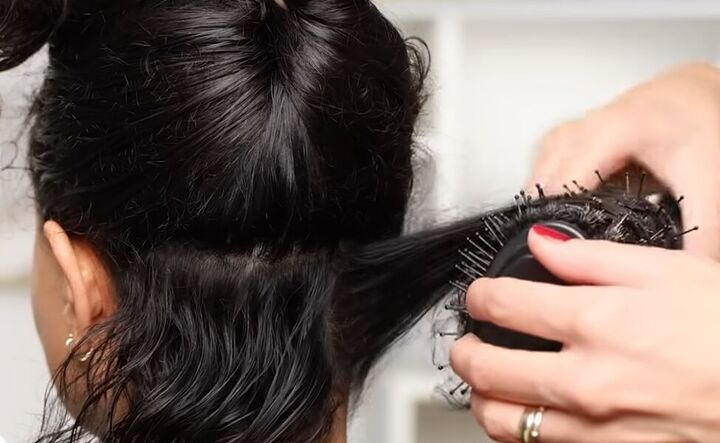
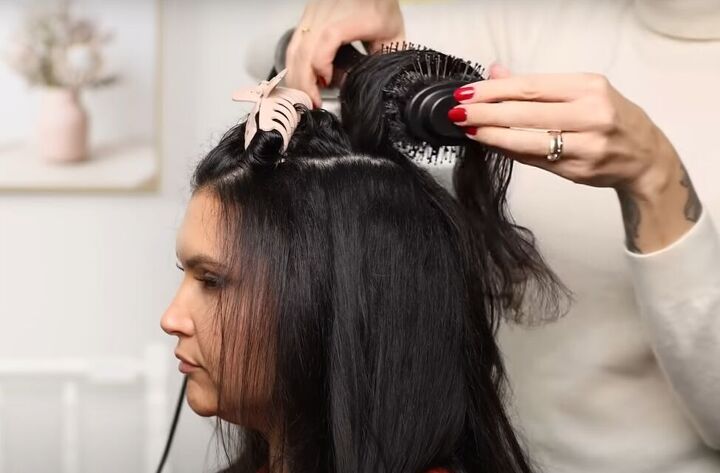
4. How to prevent long hair tangling in the blowout brush
Smooth and pull the blowout brush through your hair from the root to the ends with tension, ensuring your hair is fully dry and manipulated with heat and bristles.
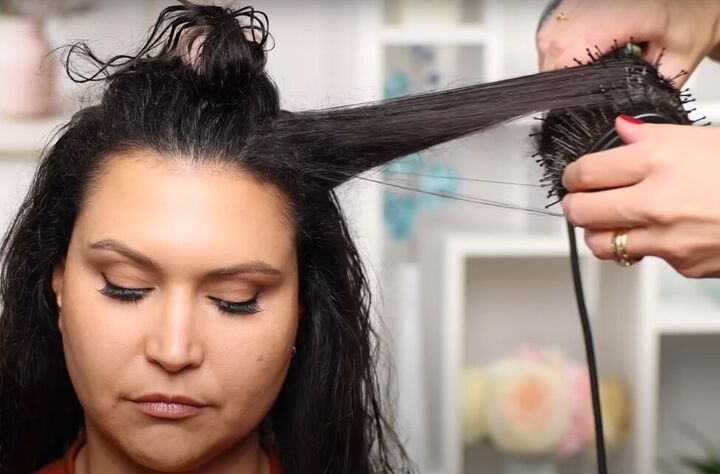
5. Now here is the game-changing technique!
Use the blow dryer brush on the top of the section of hair you are working on, to smooth it further.
For each section use your blowout brush under and on top of the section of hair.
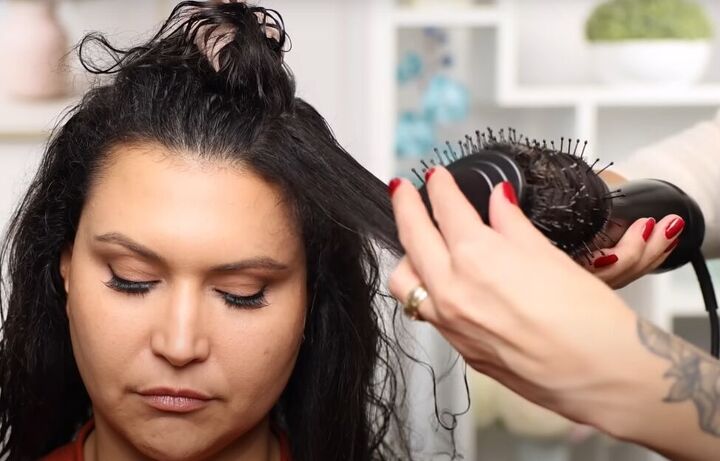
6. Blow dry the top layer for smoothness and volume
You can choose to part your hair as usual or blow dry the middle section backward without a part line for added flexibility and volume.
Be cautious; this technique may not work for strong part lines or aggressive growth patterns.
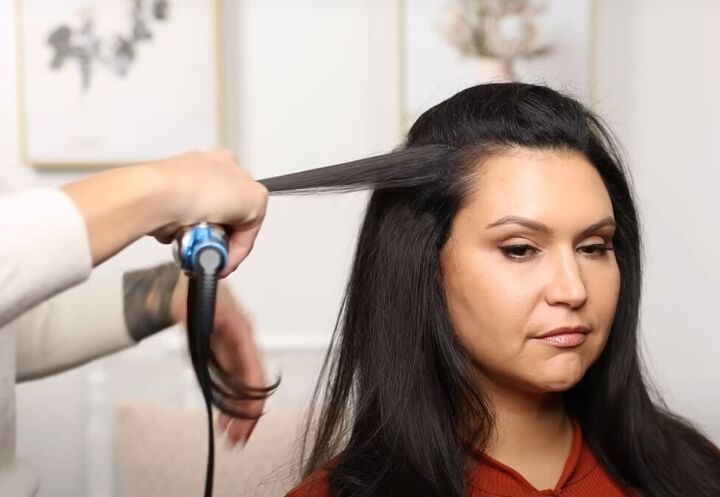
7. Perfect your hair after the blowout
For perfectionists, use a flat iron set to low heat to seal the cuticle, perfect any bumpy areas, and reduce frizz without flattening the hair.
Ensure the flat iron's heat doesn't exceed 300 degrees to maintain volume.
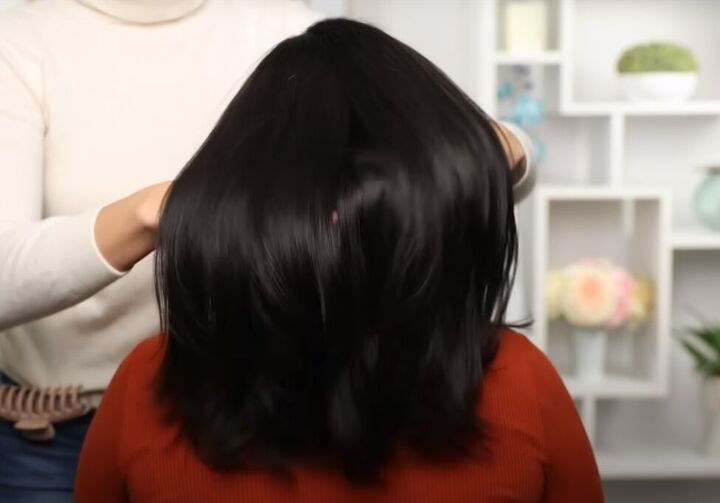
At-home blowout
Just look at the end result! Hair that is shiny and glossy, with zero frizz, but still a good amount of volume and movement.
Pretty amazing, right? Try this blowout hair technique at home for yourself, and leave a comment to let me know your results!
Next, check out these 7 Super Cute Claw Clip Hairstyle Ideas for Thin Hair.
The author may collect a small share of sales from the links on this page.


Comments
Join the conversation