Fun Upcycle Tutorial: How to Embroider Old Jeans

I decided to give these paint-stained jean shorts a revamp. So, today, I'll show how to embroider jeans and give your garment new life. Let's get started!
Tools and materials:
- Jeans to upcycle
- A piece of floral fabric
- Straight pins
- Fabric scissors
- Iron
- Zig Zag fabric scissors
- Needle and thread
- Embroidery thread
- Large roll of tape (just to stencil the circle shape)
- Pencil
- Buttons
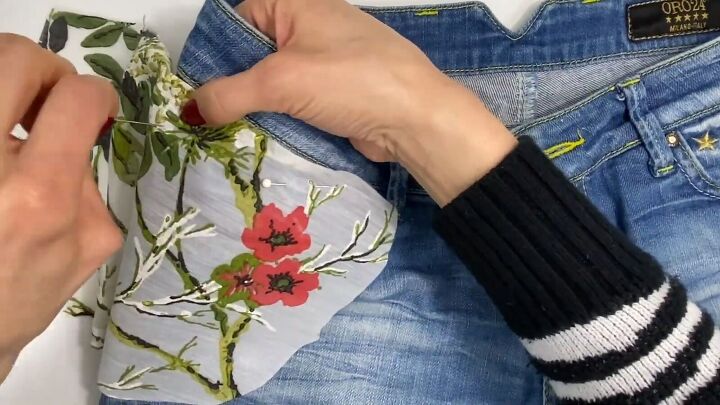
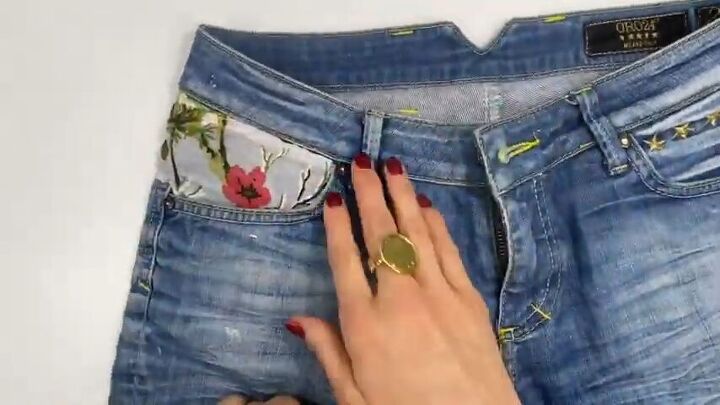
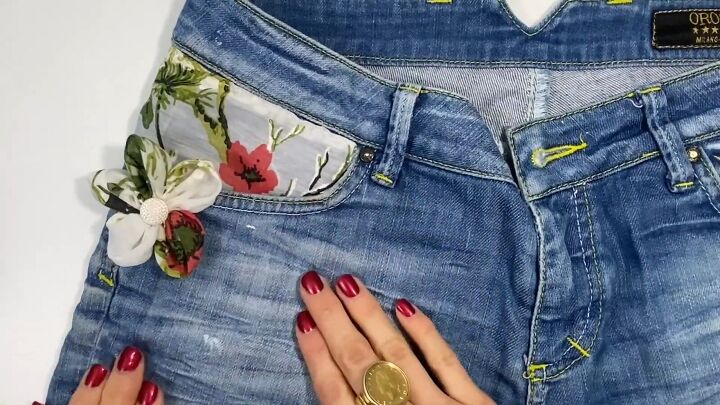
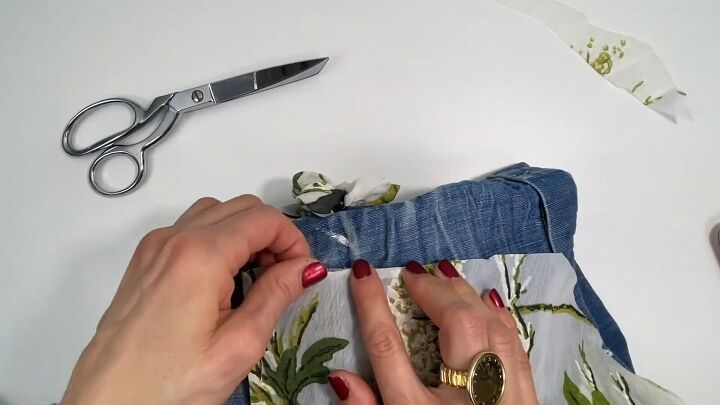
Under pocket detail
1. Prep a fabric piece
Cut out a piece of floral fabric to include a florette that you like, to be placed on the back part of the front pocket.
Cut a rough piece, larger than the area needed, then pin it in place, under the belt line, using a few straight pins.
Wrap the fabric around and pin it to the back as well.
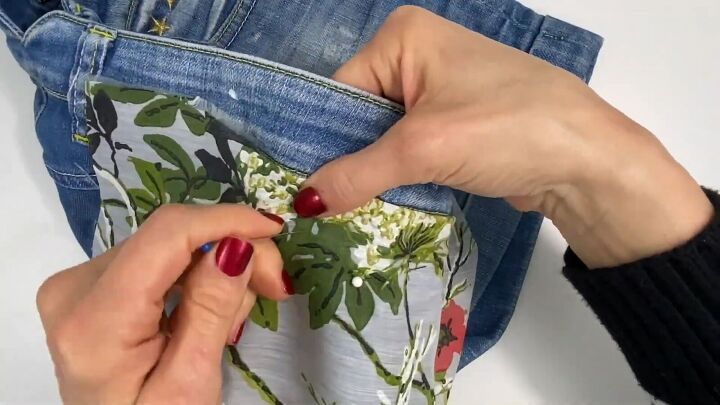
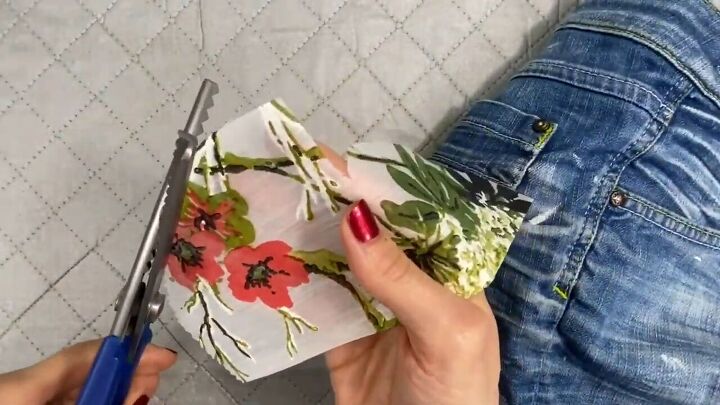
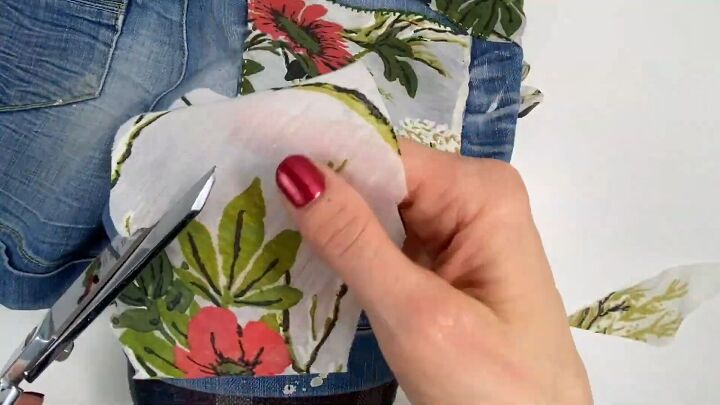
Cut off any excess fabric to prevent bulk inside the pockets. Cut gradually, then try stuffing the end into the pocket to see if you need to cut off anymore.
Then, snip the fabric after the pocket, as you can see in the image below.
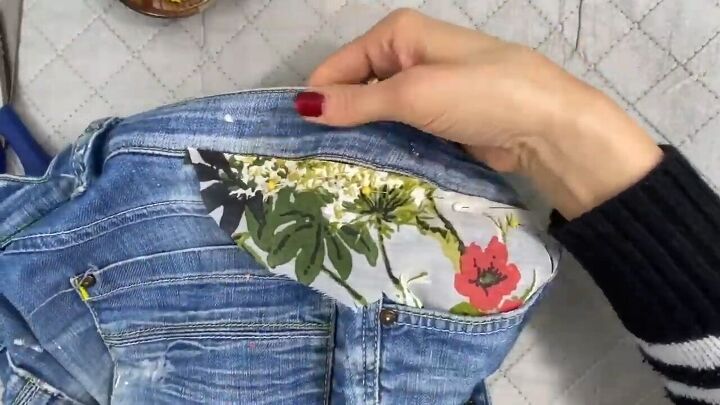
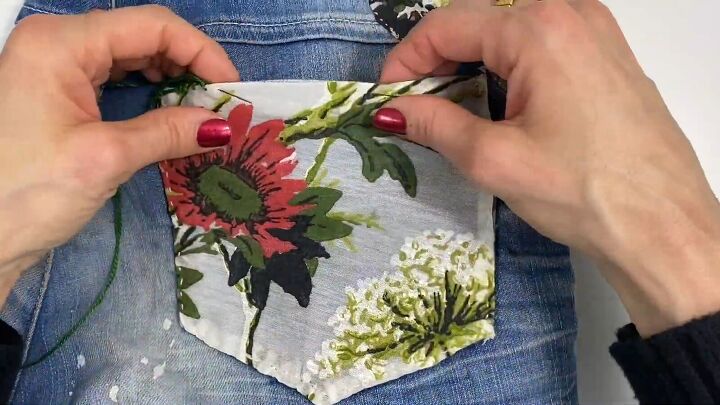
2. Finalize the fabric piece
Remove the pins and take out the fabric piece. Fold down about 0.25” from the top, horizontal part and iron it down.
This will line up under the belt line.
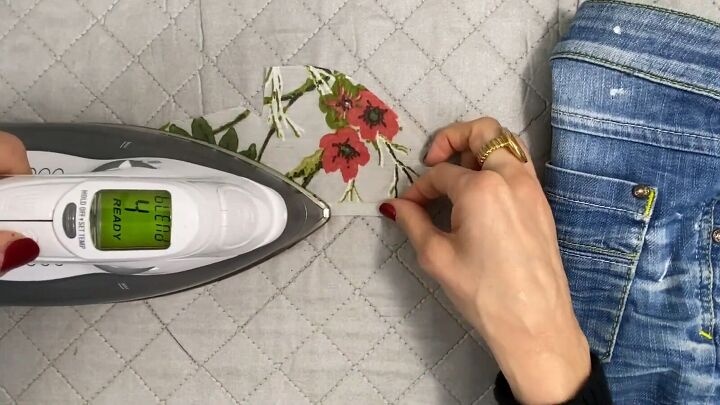
Then, cut all along the raw edges using a zig zag scissors to prevent fraying.
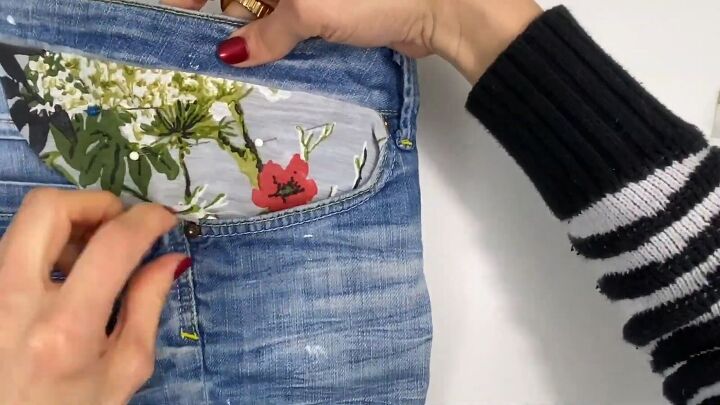
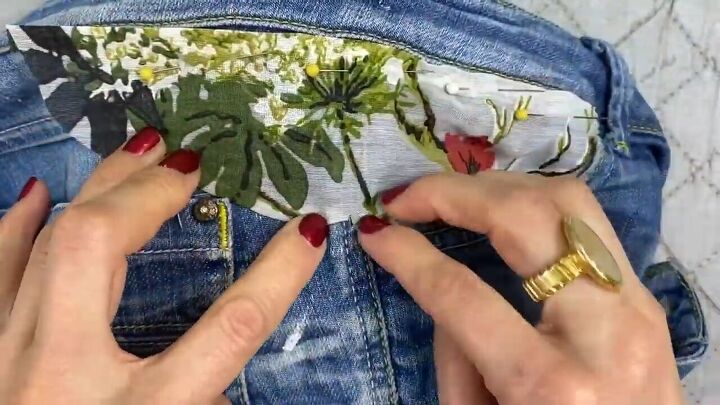
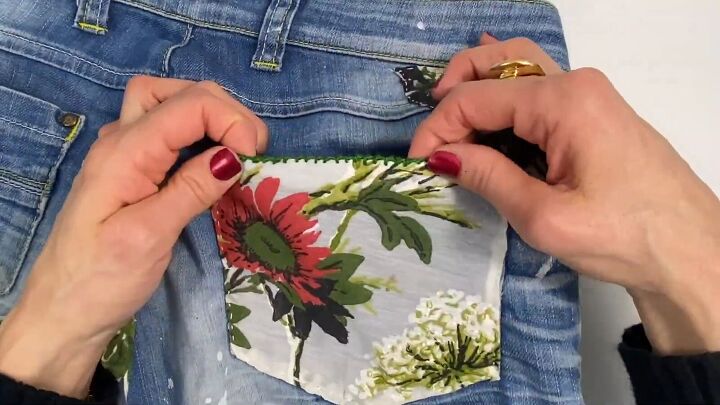
3. Reattach and finish any frayed edges
Secure the piece in place again with pins along the top.
Tuck the curved piece under by about 1/4” and iron it flat.
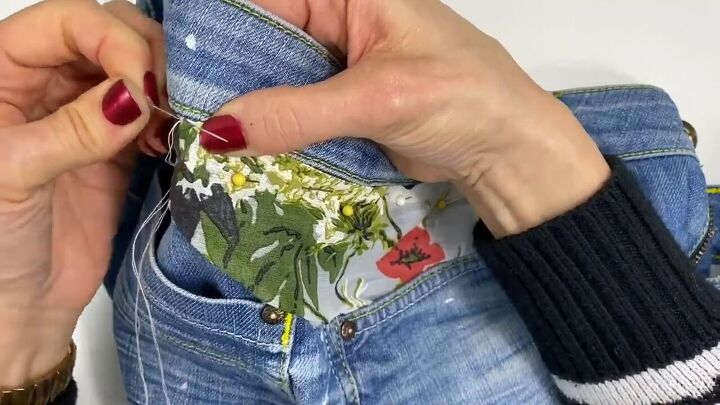
4. Sew in place
Sew above the line of pins at the top of the fabric.
At this point, your DIY embroidered jeans should look like this:
Create a flower detail
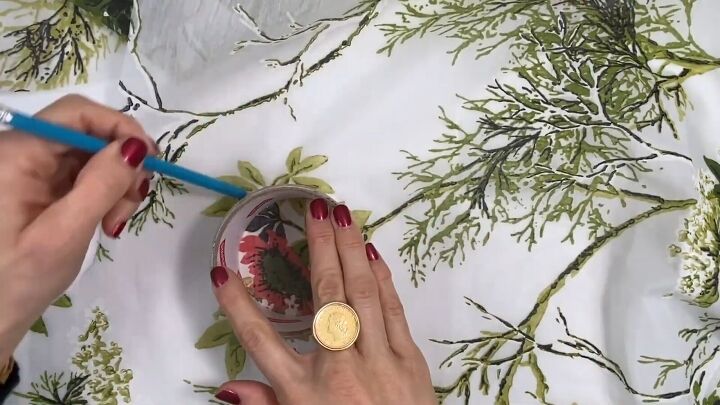
1. Make 5 circles
Use a roll of tape and a pencil to stencil 3 circles from the fabric. Cut them out.
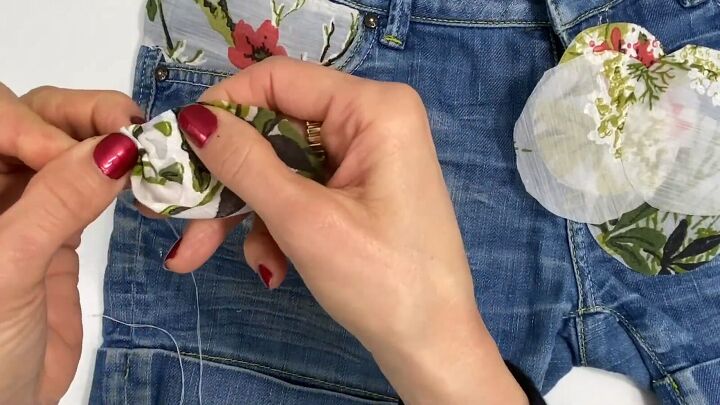
2. Sew semi-circles into petals
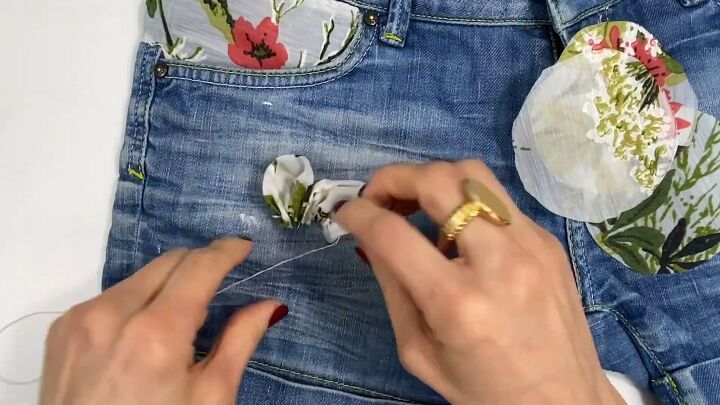
(See video 4:24-5:10) Fold one circle in half and sew along the open edges, bunching a bit as you go.
Here is how one petal should look at the end:
Attach your next semi-circle (while your first petal is still attached to the thread) and sew the next petal in the same way.
Push it down the thread to meet the first petal. Continue this process for all 5 petals.
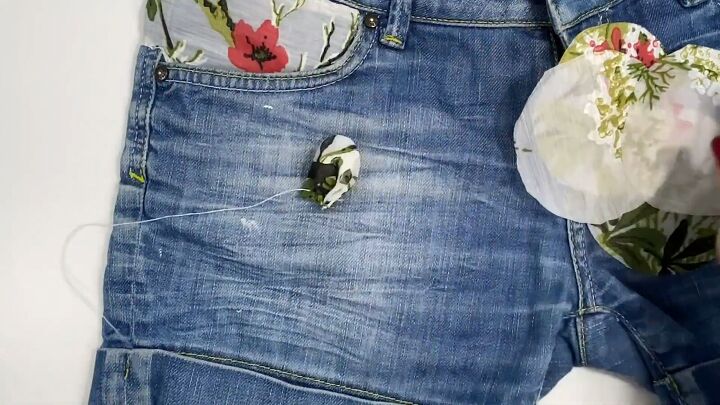
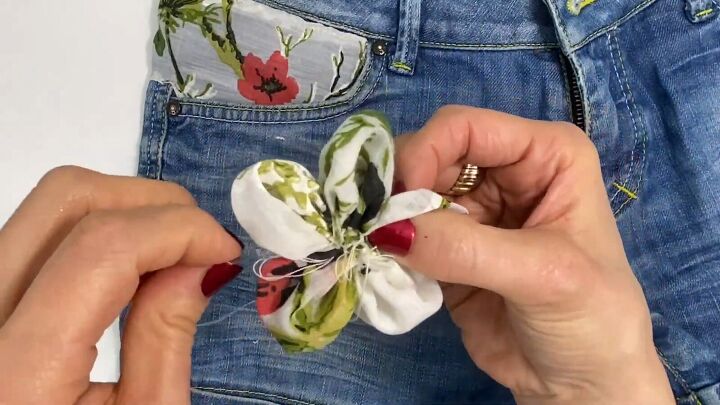
3. Attach and finish your flower
Secure the petals in place at the back with a knot.
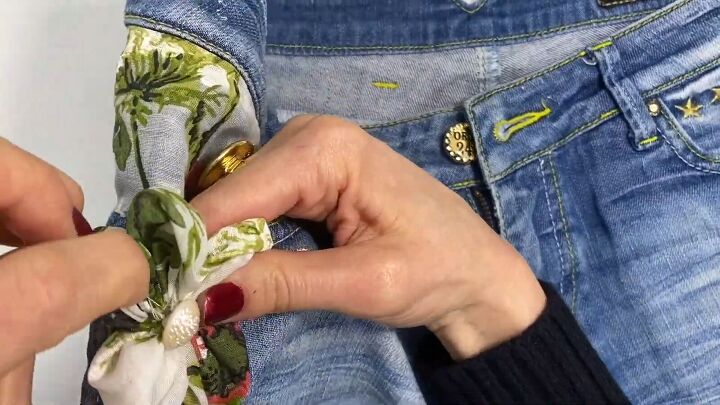
Place the flower on the jeans and sew it in place a few times.
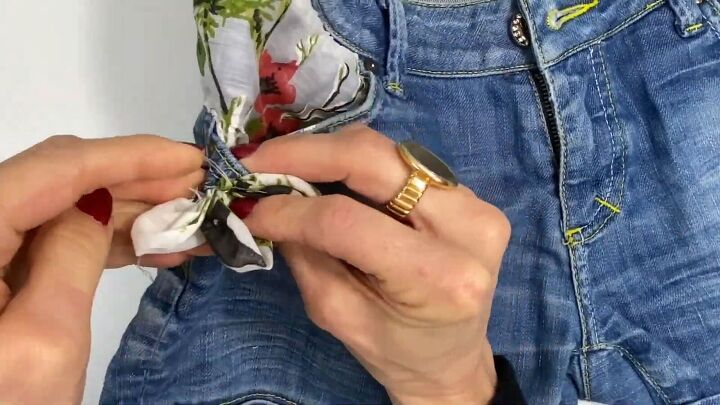
Next, add a button to the center of the flower and sew in place.
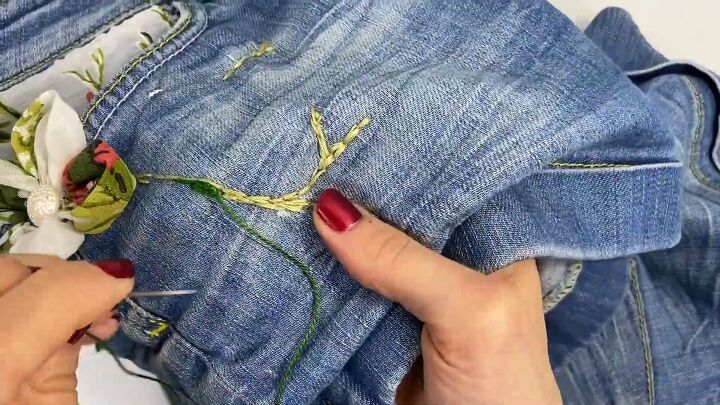
Cover imperfections with embroidery
1. Sketch your design
Using a pencil, sketch stems and leaves.

2. Stitch along the pencil
Use green shades of embroidery thread to sew a backstitch along the pencil.
Change shades and thickness where it suits your design. I’m attempting to mimic the stems of the fabric piece.
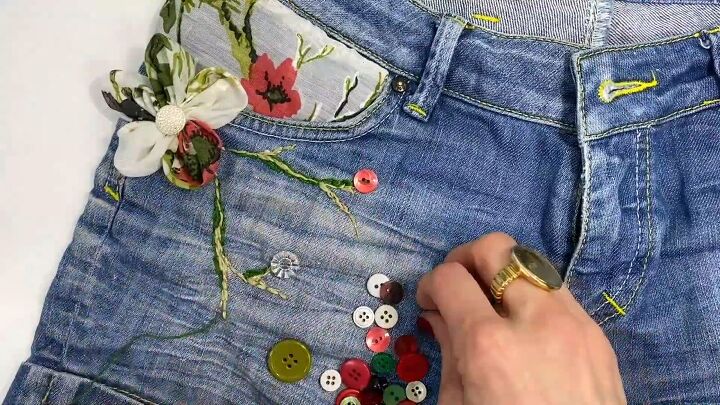
3. Add matching buttons
Add a few small, decorative buttons that match the floral fabric. These will mimic flower buds.
Cover up more imperfections on the back
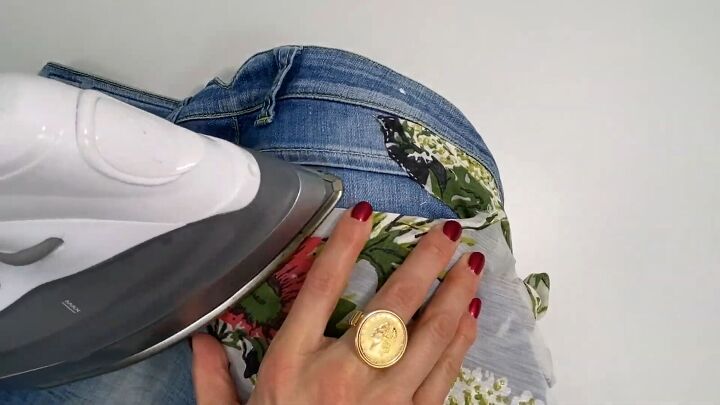
1. Cut floral fabric and affix to the pocket
To embellish the back, cut out a piece of the floral fabric to cover the pocket.
Fold the top edge under slightly and iron it down, at the opening of the pocket.
2. Pin and cut
Pin the fabric in place, cutting off excess as you go.

Also, continue to fold under the raw edges and iron them for a sharp crease.
3. Affix the floral fabric
Once you’ve perfected the pocket shape, sew the floral fabric in place, close to the edge.
4. Add an embroidered edge detail
Using your green, embroidery thread, sew a whipstitch along the top of the floral fabric at the opening of the pocket.
Make sure you don’t sew the pocket shut!

These DIY embroidered jeans are starting to come together!
Add DIY flower patches to hide imperfections
1. Cut out florets
Cut out florets to cover up anything else that you want to hide on the jeans.
2. Pin and sew
Pin them in place.
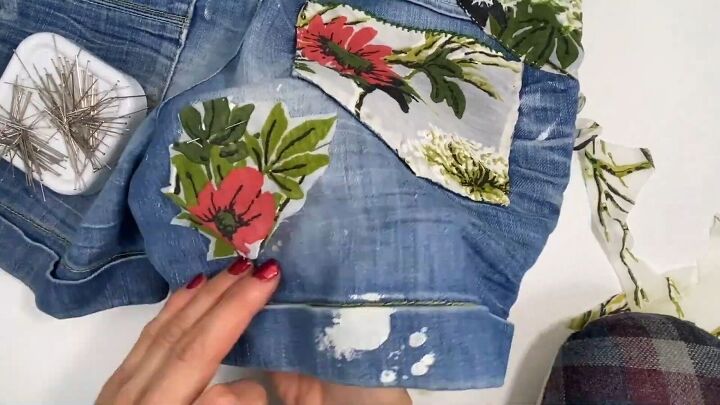
Then, use your green embroidery thread to sew the floret down, on the edges themselves to create a flower patch for your jeans.
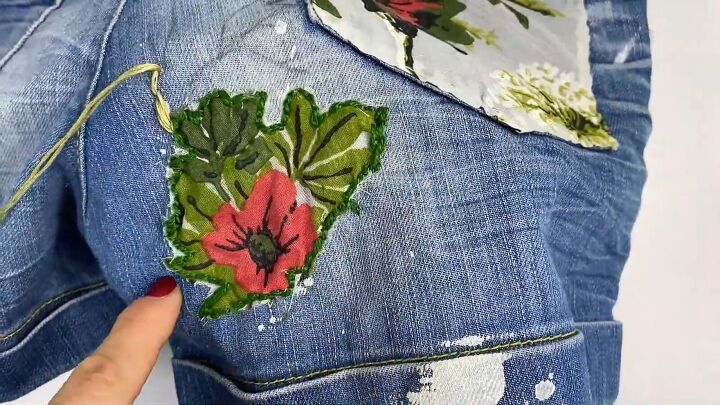
3. Add more embroidered stems
Sketch more stem details with pencil to connect your DIY pieces and use embroidery thread to trace along the pencil lines.
I also embroidered a leaf onto a larger stain using the two shades of green.
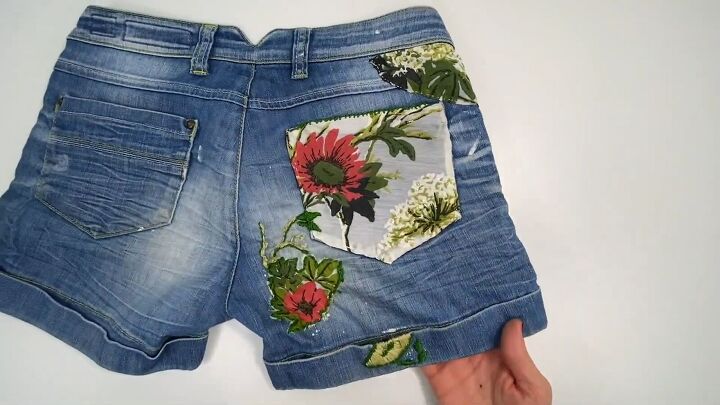
How to embroider jeans
Here’s the final DIY embroidered jeans:
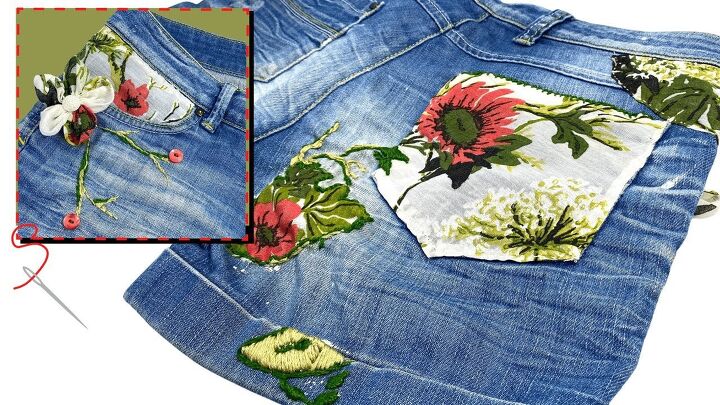
What a transformation! These jeans with flowers are super unique.
Now that you’ve learned how to embroider your jeans, show us your results in the comments below.
The author may collect a small share of sales from the links on this page.


Comments
Join the conversation
Wow, this is so awesome! Such a cute idea! Thanks for sharing 😁
Super cute and fun looking.