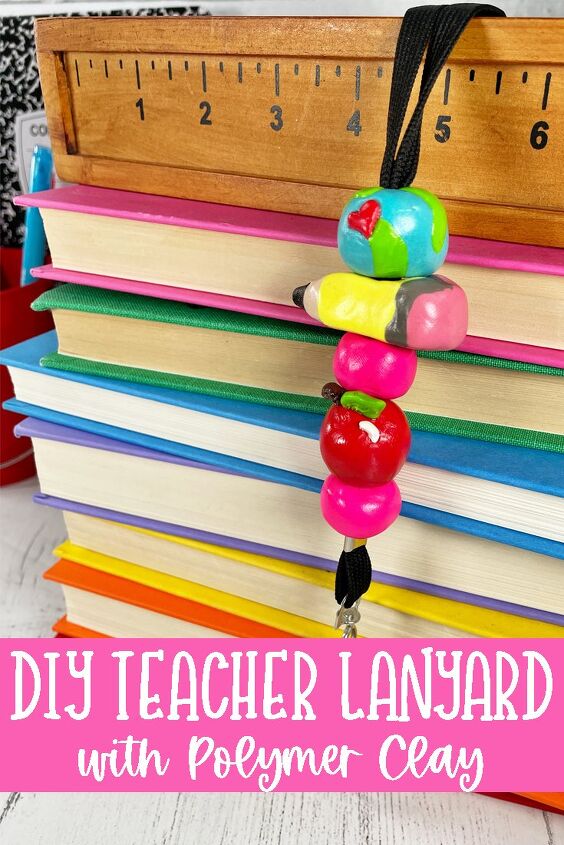
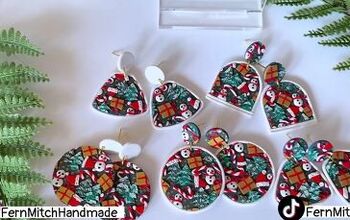
DIY Teacher Lanyard With Polymer Clay
Create a darling lanyard with Polymer Clay that any teacher would adore!
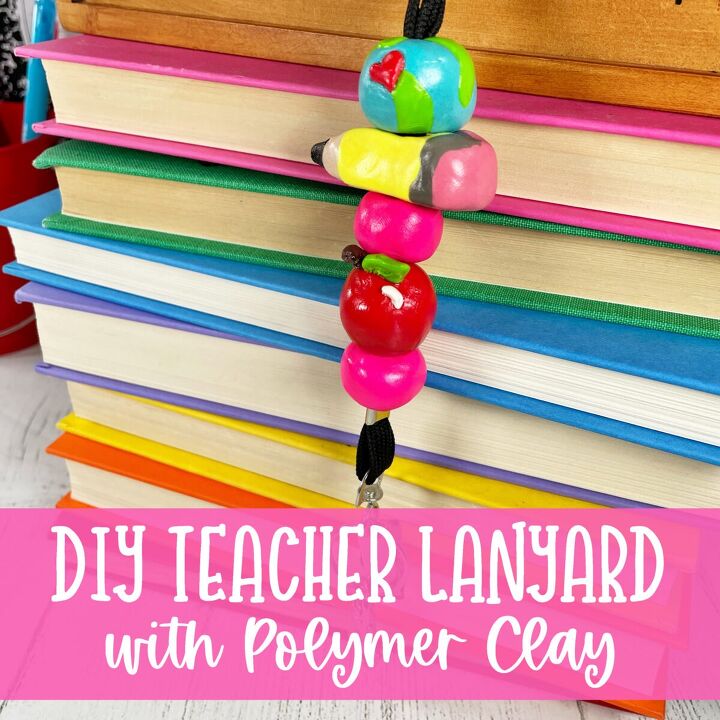
Hello friends! I’m so excited to share my DIY Teacher Lanyard that I made with Polymer Clay with you. I know that sometimes working with clay can be intimidating, but it doesn’t need to be, and I’m happy to help walk you through it!
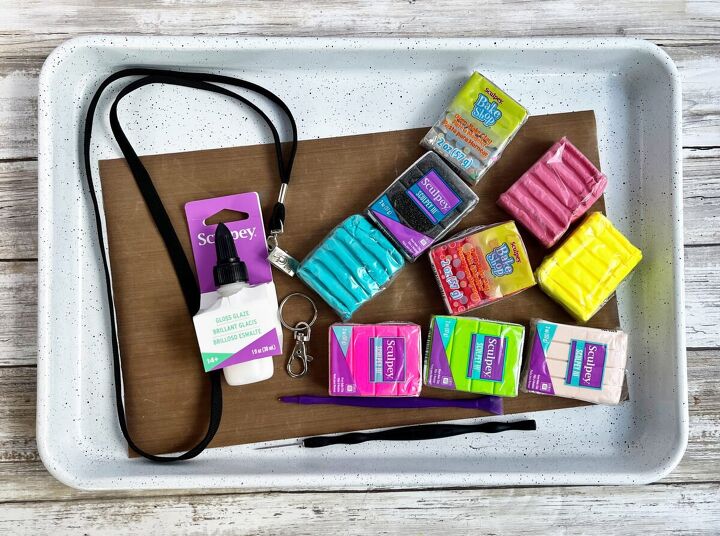
– Sculpey Bake Shop: Red, Gray Pink, Brown, White, and Yellow
Before jumping right in, I wanted to share a few helpful tips with you! If your clay starts to get too soft and isn’t holding its shape as well as you need it to, set it aside to let it cool down before working with it again. The more you work with the clay, the softer it becomes! Another helpful tip I found was to keep a baby wipe nearby to wipe down my hands before I switched to a different color.
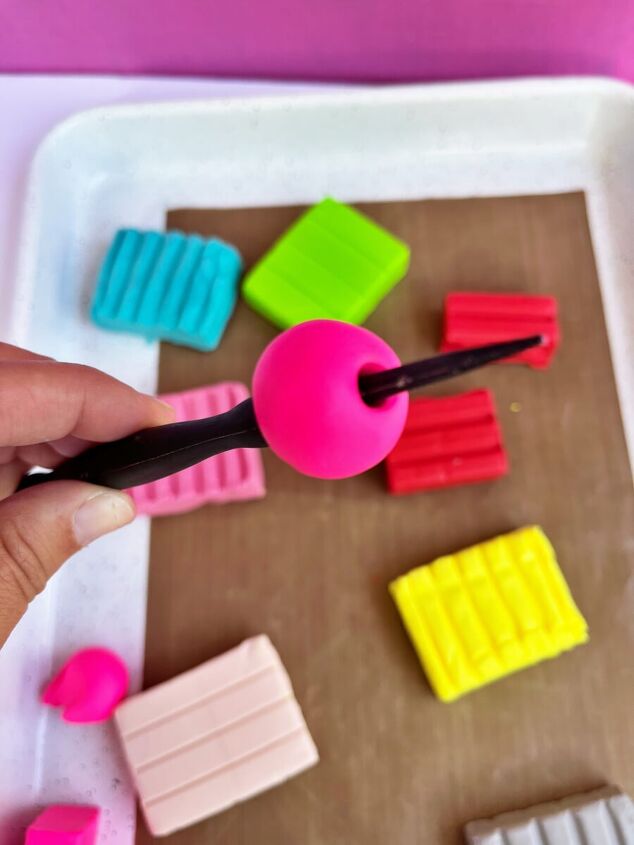
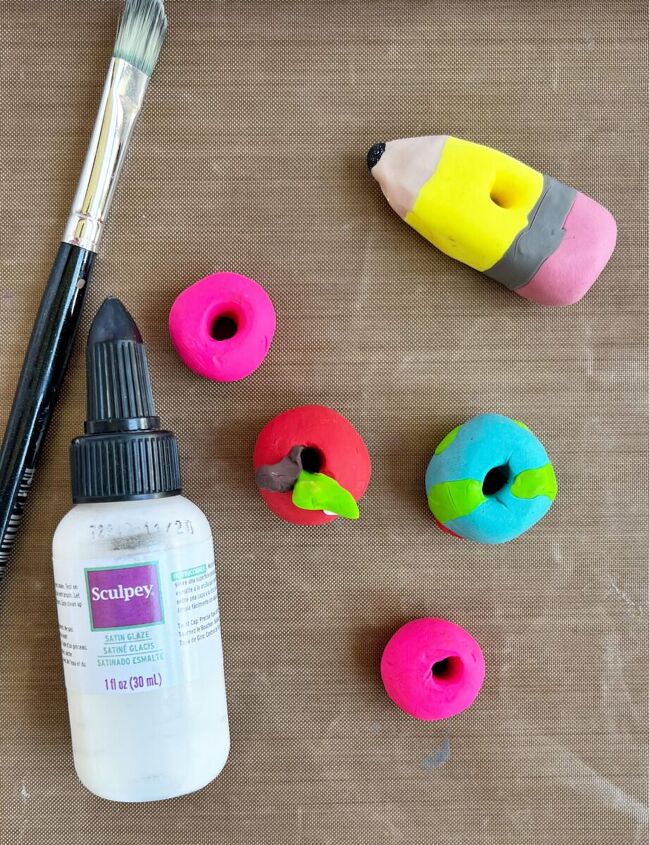
Choose which bead you’d like to start with. For me I decided to start with the simplest bead and work my way through it. I made a hot pink bead by rolling out a ball of Candy Pink clay and then formed the hole I needed to string the lanyard through by using the black Needle End Pointer Tool. Be careful while doing this, you’ll want to slowly work the tool through one side of your clay ball and then flip it over and work the tool through the hole from the opposite side. I made two candy pink beads for my lanyard.
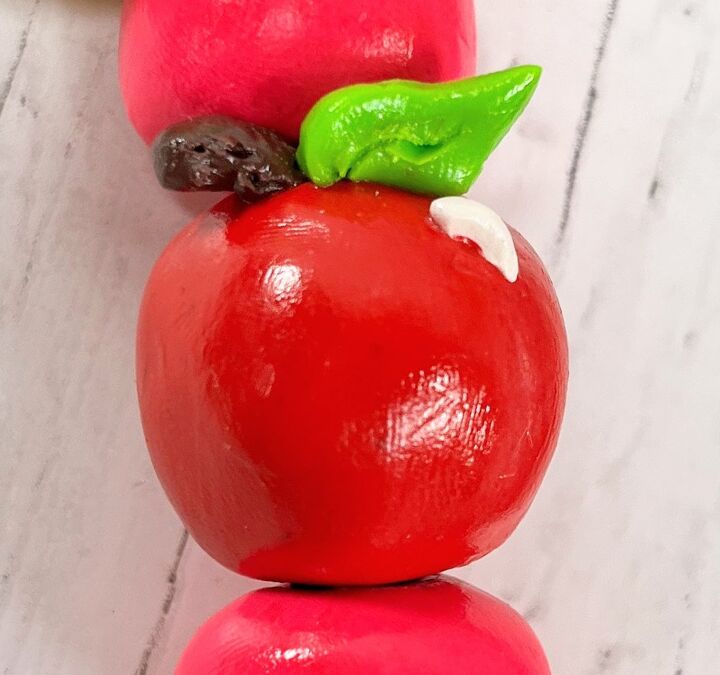
I created my apple bead by rolling the red clay into a ball and then shaping it into an apple shape. I then created my hole using the Needle End Pointer Tool. I wanted to add a stem and a leaf, but sometimes with clay the smaller pieces can pop off so in order to try and avoid that I made the stem and leaf slightly longer so that I could anchor them into the center of the apple.
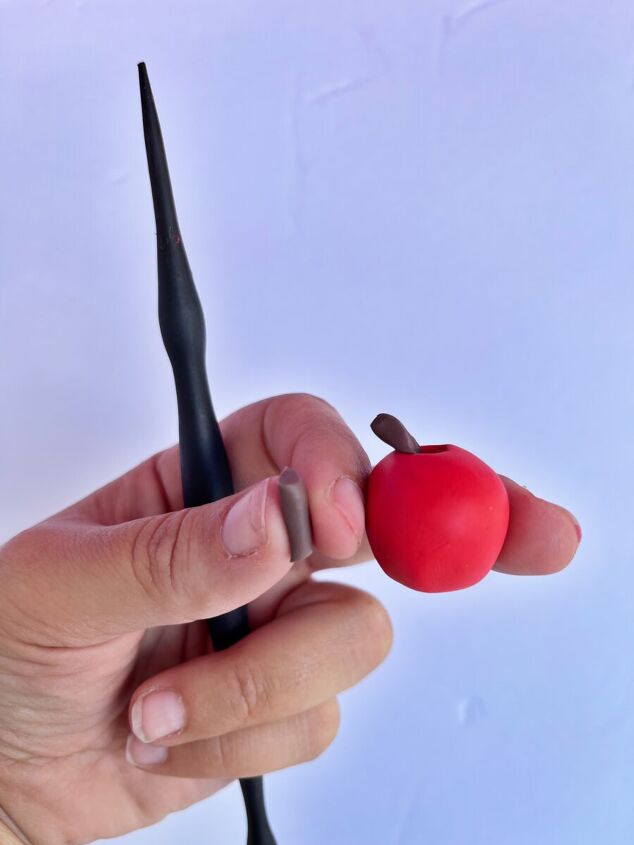
To make sure that the pink bead would stack nicely on top of the apply bead, I curved both the stem and leaf away from the hole so the bead would rest nicely on top of the apple and the stem and leaf were out of the way. I also added a tiny piece of while clay to create a highlight. You can add texture to the stem and leaf with the needle tool if you’d like.
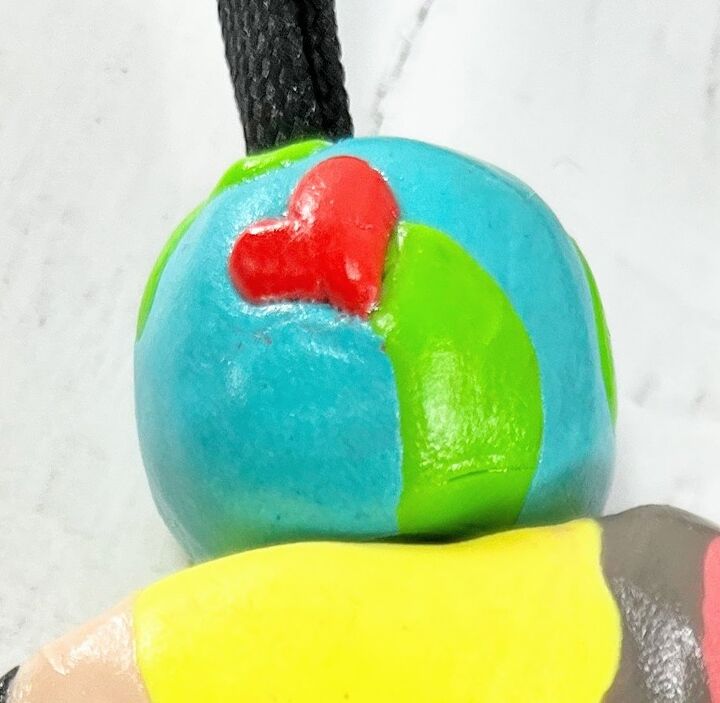
I zoomed in extra close for the earth bead. While the texture isn’t perfect, that’s ok! It still ends up looking adorable!
For the earth bead, I rolled a ball out of the Turquoise Sculpey Clay. Formed a hole with the Needle End Pointer Tool. Then I pinched off a little bit of the Granny Smith green and lightly put it here and there on my Turquoise bead in order to look like land. To add a cute little something extra, I shaped a tiny red heart out of a really small piece of the red clay and placed it on my earth. Again, the charm in these clay projects is that they’re perfectly imperfect!
The pencil bead was the trickiest out of all of the beads for me to create. It took a little bit of time and I did have to set it aside a few times to cool before I achieved the look I was going for.
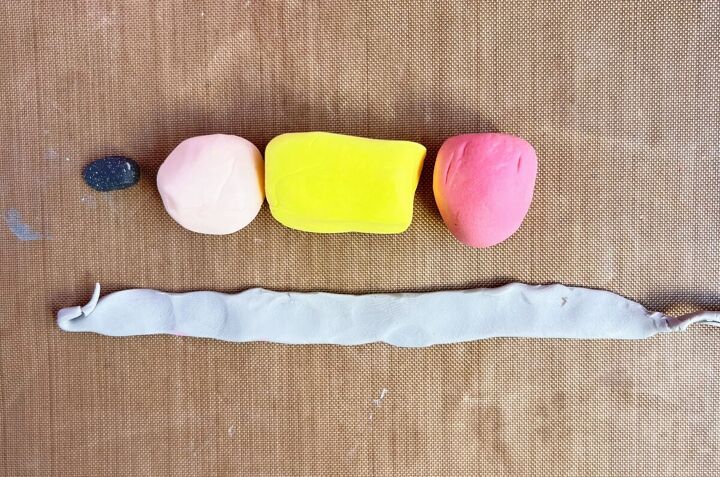
To create my pencil bead, I rolled the pink and beige clay into similar sized balls. I took a piece of yellow that was about double the size of my pink and beige places. I rolled it into a ball but then worked with the sides to create more of a cylinder shape. I created a thin string of gray and then flattened it down. For the black I started with a small ball and then pinched the top of it to help create a point. It almost looked like a little Hershey’s kiss.
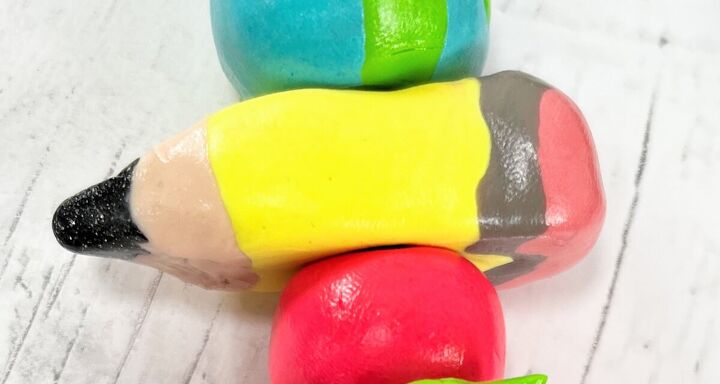
With all of my pieces ready to combine together, I made a hole in the yellow cylinder. Then I attached the pink clay ball to one end of the yellow cylinder and the beige ball on the other. I shaped the pink ball to be flat on the end and even with the yellow’s cylindrical sides. With the beige I just formed it to a dull point. Then I added my little black piece and formed the rest of the point of the pencil.
With this bead, I had to set it aside a few times to help it cool down. It would quickly get soft and pliable! In order to keep it’s shape I would work in one color and set it aside for a little bit before working in another color. The final step in the pencil is taking the flattened gray string and wrapping it around the seam of your yellow and pink clay. You can blend the seams together by carefully and lightly rubbing the two colors together.
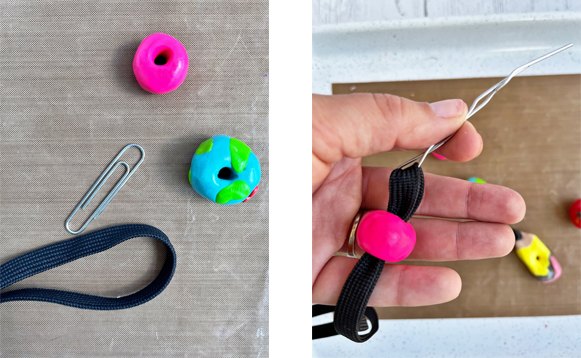
Once all of your beads are shaped, they are ready to be baked! Be sure to bake them on a Teflon sheet so that they don’t stick to your pan. I simply worked on a Teflon sheet from the beginning and that helped my beads to keep their shape.
This part can be a little tricky to get the lanyard string threaded through the beads. The best way for me was to grab a paper clip and reform the entire clip to where it is one long line, and then fold it in half. You can then slide your lanyard in between the two wires to the very middle of it, and wrap the wire ends around each other. This creates a needle type tool that will help you thread your beads. It may take some muscle power but you’ve got this!
Once all of your beads are threaded on your lanyard, that’s it! Congratulations, you created an adorable lanyard that any teacher would LOVE!
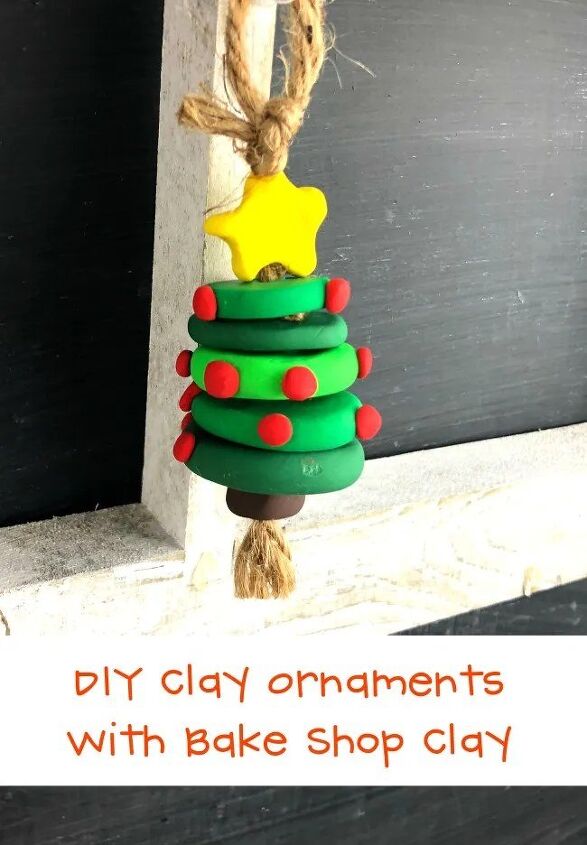
If you liked this post, I think you would love my Polymer Clay Christmas Tree Ornament post! They’d be so fun for kids to make for Christmas.
Sharing is Caring! Too busy to make this right away?! Pin it for later! Pin this project to your favorite craft board on Pinterest and it’ll be waiting for you when you’re ready.
I would really love to hear what you think about this DIY Teacher Lanyard! If you try it out, I would sure like to see it! Share on Instagram, Facebook, or leave a comment/photo on the project pin on Pinterest!
This post contains affiliate links. If you make a purchase, it is no extra cost to you but supports me and my small business.
The author may collect a small share of sales from the links on this page.


Comments
Join the conversation