How to DIY Polymer Clay Christmas Earrings

In this DIY, I’m going to show you how to create cute polymer clay Christmas earrings.
Working with polymer clay is so much fun. We’re going to be cutting, molding, and shaping as well as drawing with the markers as well.
The finished earrings have Christmas written all over them. Let’s get into it!
Tools and materials:
- Polymer clay
- Pasta machine
- Exacto knife
- Needle tool
- Acrylic paint markers
- Cutters
- Rubbing alcohol
- Q-tips
- Sanding paper
- Drill
- Earring backs
- Jump rings
- Matte varnish
- Pliers
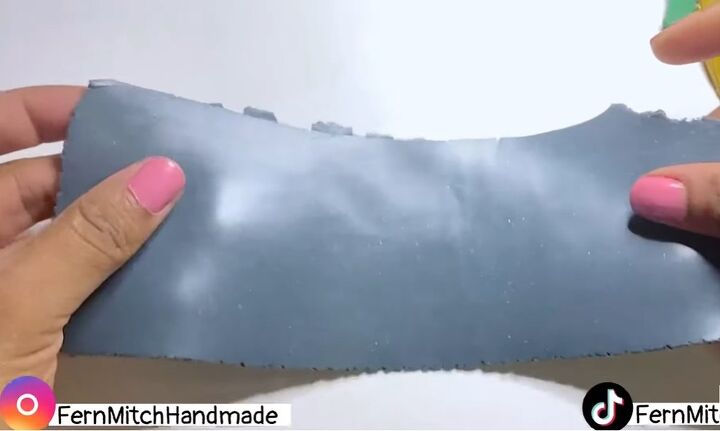
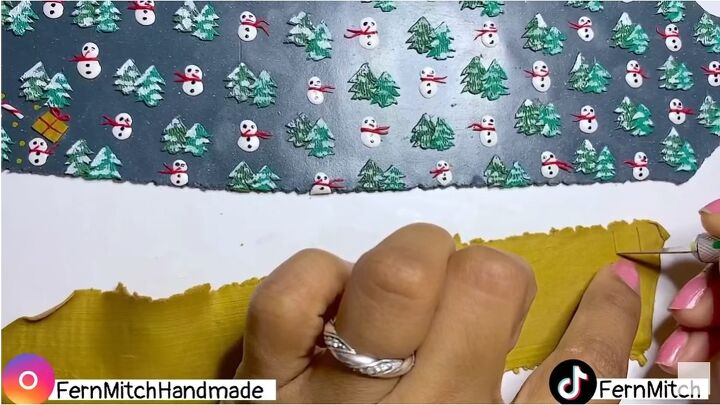
1. Flatten the background piece
Run the gray background piece of clay through the pasta machine on the thickest setting, which is about 2mm.
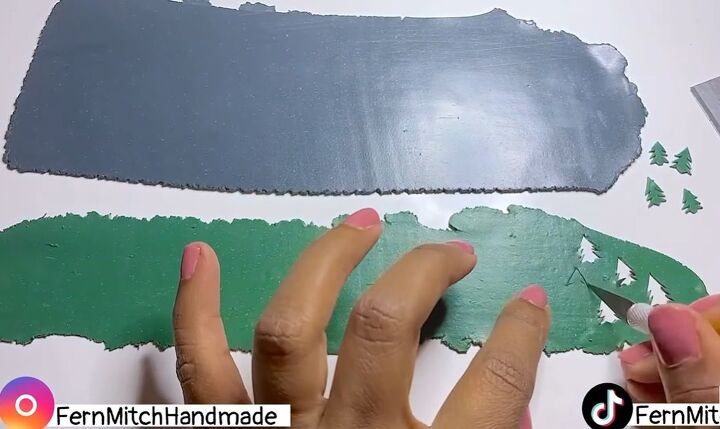
2. Cut out Christmas trees
Run the green clay through the pasta machine on the thinnest setting. Then freehand some Christmas trees using an Exacto knife.
When done, carefully place them on the background piece.
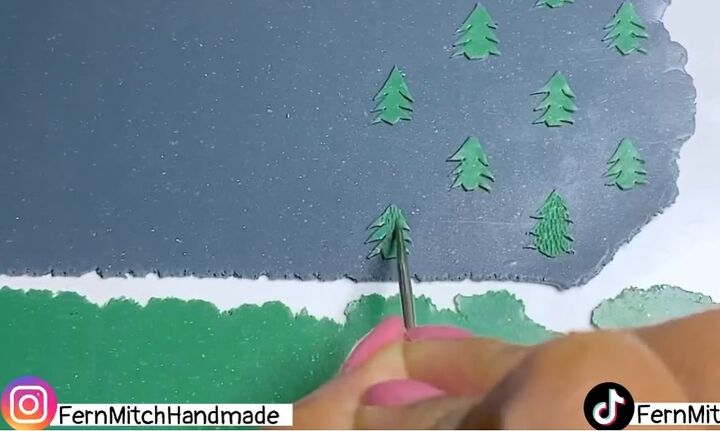
3. Add texture
Next, add some texture to the trees using your needle tool. Make small close parallel lines.
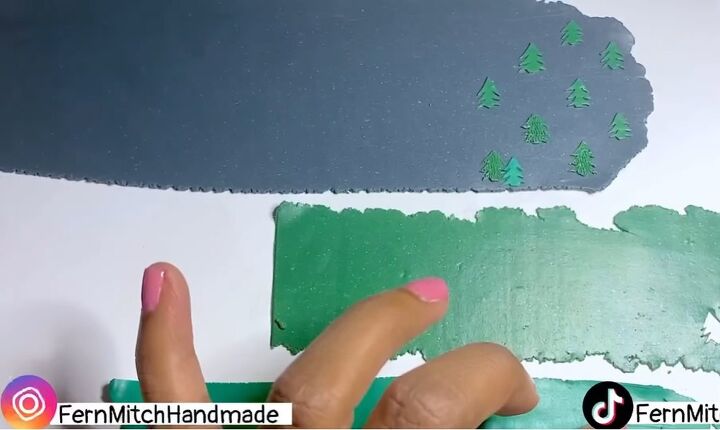
4. Create more trees
Make more textured trees but in a different shade of green.
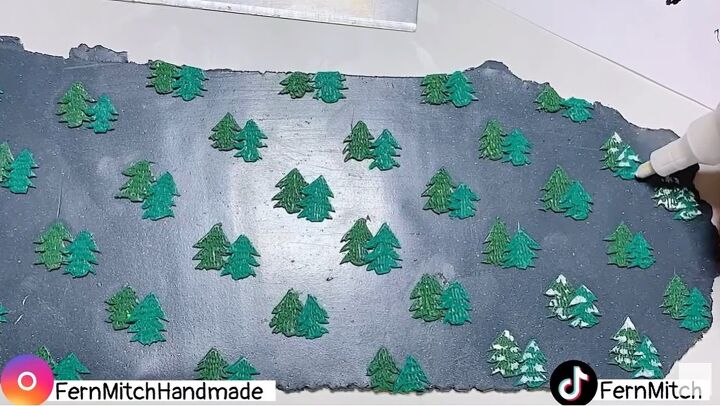
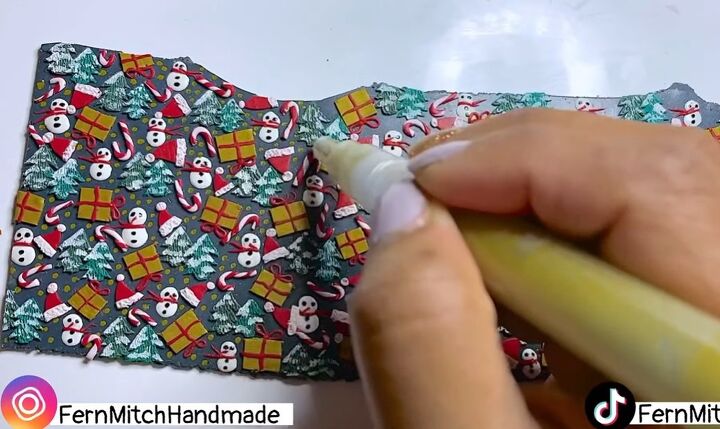
5. Mark snow on the trees
Now, take your acrylic paint markers. The ones I’m using have a regular tip and a fine tip that are interchangeable.
To use the markers, shake them very well and then continuously put pressure on them until the ink comes through the tip. Use a white marker with a fine-tip side to add snow to the trees.
If you make any mistakes with the markers, you can easily clean it up with alcohol and a Q-tip.
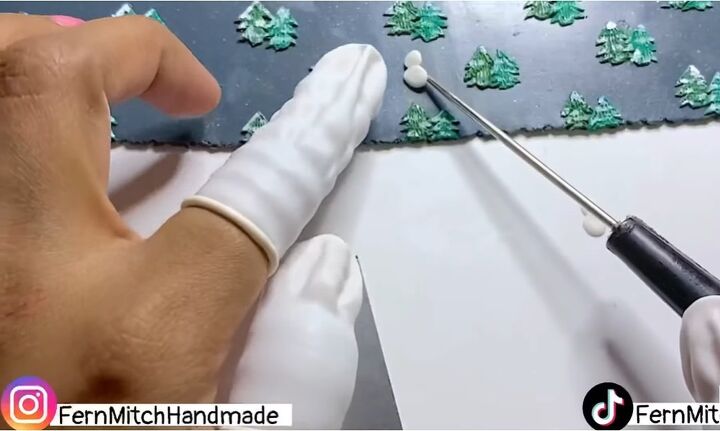
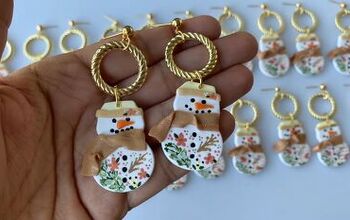
6. Create snowmen
Roll two small balls of white clay, one slightly bigger than the other.
Then press them flat, and this will create the body and the head of the snowman. Carefully place the snowmen on the slab.
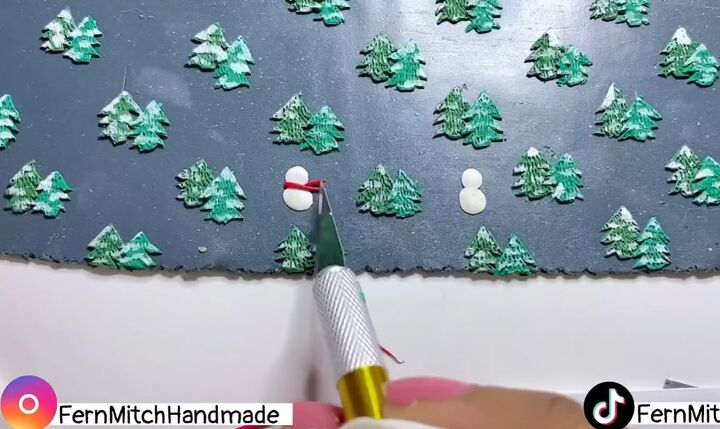
7. Create scarves
Roll a thin piece of red clay to create scarves for the snowmen.
8. Mark the snowmen
Then draw on a nose, eyes, and some buttons with the markers. Use a little bit of red clay for the carrot nose.
9. Cut out presents
Roll some gold clay on the thinnest setting on the pasta machine and cut some small squares to create presents.
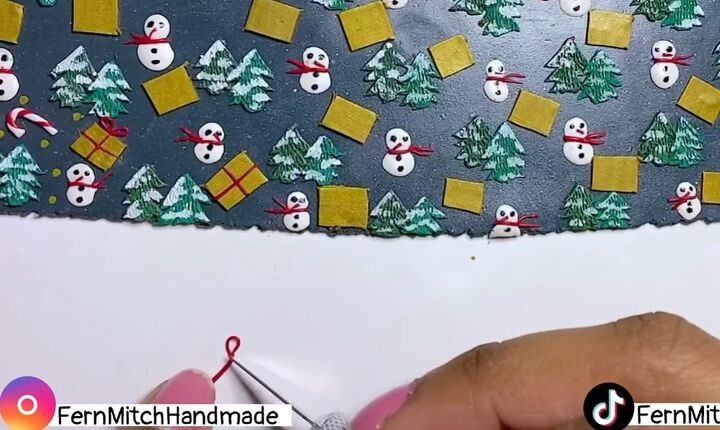
10. Create the ribbon
To create the ribbon wrapping for the presents, thinly roll some red clay to create a cross.
Then, use your Exacto knife to help you shape two little loops for the bow.
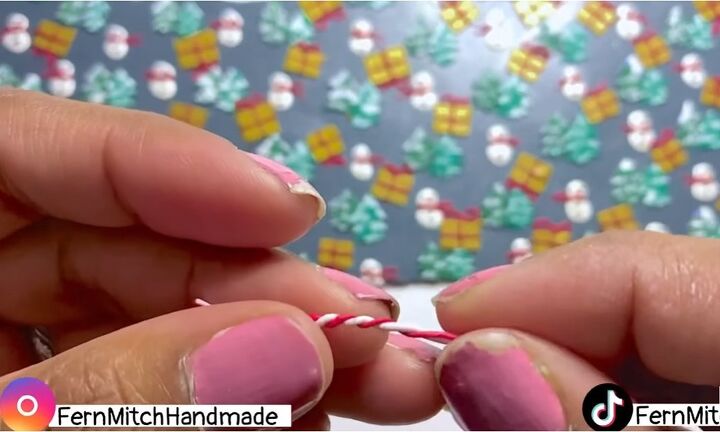
11. Make candy canes
Thinly roll some white and red clay and twist them together to create candy canes. I created lots of these tiny candy canes to fill in the gaps on the slab.
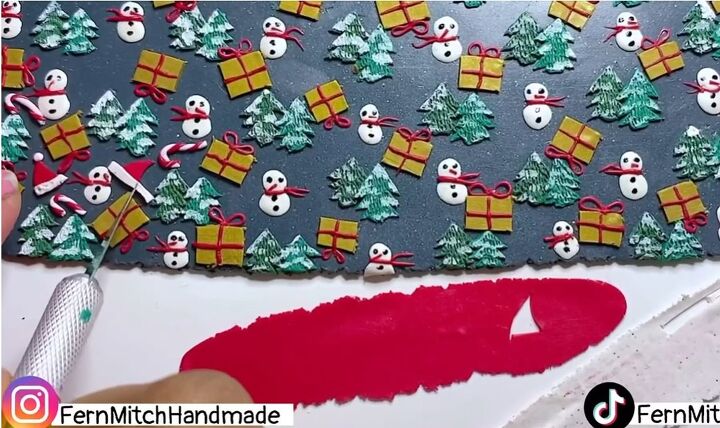
12. Make Santa hats
Now cut out some Santa hats. To do this, run some red clay through the pasta machine on the thinnest setting and then cut out the base of the hat.
Then, using some white clay, on the same setting, add the white trim and the pom pom.
Place the hats in the remaining empty spaces on the slab. Texture the white trim using the needle tool.
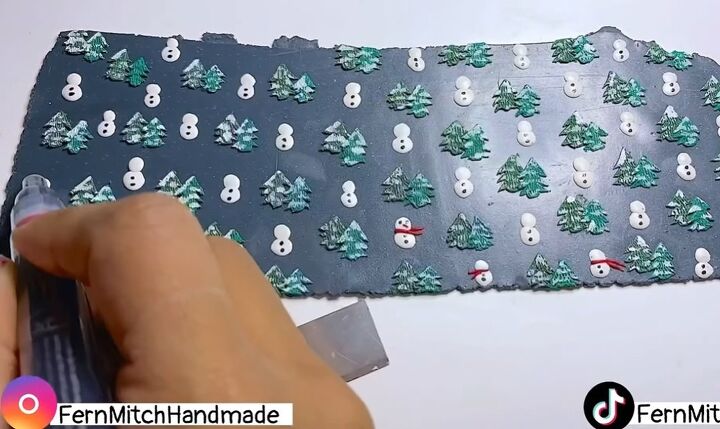
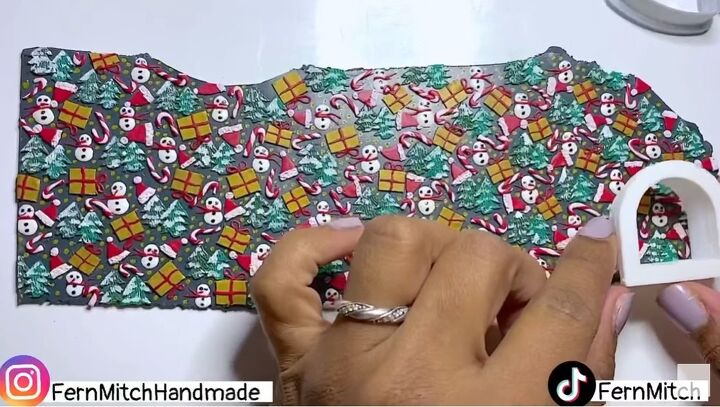
13. Mark gold dots
To fill up any empty spaces, use a gold marker to add dots all around.
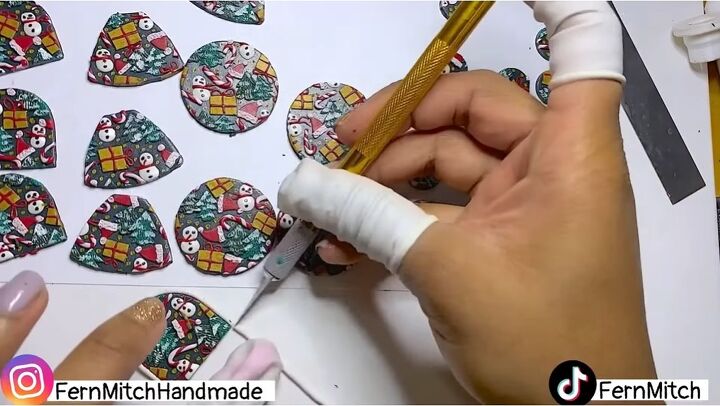
14. Cut the earrings out
Use cutters to cut the shapes for the earrings.
Use some rubbing alcohol and a Q-tip to clean up the edges and use the Exacto knife to cut off any untidy parts.
This step will help you do little to no sanding.
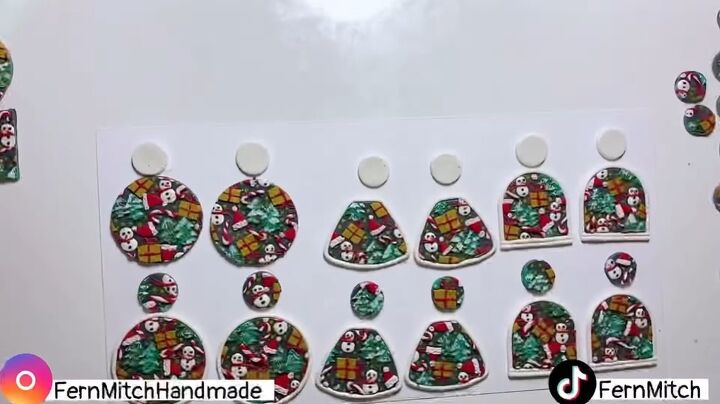
15. Outline the edges
Roll some white clay around the edges of the pieces to outline them.
16. Bake the earrings
Bake the pieces for an hour at 225-275° Fahrenheit (107-135° celsius).
I'd recommend you bake some samples to find out your ideal temperature and time for your clay before you go in with the real thing.
Also, make sure you use an oven thermometer.
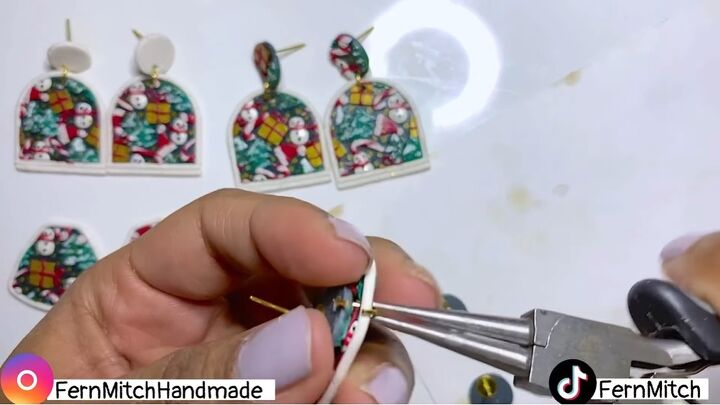
17. Attach earring components
Once the pieces are cured, lightly sand them and drill the holes.
Then add the earring backs and jump rings. Also, add a light coat of matte varnish to the pieces.
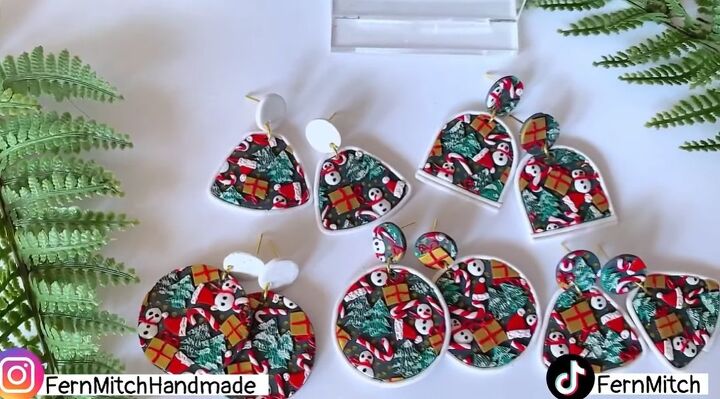
Polymer clay Christmas earrings
Here are the finished Polymer clay Christmas earrings. I decided to make a range of different shapes and designs to show you the different directions that you can take these earrings in.
The earrings have all of the Christmas imagery that we know and love, and I know for a fact that I’ll be wearing them all festive season.
Will you be making these earrings this Christmas? Let me know in the comments down below.
The author may collect a small share of sales from the links on this page.


Comments
Join the conversation