Barrel Knot and Button Bracelet Tutorial

The leaf-shaped Monstera buttons have become very popular recently, and I wanted to create a design using the buttons and adding some barrel knots. As all my followers know, I am a little obsessed with barrel knots. So follow along with my button bracelet tutorial to learn how to create a beautiful and unique piece of jewelry.
Tools and materials:
- 2 mm leather cord
- 3 decorative loop back buttons
- Barrel knot tube
- 2 cord ends
- 4 jump rings
- Toggle closure
- Ruler
- Loctite glue or other strong adhesive
- Cutter tool
- Chain nose pliers
- Bent chain nose pliers
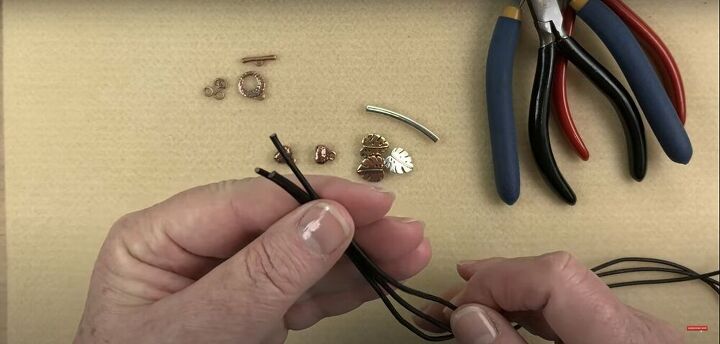
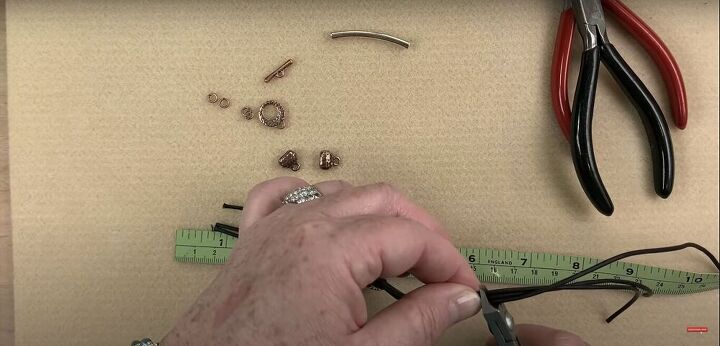
Cut and position
To begin, cut three pieces of leather cord. Two of the pieces should be about 12 inches in length, and the third should be about 20 inches. The longer piece will be the one we use for making barrel knots. Once the pieces are cut, match up the ends of the cords, making sure the longest piece is on top.
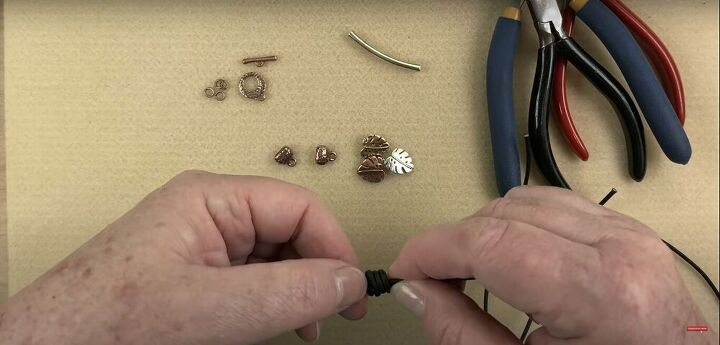
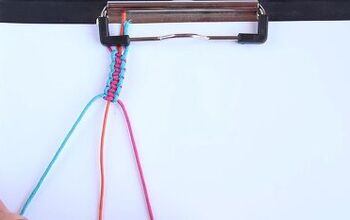
Knot
Make the first barrel knot about 3 or 4 inches from the end of the cords. For a detailed explanation on how to make a barrel knot using a barrel knot tube, see the video from 2:47-3:30.
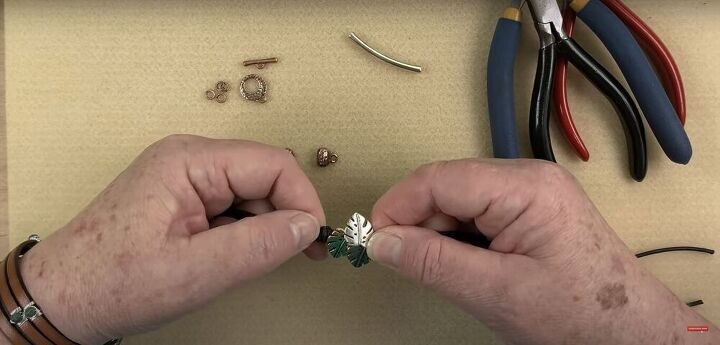
Place the buttons
Slide one button onto each cord, and push them all the way down to the knot. Move them around until you are happy with their positioning.
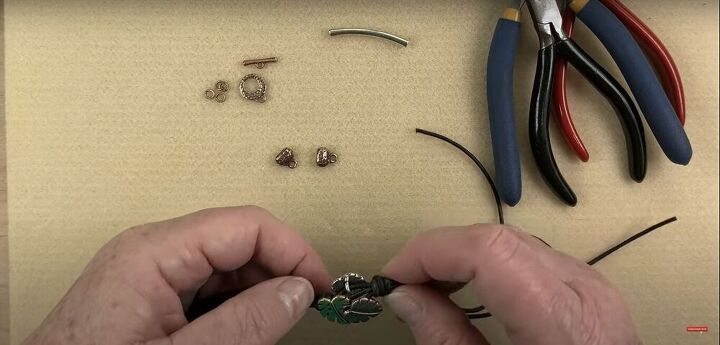
Knot
Once the buttons are in position, make sure the longest cord is still on top, and then make a barrel knot.
Measure and cut
The closure hardware will add about an inch of length to your bracelet. So decide how long you want your bracelet to be (mine was 7 inches), and subtract one inch. Then cut the cords to the appropriate length, making sure that the buttons are in the exact center of the bracelet.
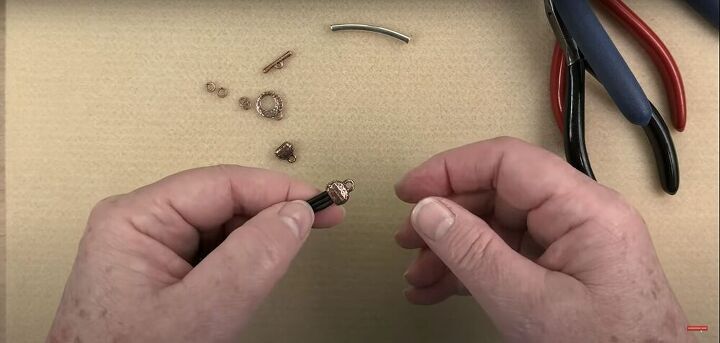
Check the fit and glue
Before applying the glue, ensure that your cords will fit into the cord ends nicely. If they don’t, you can trim the cords at an angle to help them fit properly. Once you know the cord ends will fit, place a few drops of glue into the opening of the cord end, ensure that the cords are all flat, and none of them are crossed over, and then insert the cords into the cord end. Let them dry for a few minutes before continuing.
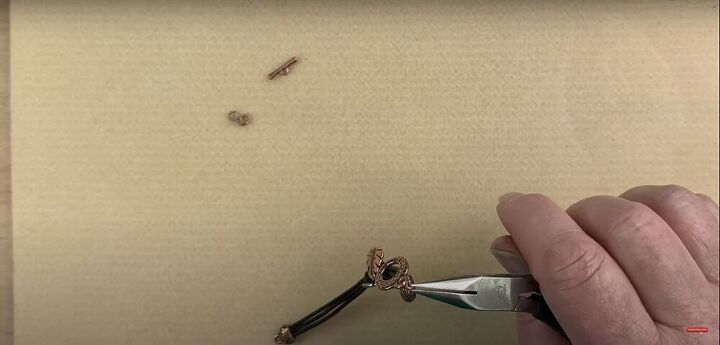
Place toggle
Once the glue is dry, it is time to place the toggle closure. On one end of the bracelet, use the chain nose pliers to open one jump ring and place it on the loop of the cord end. Then, before closing it up, place the round part of the toggle closure onto the jump ring. Use both sets of pliers to help close up the jump ring. For a demonstration on how to use the pliers, see the video from 10:13-10:36.
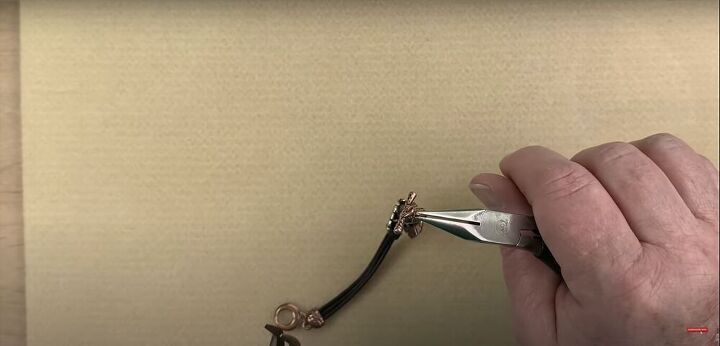
On the second end of the bracelet, place three jump rings. Before closing up the last jump ring, place the bar part of the toggle. Then close up the jump ring.
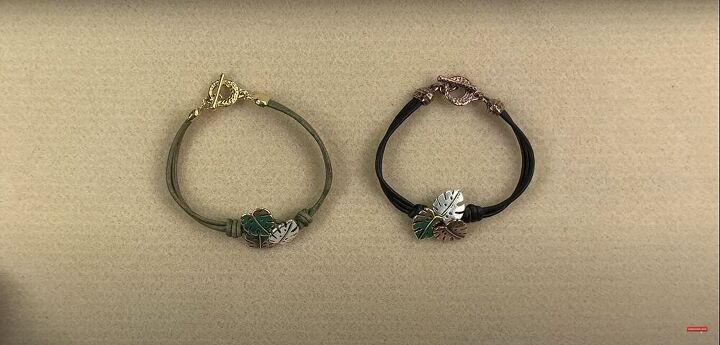
And that’s it! Aren’t these beautiful?
You can buy a kit for this bracelet here. Let me know what you think of this design. If you make a button bracelet of your own, I would love to see how it turns out!
The author may collect a small share of sales from the links on this page.


Comments
Join the conversation
Yes