Learn How to Create Knotted Jewelry With This Celtic Bracelet Tutorial

Celtic knots represent love, eternity, loyalty, and friendship. The other day, I was playing around with Jospehine knots and came up with this Celtic design. Here’s how to tie a Celtic knot leather bracelet, perfect for yourself or as a gift for a special friend. Let's get started with the tutorial.
Tools and materials:
- 2 meters or 80 inches of 2mm wide leather cord or ribbon
- 6 large hole beads
- Toggle
- 15mm ribbon ends
- Assorted size jump rings
- Chain nose pliers
- Large chain nose pliers
- Scissors
- Ruler
- Painter’s tape
1. Cut the leather cords
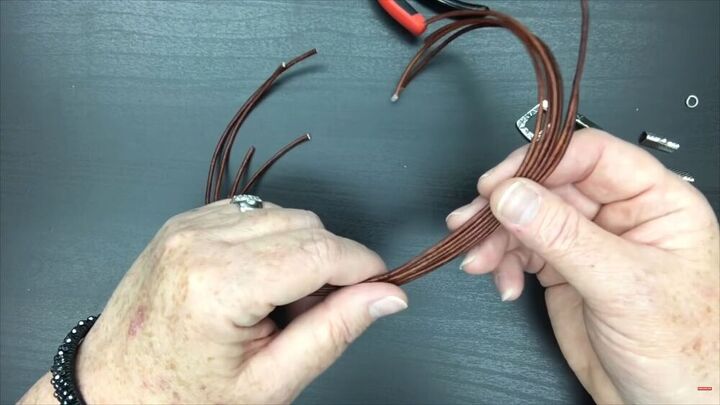
Measure and cut the cord into 6 equal pieces about 13 inches or 33 cm long.
2. Make the knot
Split the 6 cords in half with 3 on each side. Even them out, though no need for perfection because they will need trimming.
Form a little fish with the bottom loop going over the top loop. Secure with a piece of painter’s tape.
Take the second bundle and put it under the “head” of the fish. Keep the bottom shorter so you have what to work with. Tape in place.
Now pull the top over. Go over the top fish fin and tuck it under the bottom fish fin.
Thread it over, under, and over: 1st loop goes over, 2nd loop goes under (it may need to be lifted a bit) and the 3rd loop goes over the top one.
3. Tighten and close the knot
Hold the knot with one hand and gently remove the tape. Begin pulling the knot together using your entire hand. Some of the pieces may not lay flat. Start where they twist and gently move them to be as flat as the others. Pull so the knot is equal all around.
4. Crimp the beads
Separate the 6 ribbons into 3 sections with 2 ribbons in each: 2 outer and 1 center section. Start with the center. Place a large hole bead on the center ribbon and pull it low down towards the knot. Crimp with the chain nose plier on the front and on the back.
Slide another bead down on one of the outer sections. Line the beads point to point or staggered. Crimp twice (front and back) when it is in the right spot. Repeat for the other side of the bracelet.
5. Size the bracelet
The average bracelet is about 6 to 7 inches. Measure the bracelet by placing the knot on the 3 on the ruler. The cords will extend past the 6-inch mark. Trim them to an even length at the 6-inch mark.
Flip the bracelet around and measure the other side. Trim the edges on the other side.
6. Finish the ends
Line up the 15 mm ribbon end to the freshly trimmed cords and crimp the ribbon end with the pliers. Push in any cords that are not straight or poke out. Squish the ribbon end super tight with the pliers. Do the same thing to the other side of the bracelet.
7. Attach the toggle
Attach 3 jump rings to make the bracelet more secure. Use both pliers to open the ring wide enough to slip on. Once the ring is in place, close it with the pliers. Use the largest jump ring to attach the toggle and close it nice and tight.
How to tie a Celtic knot bracelet tutorial
These Celtic bracelets are beautiful to wear for yourself or give as a special gift. The knot and silver beads give it a slightly Western flair that goes with both casual and dressy outfits.
If you make this bracelet, please let me know how you get on and leave your feedback in the comments.
Enjoyed the project?
Suggested materials:
- 2 meters or 80 inches of 2mm wide leather cord or ribbon
- 6 large hole beads
- Toggle
- 15mm ribbon ends
- Assorted size jump rings
- Chain nose pliers
- Large chain nose pliers
- Scissors
- Ruler
- Painter's tape
The author may collect a small share of sales from the links on this page.


Comments
Join the conversation
Love these bracelets! Would go nicely with my small Celtic tattoo. Would you be able to add a video? I’m having trouble following the written instructions.
Hop on over to my YouTube page under Kellie’s Bead Boutique and you can find that and hundreds more!