How to Make Beautiful Colorful Clay Flowers

In this DIY, we’re going to be taking some colorful clay and designing an easy, realistic-looking flower. Polymer clay is so much fun to work with, it starts off as just one great big lump but you get to shape and mold it to perfection to create a stunningly intricate design. Follow along with me and let’s create a beautiful clay flower!
Tools and materials:
- Polymer clay
- Cutting tool
- Dotting tool
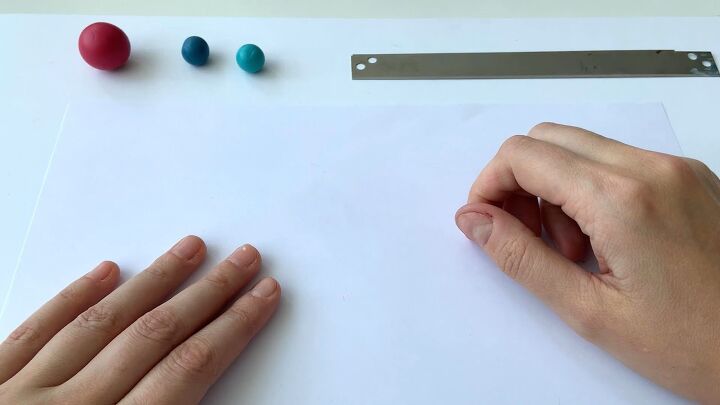
1. Roll clay into balls
To make this flower, we need to use polymer clay in three different colors. I will be using light blue, dark blue, and red. Roll the clay into three balls, you should have two medium-sized balls and one large one.
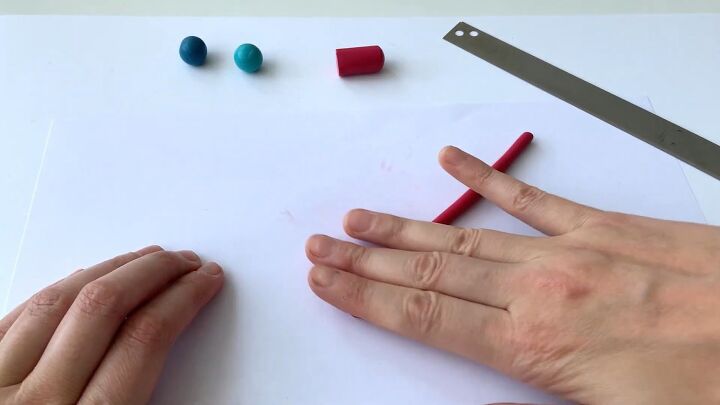
2. Roll the large piece
Take the clay that you have rolled into a large ball and using your hand, roll it into a thin sausage shape.

3. Cut into sections
Now we’re going to prepare pieces of polymer clay for the center and the petals of the flower. Take the sausage shape and cut it into small sections.
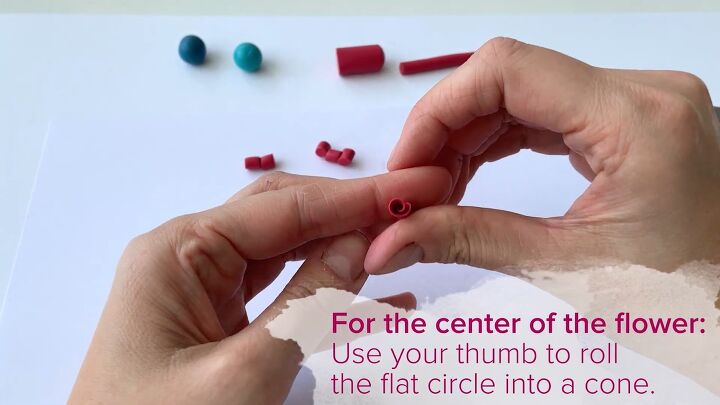
4. Make the center of the flower
For the center of the flower, create a ball first and then flatten it with your fingers to create a nice thin flat circle. Then use your thumb to roll the flat circle into a cone.
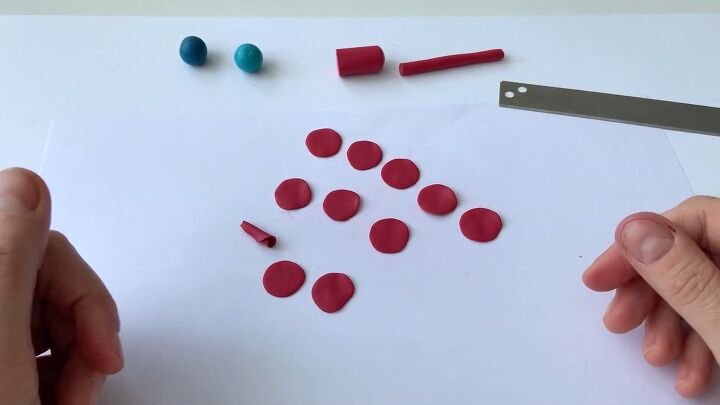
5. Create the petals
For the petals, create flat circles from the remaining polymer clay pieces.
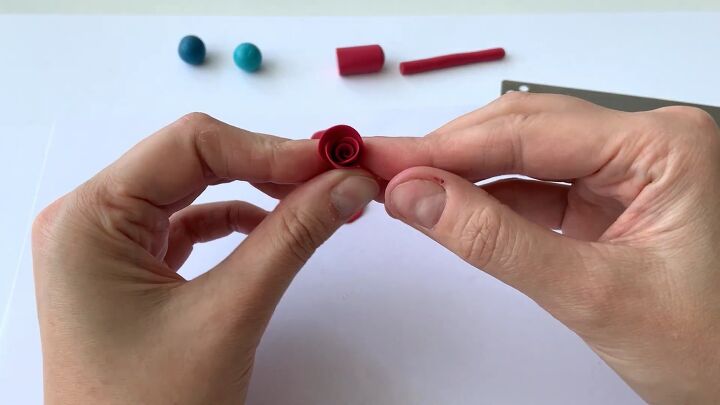
6. Attach the petals to the center
Attach the petals to the center of the flower. Note how the petals overlap.
7. Roll the flower
Next, roll the stem of the clay flower. This turning move helps the petals to stick nicely together and prepares the stem for the incoming cut.
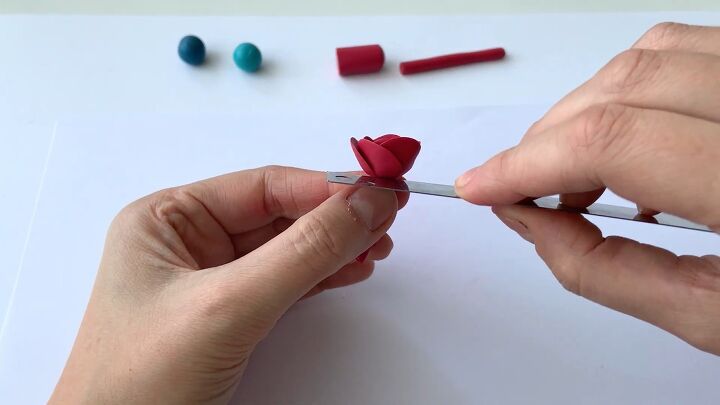
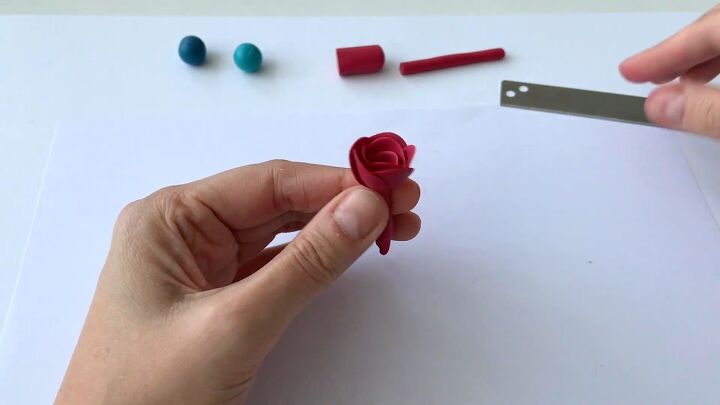
8. Cut
Cut off the top part of the flower to separate it from the long stem.
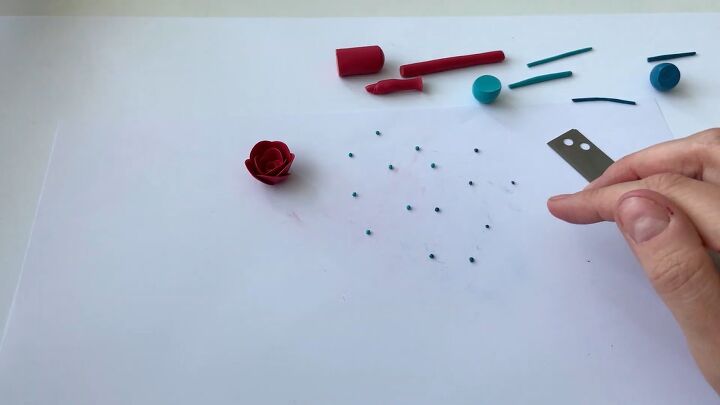
9. Create tiny balls
Take one of the smaller colored balls of clay, cut off part of it, and roll that with your hands to make it long and thin. Proceed to cut off little pieces, and roll them with your finger to create tiny balls, these little tiny bits will decorate the flower. Repeat the step with your other color.
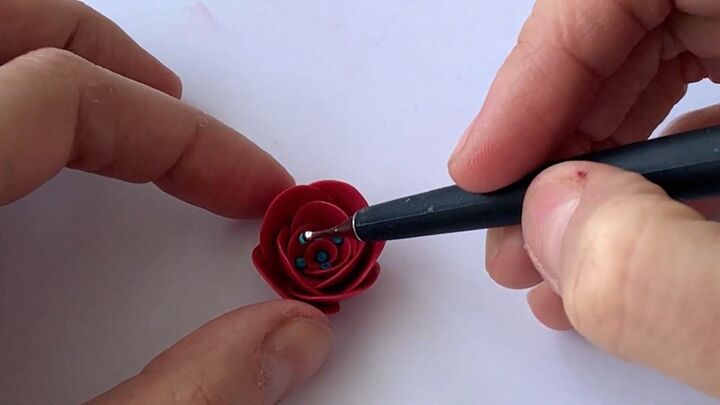
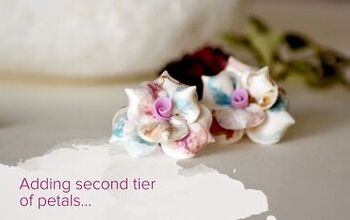
10. Decorate the flower
Use the dotting tool to pick each piece up and place it all over the flower. The adhesion involves no glue, no bake & bond, no tricks, just very gentle pressure.
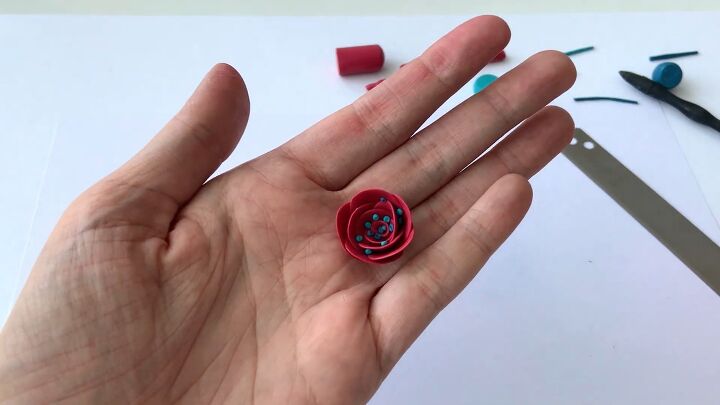
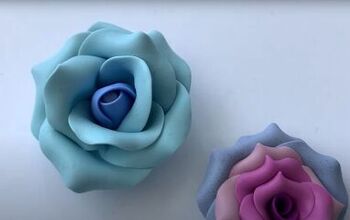
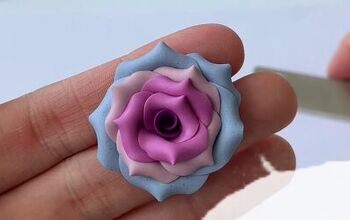
Colorful clay
Here is the finished polymer clay flower. The overlapping red petals look very detailed and realistic while the blue dots add some fun detail to the flower.
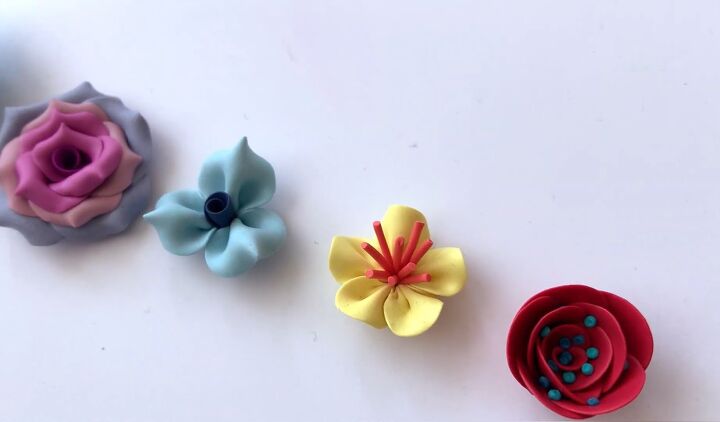
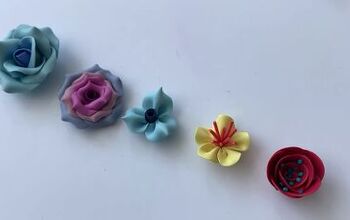
I hope you’ve enjoyed this tutorial and you’ll try it out for yourself. Once you’ve mastered this technique, then you can have a try at a different flower design! We'd love to hear about your results in the comments.
The author may collect a small share of sales from the links on this page.


Comments
Join the conversation