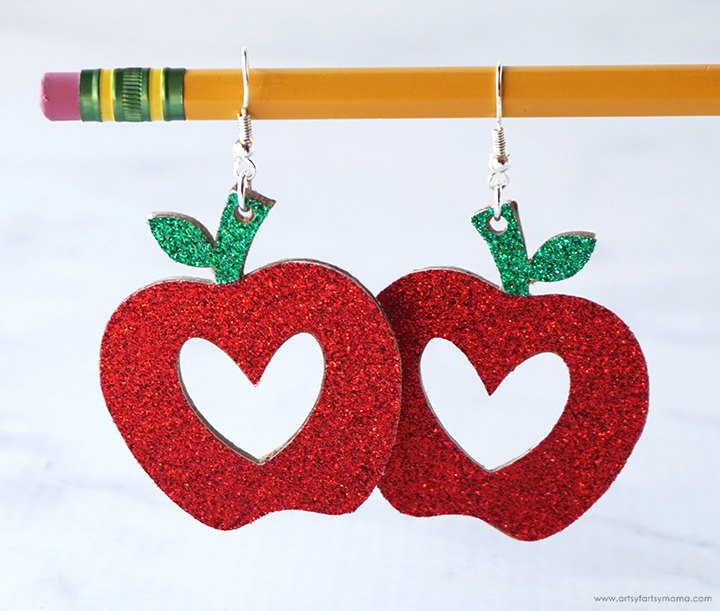
DIY Teacher Apple Earrings
These handmade apple earrings (with FREE cut file) will make the perfect gift that any teacher will love!!
Guess what? Today is a BONUS Totally Free SVG day! This collection is all about earrings that are one-of-a-kind! These cut files are easy to use with your Cricut or vinyl cutting machine to make custom earrings for yourself or to give as a gift. My contribution to the earring cut file collection are these adorable apple earrings that would be perfect for teachers!
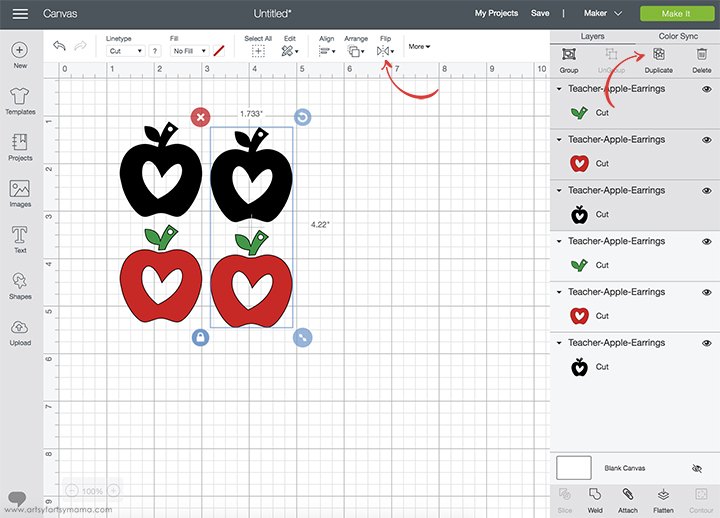
Upload the "Apple Earring" cut file into Design Space. There is a solid earring piece and a couple of colored pieces in the design. You will see more in this tutorial, but this is so you can cut out a sturdy backing, and then add color using paper or vinyl on top. The earrings are 2" high, but you can adjust the size to fit your style - just make sure you keep everything grouped!
The design is one earring, so you will need to make a second piece. Select the earring design and then click "Duplicate" in the menu bar to the right. With the duplicated set selected, click on the "Flip" dropdown menu and "mirror" the image horizontally. You could also repeat the duplication again if you want to make a matching necklace pendant!
*Here's a great tutorial on how to upload your own images into Cricut Design Space.
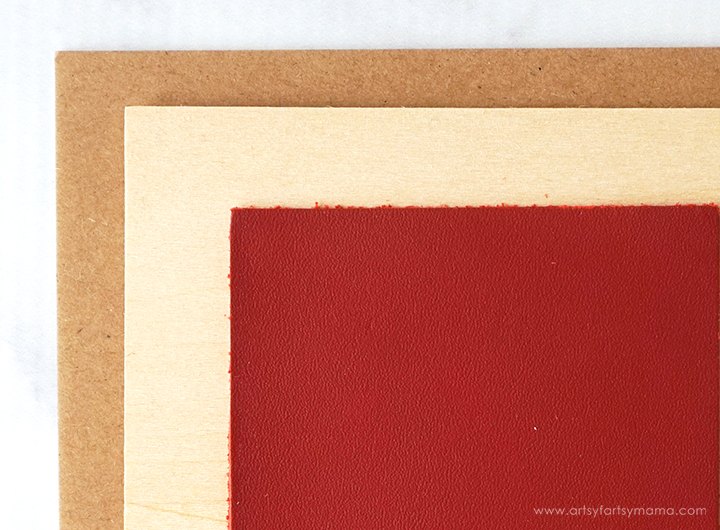
Next, you need to decide what material you want to make your earrings out of. Luckily, there are a lot of choices! I tried 3 different materials using my Cricut machines, along with these supplies:
With the Cricut Maker:
With the Cricut Explore (can also use Maker):
Other supplies:
Glitter Cardstock - red, green
Iron-On Vinyl (HTV) - red, green
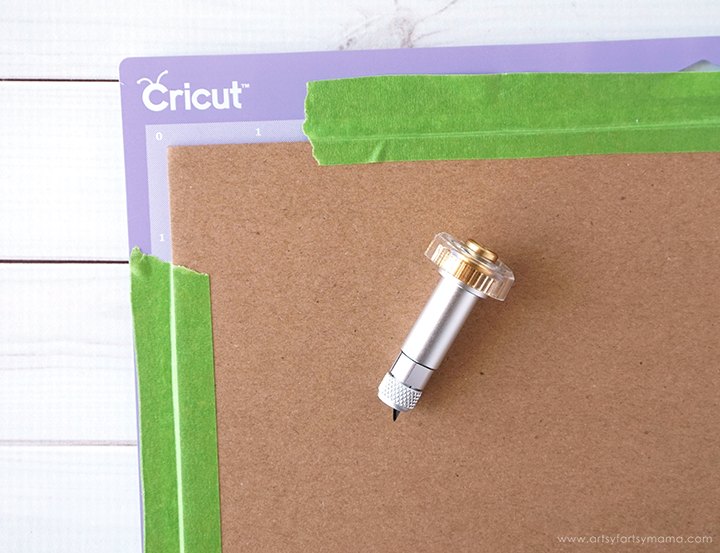
To cut chipboard or basswood, you need to use the Cricut Knife Blade. This blade is similar to a craft knife, and allows your machine to cut through thicker materials with precision.
*Learn all about the Cricut Knife Blade in this post!
You'll also need to take a few precautions before getting started to ensure you get a successful cut. First, you need the SrongGrip Mat (purple), which is the stickiest mat there is to keep heavy materials in place. Place the chipboard in the top left corner of the mat, and use a brayer to press it on well. The Knife Blade cuts in multiple passes (like you would with a craft knife), so I recommend using some masking tape around the edges of the chipboard to make sure nothing shifts during the cutting process.
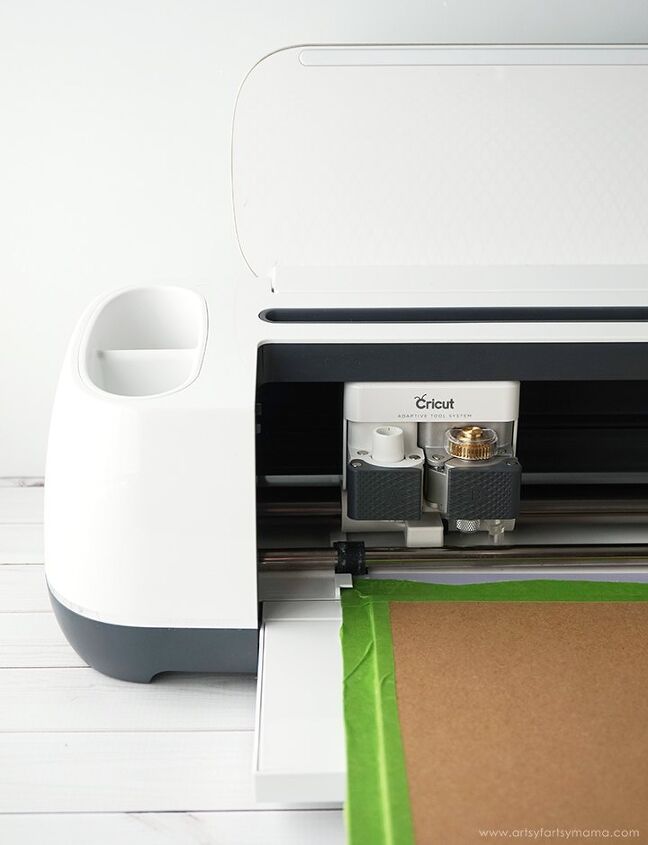
Before cutting, be sure to change the material setting to "Chipboard 2mm" or "Basswood". Install the Knife Blade into your machine by opening the Adaptive Tool System clamp B and place the blade inside, aligning the gears together. Close the clamp to secure the housing. Move the white star wheels on the roller bar all the way to the right, and then load the mat into the Maker.
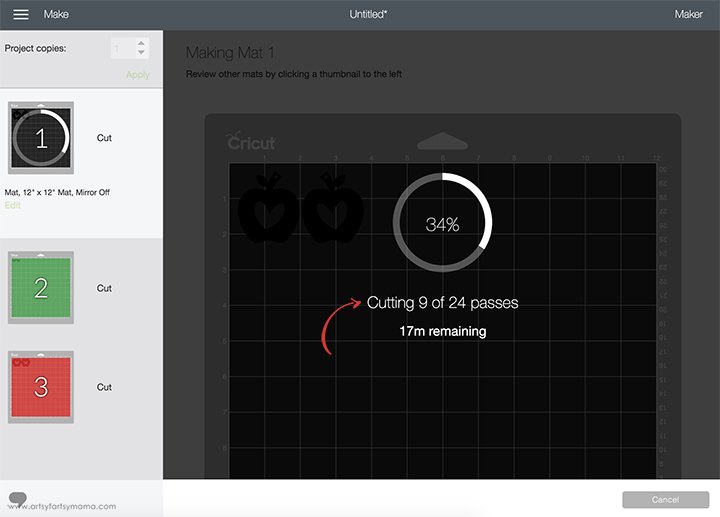
Because the material is thicker, there will be multiple cut passes. Make sure you have a strong bluetooth connection, or connect directly to your machine by cord if needed. Also make sure that your computer doesn't "sleep" during the cutting process. If you lose connection, you'll have to start over.
The machine defaults to at least 20 passes, but you can pause the cut (do NOT unload the mat) and check the chipboard to see if it has cut through before then. I noticed mine was finished cutting through at about 10-11 passes.
Once the material has been cut through, unload the mat and carefully remove the cut design. If for some reason you have unloaded the mat and the design isn't cut completely, you can use a TrueControl Knife and finish it by hand.
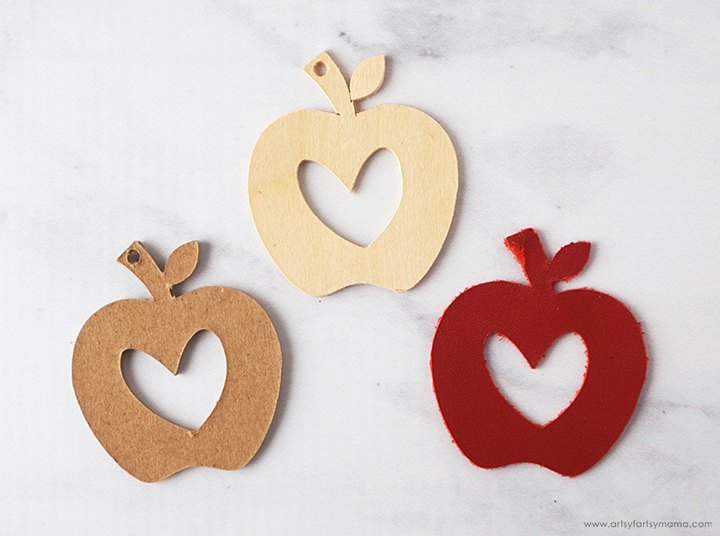
Here are all three materials cut out on the first try. There is always a learning curve when cutting new materials - but I'm here to help! I'm going to help you learn from my mistakes by sharing my best tips and tricks for successfully cutting these earrings out of these materials.
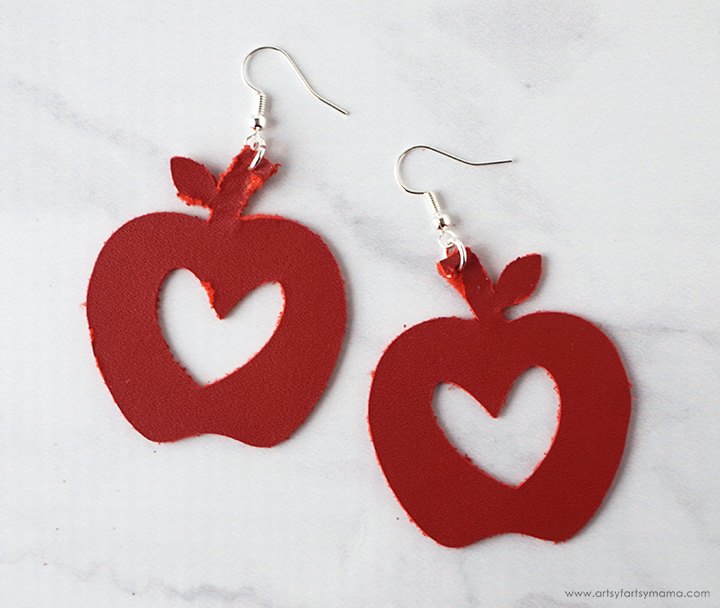
The leather earrings cuts are certainly not perfect (as you can see), so here's some helpful tips I learned from the process:
*Make sure that your Deep Point Blade is new, or at least super sharp! Mine was a bit dull, and that's why the edges are so rough.
*The leather also didn't cut all the way through in a couple of places, so some parts of the top layer tore away when I removed it from the mat.
*Place the leather face-down on the mat to get a cleaner cut!
*Press the leather down REALLY well, especially if it's an older mat. Use a brayer for easier and more even pressure.
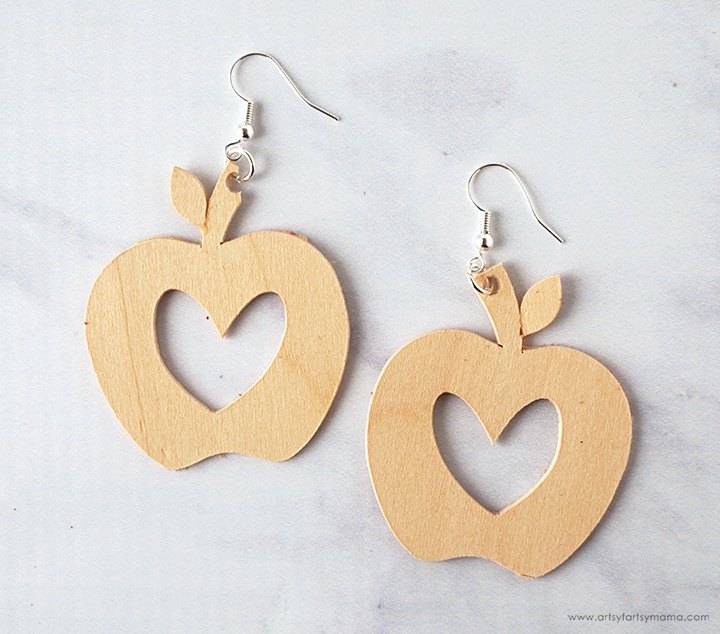
Basswood is a little bit denser than balsa wood, so it's perfect for earrings! Once it's cut out, you can leave the wood as-is or even add a stain on top to keep the wood grain. You could also add color to the earrings with a little acrylic paint, or use the Cricut to cut the other part of the earring design out of glitter cardstock or iron-on vinyl and place them on top of the wood.
*While the wood is denser than balsa, it is still a little fragile. I accidentally dropped the earring on the left a few minutes before taking these photos and the top part of the stem snapped off. The good news is that you can easily glue the pieces back together!
*Press the wood down REALLY well, especially if it's an older mat. Use a brayer for easier and more even pressure.
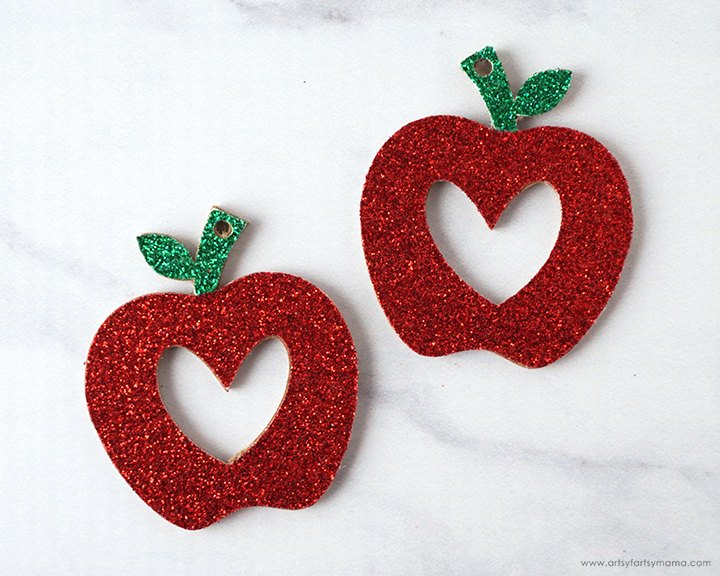
Out of the 3 materials, I think the chipboard was the most successful! After carefully removing the pieces from the mat, I attached the glitter cardstock pieces right on top using adhesive. To keep any edges from popping up, lay something down on top of the earrings (like a heavy book) until the glue has set.
If you would like to use vinyl, just stick the pieces on like a sticker and press it down well using a scraper tool. Another option is using iron-on vinyl (HTV)! Place the chipboard on an EasyPress Mat and carefully line the HTV on top of the earring (make sure the holes are aligned). Press the vinyl down with the EasyPress Mini. Each kind of HTV has a different heat and time setting, so be sure to check the recommended EasyPress settings before getting started.
Now all you need to do is add a jump ring to the hole in the top of the earring, and attach an earring hook to the jump ring to finish the project up!
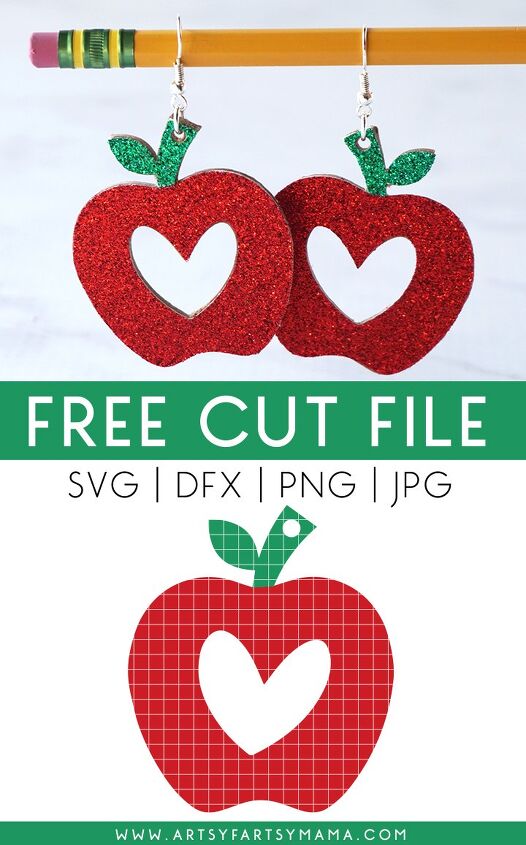
I hope you have a fun time making your own teacher/apple earrings! There are four different file types included in the download, so you should be able to cut it with any cutting machine.
Download Free Teacher/Apple Earring Cut File
Cut files are for personal use only
As promised, here are all 12 FREE Earring Cut Files that we have created to share with you!
The author may collect a small share of sales from the links on this page.


Comments
Join the conversation