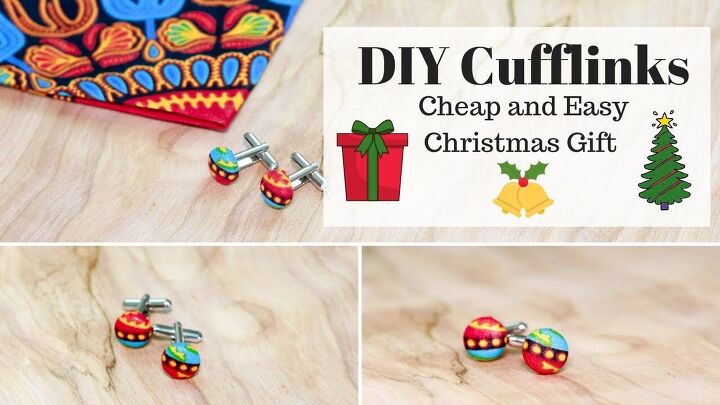
How to Make Fabric Cufflinks - Cute & Easy Gift Idea for the Holidays

Are you looking for the perfect Christmas gift for the man in your life? Here’s a really cool gift idea that doesn’t require much time yet is made with love!
I’m going to show you how to make fabric cufflinks for your dad, husband, brother, uncle, cousin, or even a friend!
This project is so easy, and it’s pretty affordable- perfect when you’re on a budget! Just wait for the results; you’ll instantly fall in love with these super cool DIY cufflinks!
Tools and materials:
- Scrap fabric
- Button covers
- Cufflink posts
- Jewelry glue
- Sandpaper
- Hair clips
- Paper
- Pen
- Toothpick
Note: To make these DIY cufflinks, I bought button covers from Amazon (size 20) and cufflink posts from Etsy. If this is your first time purchasing button covers, you’ll want to purchase a set with the kit.
1. Cut the pattern
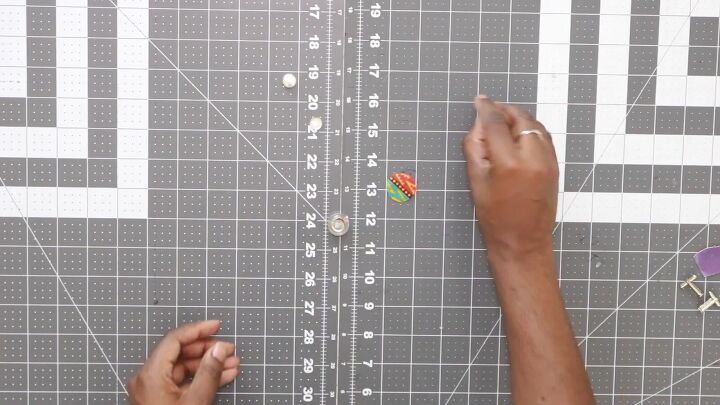
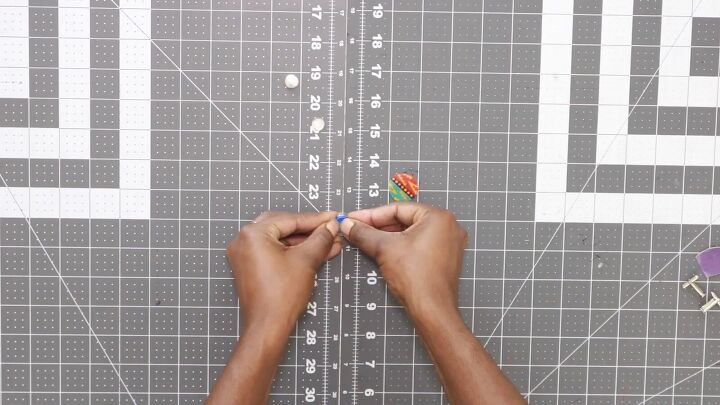
To make these cute button cufflinks, you’ll need to make a doughnut-like pattern on a piece of paper. The size depends on the size of the button covers you have.
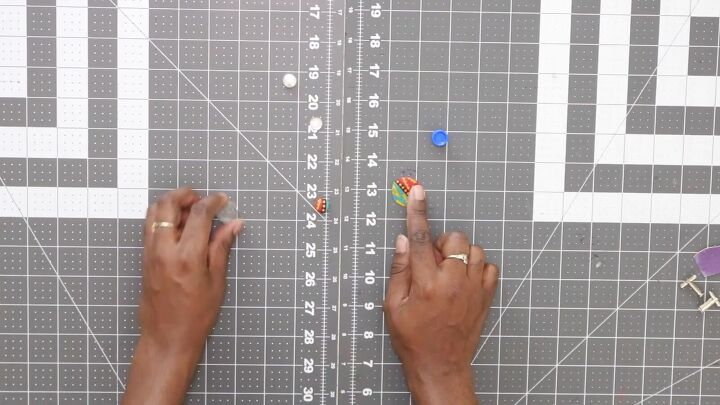
Then, place the pattern on your fabric and determine where you’d like your cufflink design to be (this will be the inner circle).
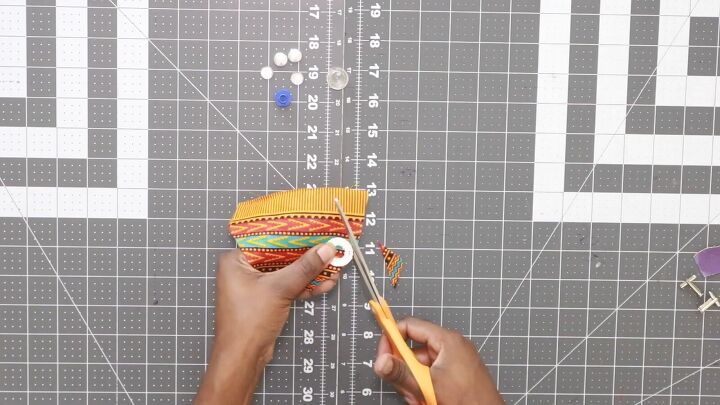
Then, cut out the pattern by following the outer circle’s rim.
2. Assemble the DIY cufflinks
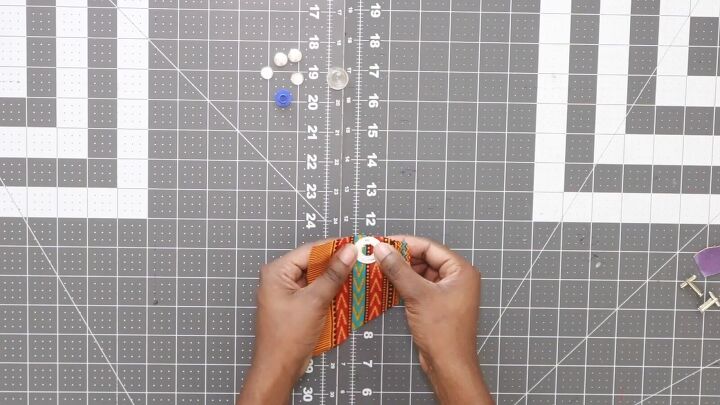
Next, place one of your button holders on the wrong side of your fabric. Make sure the holder is centered.

Push the fabric and holder inside the button maker, as shown.
Once it’s centered and even all around, push the edges of the fabric towards the center of the button holder.
Place the flatback on the inside.
Take your button tool and start pressing the flatback into the button.
Once you hear a “pop,” that means the button is secure, and you can take it out of the button maker.
3. Sand the cufflinks
This step is totally optional but really goes a long way. Sand the tip of the cufflinks with some sandpaper. This will help the glue adhere.
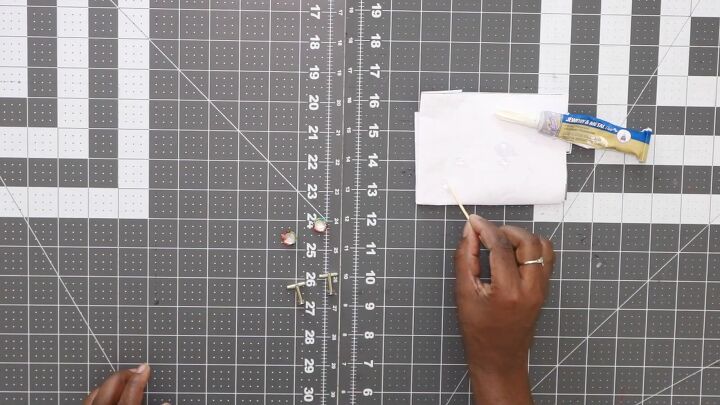
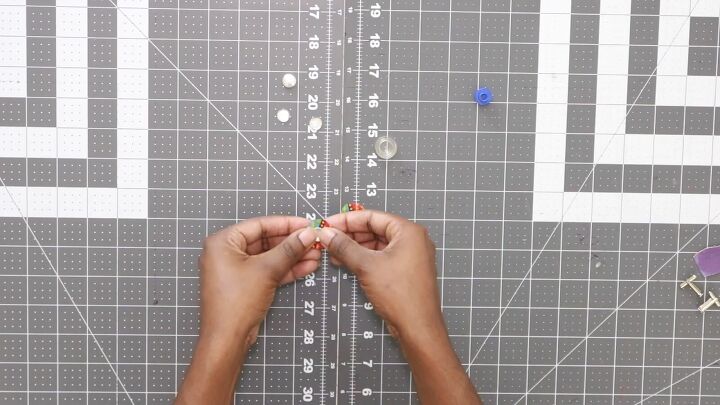
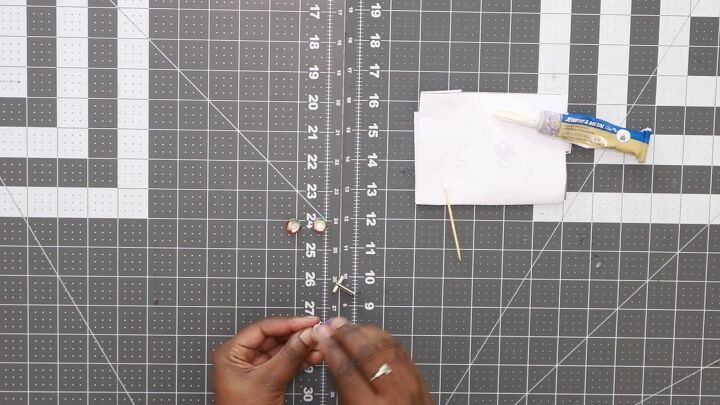
4. Start gluing
Now, squeeze some jewelry glue on a piece of paper and use a toothpick for easy application.
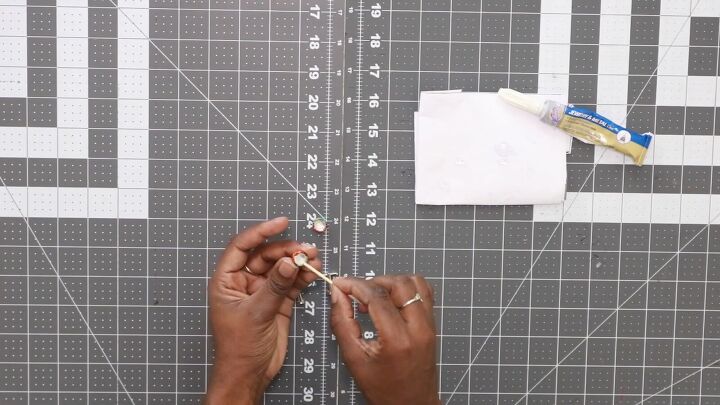
Apply glue to the flat part of the button. Also, apply this on the bottom part of the cufflink post.
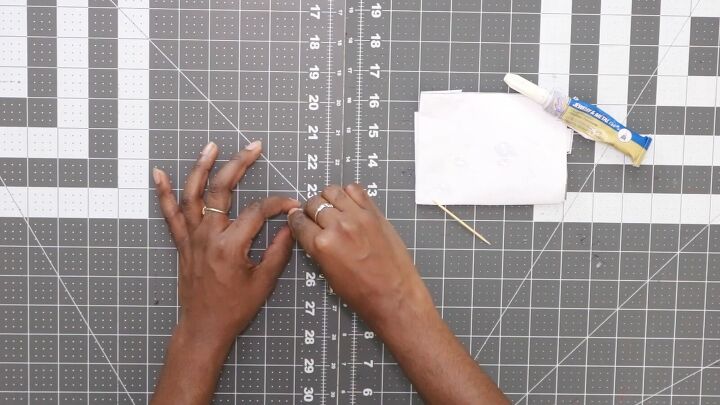
Then, position the cufflink post in the center of the button. Hold it down for a few minutes and press firmly to ensure it adheres well.
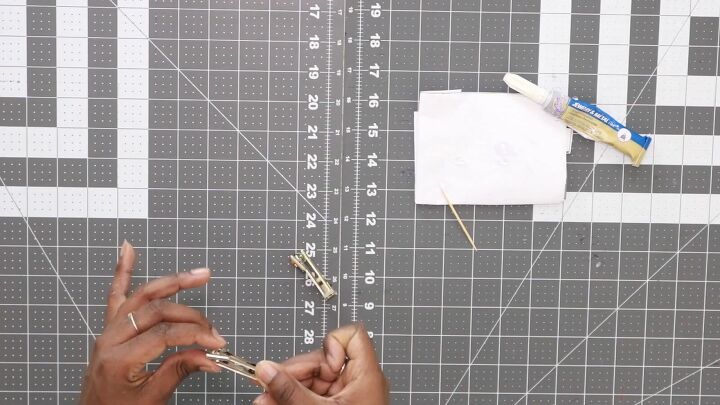
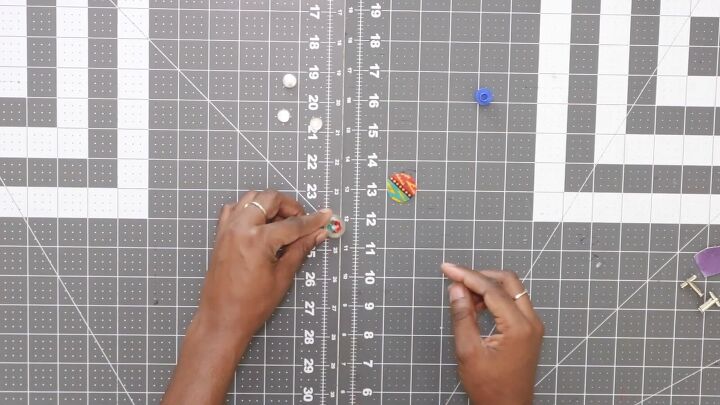
Slide a long hair clip over the cufflink to ensure the cufflink and button stay in place.
How to make fabric cufflinks tutorial
We’re done! These DIY cufflinks are easy, fun, and budget-friendly! It’s the perfect gift this Christmas! You can choose cheerful colors and patterns to spruce things up!
I hope you enjoyed my tutorial on how to make fabric cufflinks. Merry Christmas!
The author may collect a small share of sales from the links on this page.


Comments
Join the conversation