Learn How to Quickly Make an Adorable Multi Strand Beaded Necklace

What’s going on my fellow jewelers? Today, I’m showing you how to make a multi strand beaded necklace. For this simple DIY beaded necklace, I’m working with a gorgeous labradorite chain that has wire-wrapped beads. Let’s get started!
Tools and materials:
- Long nose pliers
- Round nose pliers
- Multi-strand necklace chain
- Head pin
- Beading wire
- Toggle clasp
- Jump rings
- Necklace bead
- Cutting tools
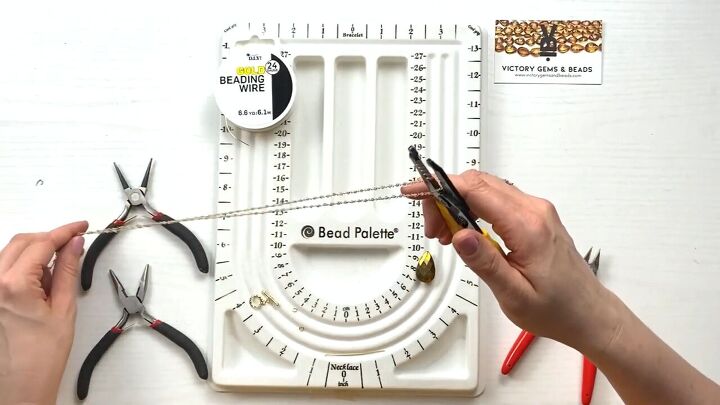
1. Cut your chain
So this is a double-chain necklace, but I’m going to get the chain up into four exact pieces. When you cut it, you want to make sure you cut the link off as well. Also, check that they’re equal after you’ve cut them. If they’re not, you may need to trim to make sure they are.
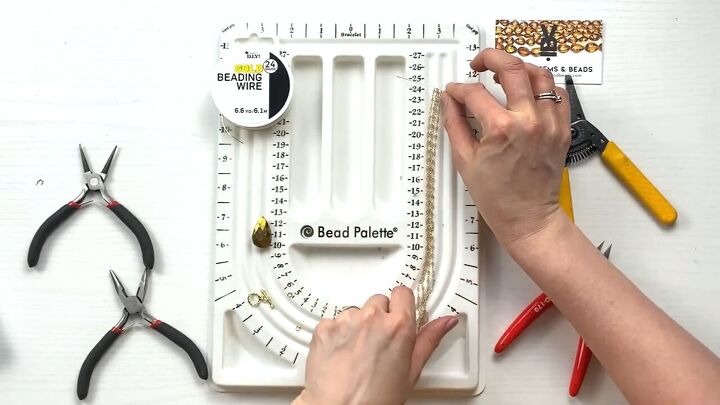
I like to put all four chains on a headpin, as it’s a great technique to measure them.
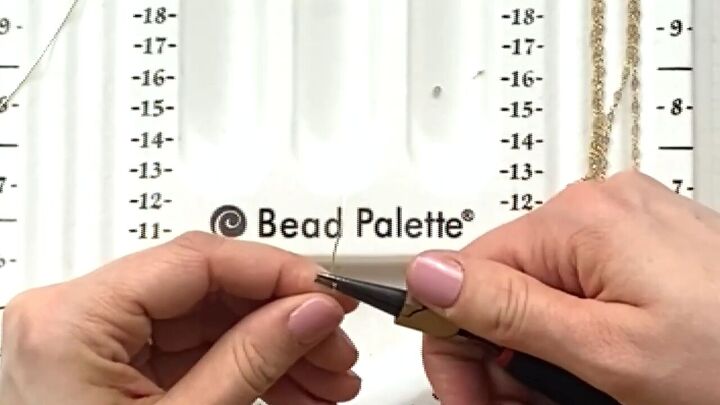
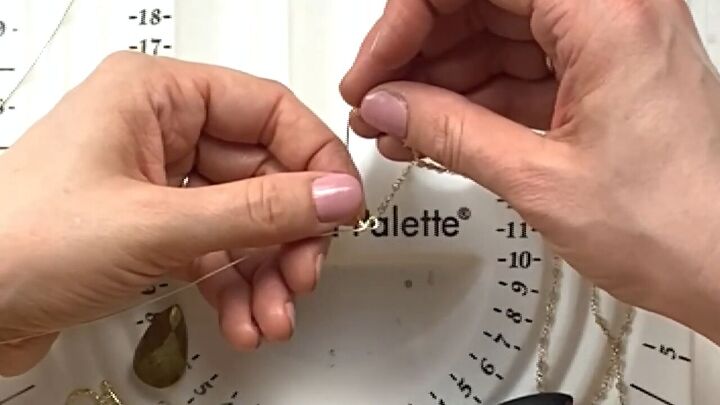
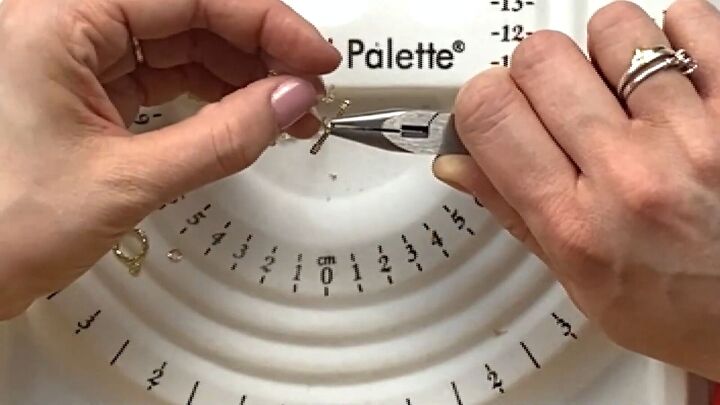
2. Create a loop
Now, I want to put a loop on both sides of this labradorite teardrop bead I have. To do this, I cut off some beading wire and bent the end at a 90-degree angle using my pliers. Then, bend it back in the other direction.
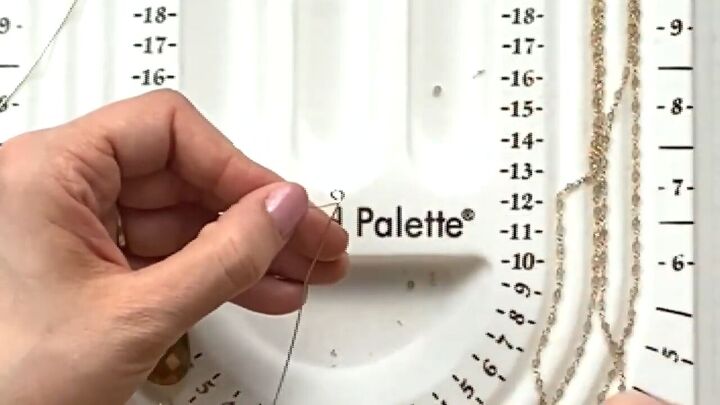
Finally, wrap it around the top of the pliers and make this loop.
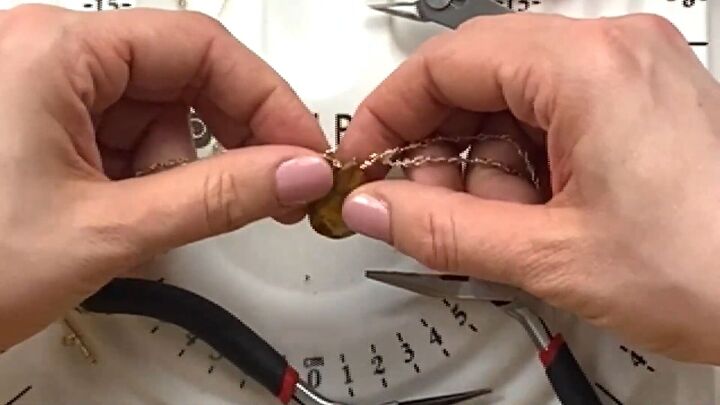
3. Attach the chains to loop
Then, I put two of my chains on the loop before wrapping it up.

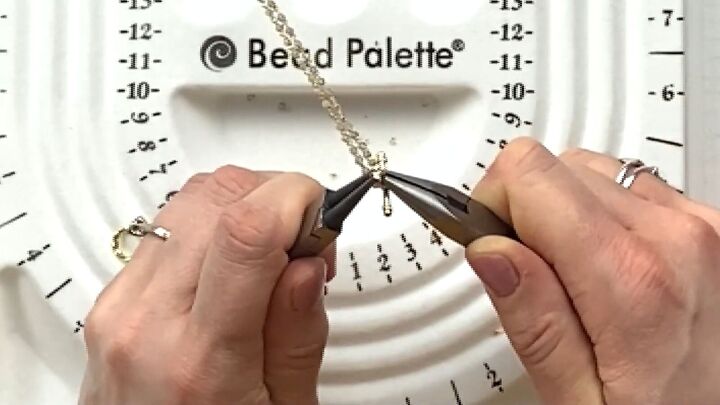
4. Wrap the wire
Grab the loop with your long nose pliers, then use your round nose pliers to wrap the wire around three times.
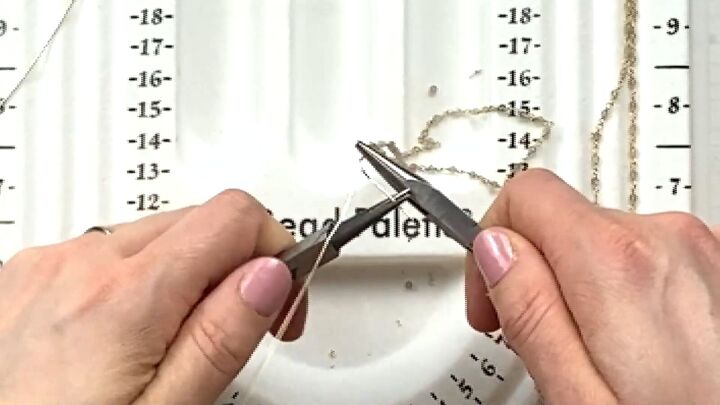
Make sure you have two wraps on both sides, then cut off the excess wire.

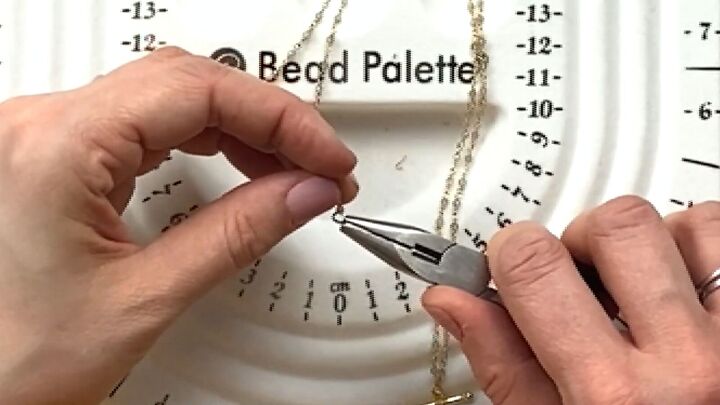
5. Create the second loop
Repeat the previous steps to create the second loop on the other side of the teardrop bead and attach the other two chains to it.
6. Bend your loops
The wire is very soft and flexible, so you can bend your loops so they’re pointing up instead of outwards.
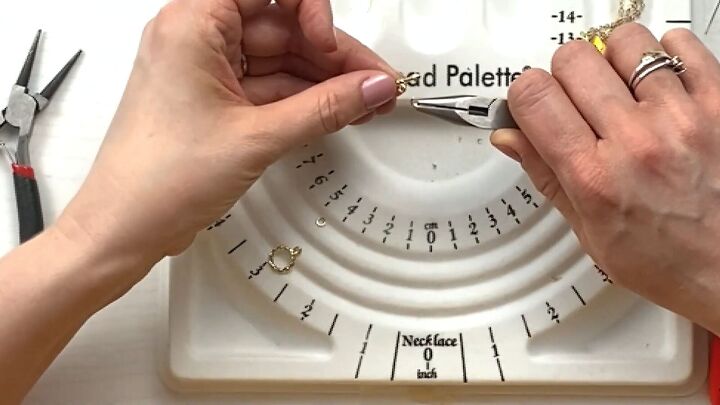
7. Attach a jump ring to the toggle
So for the clasp, I chose a toggle clasp because I thought it’d be really pretty and emphasize the necklace.
To attach it, we’re going to be using the smallest jump rings in the set. The reason I chose the smallest is that if the jump ring is too big, it’ll have a hard time going through the toggle.
So, choose the smallest and open the jump ring with your pliers and attach the toggle to it.
8. Attach the chains to the toggle clasp
Next, grab two of the chains and attach them to the toggle clasp. Make sure they’re not twisted over each other.
9. Close the jump ring
After the chains are attached, close up the jump rings.
10. Repeat
Repeat with the other side, attaching the remaining two chains to the toggle clasp and closing up the jump rings.

How to make a multi strand beaded necklace
We’re done! I love how easy it was and how beautiful and elegant it looks. I can pretty much wear this necklace with almost any outfit! Now you know how to make beaded necklaces, I’d love to hear your thoughts!
The author may collect a small share of sales from the links on this page.


Comments
Join the conversation