How to DIY a Super Cute Blue Crystal Wire Ring

Hey there, fellow jewelers!
I recently learned how to make this beautiful wire wrapped ring. The wire wrapping was a new technique for me, but now that I’ve tried it, I can show you how easy it is to make.
Follow along with this step-by-step tutorial to make your own blue crystal ring.
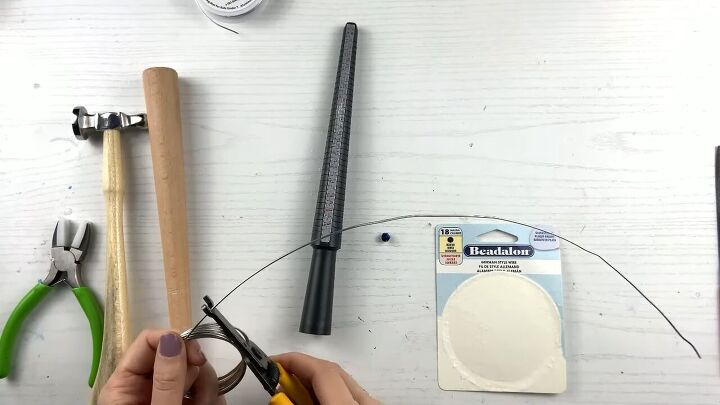
Tools and materials:
- Round nose pliers
- Electrician cutter tool
- Chasing hammer
- Ring mandrel
- Nylon pliers
- Jewelry file
- 1 Bead 10mm - 12mm
- 18 Gauge (medium temper)
1. Cut your wire
Using an electrician cutter tool, cut a 1-1.5’ piece of medium temper wire.
This seems like much longer of a piece than you’d need, but the wrapping uses up a lot of wire.
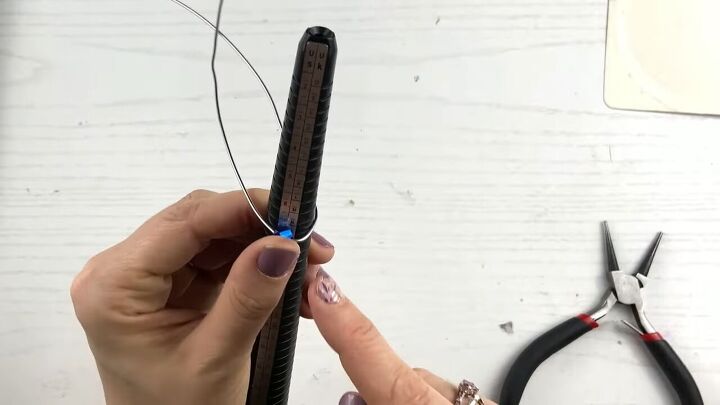
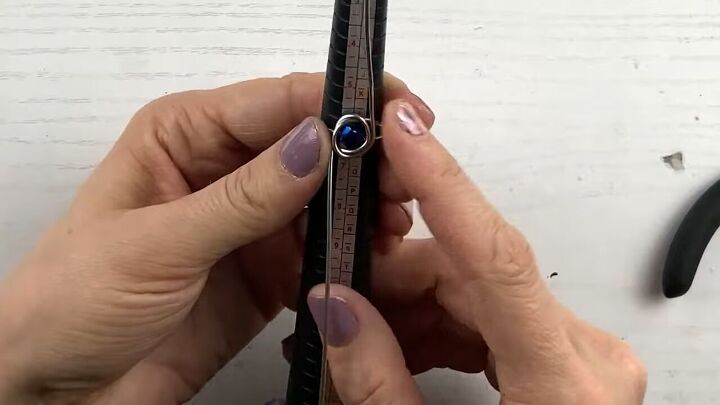
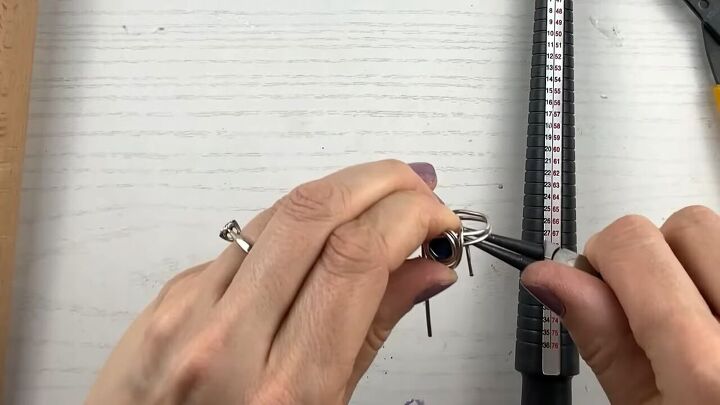
2. Add the blue bead
Next, put the blue bead in the center of the wire. Align the bead on your ring mandrel tool, at the size of the ring you plan to make.
For this ring, I’ll be making a size 7.
3. Wrap the wire
Now, wrap each end around the mandrel tool to either side, trying hard not to cross them.
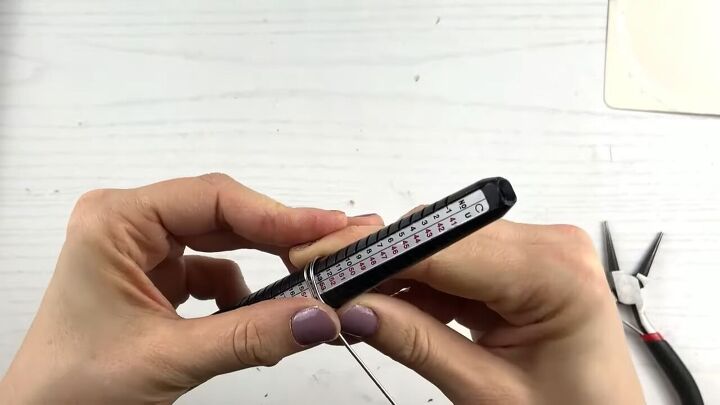
Then you bring the ends up, like this:
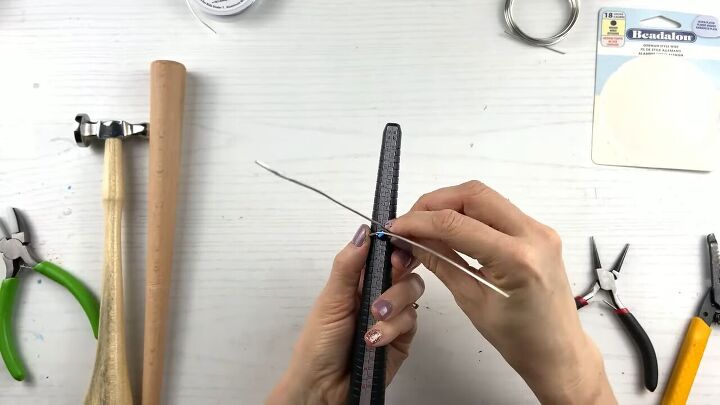
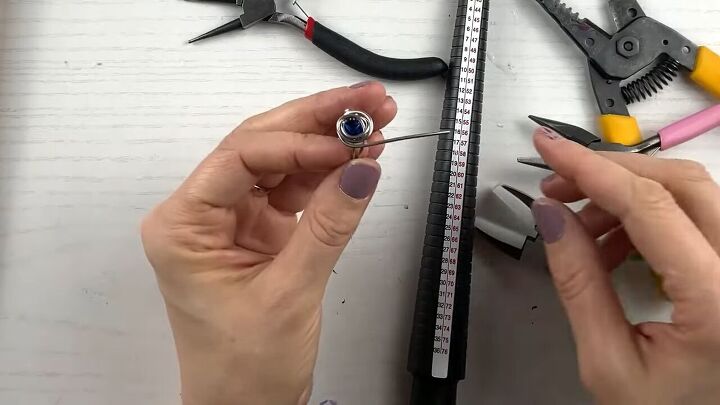
Leaving the ring on the mandrel, bring each end of the wire past the bead.
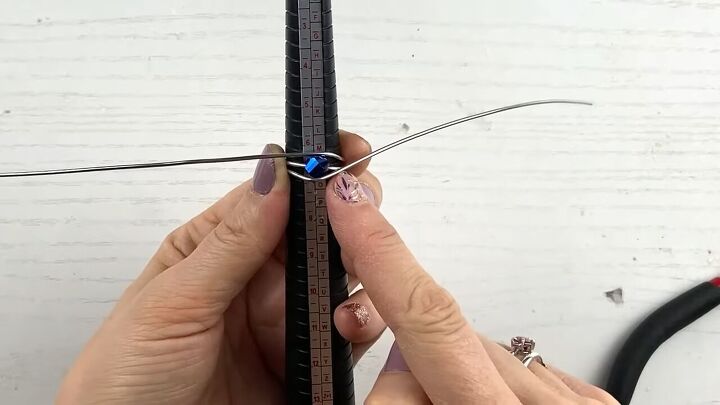
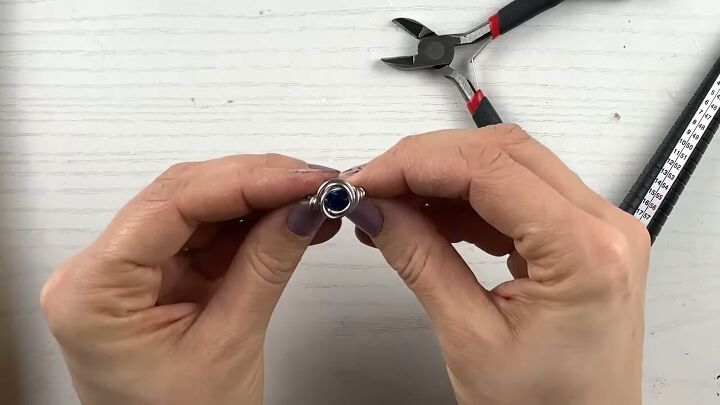
Twist the ends around the bead, as close to the bead as possible.
You’ll need to work with the wire since it’s relatively stiff. (If the wire isn’t stiff enough, the ring can fall apart easily.)

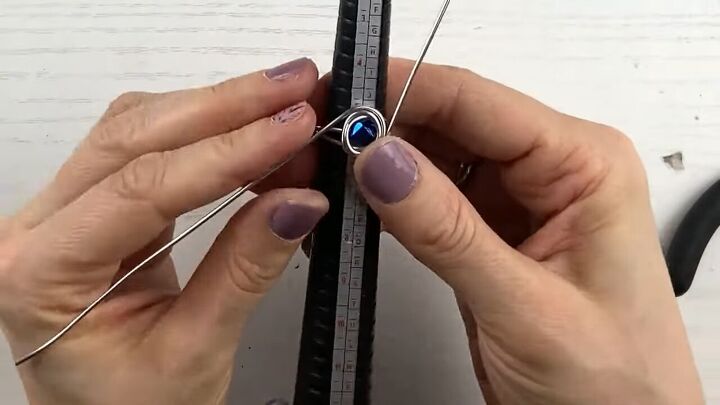
4. Continue to wrap the ends
You can wrap them as many times as you want to.
If you wrap around many times, it will resemble a bird’s nest, or keep it simple and only wrap the wires once.
Side note: Don’t worry if the ring shape is a bit “wonky”. We’re going to fix that at the end.
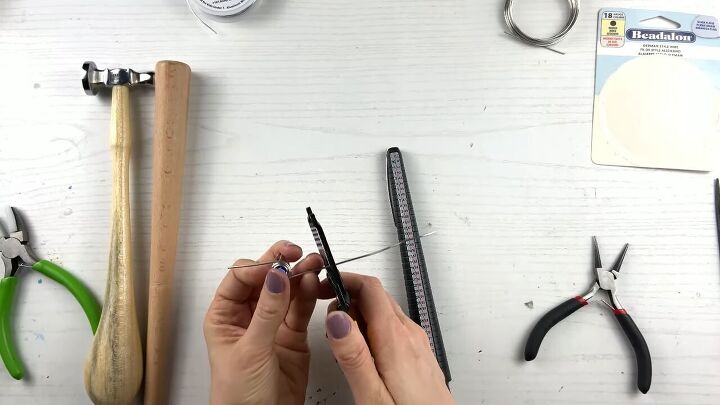
5. Consider the wire length
At this point, take note of the amount of wire left over. We will use it to wrap around the sides, but it looks like I have too much.
If you have a similar situation, trim the wire slightly.
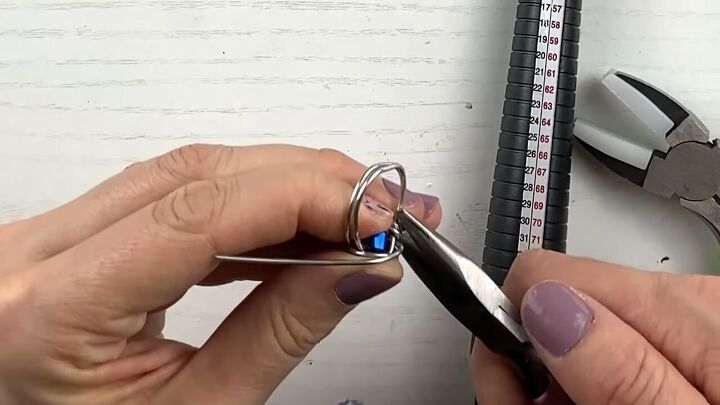
6. Wrap the wire on the sides
Hold down the face of the ring with your thumb so that the bead and the wrapped wire stay in place.
Then, using round nose pliers, pull one end of the wire past the ring and around the side.
Make sure the pliers are pulling at the middle or end of the wire to avoid denting the portion that you see on the outside of the ring.
See the video at 6:10 -7:40 to see exactly how this is done.
Continue wrapping the wire. You can use nylon pliers to help you squeeze the wire closer.
Make sure that you wrap the wire as tightly and flush to the ring as possible.
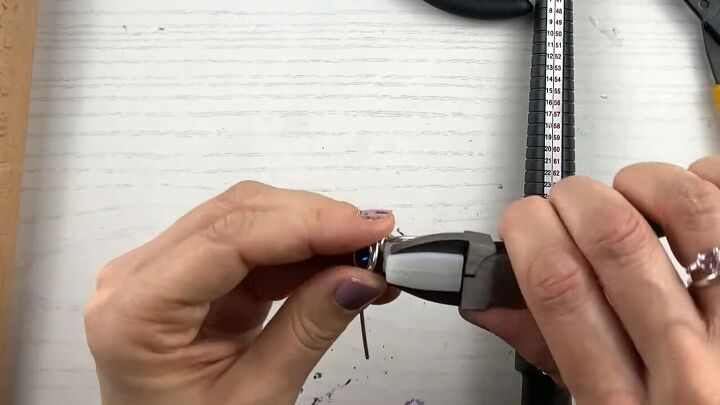
7. Finish off the end
Now, using simple pliers (smooth, without teeth), pinch the very end of the wire under, so that it’s not sticking out.
8. Repeat on the other side
Follow the same process to wrap the other end of the wire around the other side of the ring.
Now, your ring probably looks really pretty from the top but still has a funky shape on the bottom, leading us to our next step.
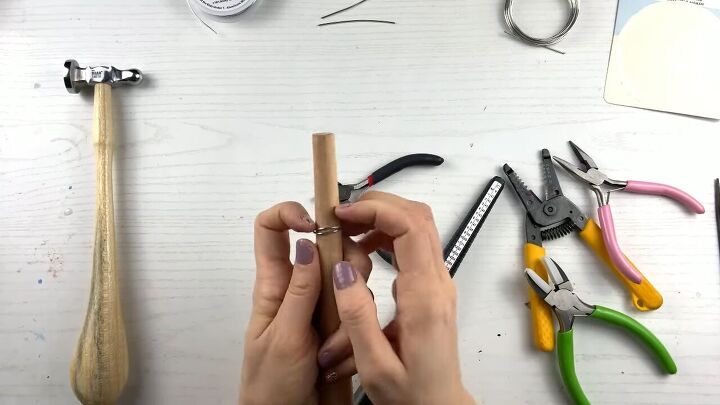
9. Hammer the ring
Slide your ring back on the mandrel.
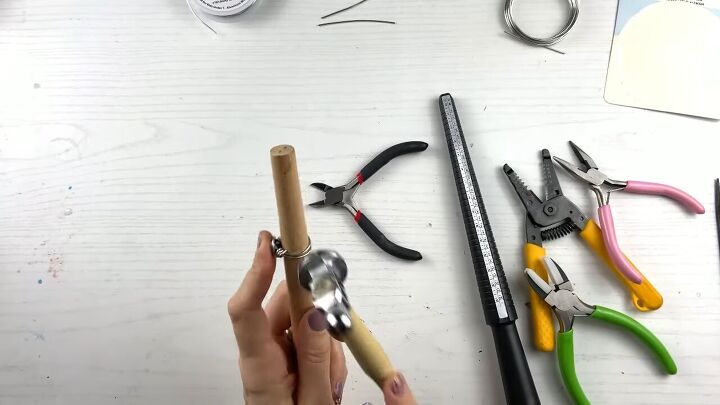
Here, I’ve switched to a simple, wooden mandrel, but use what you have. Push it down as far as you can.
Next, use your chasing hammer to flatten out the ring, make it stronger and even it out.
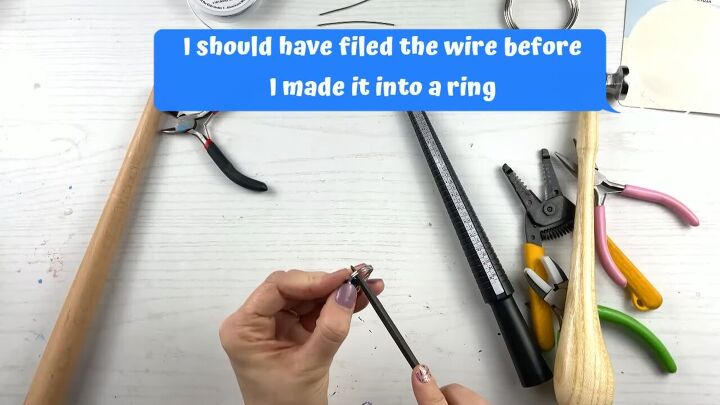
10. File rough edges
Now, your ring is stronger and more symmetrical. I even like the look of the hammer marks on the metal.
The ends of the wire are still a bit sharp, so use a metal jewelry file to soften those edges.
Squeeze the ends with the simple pliers if needed. Next time, I would file the ends before manipulating the wire into a ring.
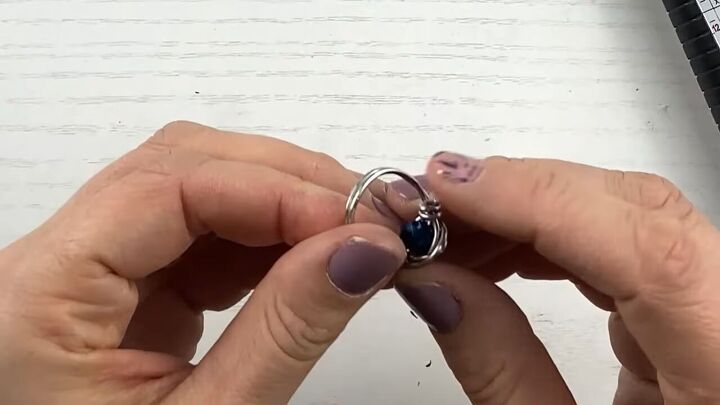
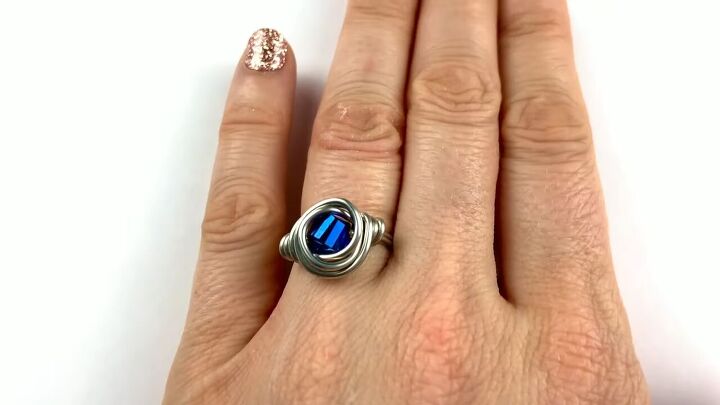
Here’s the finished blue wire wrap ring:
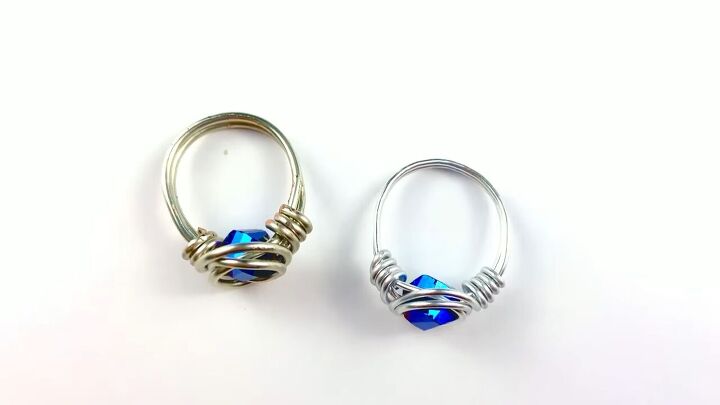
Here you can see a soft and a medium temper wire version next to each other.
It’s good to use the soft temper wire if you just want to practice getting the hang of this method.
DIY blue crystal ring
This blue crystal wrapped ring would make the perfect gift for a family member or a friend... or to keep for yourself!
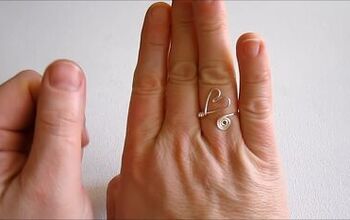
If you loved this wire wrap ring tutorial, leave a comment and learn How to Make a Super Cute Chain Bracelet too!
The author may collect a small share of sales from the links on this page.


Comments
Join the conversation
Hi Dess...
I have been wanting to try wire-wrapping for awhile but have been a bit intimidated because I wasn't sure of the process. Thank you for posting this...you took some of the 'mystery' out of it for me and have encouraged me to give it a shot.
Have a great day!! : )
I my give it a try myself I make necklaces for my grandkids and friends,their is site on Amazon I believe that you can buy the real beads and all the wire leather you need but I for got the company name. The beads are the real kind not the little glass beads that I have right know,that was a good looking ring