Learn Hot Epoxy Resin Tips & Tricks in This Sailboat Pendent Tutorial

Today, I’m going to be showing you some epoxy resin tips and tricks. We are going to be mixing the world of UV resin with epoxy resin.
My mind was blown when I found out you could put both into a jewelry piece.
Here, we’re going to be creating a stormy wave and adding a little sailboat pendant. Let’s go!
Tools and materials:
- Round nose pliers
- Long nose pliers
- Epoxy resin 1:1 ratio
- UV resin
- UV resin light
- Pendant mold
- Mica powder
- White acrylic paint
- Sailboat pendant
- Black leather necklace
- Popsicle stick
- Bowls
- Paintbrush
- Rubbing alcohol
- Toothpick
1. Make the UV resin
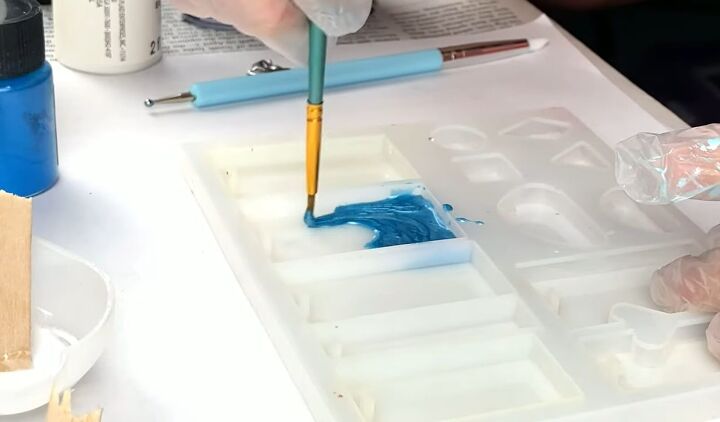
In one bowl, add some blue coloring (in the form of mica powder), and in another bowl, add some white acrylic paint (which we are going to use for the tops of the waves).
Then, apply UV resin to each bowl.
When you squeeze the bottle of resin, it will first blow out all of the air, and if you point it straight on top of the coloring, the mica powder will go everywhere.
So, you want to point the bottle to the side when you first squeeze it. Proceed to mix each bowl of coloring separately. Mix gently and slowly, as you don’t want too much air in there.
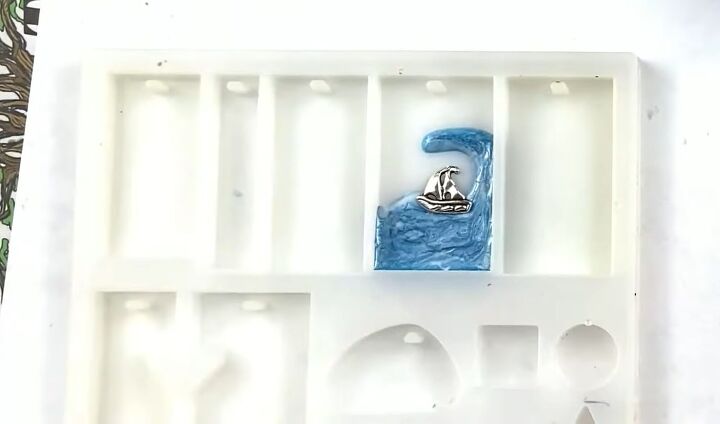
2. Make the wave
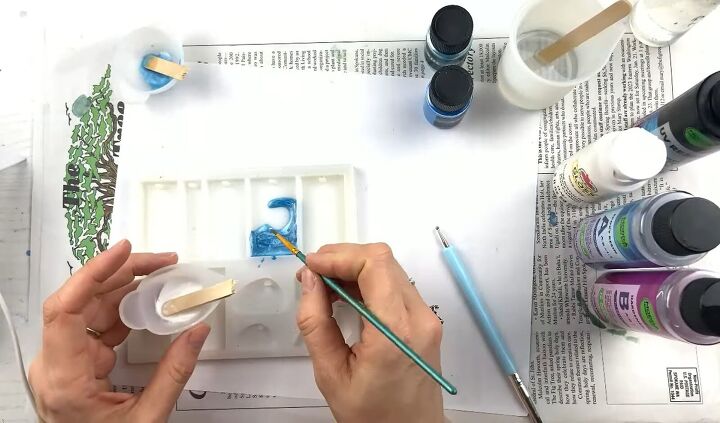
To make the wave, grab your mold and a paintbrush. Then, using your popsicle stick, place some of the blue resin at the bottom of the mold.
Now take your paintbrush and use it to paint some waves. I am painting a great big wave, making it look like there is a storm.
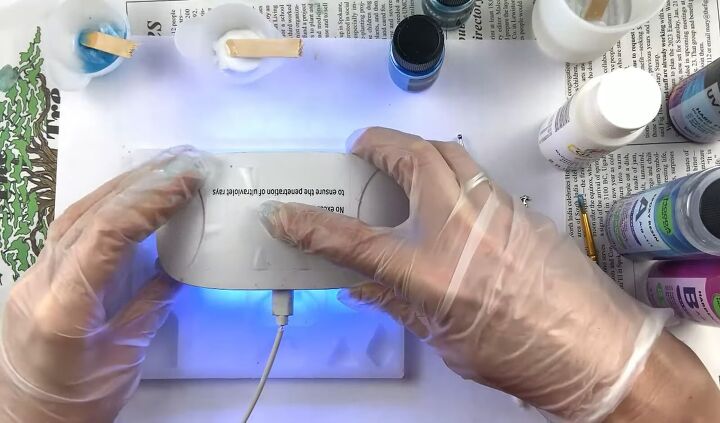
3. Dry the resin
Dry the resin with your UV light on both sides - two minutes on each. This has to be fully dry before we put the epoxy on.
Some people wonder whether resin and epoxy are the same. The answer is they are not. The nice thing about UV resin is that you put it where you want it, and then you hurry up and dry it so that it stays exactly where you want it.
With epoxy, you can't do that, it has to wait 24 hours to dry, and if you have coloring to it or you do other things, it may not dry the way you want or may come out even better than you think.
Make sure the resin is completely dry from the UV light, though as it won't dry overnight.
4. Add white detail to the waves
Add white detail to the tips of the waves. Then proceed to dry the white resin.
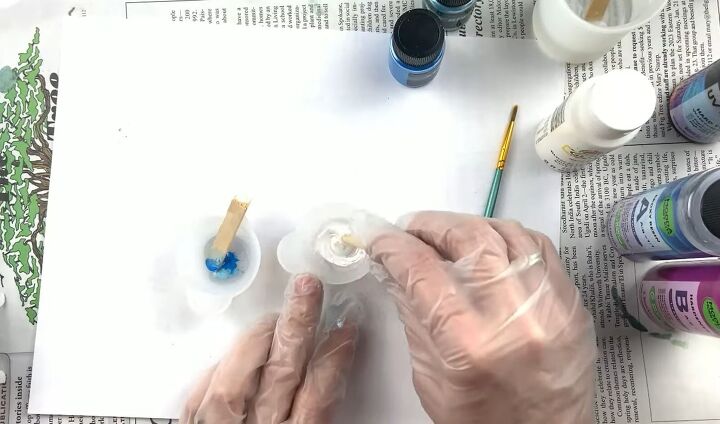
Once everything is dry, scrape off any little bits that went on the side of the mold.
5. Place the pendant on
Put the sailboat pendant on top of the wave.
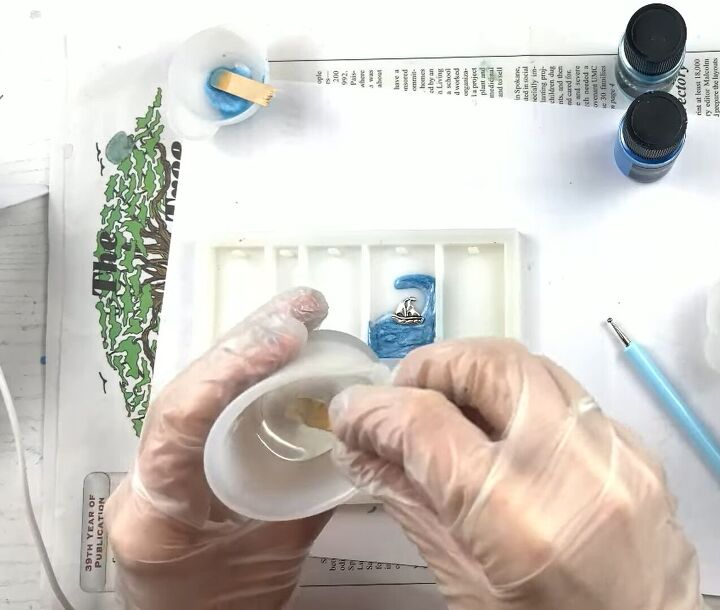
6. Mix the epoxy
Mix your epoxy resin together for 3-5 minutes.
Then, let it rest to eliminate bubbles. (I used a 1:1 ratio epoxy but read your instructions to know the ratio).
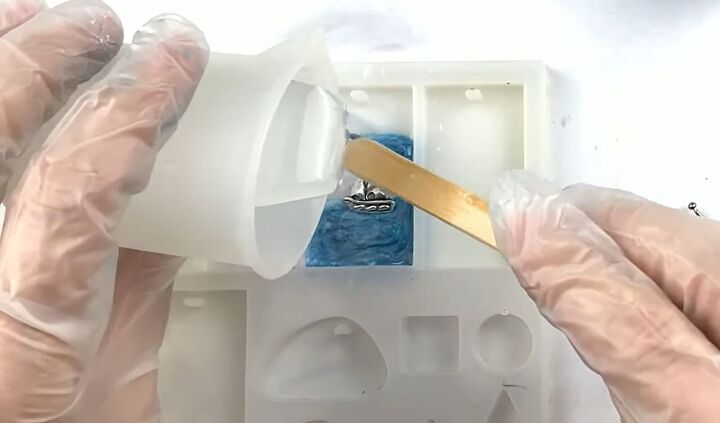
7. Pour the epoxy into the mold
Spray the mold with rubbing alcohol. This helps to get rid of all the bubbles in the epoxy so that it is bubble free. Then pour in the epoxy.
The epoxy is going to act like glass and be what covers our design. You can add color to your epoxy if you want, but I’m going to leave mine clear.
Fill it all the way to the top. If bubbles start to come to the top, take a toothpick and pop them.
Now leave the mold for 24 hours to let the epoxy set.
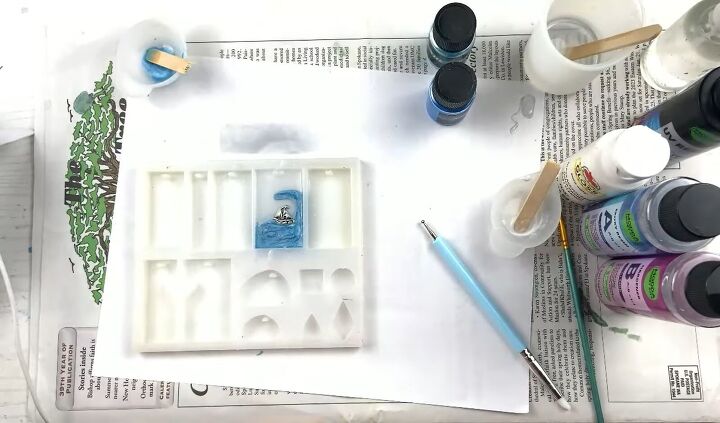
8. Leave for 24 hours
24 hours later, unmold the pendant.
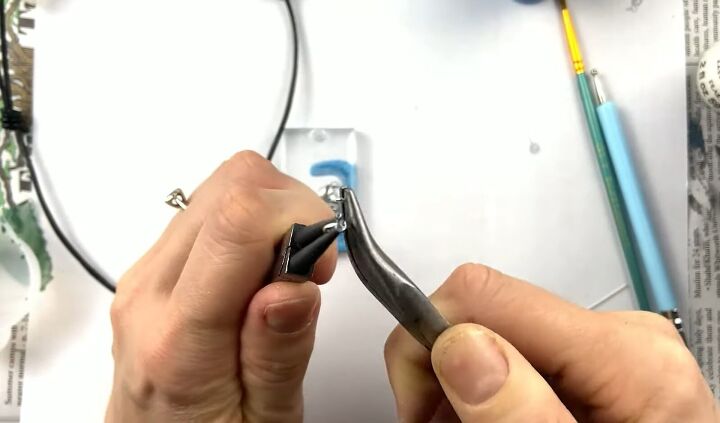
9. Turn it into a necklace
Open up a jump ring using your pliers and put it through the hole.
Then put the jump ring through your necklace, close up the jump ring, and you’re done!
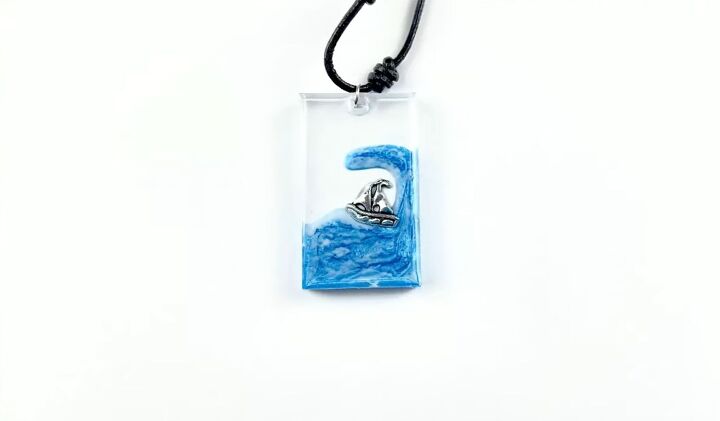
Epoxy resin jewelry
There you have this gorgeous pendant that you made with UV resin and epoxy. I love the bright blue color and the little sailboat pendant sitting beneath an oncoming wave.
If you’ve never worked with these materials before, I hope this tutorial has inspired you to have a go at using them.
Let me know your thoughts on this DIY by commenting below.
For another resin jewelry DIY, check out How to DIY a Cute Resin Bracelet.
The author may collect a small share of sales from the links on this page.


Comments
Join the conversation