Easy No-eyeshadow Makeup Tutorial

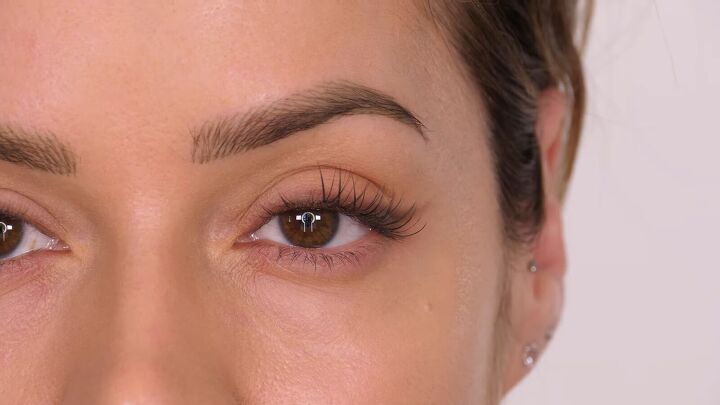
Today, I have a beautiful, no-eyeshadow makeup look that’s perfect for spring.
It’s effortless to achieve so just follow along with my step-by-step tutorial.
Tools and materials:
- Primer
- Foundation
- Assorted makeup brushes
- Concealer
- Handheld mirror
- Eyebrow pen
- False lash kits
- Tweezers
- Mascara
- Lipstick
- Blush
- Beauty blender
- Finishing powder
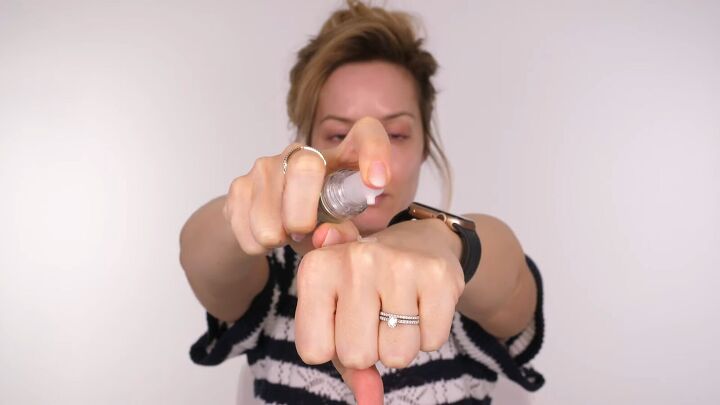
1. Prime your skin
Start by applying a few pumps of primer to your clean face.
This is still a light makeup look, but we want it to last. Use a good quality primer to keep those light layers on your skin.
2. Apply foundation
To even out the look of your skin, apply a foundation that compliments your tone.
You can apply dots of 2 similar shades if you’re trying to reach the right transitional shade after the winter.
Then blend with a makeup brush.
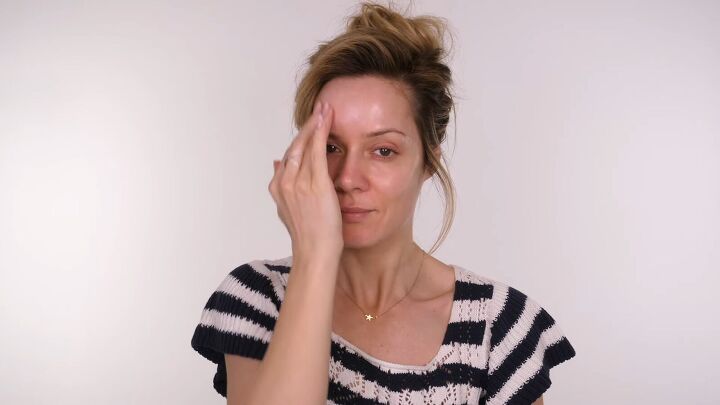
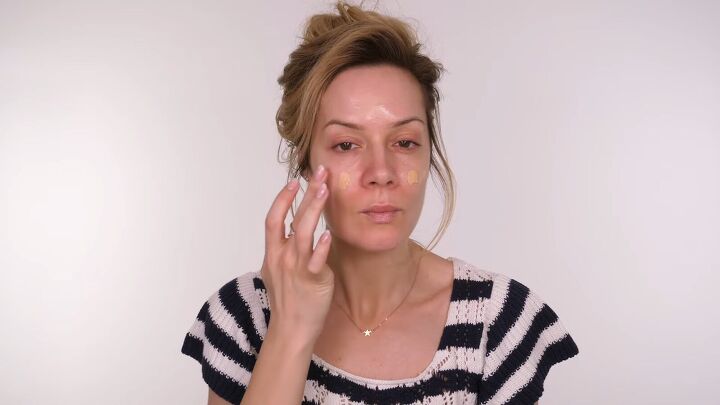
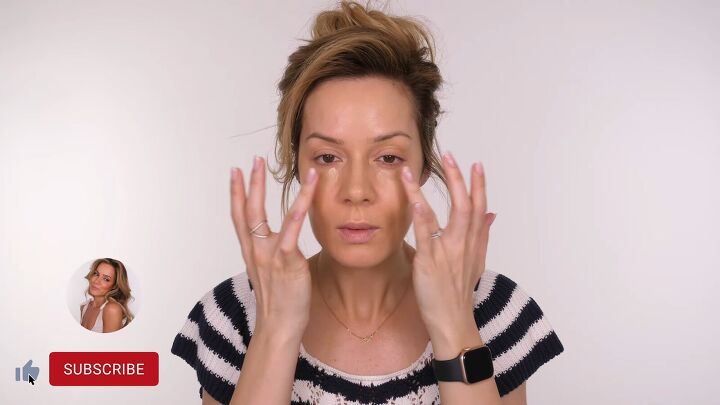
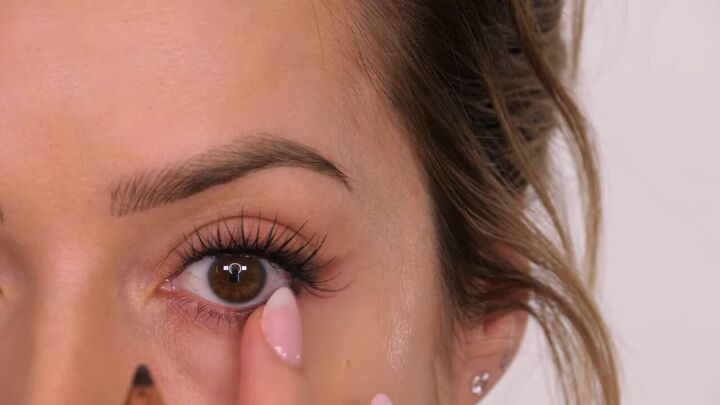
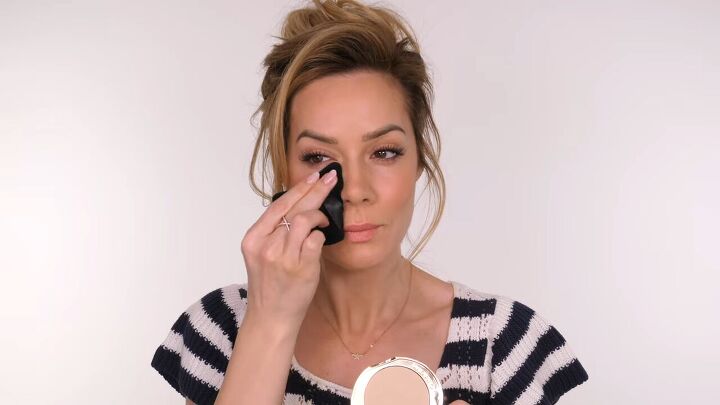
3. Apply concealer
Use your fingertips to apply concealer under your eyes.
This is to address fine lines, wrinkles and discoloration.
If you have dark discoloration, you might want to apply a color corrector first.
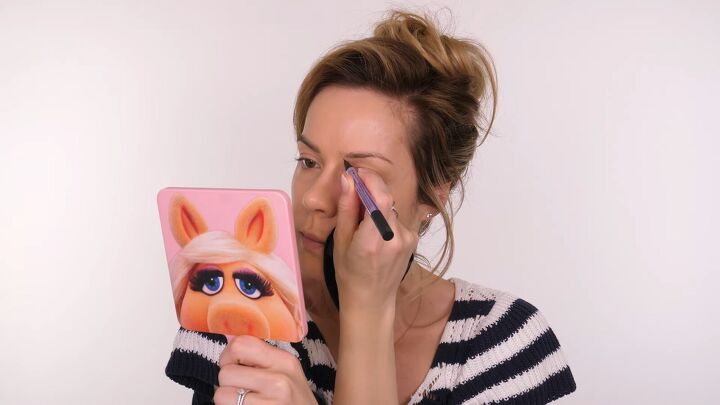
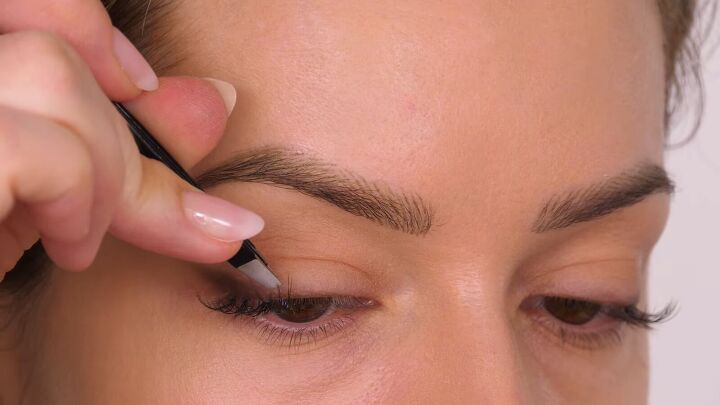
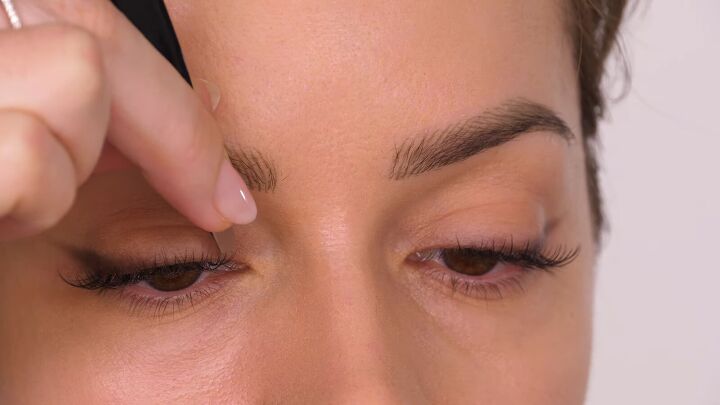
4. Perfect your brows
Use an eyebrow pen to fill in any gaps in your brows.
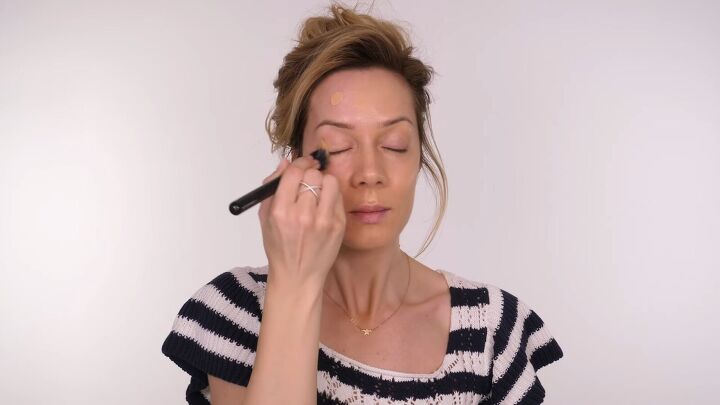
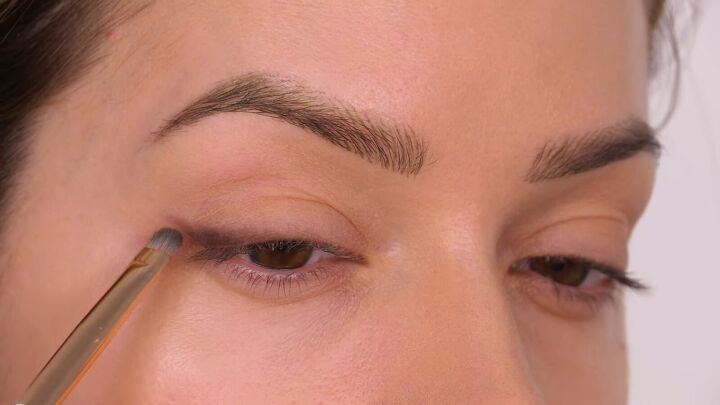
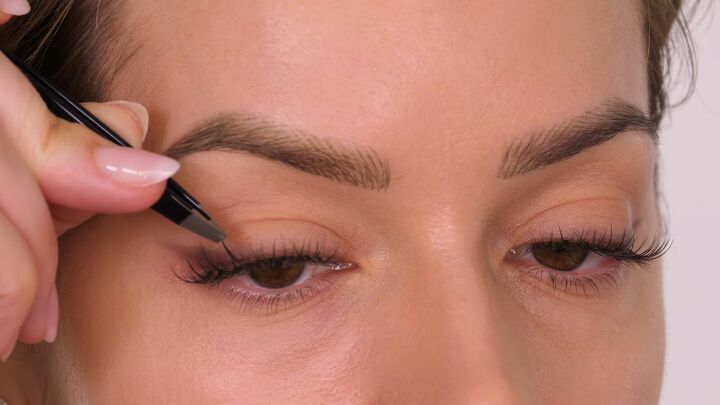
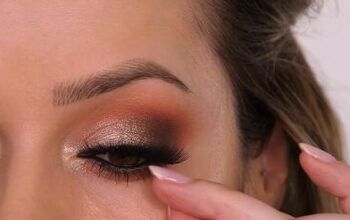
5. Apply eyeliner
Start by lining the outer third of your mobile eyelids, close to the roots, with a pencil.
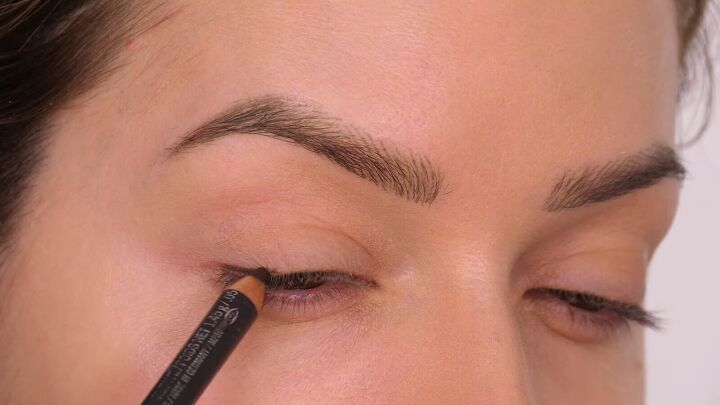
Then, blend that out with a tiny blending brush.
See the video at 2:40 -3:15 for tips if you have hooded eyes.
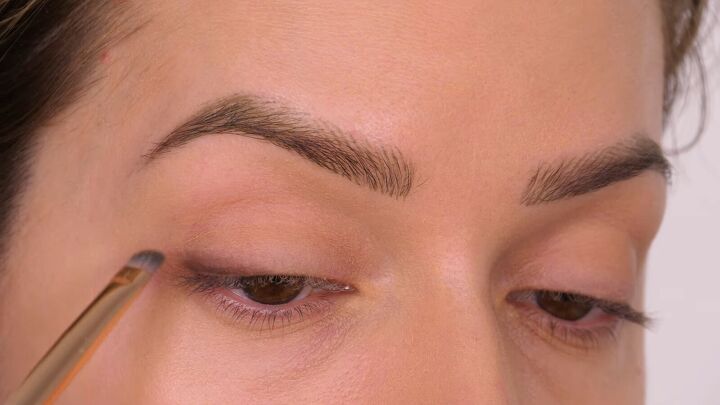
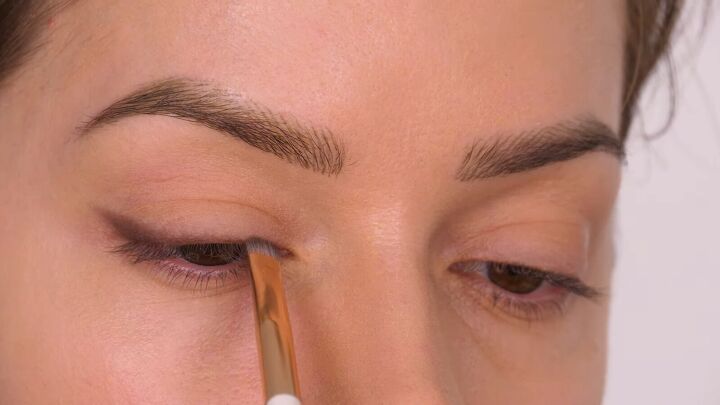
Then add a subtle wing to give the appearance of lifting the eyes.
Work the eyeliner along the root of the lashes, making it thinner toward the inner corner of the eye.
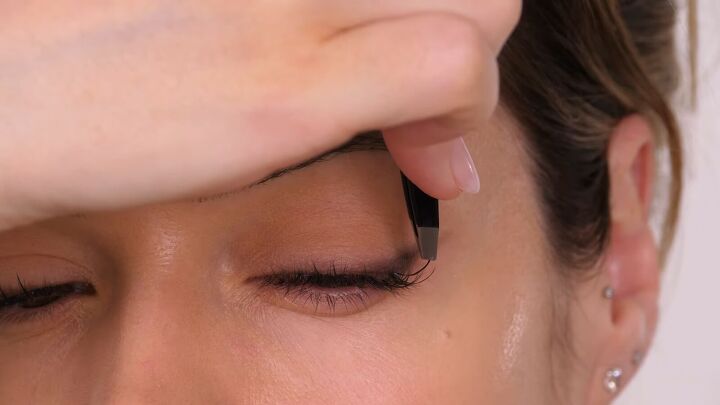
6. Apply various sizes of false lashes
Place 2-3 12mm lashes on the outer edges of your eyes.
Follow this with 3-4 14mm lashes to give the appearance of a wider center and prevent the eye from drooping.
In any case, do what works best for your eye shape.
Allow for a little bit of space between each bunch at the roots, but the V shapes should cross at the top.
Add 1-2 10mm lashes to each eye as you work your way toward the inner corners.

Now add 1-2 8mm eyelashes in the remaining space by the corners of your eyes.
Finally, add individual 12mm spikes in the gaps between those fishtail V shapes. This gives a variation in texture.
I used the 12mm spikes across the entire eye, but you can certainly go with smaller spikes as you near the inner corners.
This takes some practice so use your tweezers and don’t be afraid to replace them if they get tangled.
Look down into the mirror when applying the spikes and then check that they are spaced evenly along the lash line.
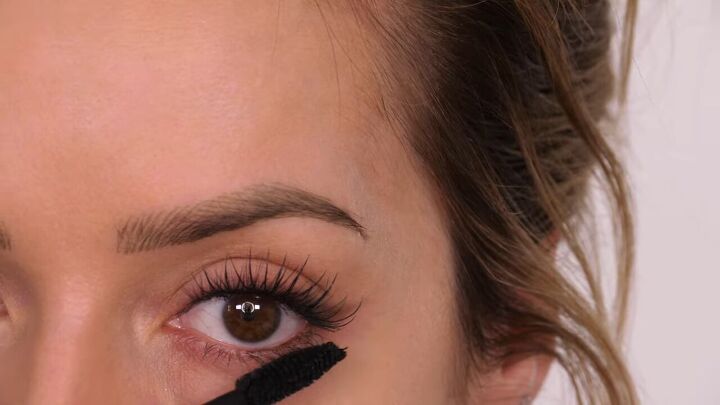
7. Apply mascara
Now apply mascara to coat your natural lashes.
A small gap between the natural and the false lashes is okay because mascara will seal the gap.
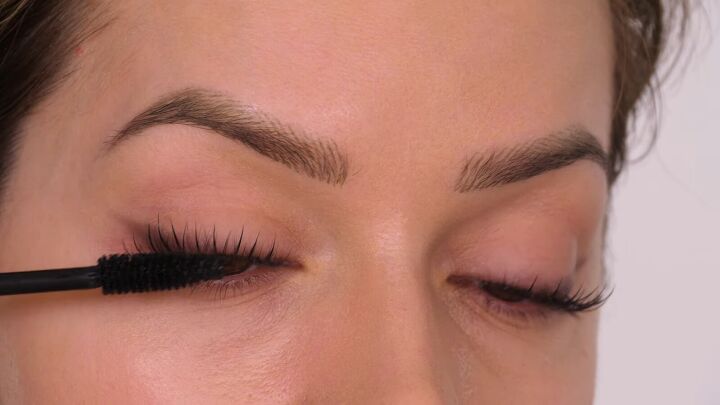
Here’s the difference: On my right eye (left side) with mascara, the lashes look rooted.
On the other side, without mascara, you can see through the gap.
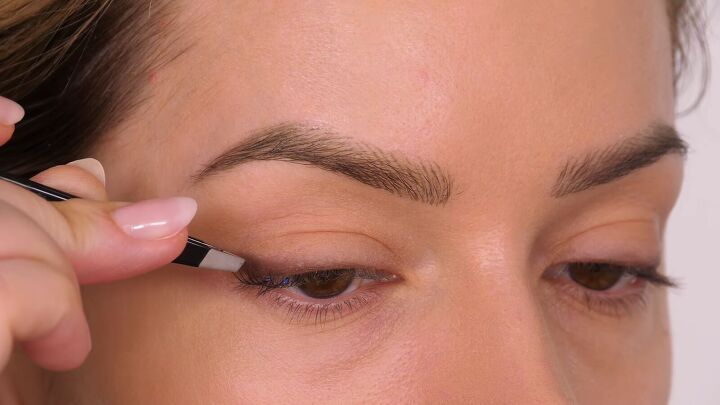
8. Line your lower eyelids and apply mascara
Use the same brow pencil to line your waterlines, only until the halfway point.
Drag the pencil slightly to pull it off the edge and onto the root of your lower lashes.
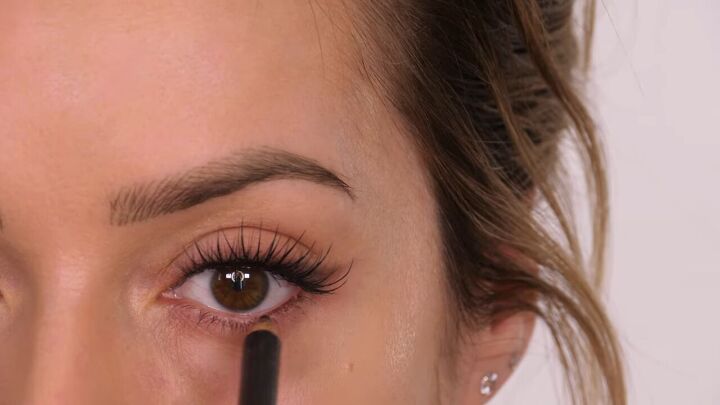
Then smudge with your finger for a softer finish.
Then apply some mascara to your lower lashes.
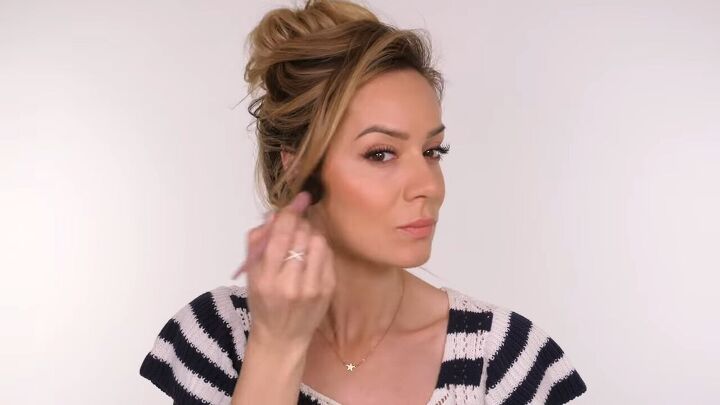
9. Apply bronzer
Next, apply bronzer around the hairline and through the hollows of the cheeks but slightly higher.
The goal is to softly warm the skin for spring as opposed to doing full contour.

10. Apply lip color
Apply a soft coral shade of lipstick.

11. Apply blush
Next, apply blush as usual.
Then use a beauty blender for a seamless finish.
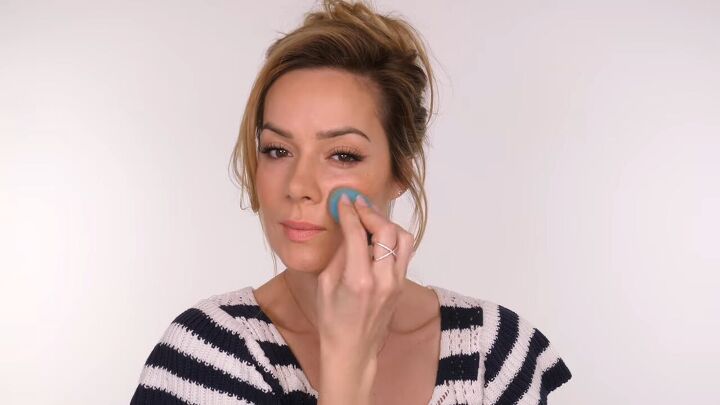
Finally, apply finishing powder to your skin.
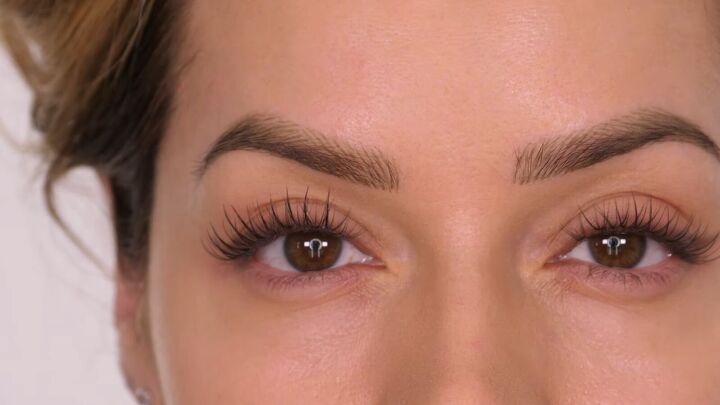
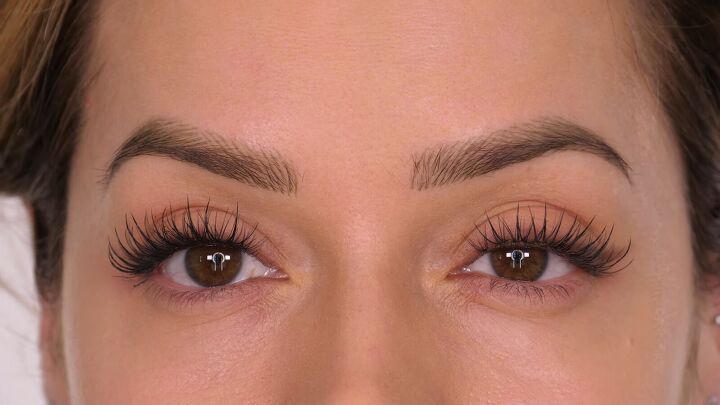
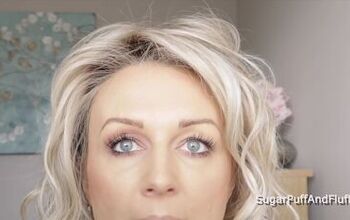
Here’s the final look:
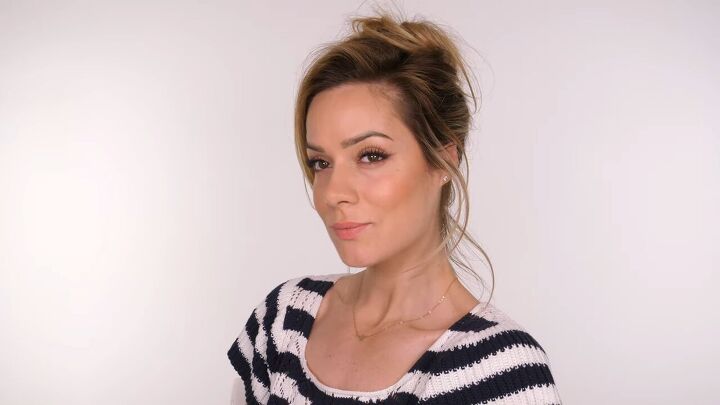
No-eyeshadow makeup
This no-eyeshadow makeup is light for spring. It’s easy to achieve and I encourage you to try out the lashes because once you get the hang of it, they really give a beautiful finish!
Do you like this look? Comment down below.
For more content, check out my 5 minute, no foundation makeup tutorial.
The author may collect a small share of sales from the links on this page.


Comments
Join the conversation
I am loving this look too, but I'm just trying to get use to getting my lashes off? The salutations have a bit of oils in them in return annoy my eyes and contacts, do you have any ideas on removing them? Also can you please give me some advice on how long do you wear yours or do you like me remove them daily? 💞