How to Make a Cute DIY Triangle Bralette Out of Old Track Pants

In today’s tutorial, I’m going to be making a DIY triangle bralette to complete a 2-piece skirt set. This bralette was made from old track pants. It's both sporty and stylish and is super easy to make. If you want to know how to sew a bralette, keep reading!
Tools and materials:
- Old pants
- Measuring tape
- Scissors
- Fabric chalk
- Pins
- Sewing machine
- Elastic
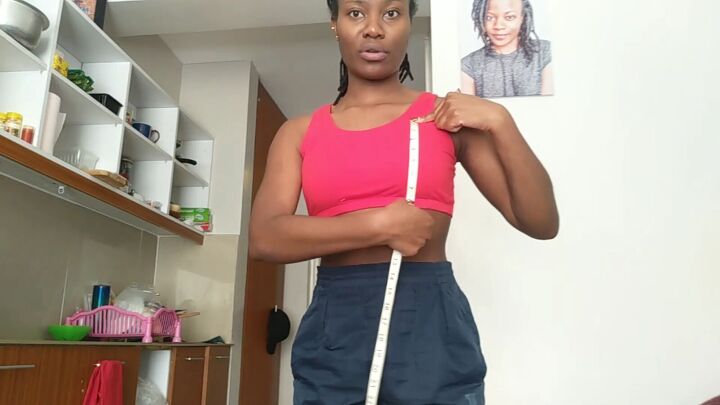
1. Take measurements
First, we need to take measurements. The first measurement is the height of your bust, so measure from the top of your bust to just beneath it. Mine comes out to around eight inches. This measurement will be the two sides of our triangle.

The second measurement is the width. Mine came out to around seven inches. This measurement will be the base of our triangle.
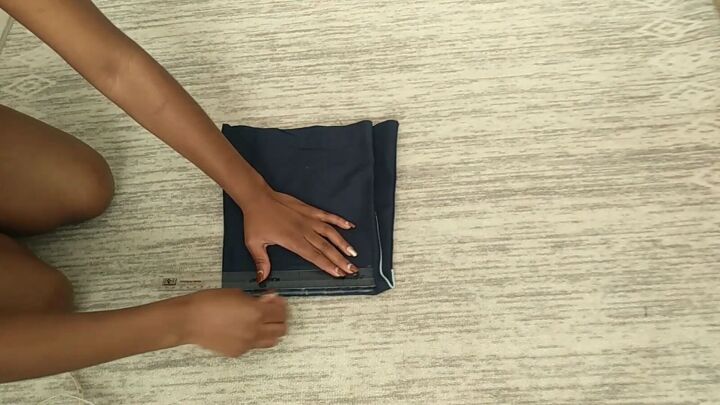
2. Measure and mark
I’m using two pieces of scrap fabric from a pair of pants from a previous tutorial to create the top as it’s for a matching set. Start by folding the pant leg in half, then draw a line for the reference point.

Measure and mark the width of your underbust - mine was seven inches. Here is the bottom of our triangle. Then, mark the midpoint - mine is 3.5 inches.
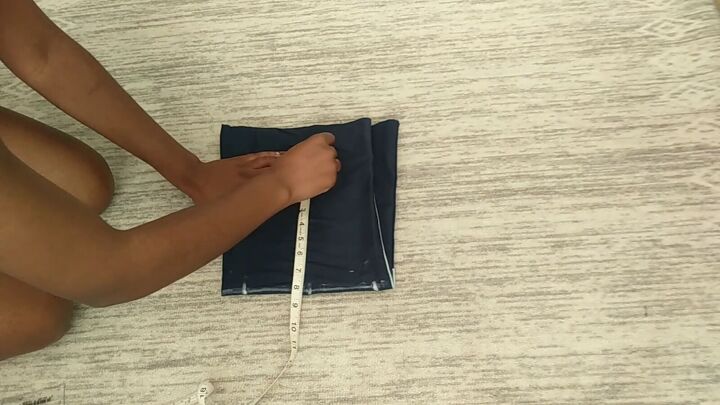
To find the top of your triangle, measure and mark the height of your bust - mine was 8 inches.
Measure and mark the sides of the triangle with that same measurement.
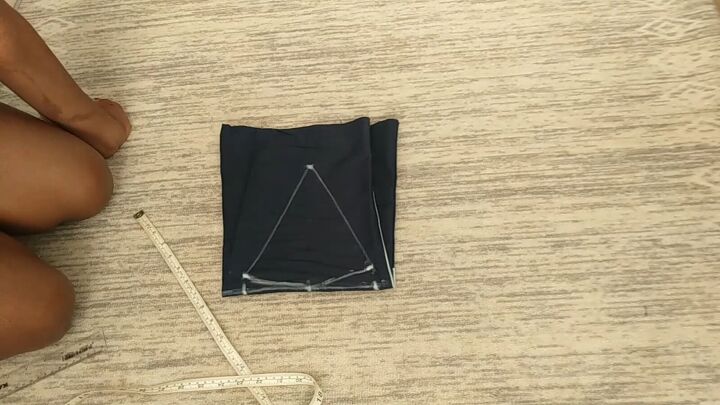
Join the points, not forgetting that the bottom part is going to be a little bit curved. This will be the shape of the bralettes.
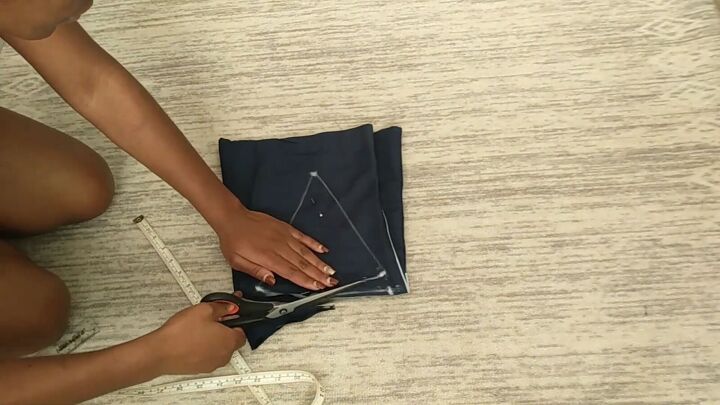
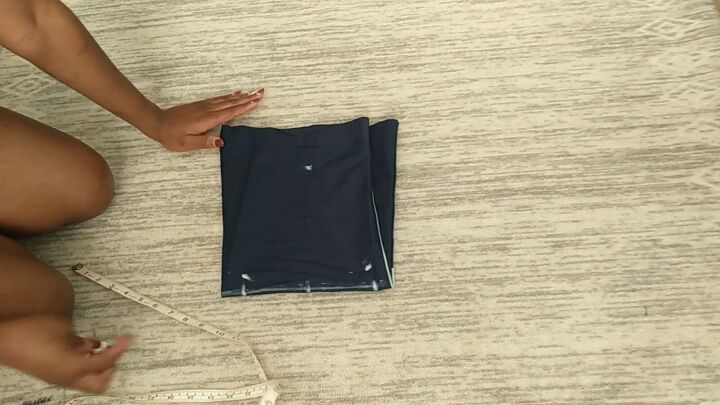
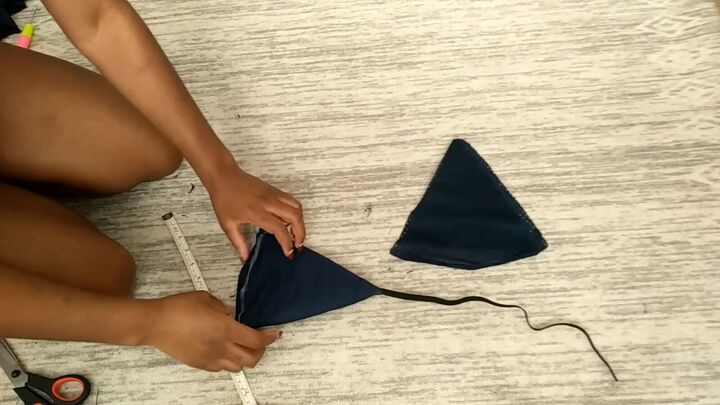
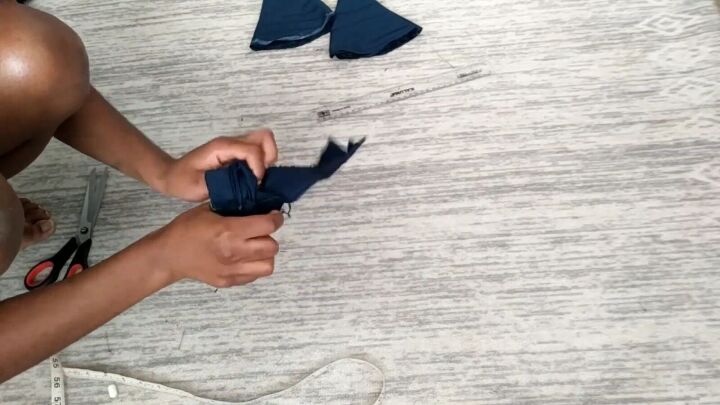
3. Cut out the triangle
Pin the layers together and then cut following the lines, leaving a half-inch of allowance.

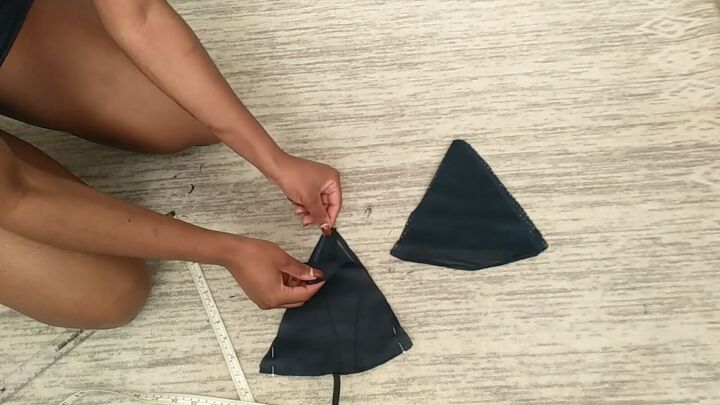
4. Flip
Your bralette should have two layers, so now you should flip them so the wrong side is outside and the right side is inside. So when we sew and then flip it over, it’ll be a perfect bralette.

5. Pin and sew
Pin the sides together first.
Next, place the elastic between the two layers so when you sew it together, you sew the strap inside.
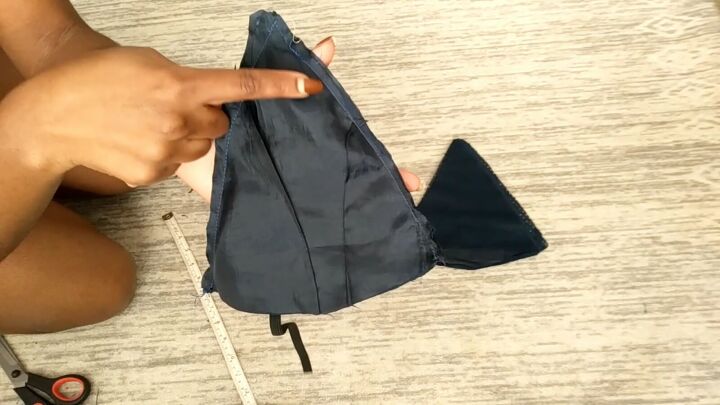
Then, sew along the sides.

When you flip it right side out, the elastic should now be at the top of the triangle.
6. Repeat
Repeat with the other end of the elastic and the other triangle to connect the two triangles.
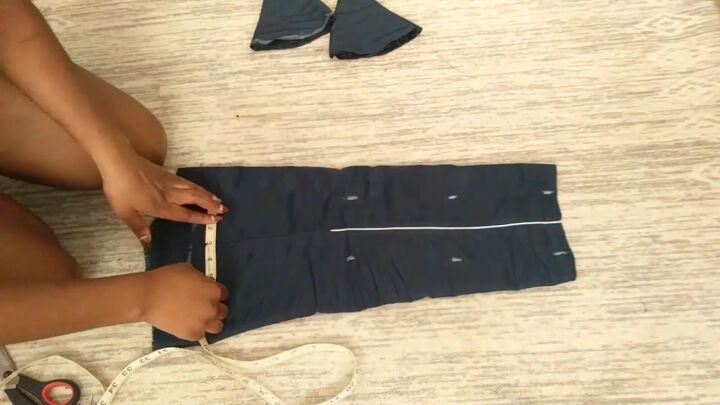
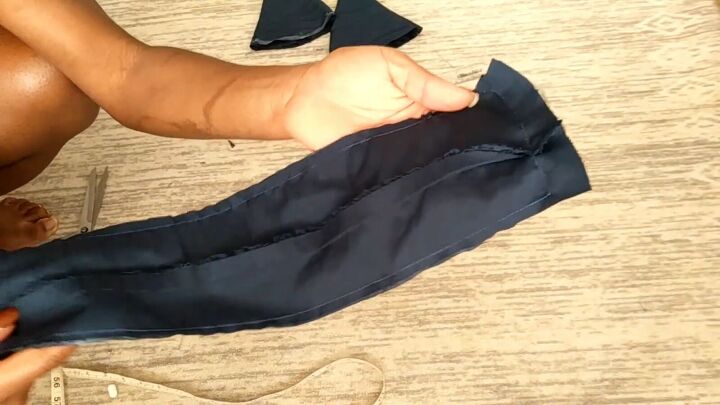
7. Measure and cut out the band
Using the other pants leg, measure and mark a band that has a length of 21 inches and a width of 4 inches.
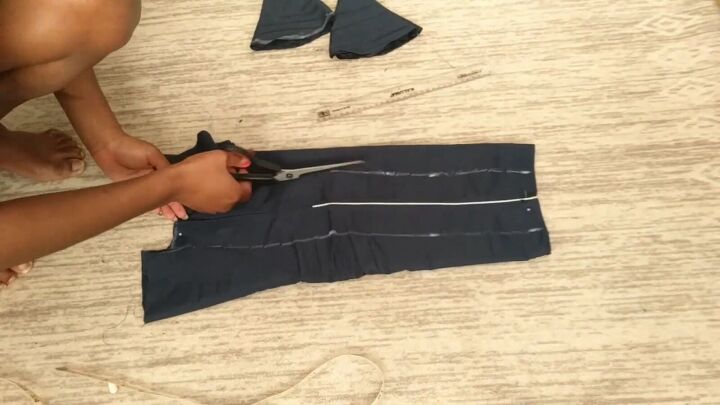
Cut along the line.
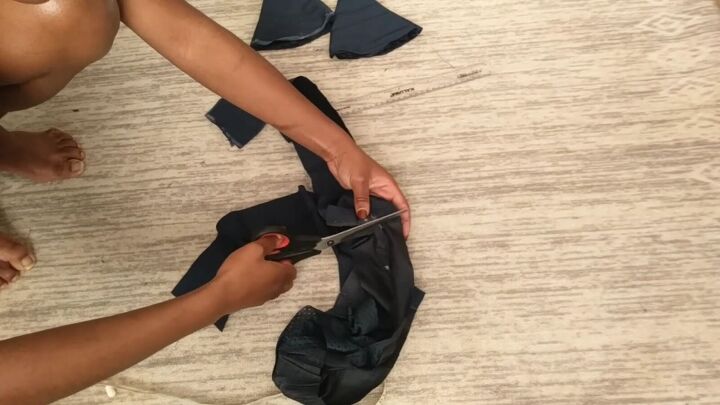
I also cut out the lining.
8. Sew together
Place the two layers so they’re right sides facing and then sew together, leaving one opening at the top.
Then use the opening to flip it right side out. Iron it to get it flat.
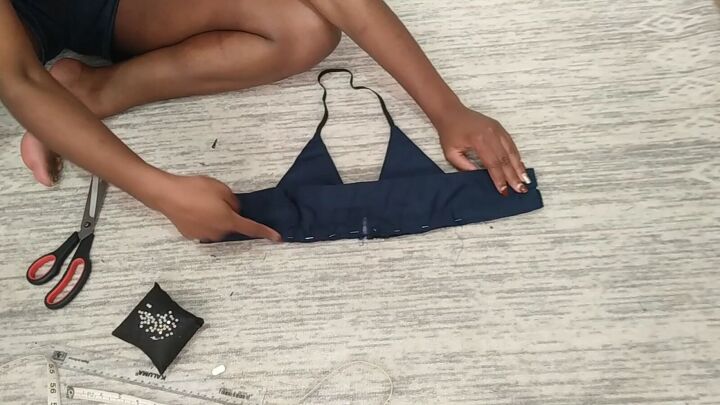
9. Sew the triangles to the band
Fold the band in half to get the midpoint, and mark it. Then, pin one of the triangles to the band at the midpoint so they’re right sides facing, and then sew it together.

10. Attach elastic to band
Finally, sew elastic to the top and bottom of both ends of the band to connect it.

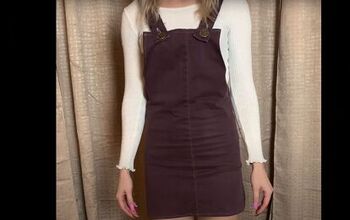
DIY triangle bralette tutorial
Here’s the finished DIY triangle bralette. This bralette sewing pattern is super simple to follow and you can make it in under 30 minutes! It’s such a fun upcycle and it looks great too.
Let me know what you think about this tutorial on how to make a bralette top!
The author may collect a small share of sales from the links on this page.


Comments
Join the conversation