How to Make a Cozy Sherpa Robe Out of a $5 Walmart Blanket

I recently picked up a cute and fuzzy sherpa blanket for $5, and I decided to turn it into a DIY fleece robe! I wanted to share this tutorial on how to make a robe with you because I think it's an amazing project.
It’s easy to follow, the pattern is super straightforward, and you’ll have a cozy robe to add to your closet. Let’s get started!
Tools and materials:
- Sherpa blanket (my was 50" x 60”)
- Sewing machine
- Chalk or marker
- Scissors
- Long cardigan as a guide
- Pins
- Matching thread
1. Make the easy DIY robe pattern
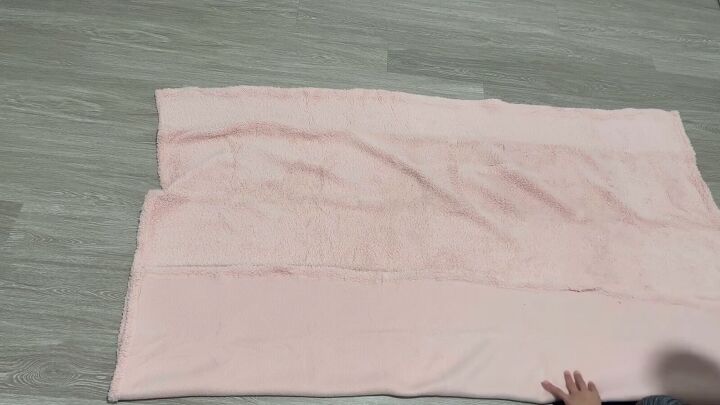
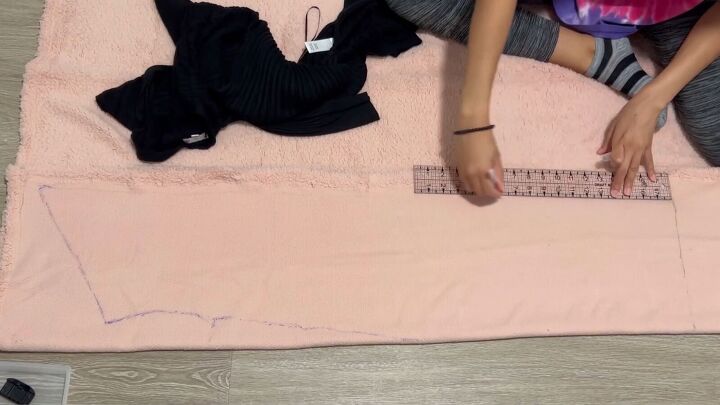
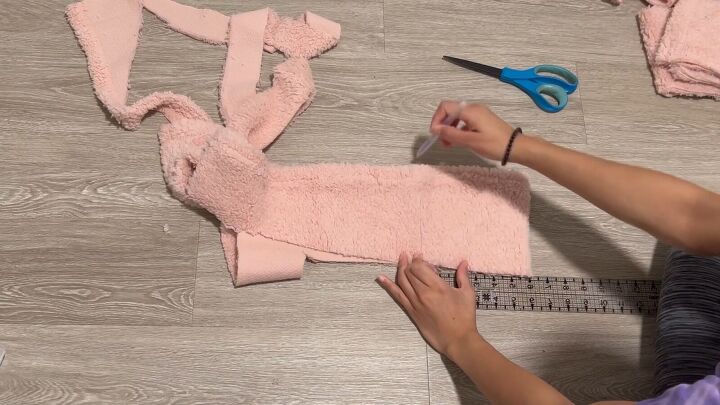
Lay out your blanket, and fold it around ⅓, lengthwise. It needs to be just enough so you can lay your cardigan on the fold. For reference, I used a 50x60 inch blanket.
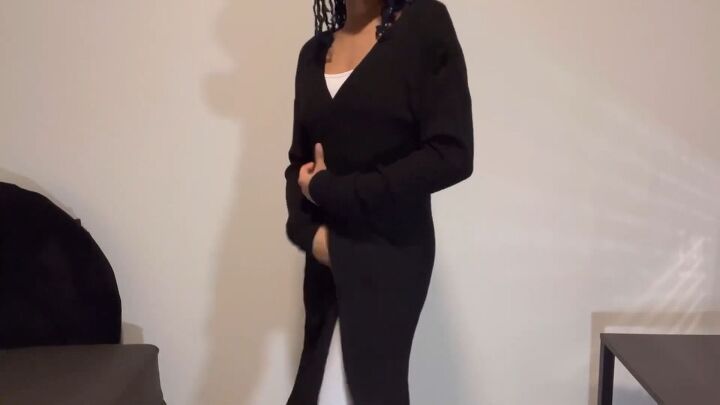
This is the cardigan I’ll be using for my DIY fleece robe pattern.
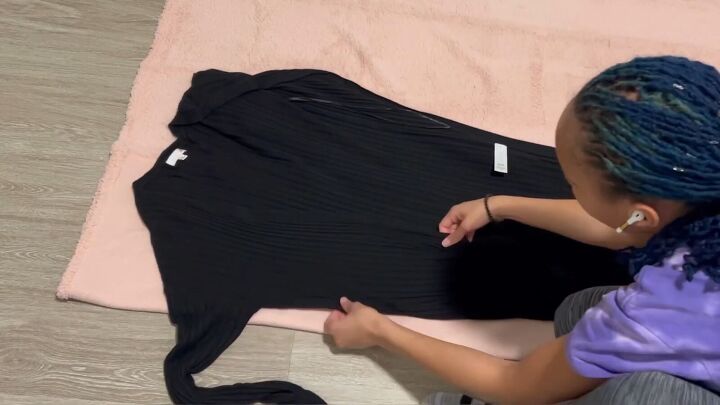
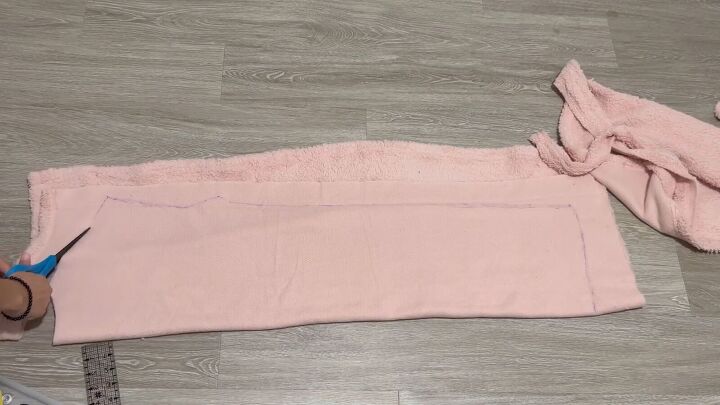
Place one side of the cardigan on the fold, as shown. Trace the shape with a marker, and add an inch or so for seam allowance.
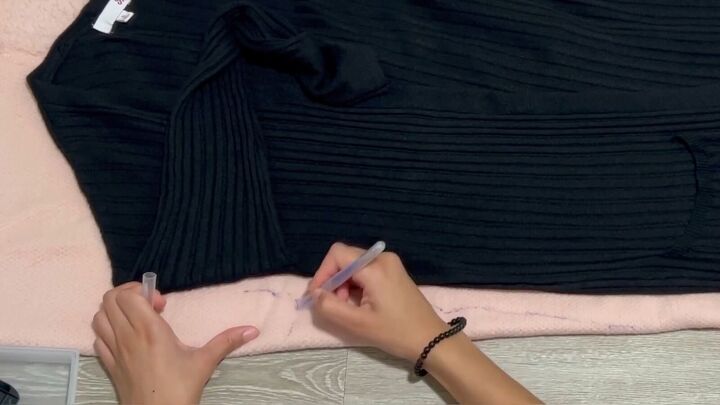
Create a curved line right underneath the armpit.
Then, make a straight line in the front.
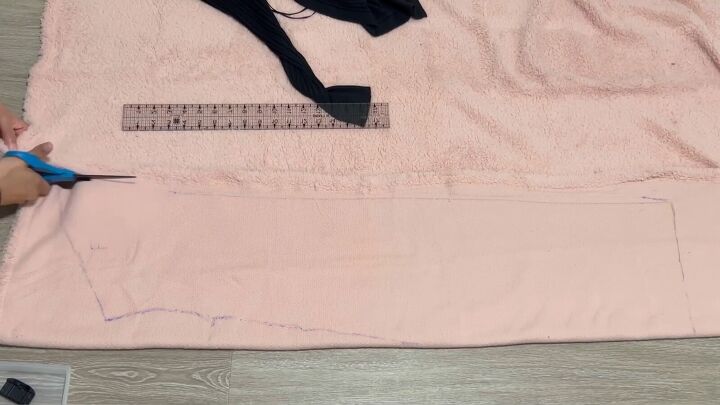
Label this pattern “F”, (for front) and cut it out.
You should now have two front pieces.
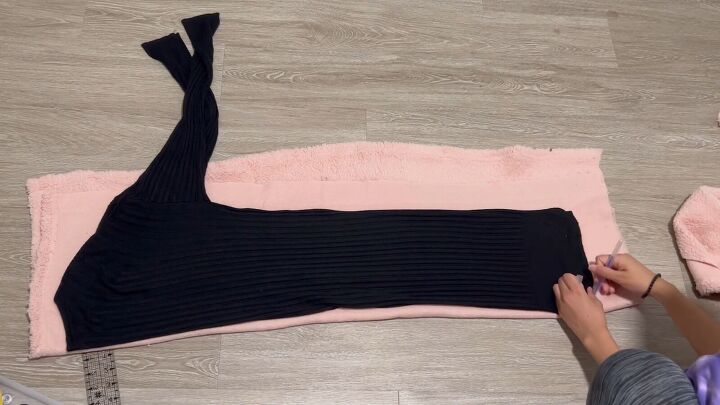
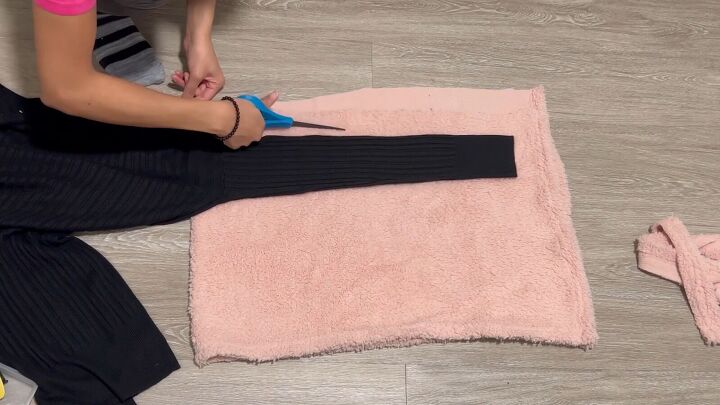
Now, follow the same process for the back pattern; fold the remaining sherpa wool in half, and lay out the backside, folded.
Then, trace it out from the bottom to the top, including the armholes. Remember to add an inch seam allowance.
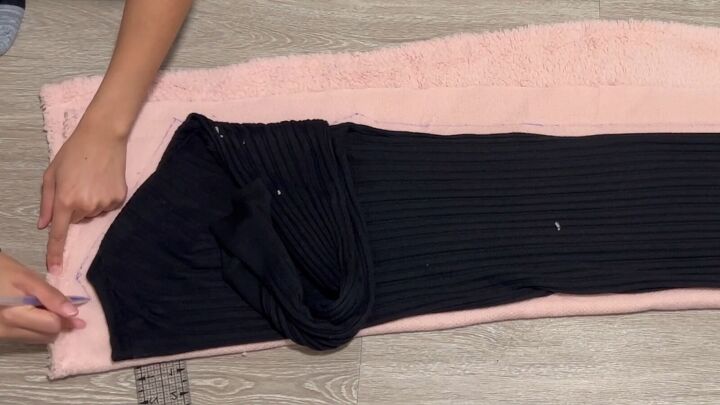
Also, follow the neckline.
Now, cut it out, and you should have one big back piece.
Fold over your excess fabric, place the sleeve on top, and cut out the shape. Cut out an inch from both sides.
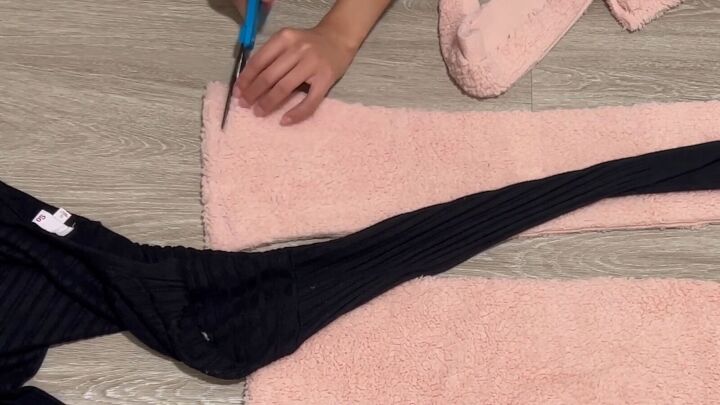
Draw a curve for the armhole and cut accordingly.
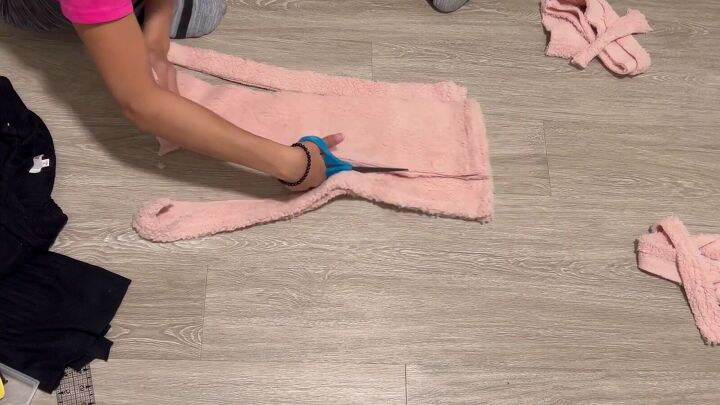
Place the first sleeve on your fabric and cut out the second piece.
Tip: A rotary cutter will make this process easier.
Next, a cut out two 6x6 inch pockets.
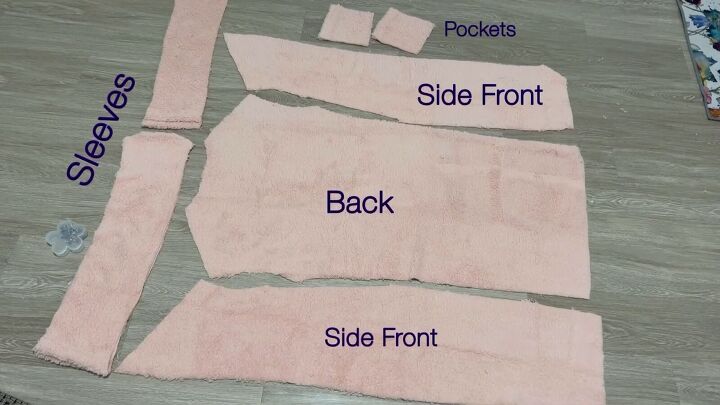
These are all the pieces you should now have. As you can tell, the robe sewing pattern is relatively easy, especially if you have a cardigan to use as a reference.
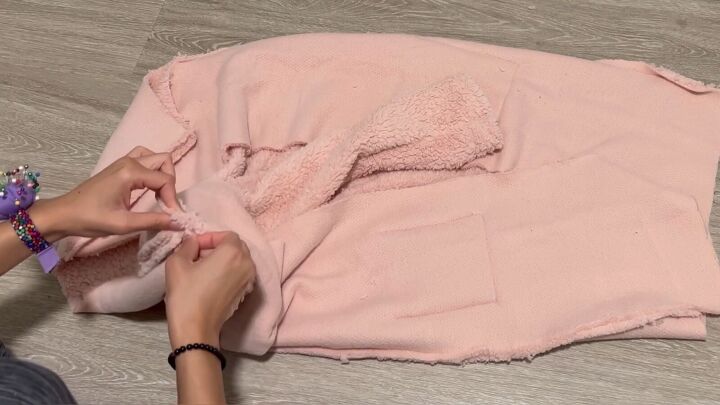
2. Sew the pockets
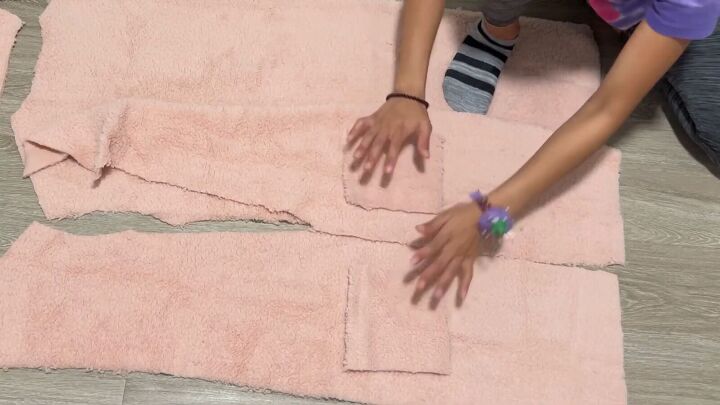
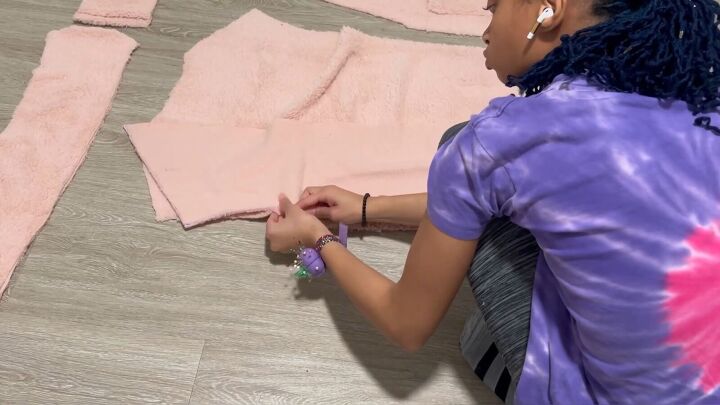
Pin the pockets to each of the front sides, making sure they are pinned symmetrically.
When pinning them down, fold the side and bottom edges. Then, sew down all three sides with a regular straight stitch.
3. Assemble the DIY fleece robe
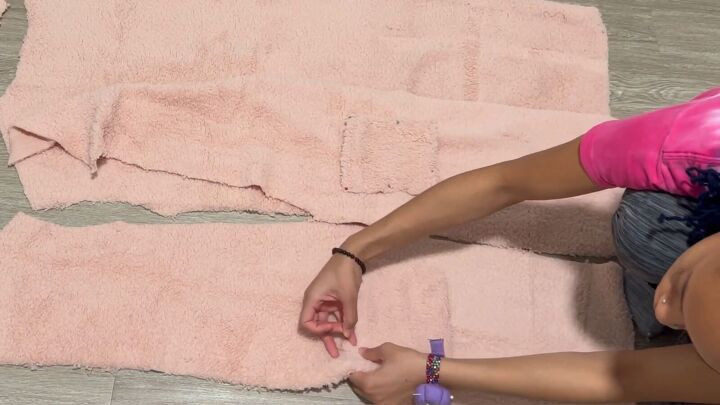
Line up the front sides on the back piece, right sides facing. Align the side seams and pin.
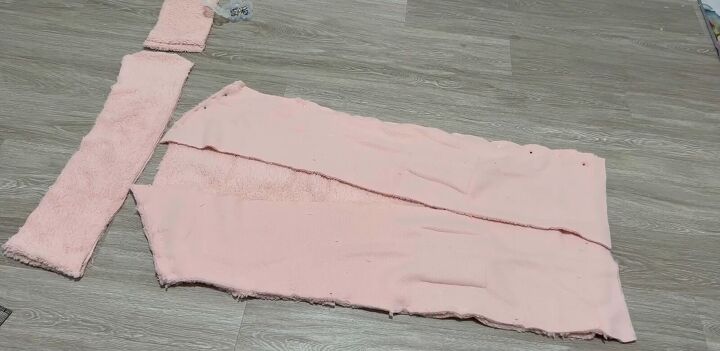
Also, pin the shoulder seams. You may come across a little bit of excess material once you align the seams; don’t worry, just simply cut it off where needed.
Take it to your sewing machine and stitch all the pinned sides with a straight stitch.
4. Attach the sleeves
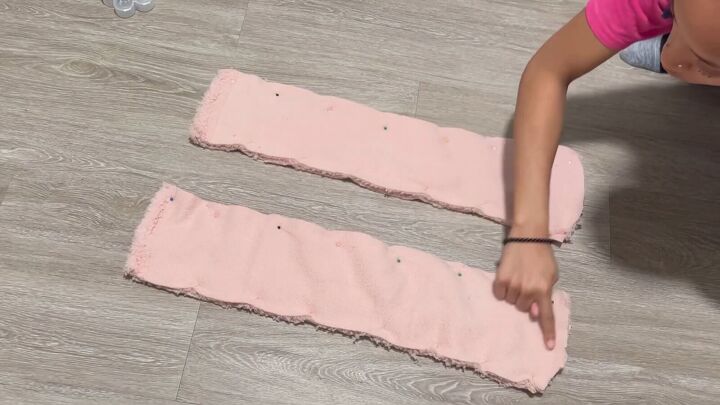
Place your sleeves right sides facing, pin the edges, and sew them down.
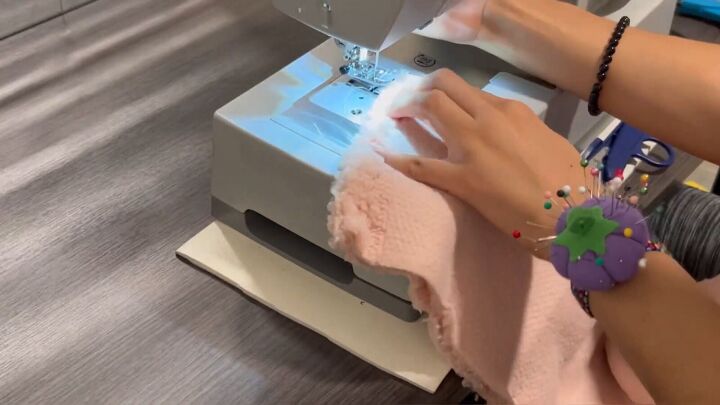
Luckily, I cut the sleeves on the finished edge, so I don’t have to actually finish off the cuffs (Yay!).
Turn your DIY fleece robe inside out. Then, with the sleeves right sides out, slip it through the inside of the robe, match the armholes, and pin. Be sure to align the top and bottom seams of both the robe and the sleeve.
Tip: I did not do any measurements for this entire project, and I was lucky that the armholes fit the sleeve part. This fabric is somewhat stretchy, so I could still stretch it to fit it even if the armhole is a little smaller.
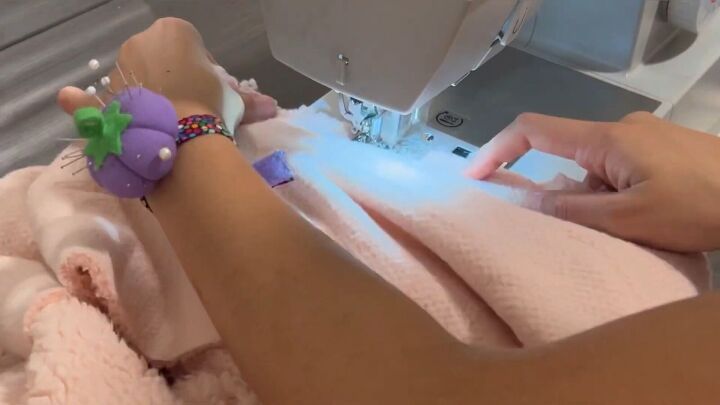
Take the bottom part off of the sewing machine to insert your sleeve from the side and sew around both layers with ease.

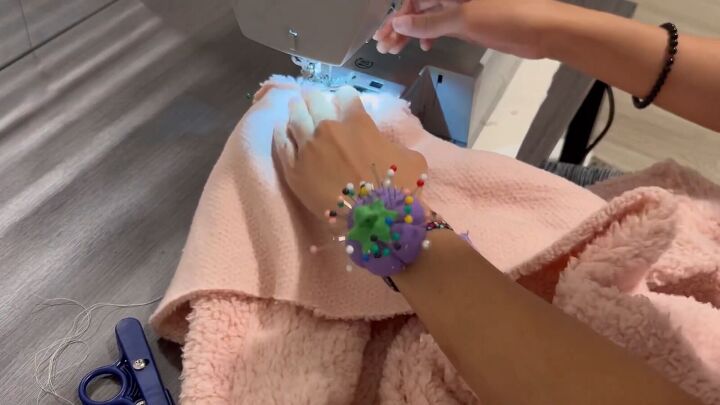
5. Hem the raw edges
Cut the bottom so it’s straight and then fold the raw edge inside once. Do this around the whole robe, from the bottom to the top, including the neckline. Then, sew to secure.
Tip: If you want, you can finish the inside seam with bias tape or any other trim you like.
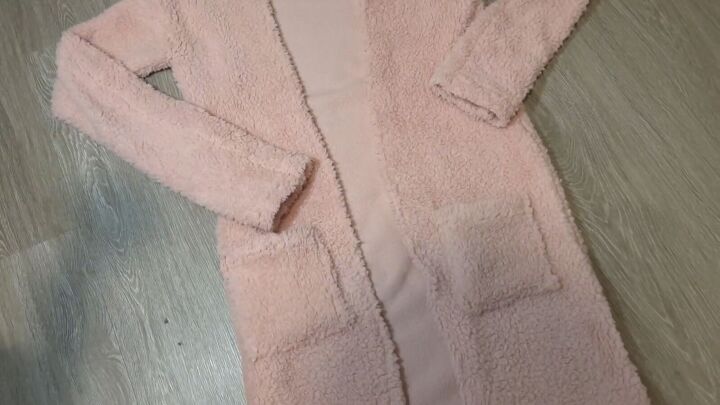
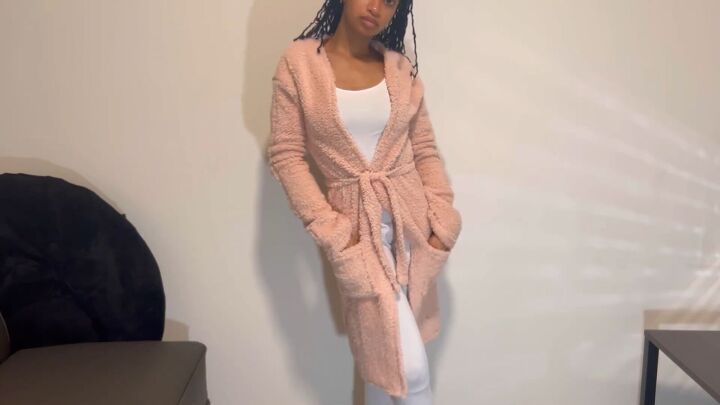
How to make a robe
Wasn’t this tutorial on how to sew a robe pretty easy? I told you it would be! This DIY fleece robe is so cute and cozy!
Who would have known this robe was once a $5 blanket? I also finished this off by making a DIY robe belt so I can wear it comfortably.
Let me know what you think of this tutorial and the final result in the comments below.
The author may collect a small share of sales from the links on this page.


Comments
Join the conversation
Yes, I will
I love this idea!!