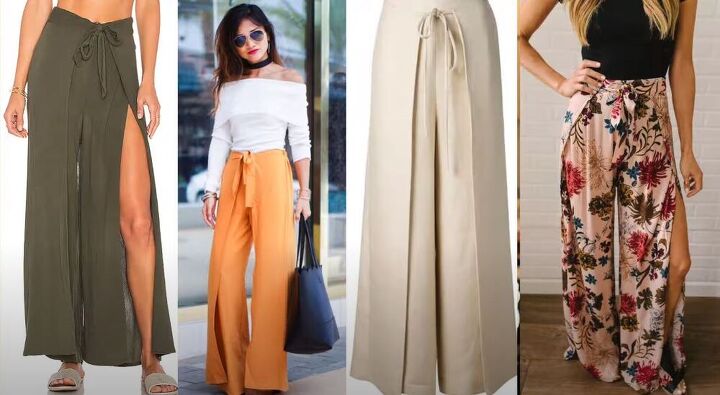
These Stunning DIY Wrap Pants Look So Chic in the Summer

In this tutorial, I will show you how to make DIY wrap pants. There’s nothing like a flowy garment for summer. Flowy dresses, shorts, and even pants come in handy when the temperature rises.
These DIY wrap-around pants may look complicated, but they are so simple to make! I’m so excited for you to see how to make wrap pants, as well as how to wear them. So, let’s get started and make some super-chic summer wrap pants!
Tools and materials:
- Cutting mat
- 2 Yards of fabric
- Pins
- Sewing machine
- Fabric scissors
- Thread
- Rotary cutter (optional)
- Ruler
- Measuring tape
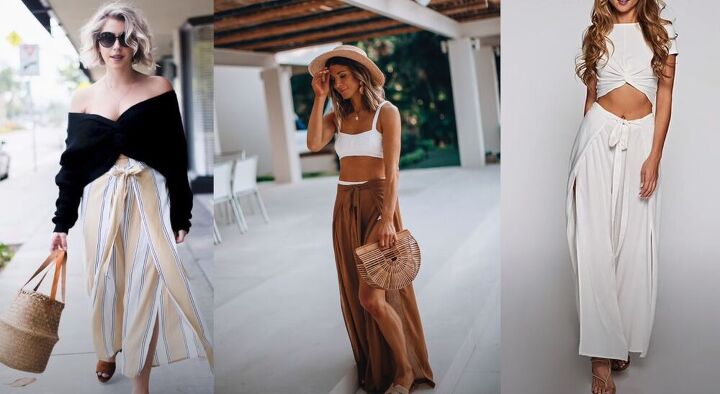
The inspiration:
Now, let's get started!
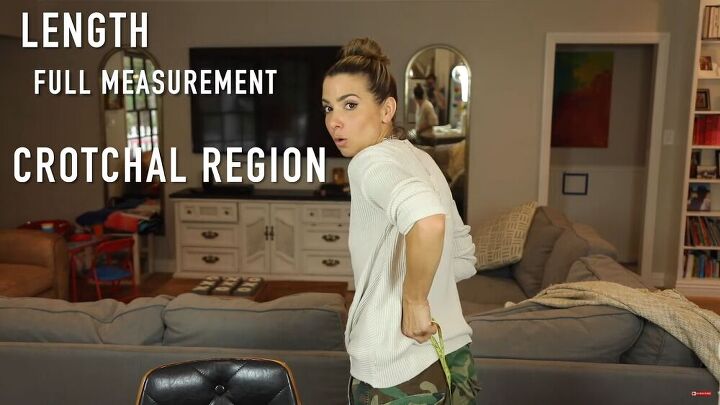
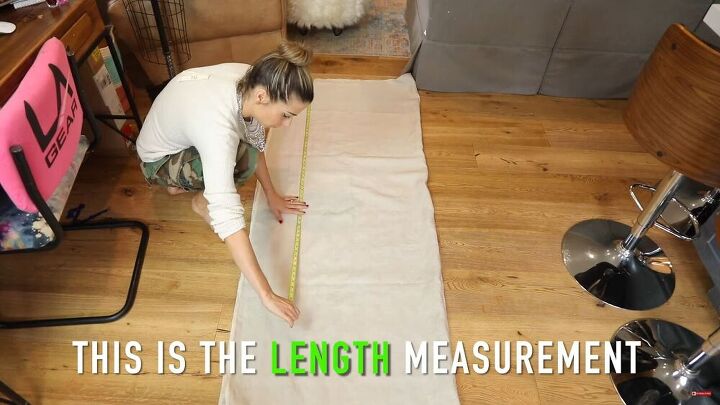
1. Measure yourself
To make these DIY wrap-around pants, you’ll need to make a few measurements. First, start with the length (start from the belly button).
Then, you’ll need to measure your crotchal region. To do this, put the measuring tape between your legs and measure, and decide how "up" you want it to go.
Divide the measurement by 2 and jot down that measurement - this is the deal-breaker for these DIY wrap pants.

For the waist measurement, you need to imagine where you want the back piece to overlap on your waist area. So for me, 21 inches is my measurement. You can make it overlap less or more - I'll leave that decision up to you!
Once you have your waist measurement, divide it by 2.
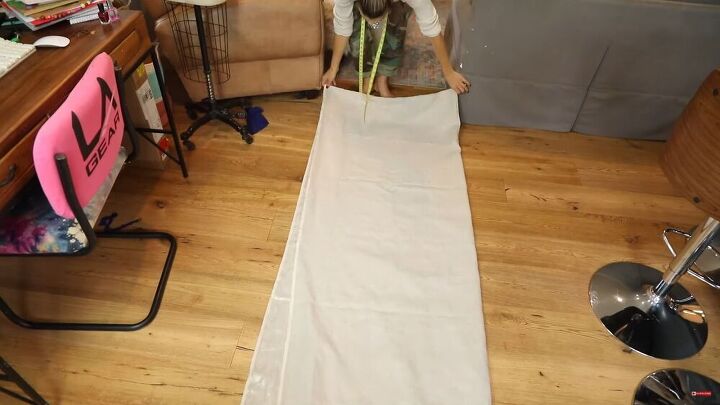
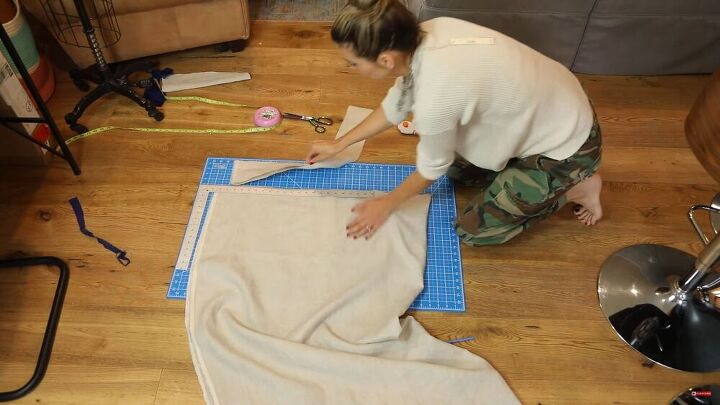
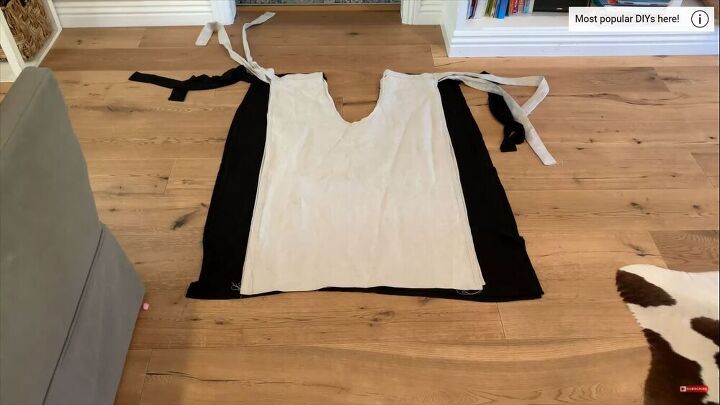
2. Make the pattern
The DIY wrap pants pattern is a little weird, but if you follow my guidelines, you’ll understand it in no time! Take your fabric and fold it face to face. My fabric was wide enough, so I could fold it lengthwise and save a lot more fabric.
Start with your length measurement and cut accordingly.
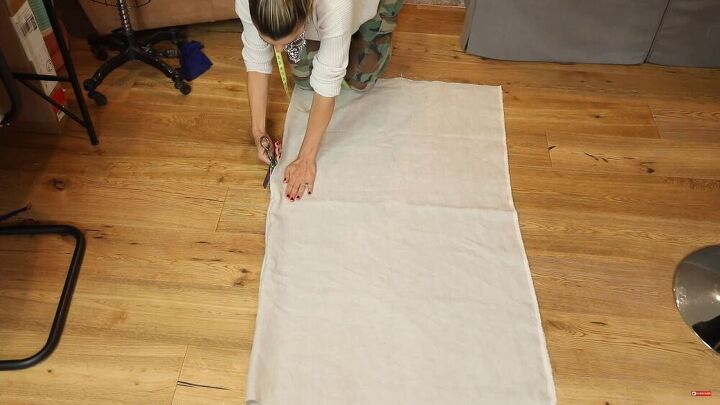
Cut the fabric in half, right down the fold, as you’ll need a right and left leg.
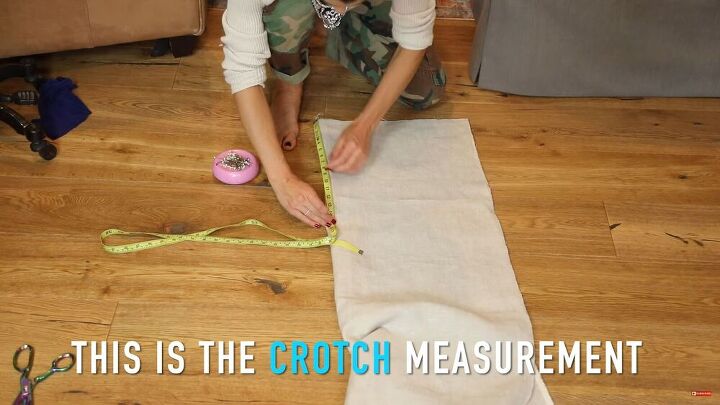
Now fold the fabric and on the fold, measure your crotch measurement, divided by 2.
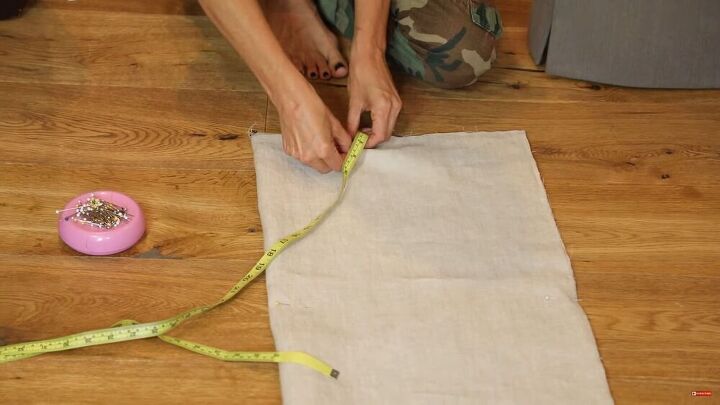
Now, from the top corner, measure around 5-6 inches and put a pin as a marking.
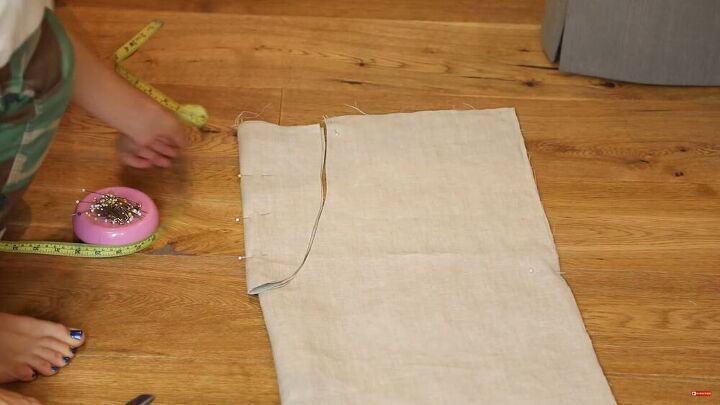
Then, connect the bottom line of the crotch measurement to the top 5-inch mark. You should have a nice half “U” shape. Then, cut this out.
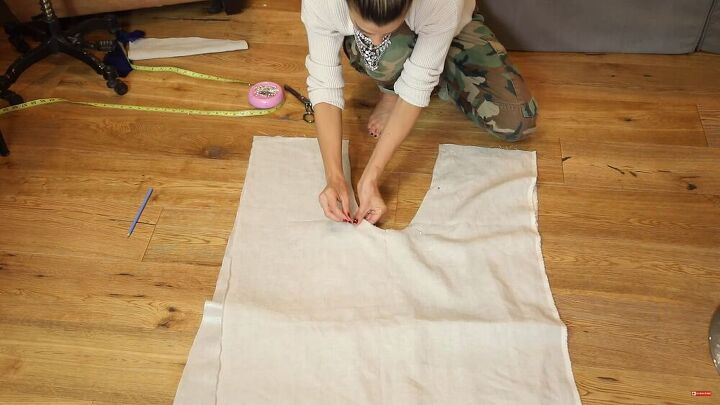
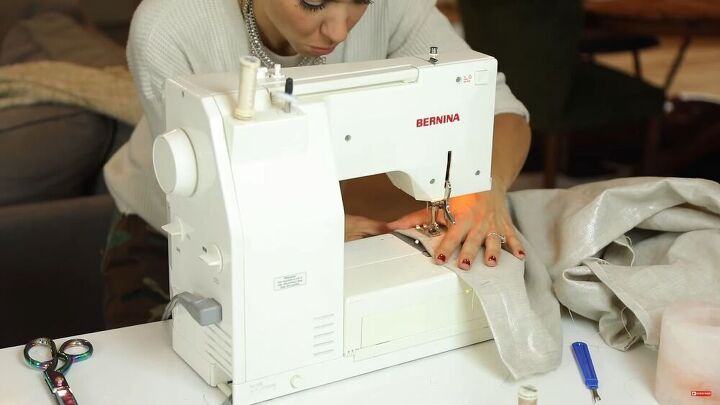
3. Assemble the summer wrap pants
Now, layer both fabrics on top of each other, face-to-face. Pin the "U" shape and stitch both layers in place.
Tip: If you have a serger, I recommend using it for this step.
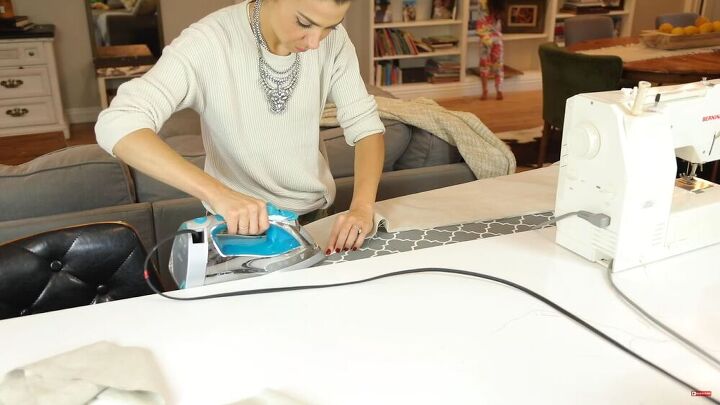
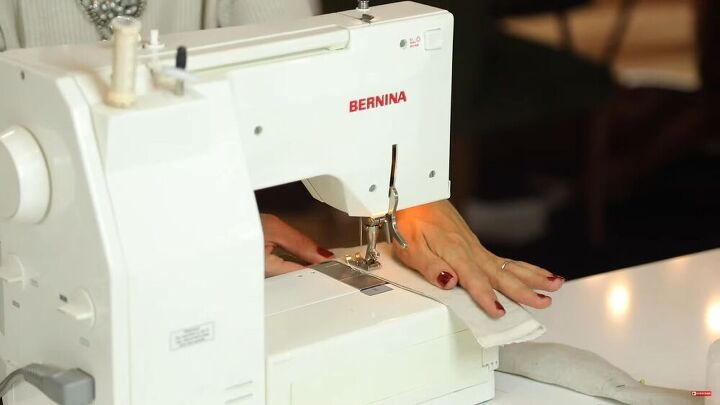
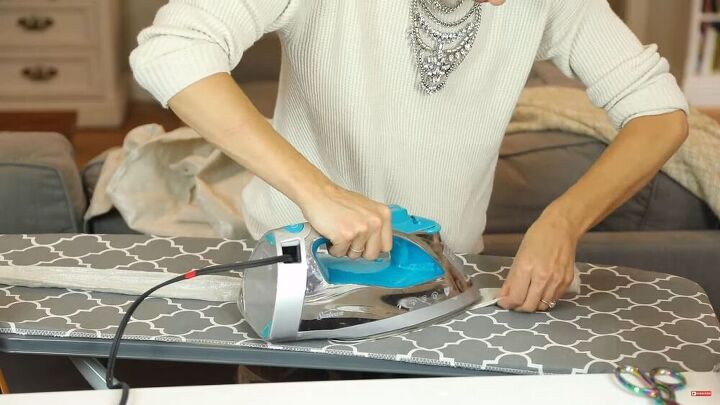
Next, press the hem so that you have a lovely, clean-cut finish when you hem the pants afterward.
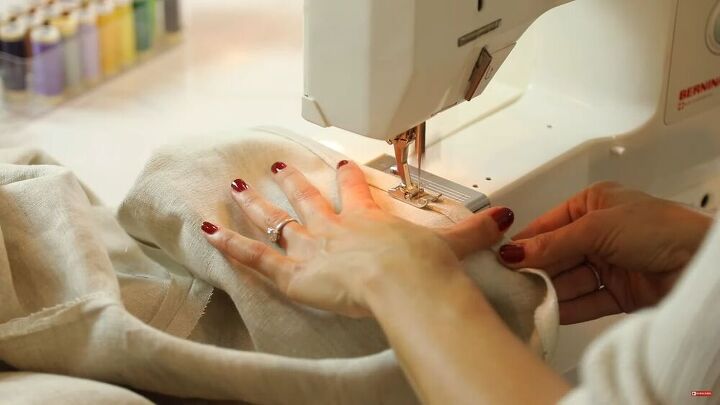
I folded the raw edges by a ¼ inch and stitched them all around, accordingly.
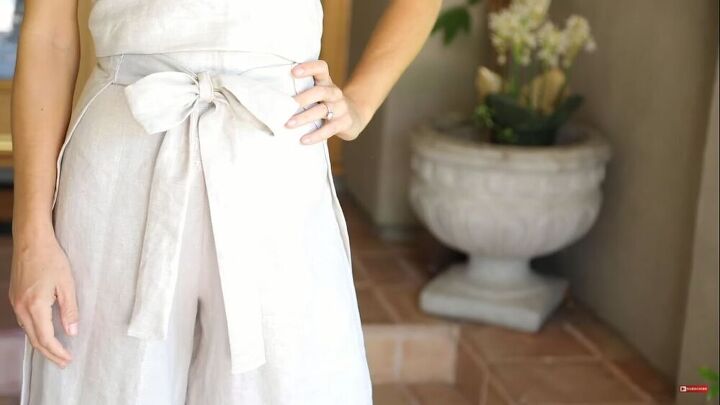
4. Make the waistband
Fold the top of the pants over by around an inch and stitch the fold for your waistband.
5. Make the straps
Now it’s time to cut the straps. Cut them twice as wide as you want them to be and don't forget to add seam allowance. I wanted a 2-inch strap, so I cut them 4¼ inches wide.
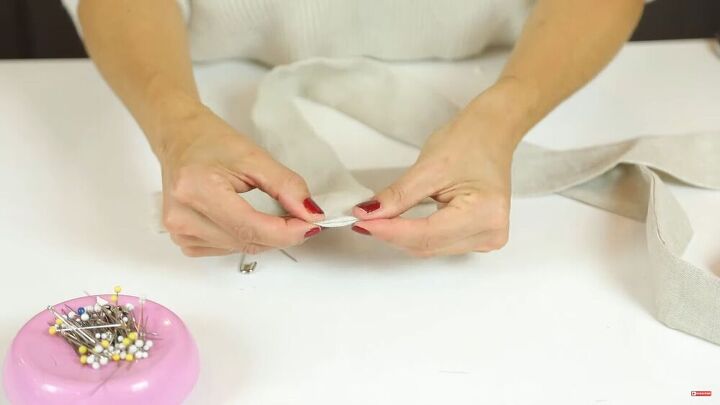
Fold the strap face to face and do a simple straight stitch all the way down the whole strap.
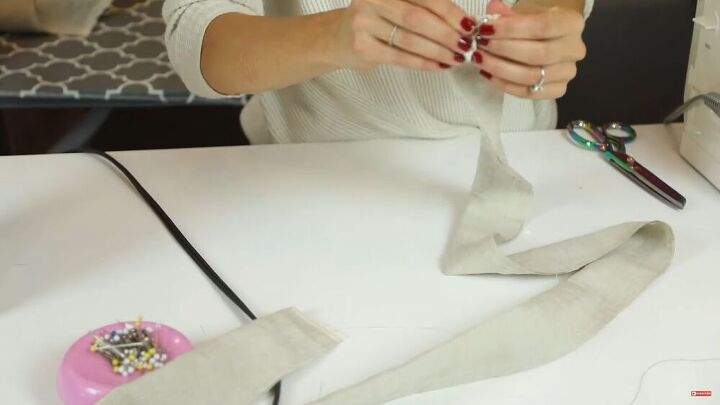
Then, flip it inside out with the help of a safety pin.
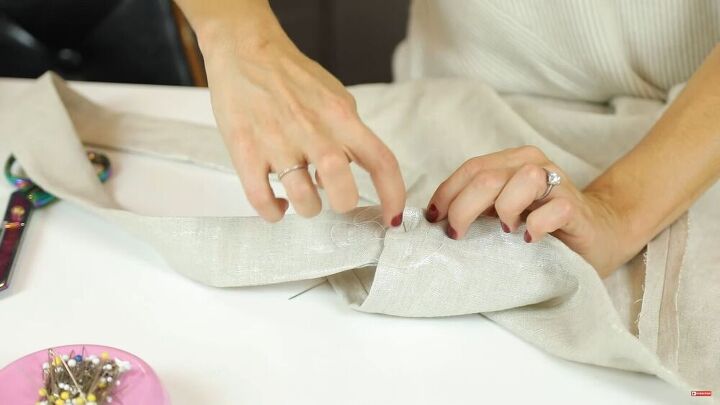
For a nice, crisp finish, press the whole strap.
Fold in the edges and stitch them down.
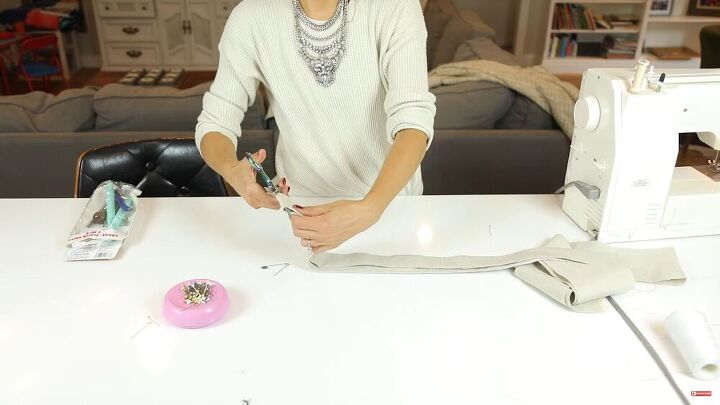
Cut the strap in half to create equal straps for the left and right sides.
To attach the straps, simply pin them to the end of the waistband and stitch accordingly.
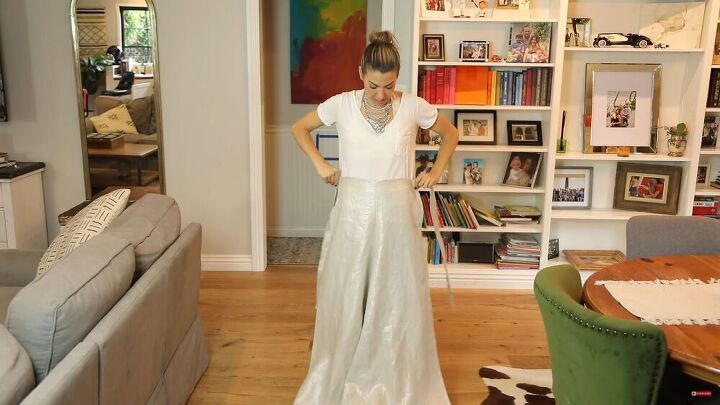
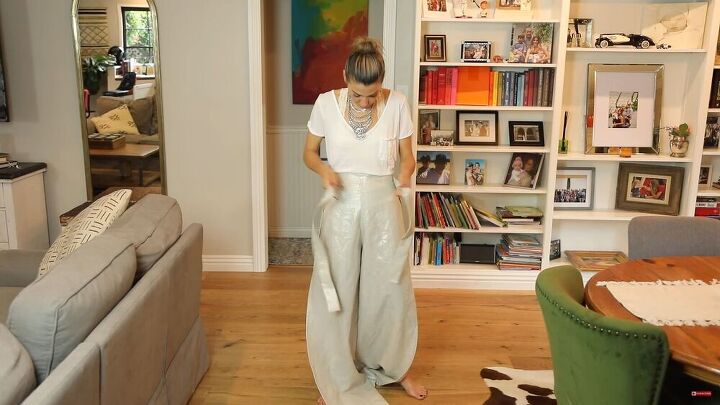
6. How to wear the summer wrap pants
Now for the fun part - learning how to wear the DIY wrap pants!
Right, so go ahead and take the front, wrap it around your front waist area and tie it in the back.
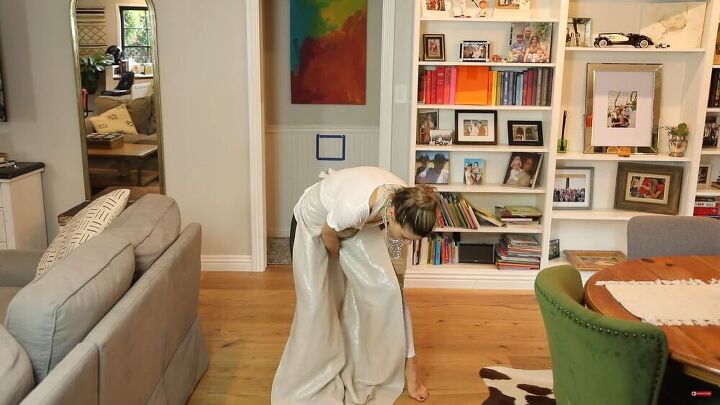
Reach through and find your straps on the other side.
Line it up so it’s at the right height and tie the front straps.
Bonus tips
I made two different versions of these DIY wrap pants. You can see the difference in the patterns here.
In the lighter color, I used only my waist measurement at the top, whereas for the black, I added the 5 inches needed for the "U" shape. This means that the light version is tighter and so the slits at the side are more open, which I actually quite like. The black version has more leg coverage.
Also, if you have more "more junk in the trunk" you may need to create an uneven "U" shape to account for a larger curve in the back. For example, divide your waist measurement by 3 and have ⅓ in the front and ⅔ in the back.
DIY wrap pants tutorial
Yeah, baby! Your DIY wrap pants are complete. Ok, so it is a bizarre pattern but it’s so easy to sew and the results are formidable!
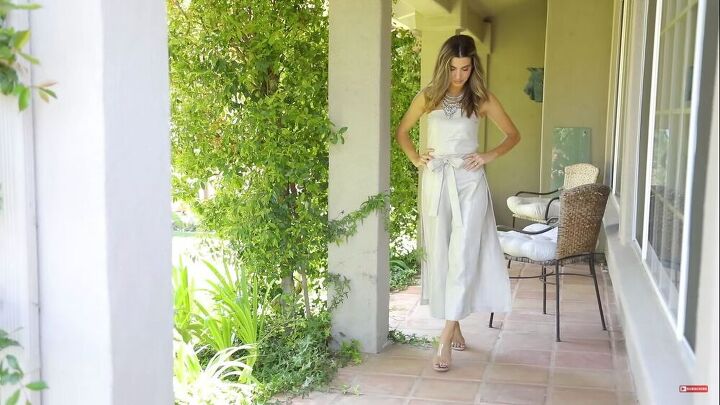
You can customize these DIY wrap pants in any fabric you want. My lighter pair are linen, so slightly more structured, whereas my black pair are 100% rayon and so flowy!
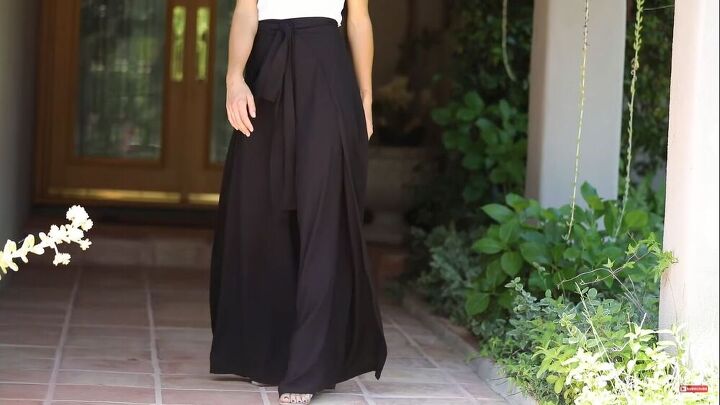
The thigh slits look so sexy when I twirl and of course, this is one way to keep your legs cool in the summer!
Let me know which version of these DIY pants is your favorite and what you think of this DIY wrap pants tutorial!
The author may collect a small share of sales from the links on this page.


Comments
Join the conversation
I'm wondering if instead of tying the back, if one could use a button or even an elastic waist band. This could cut down on bulk at waist. Also if one could use the crouch shape from a favorite pair of pants. This is an excellent tutorial! Thanks!
Omg! these pants are amazing. My only issue is... How the hell do you go to the toilet in them? Are you going to take them off every time you want to use the bathroom? That would drive me insane. But I do love the pants they look sexy and yet still comfortable. Which is my favourite style 😍