DIY Flannel Palazzos for Summer Into Fall...Only 2 Pieces to Sew!

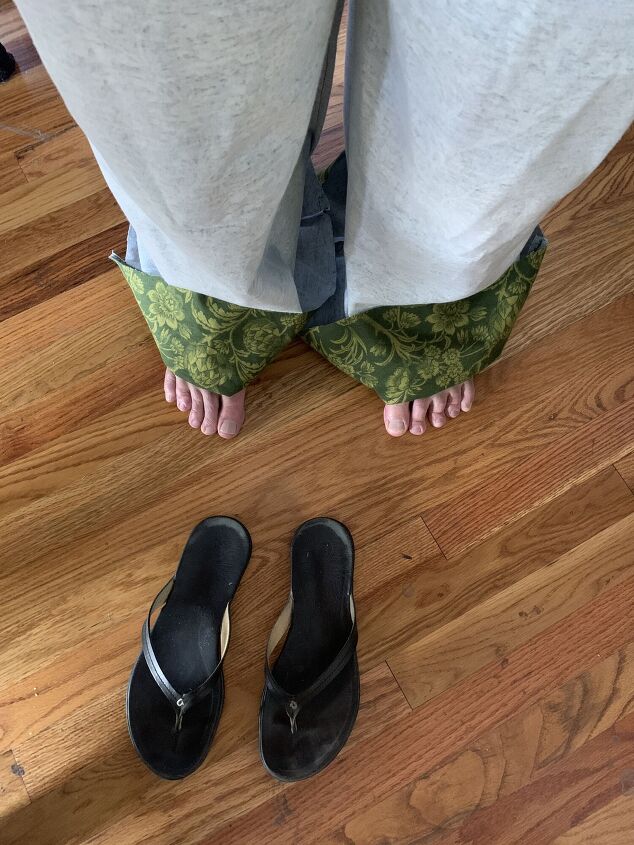
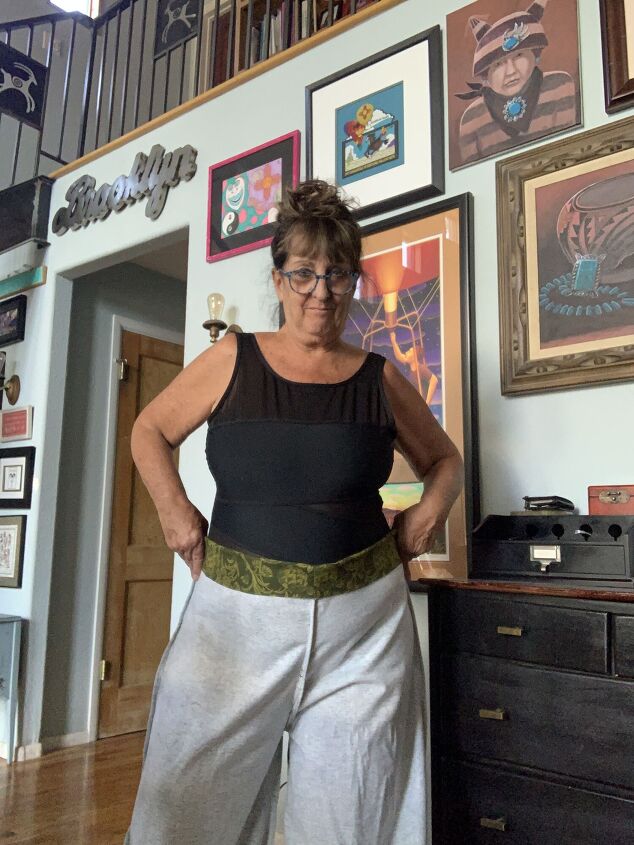
I Love the Feel of Cotton Flannel...but Wearing Flannel in the Heat of the Summer?? Maybe Not...But, then I discovered the Cool Drape and Fun Fit of Wearing Cotton Flannel Palazzos...and Cotton Flannel Palazzos are the Perfect Summer into Fall Transition Piece...The Cotton Breathes...and It's All About the Billowy Fit of the Pants and Crisp Fall Colors...Perfect!
Can Artichoke Pants be Classy??? Yes!!!
Ready to Try??? Let's Go!!
The DIY Fast Way to Create Cotton Flannel Palazzos:
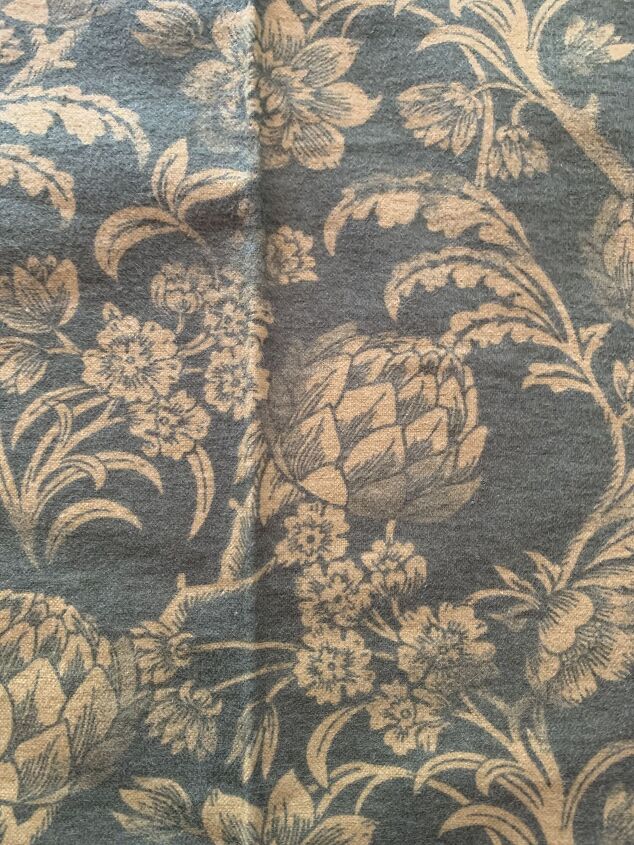
First...Find Some Fun Flannel...Summer is the Perfect Time to Get Sale Prices on Flannel...This ARTICHOKE Print is Wild...but the Muted Green/Black Colors are Perfect for a Fun Piece to Wear Anywhere...and a Great Transition from Summer to Fall.
The Fabulous Part about Cotton Flannel is that it Breathes and the Weight of the Flannel gives Palazzo Pants a Custom Designer Drape and Fit.

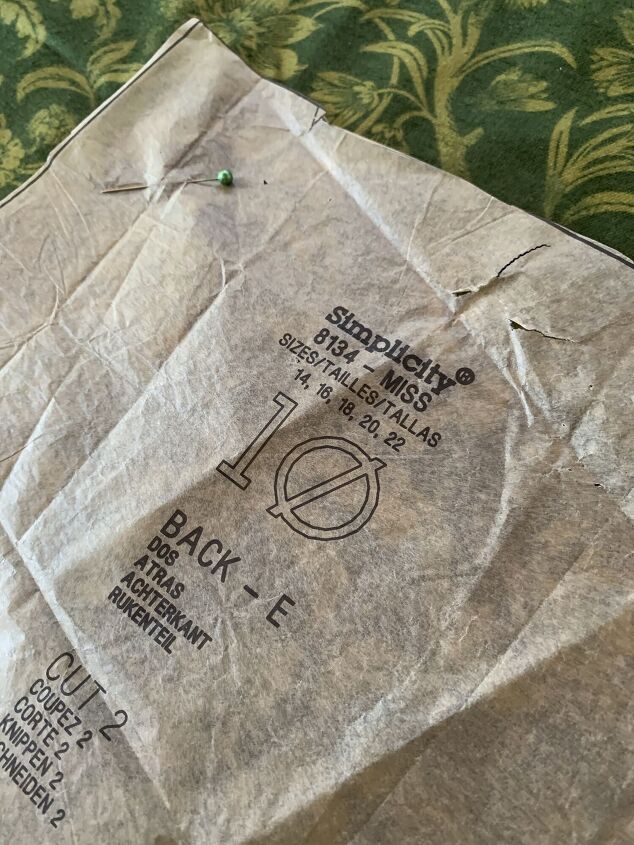
My Go-To Pattern is So Sew Simple and Fast to Make...Simplicity 8134 Palazzo Pants....BUT...We Will ONLY USE 2 PATTERN PIECES TO MAKE THE PALAZZOS!
Simplicity Pattern 8134 Palazzos...Amazon LINK.
The Fast Way to Create Cotton Flannel Palazzos:
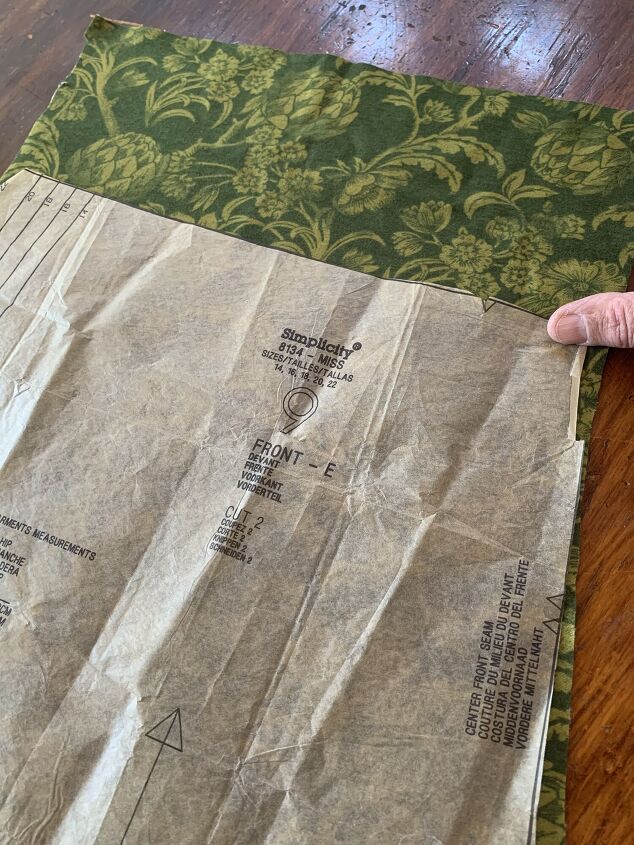
The TRICK...Only Use 2 Pieces to Cut and Sew. The FRONT of the Pant and the BACK of the Pant.
No Need to Use the Waistband Piece.
To Create the Elastic Waistband, Simply EXTEND the TOP of Both the FRONT and BACK Pieces. Measure the Pattern Piece Against Your Body to Judge How Much Additional Fabric You Will Need to Create the Waistband.
Here's the Step-By-Step for a 2-Piece Pattern Palazzo...
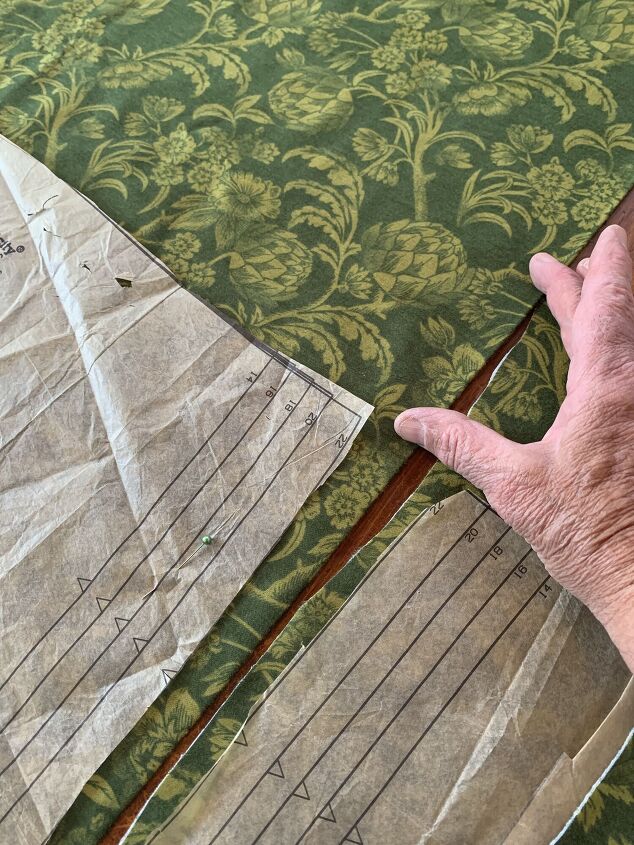
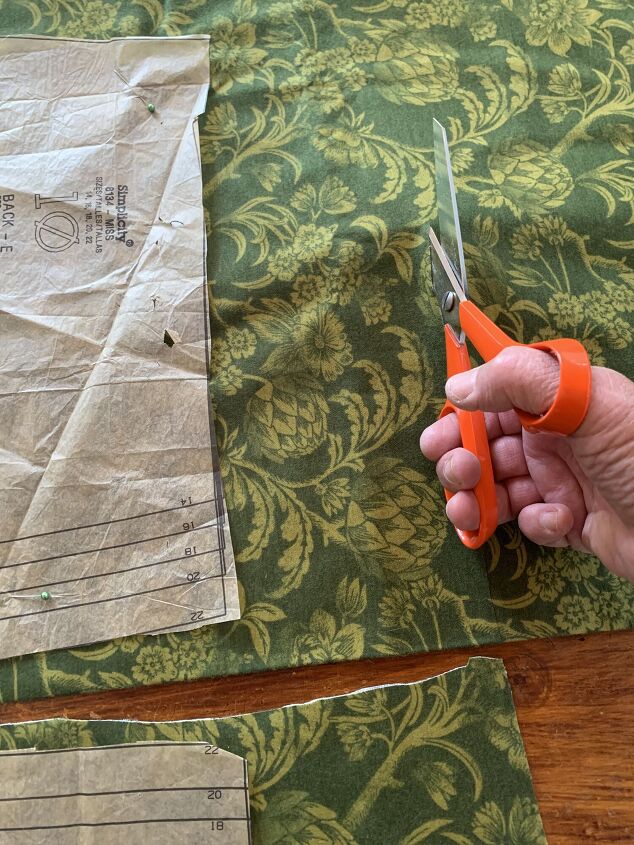
Cut Out 2 Front Pieces and 2 Back Pieces.
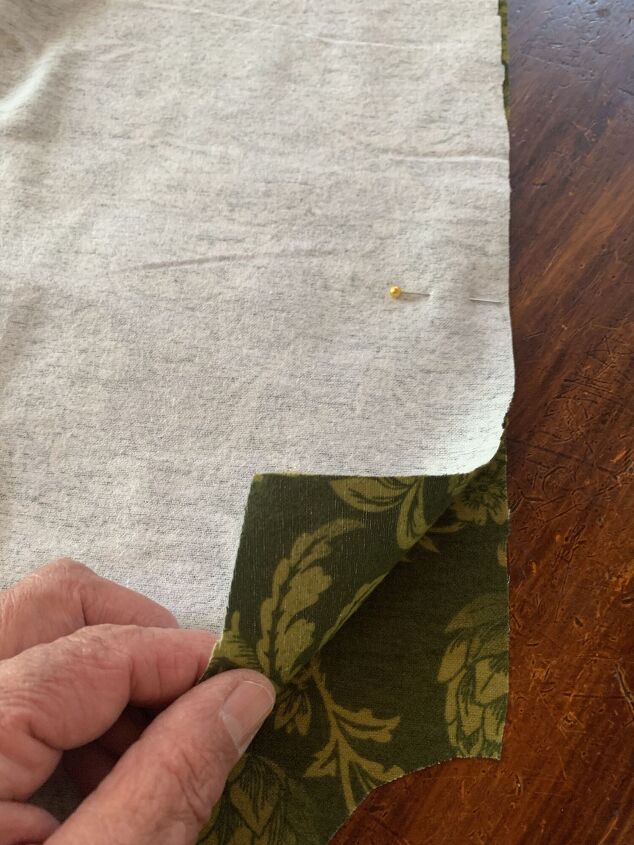
MARK the 2 Front Pieces...either with Pins at the Waistband...or WRITE "FRONT" at the Waistband. The writing won't show when the top is folded over for the waistband.
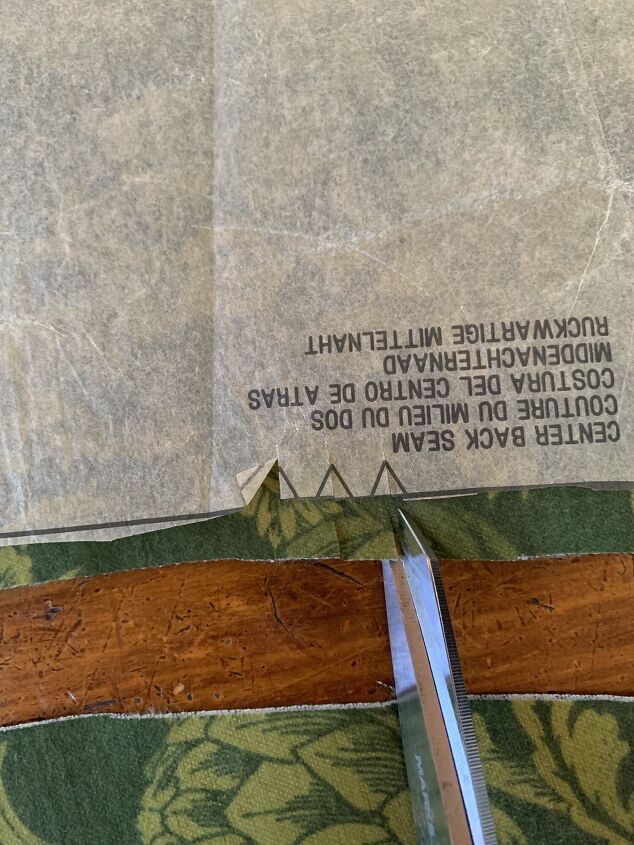
Snip Notches where Noted on the Pattern for Ease in Assembling the Pieces...
The TRICK to a 2-Piece Pant...Extend each piece to Allow for an Elastic Waistband...
I Added about 6 Inches to the Top of Each Piece for the Waistband.
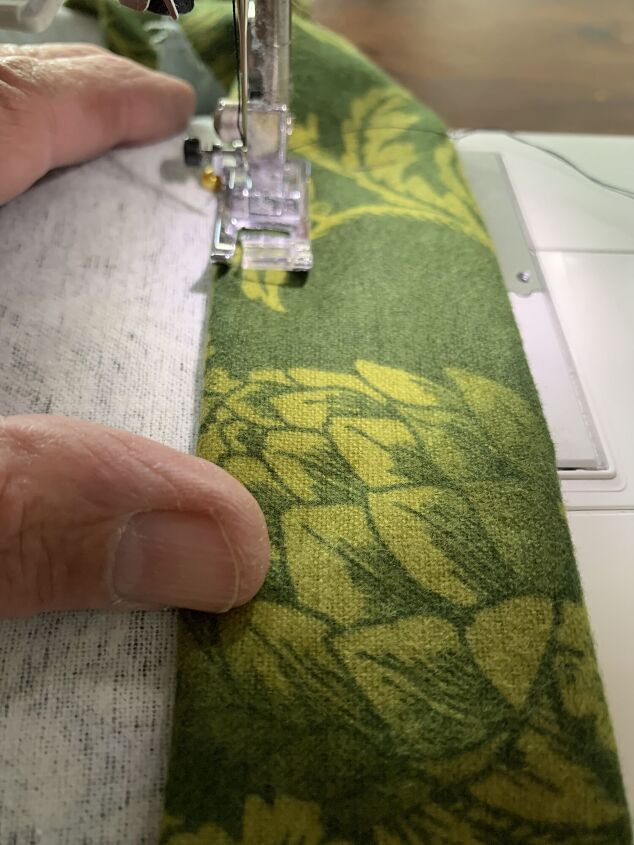
With Right Sides Together (the pattern side), Stitch the Front to the Back at the INNER Leg Seams.
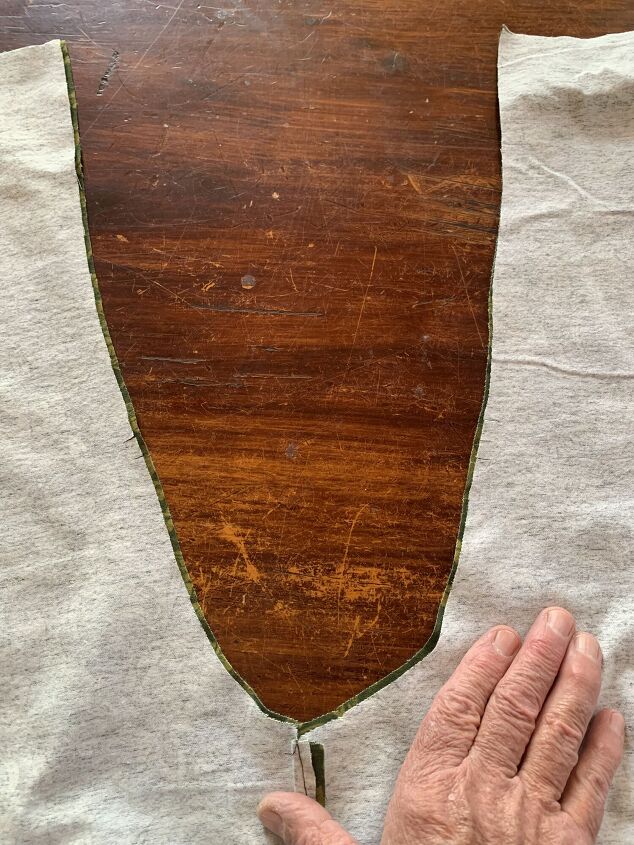
NOW...OPEN UP AND LAY FLAT EACH PIECE. The Center of Each Piece will have a big U-SHAPE...it won't look like pants just yet...Trust Me on This...
With RIGHT SIDES TOGETHER, SEW THE U-SHAPE...then go back and reinforce the stitching again...this will become the Crotch of the Pants.
With Right Sides Together, Stitch Front to Back at Side Seams.
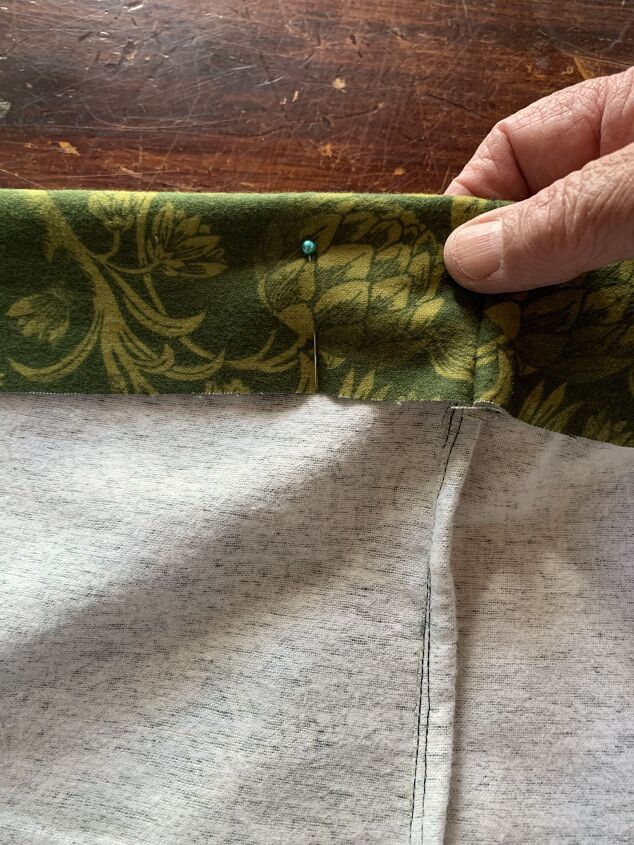
FOLD OVER the Top for a Channel for the Elastic Waist.
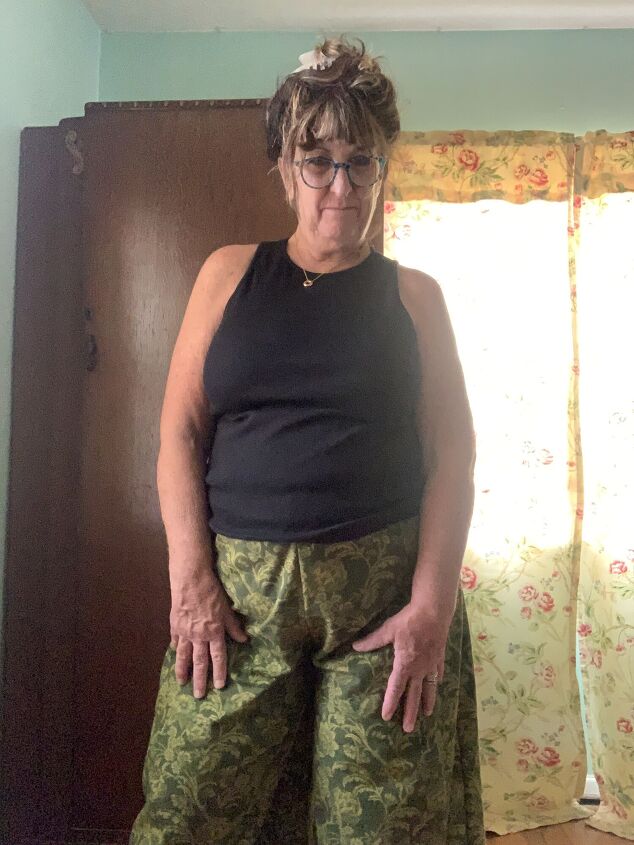
NOW...Try on the Pants while still Inside-Out...and Measure for the Waist....and Measure for the Length.
Then Try On...

The Pants...Wrong Side Facing Out...
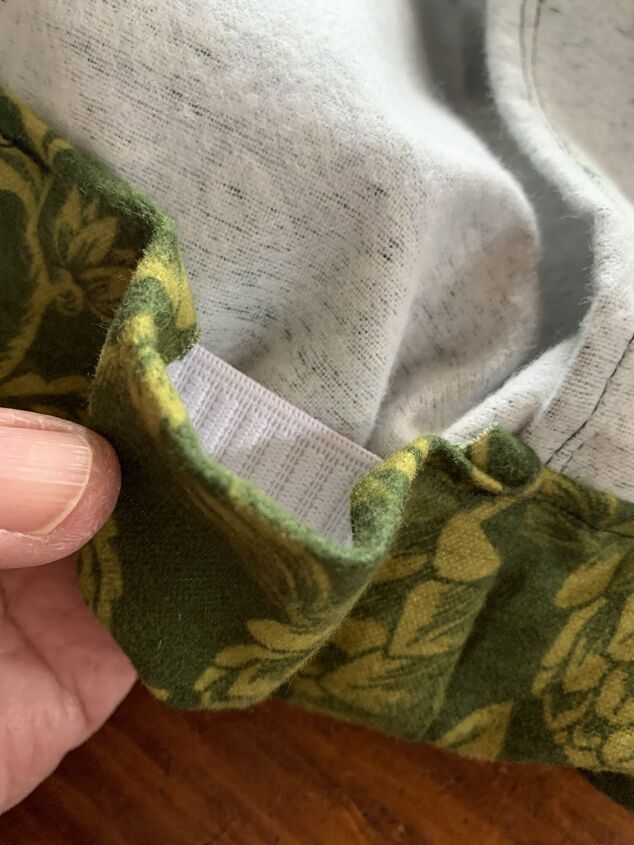
Elastic for the Waistband Casing...
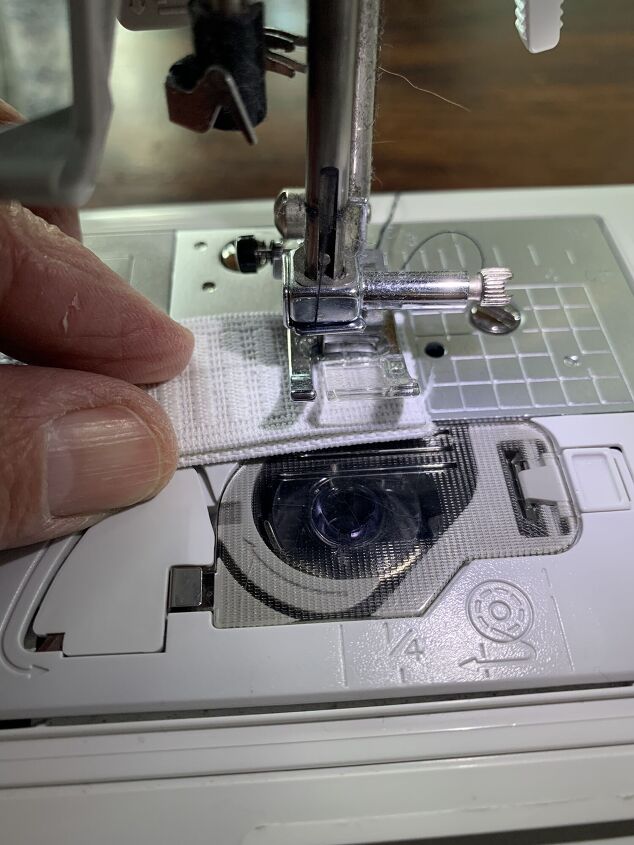
Measure and Sew the Elastic...

With a Pin on One End of the Elastic...Weave the Elastic through the Casing for the Waistband...
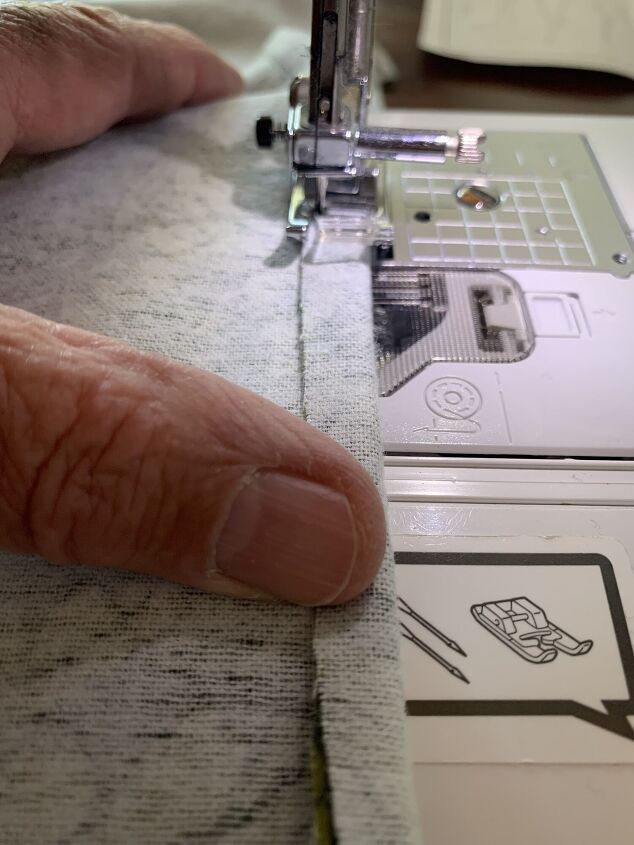
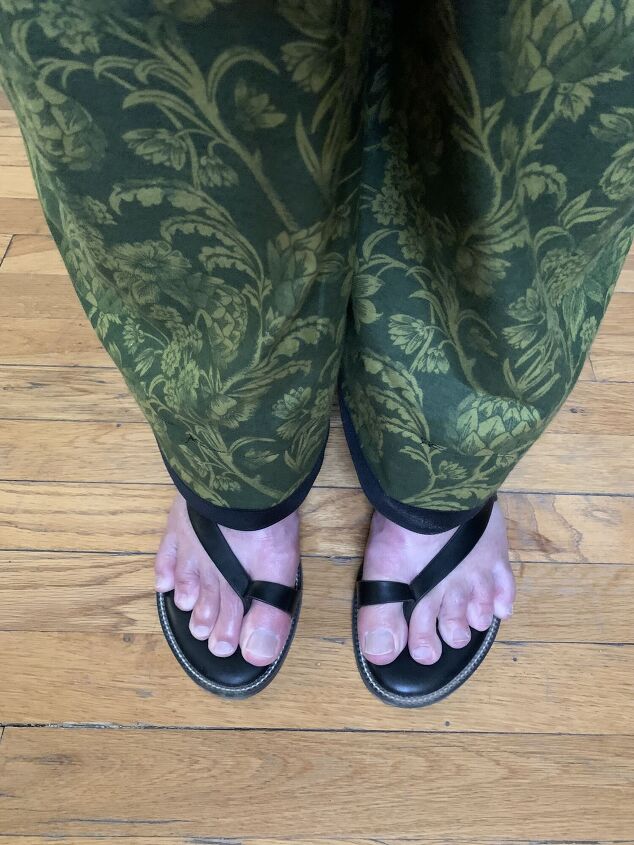
Measure and Sew the Hem...
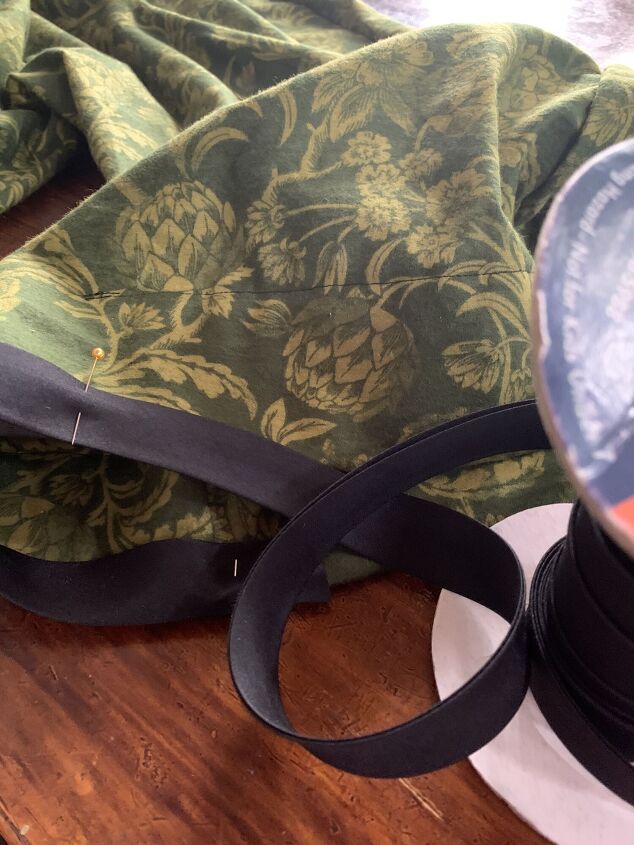
The Finishing Touch for a Custom Look...Double-Sided Bias Tape Hem...in Black. Very Classy.
A Fun Custom Look...Add Double-Sided Bias Tape...I Love This Stuff...It Totally Completes the Look.
Double-Sided Bias Tape...Amazon LINK.
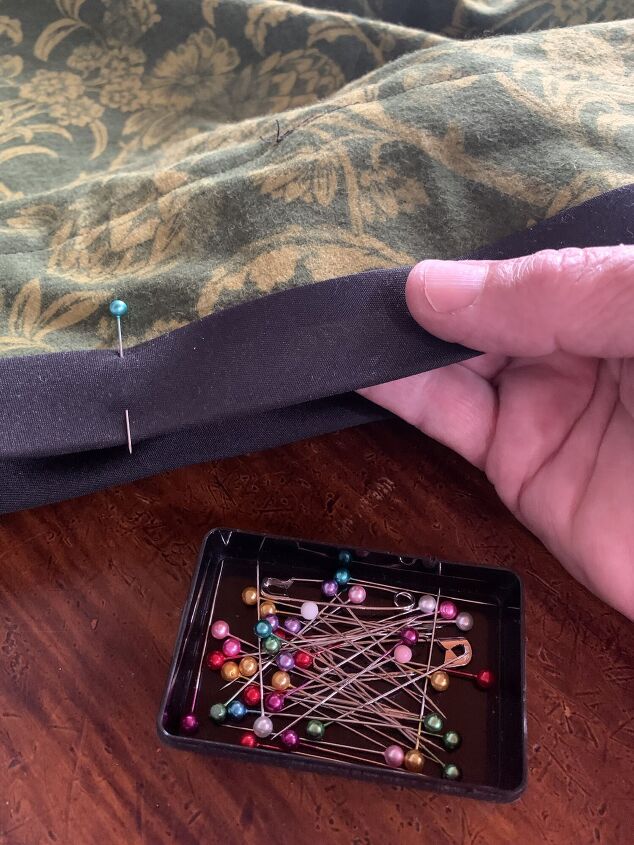
Pin and Sew the Bias Tape...
DONE and DONE!!!
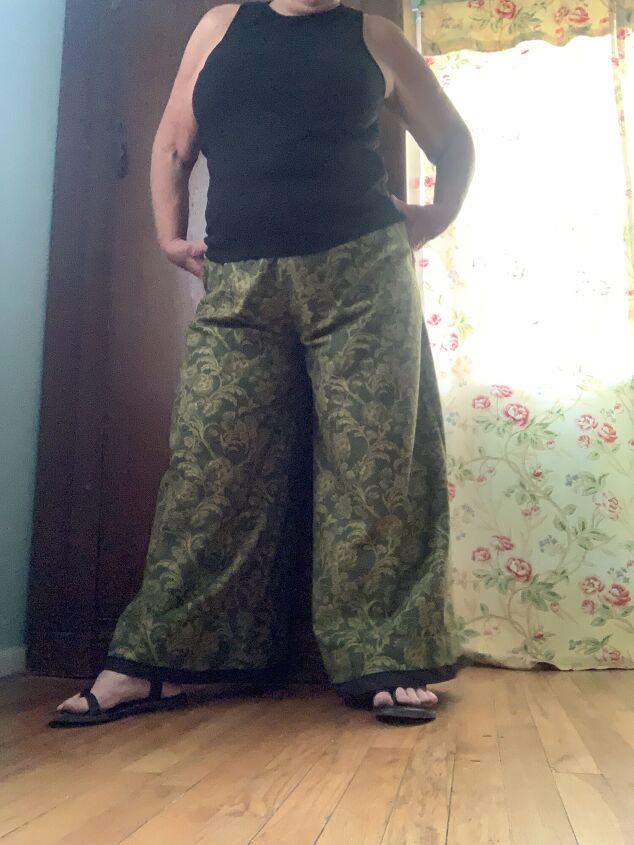
Cool...Comfy...Fun...All Cotton...Flannel...Artichoke Print???
Sure...Why Not!
Now Go Out and WOW the World in Your Fun/Comfy/Hip/Cotton Flannel Palazzos!!

For All the Magic...Jeanne of Doodle T and Me!
The author may collect a small share of sales from the links on this page.


Comments
Join the conversation