How to Make DIY Joggers That Look Like Elegant Satin Pants

In this tutorial, I’m going to show you how to make a pair of DIY joggers out of satin. Joggers, we all know, are a classic loungewear piece that you wear when you’re just chilling out; while satin, on the other hand, is quite a chic and classy material.
Here, we’re going to get the best of both worlds and create a pair of pants that are comfy and easy to wear, yet elevated and dressy as well. Let’s get to it!
Tools and materials:
- Pair of joggers
- Satin
- Scissors
- Pins
- Fabric marker
- Iron
- Elastic
- Sewing machine
- Measuring tape
- Safety pin
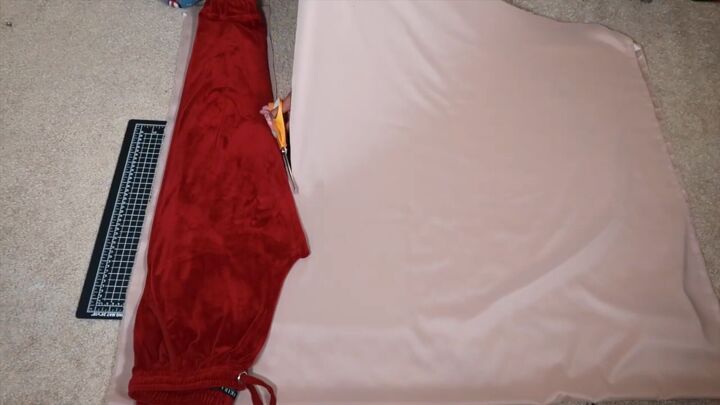
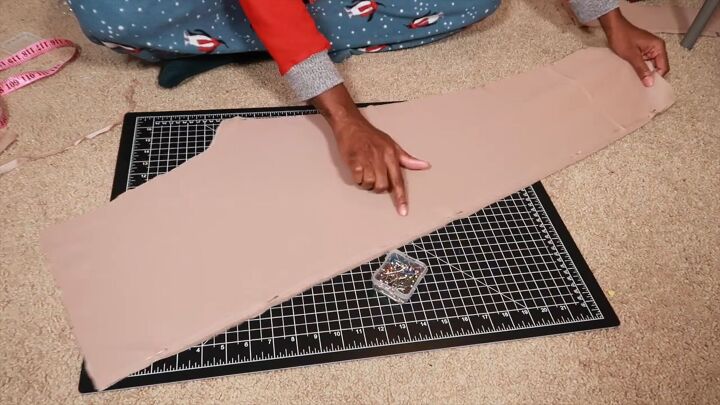
1. Cut out your joggers
Grab a pair of joggers that fit you well and use them as a template. With your fabric folded in half, draw around them and then cut out the shape.
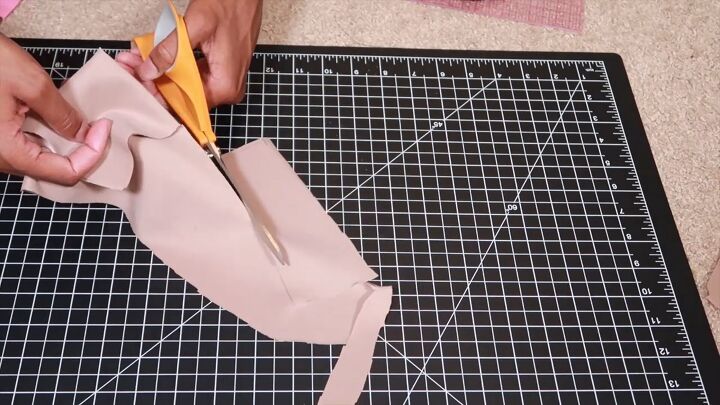
2. Cut out the cuffs
Measure the cuff of your joggers, and transfer that measurement over to the fabric. I ended up cutting out four strips of fabric: two for one pant leg and two for the other.
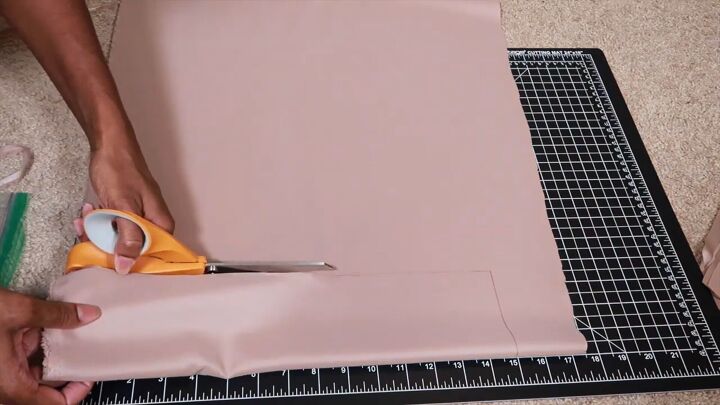
3. Cut out the waistline
Next, you’re going to do the waist of your joggers. Transfer that measurement over to the fabric and cut it out. I ended up with two strips of fabric for the waistband: one for the front and one for the back.
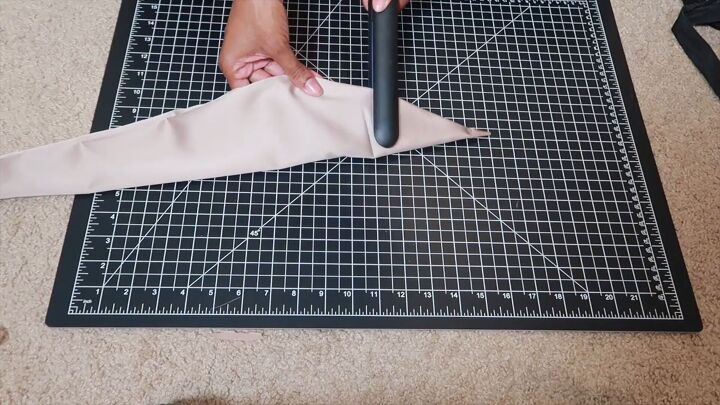
4. Create some straps
This next step is optional, but I wanted to add a little bit more pizzazz to my joggers, so I just made two straps to tie around my ankles using the leftover fabric.
To do that, I just took two long pieces of material and folded the straps over in half, making sure that the right sides were facing each other, and sewed along one end. Then, I just flipped that fabric right side out took a flat iron, and ironed it out to flatten it down.
5. Sew the legs
Grab one leg of the joggers and pin down both sides of the leg (not the crotch area), proceed to sew these sides down. Then, do the same on the other leg.
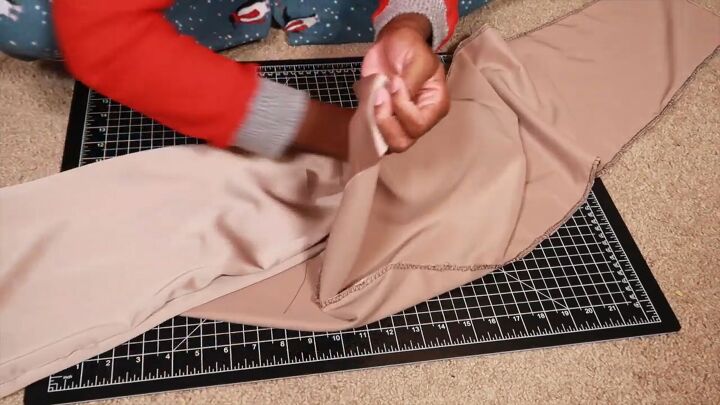
6. Sew the crotch
Put one pant leg that is right side out inside the other pant leg that is the wrong side out, and then sew down the crotch part. Once done, turn the pants right side out.
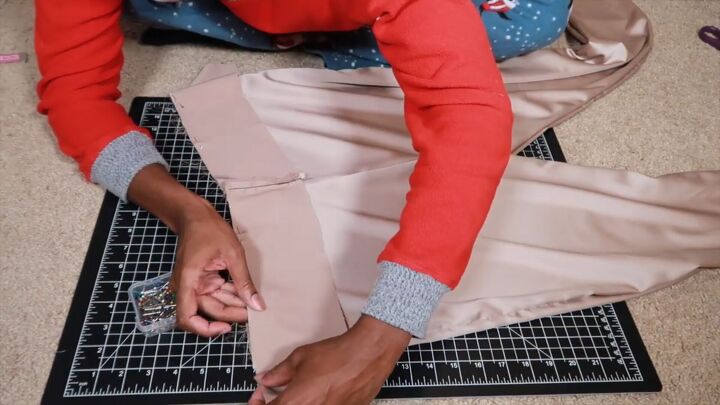
7. Attach the waistband to the pants
Now we’re going to move onto the waistband. You’ve cut out two strips of fabric for this, place one on top of the other with the right sides touching, and then sew two of the small sides together. Then with the wrong side of the fabric facing up, sew the waistband onto the pants.
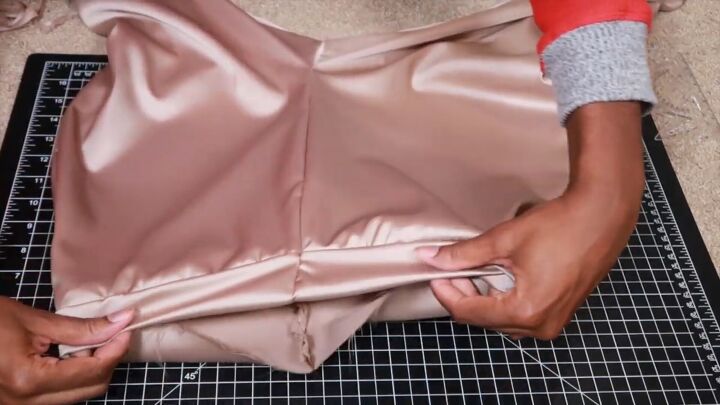
8. Sew the waistband
Once you’ve sewed on that part of the waistband, fold it in half, and sew around the perimeter of the waistband, making sure to leave a small hole so that you will be able to insert elastic through it.
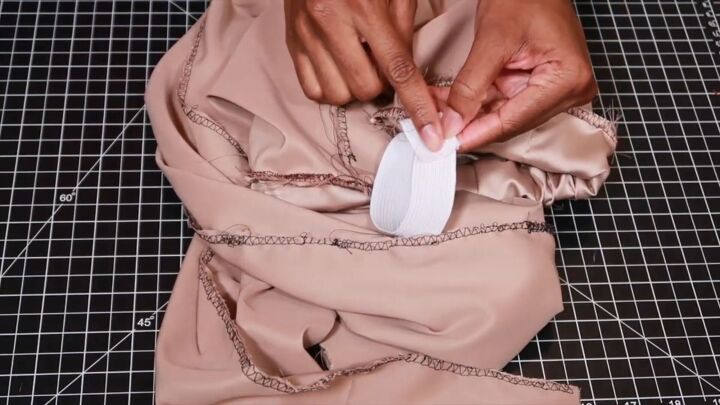
9. Insert the elastic
Then measure out a piece of elastic and feed it through the opening, attaching a safety pin to one end. Once the elastic is all the way round, sew the elastic as well as the opening closed.
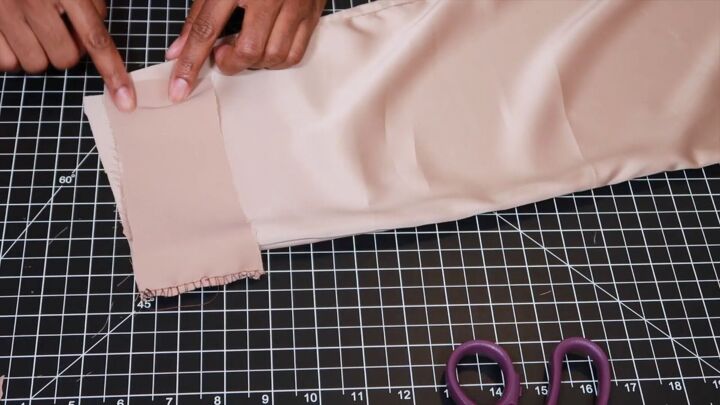
10. Sew the cuffs
Moving onto the ankle part of the joggers, we previously cut out four parts, two for each ankle, so now you just need to sew those two parts together.
Line the pieces up with the ankle, have the right side of the cuffs facing the right side of the pants, and sew along the bottom part of the fabric.
I decided that I didn’t want to add elastic to the ankle part, but you can if you want to. Proceed to fold the fabric in half inward, and then sew around the inside.
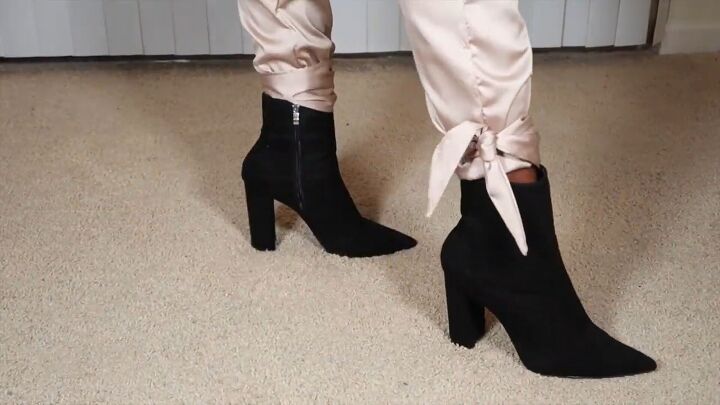
11. Tie the ankle straps
Last but not least, I tied the straps around my ankles and this is the final product!
How to make DIY joggers out of satin tutorial
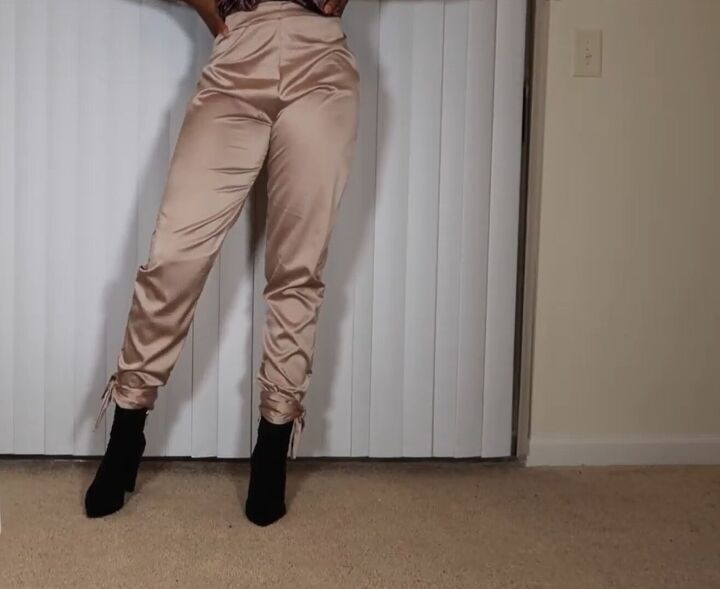
And here the pants are! I’m in love! Satin is a really chic material, and these pants look elevated and super classy.
Pair them with some heels, and they are the perfect piece for a dinner date or a night out with friends. These pants are definitely going to have a cherished place in my closet.
The author may collect a small share of sales from the links on this page.


Comments
Join the conversation