Make Wide-Leg Pants for the Summer

This tutorial will teach you how to make wide-leg pants from start to finish. These are easy, lightweight, and versatile pants that will serve you well.
Tools and materials:
- Brandy sewing pattern
- 2.5 yards lightweight woven fabric
- 18 inches of 2 inch wide elastic
- 6 x 18 inches of interfacing
- Matching thread
- Scissors
- Pins
- Serger
- Sewing machine
Prepare your pants
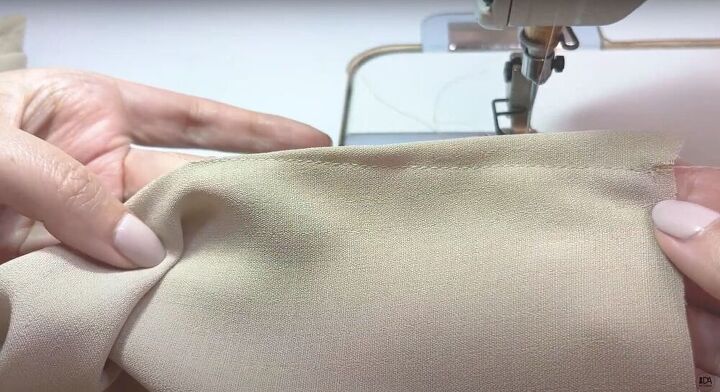
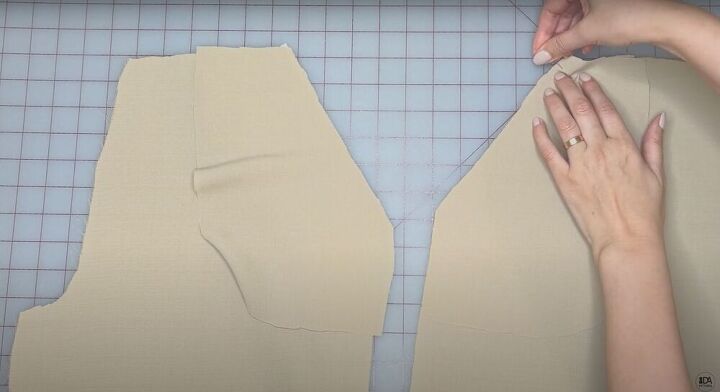
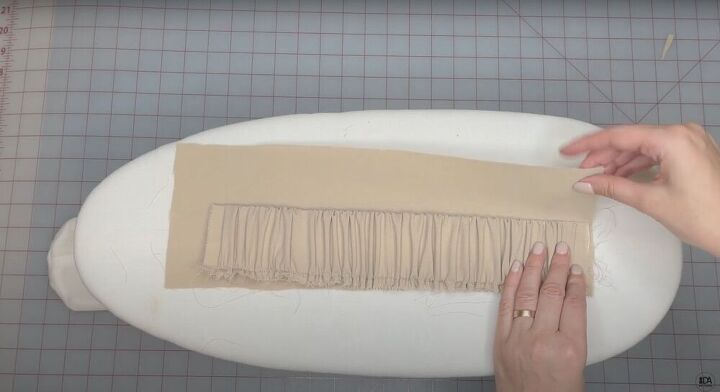
Using your pattern pieces, cut out all of your elements: the front, the back, pocket side, pocket lining, waistband front, waistband back, and the elastic guide. Next, take your front piece and fold a dart. Pin and sew. Repeat with the back. (It should look like the picture above). Once that’s done, place your interfacing by the openings to the pockets and match the pocket pieces with the pants, right sides together. Pin the pockets to the pants and sew with the interface side on top. Finally, understitch the pocket opening an eighth of an inch from the seam line.
Attach the pockets
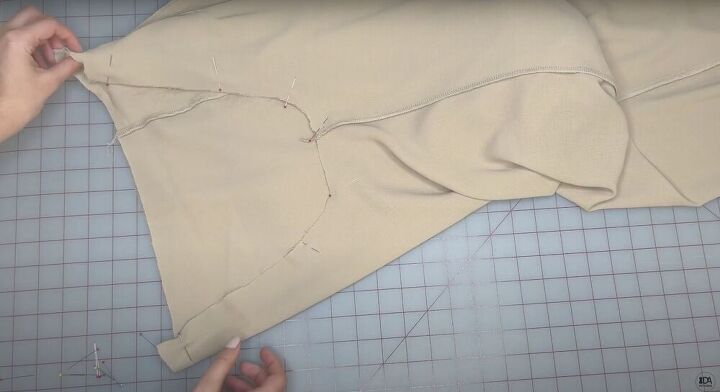
Place the front pant over the side pocket piece, matching the edge of the pocket opening with the marks at the waist and the side. Pin together. Pin the side pocket and the pocket facing together and sew around. Serge the edge of the pocket and then secure the pocket at the waistline and side seam a quarter of an inch from the edge.
Build the pants
Place the front and back right sides together, matching the marks and pin at the side seam and inseam. Sew to secure. Turn one pant leg inside out and place it inside the other leg, wrong sides together. Align the seams and marks and pin to secure. Sew the legs together and serge the edges.
Insert the elastic
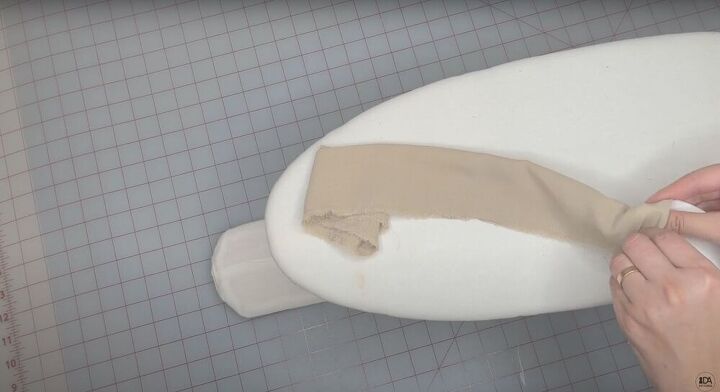
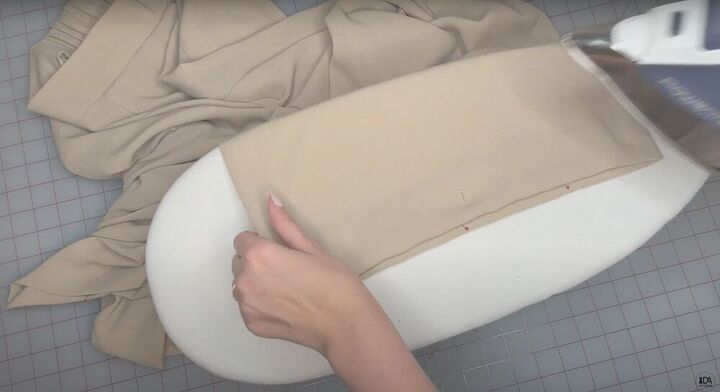
Apply the interfacing to the wrong side of the front waistband and iron it down. Fold it in half, wrong sides together (lengthwise), and press. Cut notches in the folded corners to help it lay flat. Cut off any excess. Fold the back waistband in half, wrong sides together (lengthwise), and pin. Sew the edges together, a quarter inch from the edge. Insert the elastic into the back waistband until it comes out each end. Secure the elastic at the edges.
Attach the waistband
Insert the back waistband in between the front waistband, right sides touching. Pin and sew the short edges. Turn the waistband to the right sides and mark the center front and back with pins. Place the waistband inside the pants, pins matching at the center front of the waistband with the center seam of the pants, the center back pin with the center back seam, and the sides seams. Pin between the marks and sew. (When sewing in the back, make sure to move the elastic out of the way so that you don’t sew through it).
Finish the pants
Try on your pants and adjust the length to your liking (remembering to leave two inches for seam allowance). Serge the edge, fold in two inches (wrong sides together), and hem the pants with a topstitch.
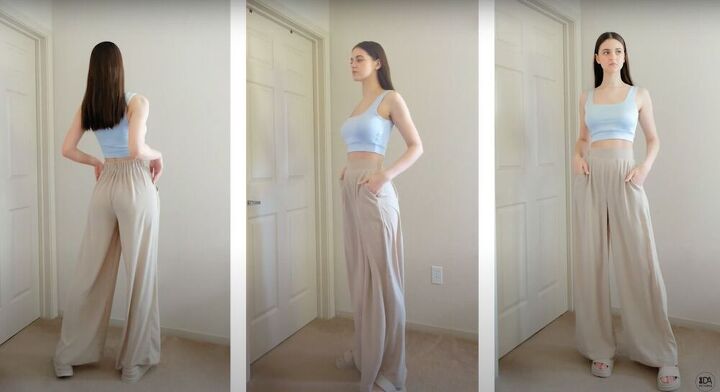
These DIY wide-leg pants are the perfect garment for the summer! Airy, light, and stylish, these pants are a triple threat. And the best part is, they can be worn for workwear or casual wear!
The author may collect a small share of sales from the links on this page.


Comments
Join the conversation