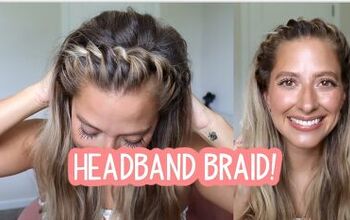
Easy Pull-through Braid Tutorial

Today, I'm going to show you a really easy, beginner-friendly way to do a pull-through braid.
This is a great way to get your hair looking polished and off your face even if it's greasy and dirty. Let’s get started with this simple pull-through braid tutorial!
Tools and materials:
- Hair balm
- Hair oil
- Elastic bands
- Hair clips
- Hairspray
- Hair comb
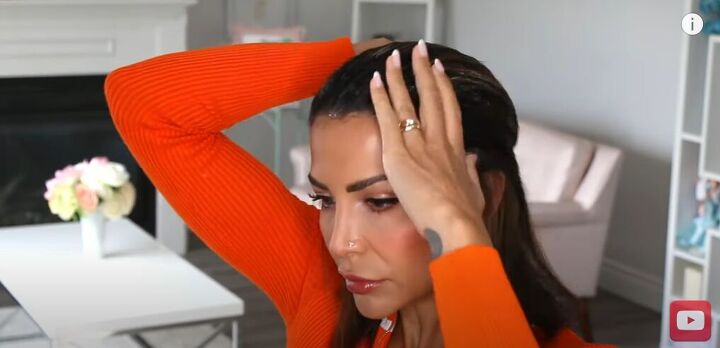
1. Apply hair balm
So, to kick start this easy braid for fine hair, I apply a little hair balm followed by some hair oil. This helps to tame flyaway-hairs and control any frizz.

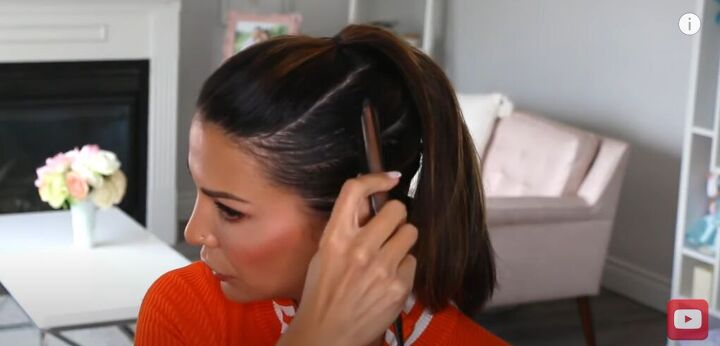
2. Create your ponytails
Then, create a series of ponytails. As you can see, I begin this first ponytail by sectioning out temple to temple.
Then, I secure it with a tiny stretchy elastic. These are really good elastics because they have a coating on them that doesn't pull and break the hair.
After that, you want to move down the head making more ponytails.
The number of ponytails you make is up to you. Sometimes I do more and sometimes I do less. It depends on how many of the braided bubbles I want at the back and also how much time I have.
3. Tidy up flyaways
Before I start the braid, I just like to clean up any of the flyaways with my hairspray. I smooth it all out, so it is polished.
Then, I like to add a little bit more cream to the ponytails so that everything is looking perfect before we get started.
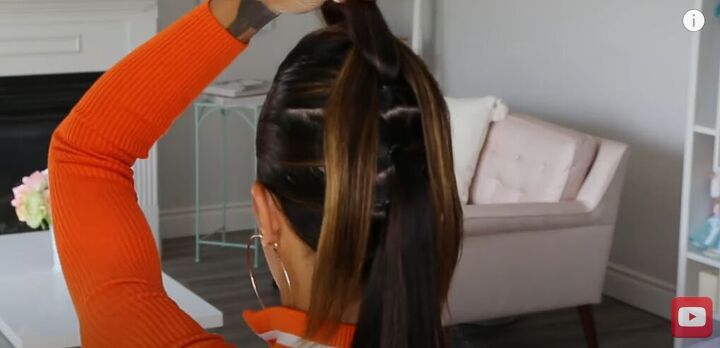
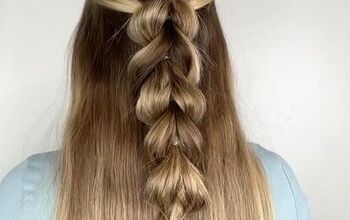
4. Create the braid
Now we are ready to braid! What you're going to do is split the first ponytail in half. You're going to grab the ponytail directly under it and clip it up.
You need to use a smooth clip here so that you don't mess up the previous sections.
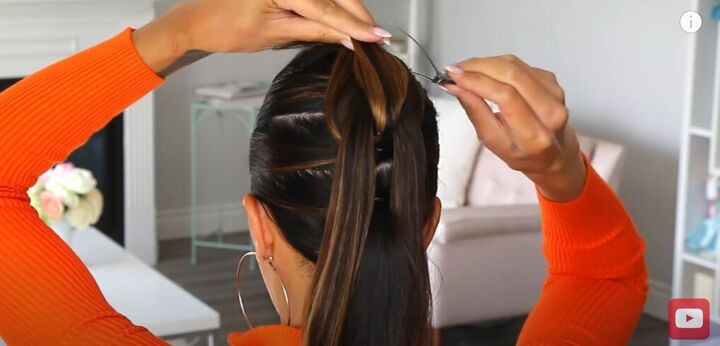
Then, attach that ponytail to the one underneath and secure it with an elastic band. Some people leave the fanning to the very end, but I like fanning each section right away because then I am not messing up any of the other areas.
Release that ponytail, split it in half, clip the other pony up, attach it to the bottom ponytail. Secure it with an elastic. Then, gently fan it out.
Now you can finish off this last one and then attach it at the bottom.

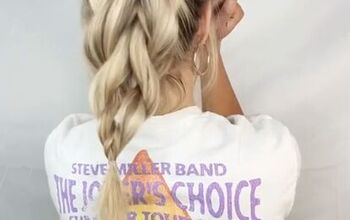
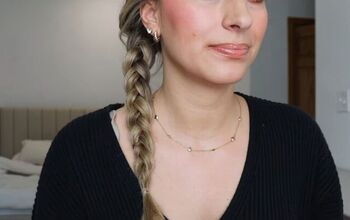
Pull-through braid tutorial
This is such a cute and easy hairstyle! I hope you found this step-by-step pull-through braid tutorial helpful. If so, leave a comment below! I love to hear from you.
The author may collect a small share of sales from the links on this page.


Comments
Join the conversation
Very professional looking. I will have to practice this. I have long, straight, fine hair that doesn't hold a curl ever. Most times I twist it up with a small clip - like beach hair! But this ponytail creation might just work for me!