4 Really Quick & Easy Natural Hairstyles (Plus 1 That's Extra!)

Today I’m going to be showing you five quick, simple, and easy natural hairstyles. Plus, one that's a bit extra because why not If you’re short on time and want to find out how to do easy natural hairstyles, then keep reading!
Tools and materials:
- Brush
- Comb
- Elastic headband
- Hair ties
- Leave-in conditioner
- Hair gel
- Silk scarf
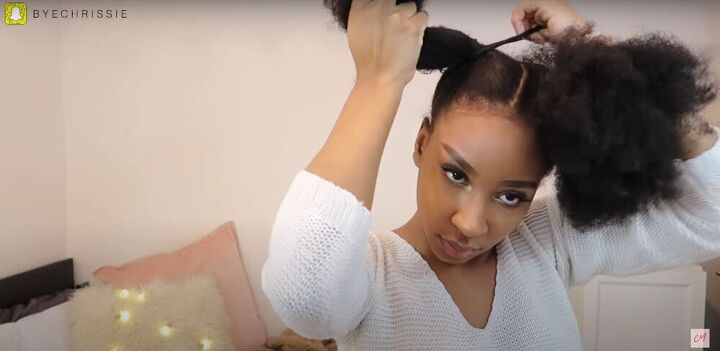
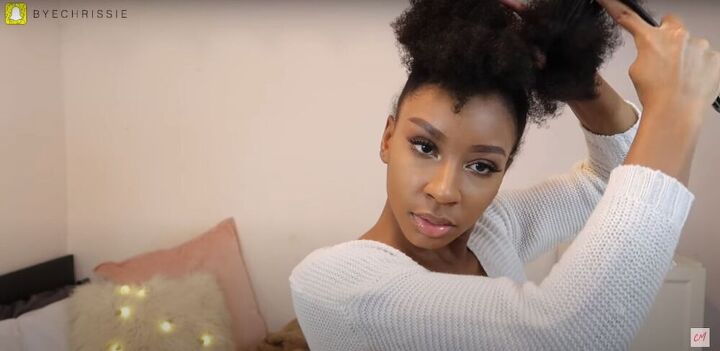
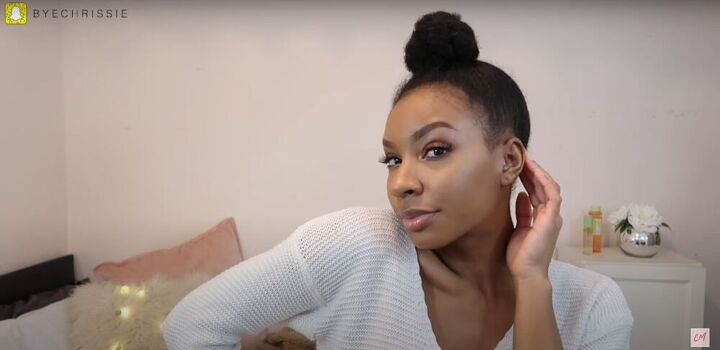
Twisty Buns
1. Separate hair
Separate your hair into two high ponytails.
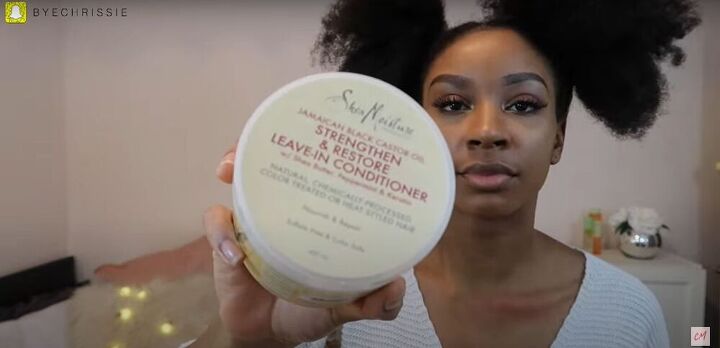
2. Conditioner
Apply leave-in conditioner to the hair in the ponytails, but not the hair on the top of your head.
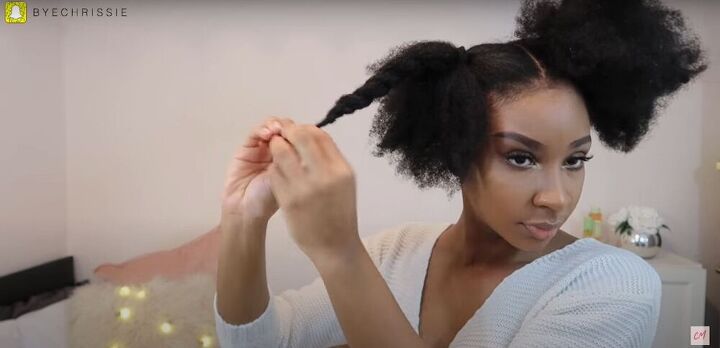
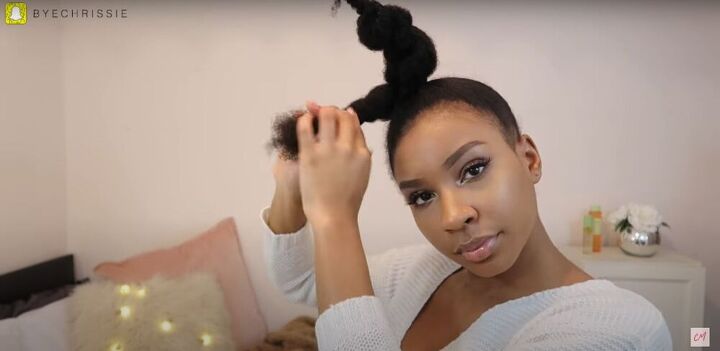
3. Twist
Divide the hair in each ponytail into two, making two twists on each side.
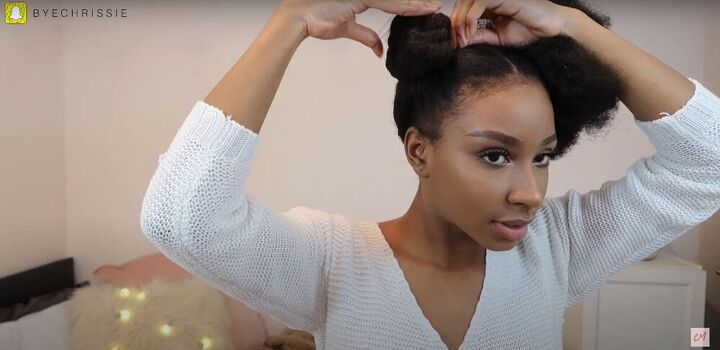
4. Wrap and secure
Wrap the twists around each other in the shape you like best, and secure each bun with a hair tie.
This is the final look! This basic natural hairstyle is easy to do, but so cute.
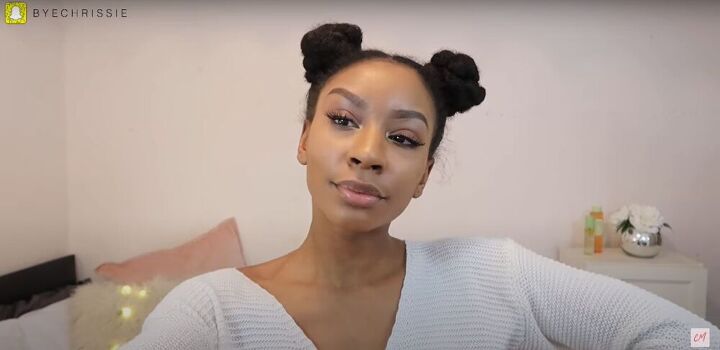
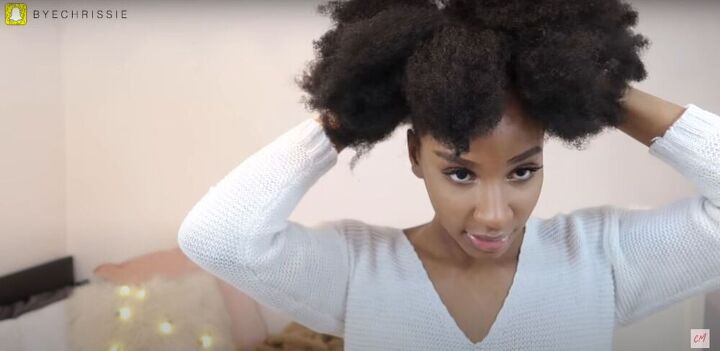
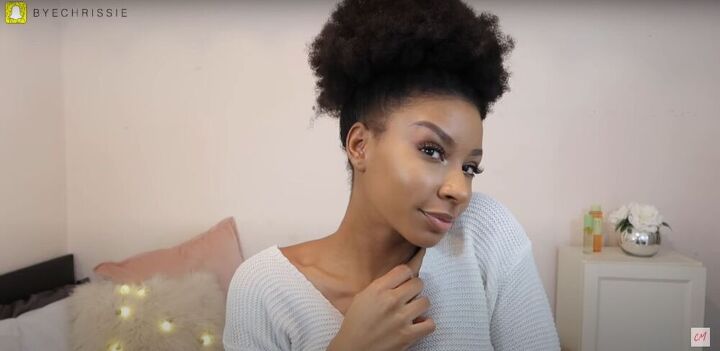
High Poof
1. Gather
For this simple natural hairstyle, gather all your hair towards the front of your head.
2. Tie
Then tie it tightly with a hair tie.
And that’s it! This is one of my personal favorites.
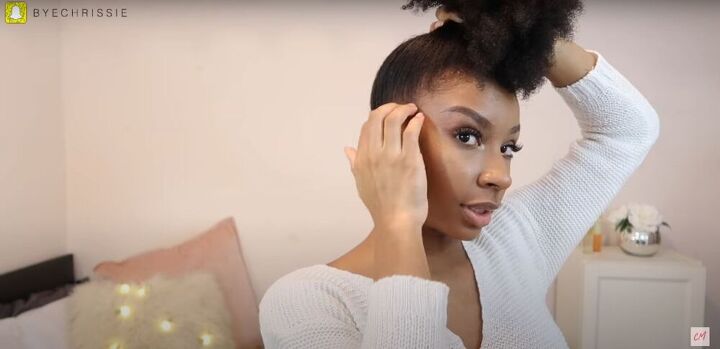
Top knot
1. Detangle
The top knot is a continuation of the high poof. After putting your hair in a high poof, separate your hair into two sections, and detangle each one.
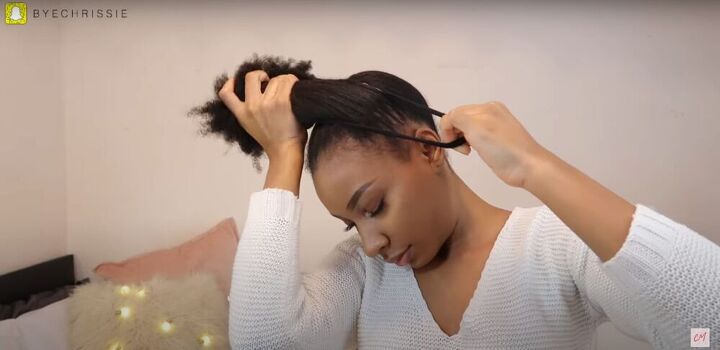
2. Twist
Twist each section.
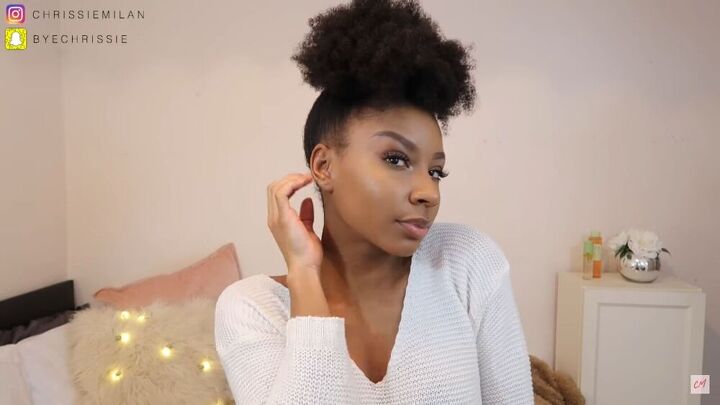
3. Wrap and secure
Wrap the twists around each other until you have a bun you are satisfied with, then secure it with a hair tie. Now you have a gorgeous top knot!
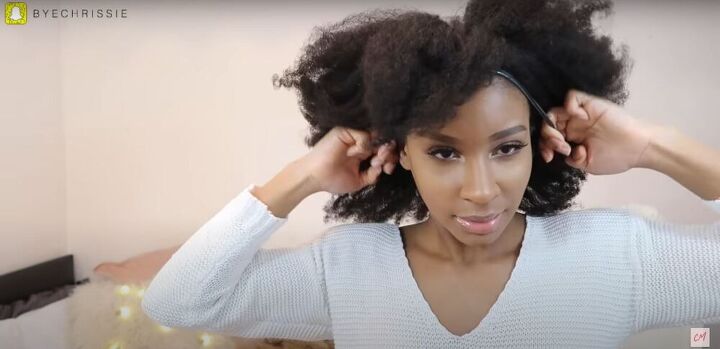
Faux Poof
1. Headband
For the faux poof, start by putting on a headband. You need one that’s very tight.
2. Slide
Adjust the headband by sliding it up in the back. Go a little bit farther back in the front until your hair gathers in the desired poof shape.
So simple, and so chic!
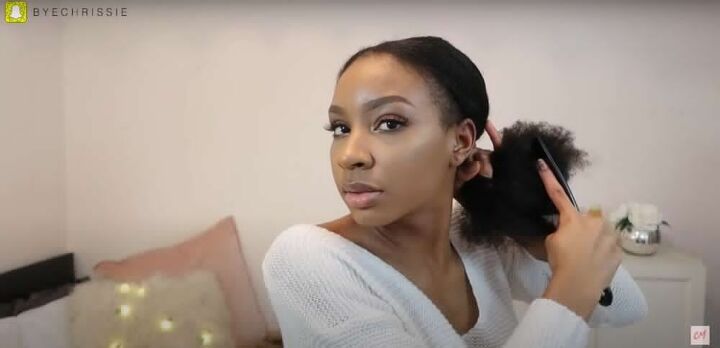
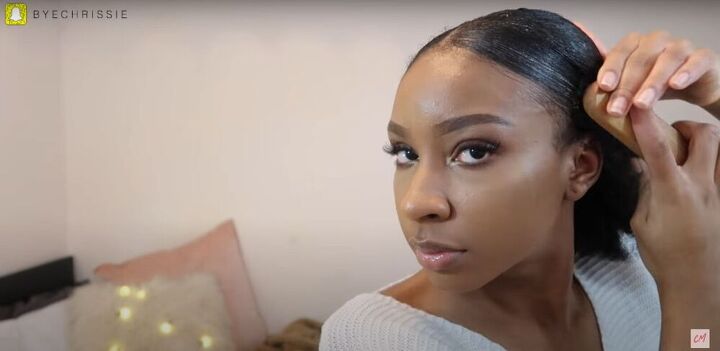
Sleek ponytail
1. Tight ponytail
To make this chic, sleek ponytail, start by making the tightest ponytail you can.
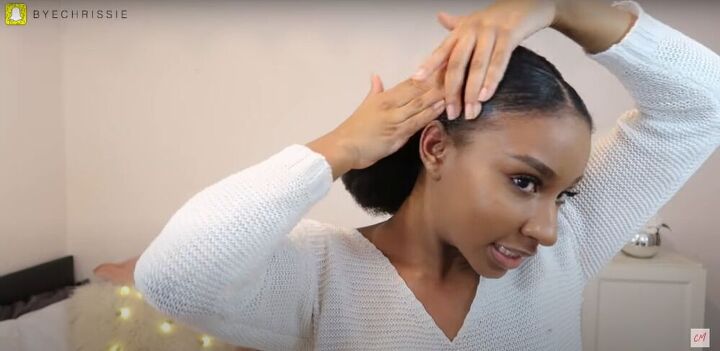
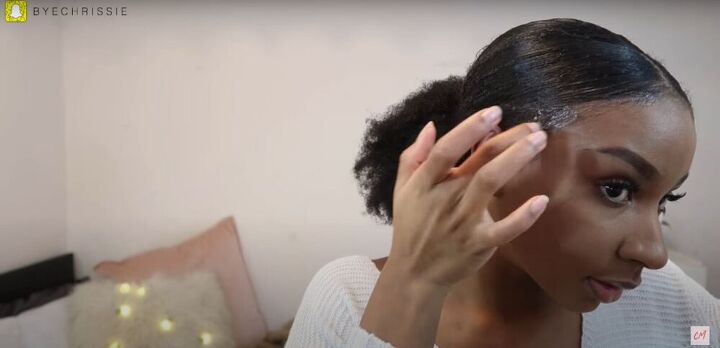
2. Gel
Apply hair gel to the hair on the top of your head, but not the hair in the ponytail. It’s important to use a lot of gel to keep the hair in place for this look, so slather it on freely.
3. Brush
Once the gel is in, redo your ponytail, and brush your hair again, making sure to brush out any little imperfections so your hair is nice and sleek.
4. More gel
Separate your edges, and apply even more gel to keep them in place.
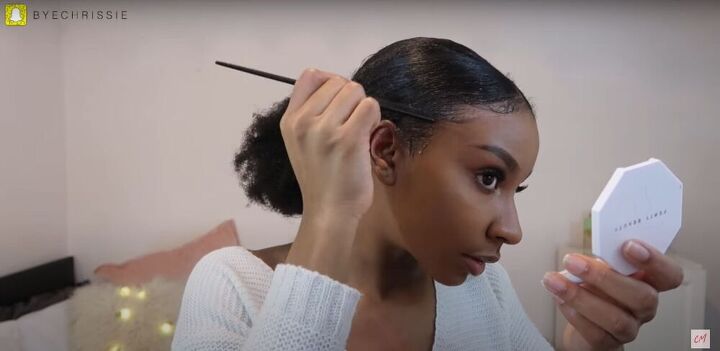
5. Shape
Use a comb to make “S” shapes along your edges, and make an exaggerated curly shape on your sideburns.
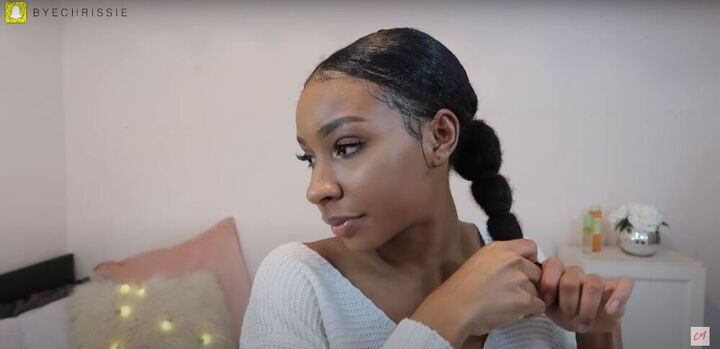
6. Bubbles
Tie the hair in your ponytail with a hair tie every few inches going down the length of your ponytail to create a “bubble” effect.

7. Wrap
Wrap your hair in a silk scarf. Tie it as tightly as you can, especially around your edges, so everything will dry nice and flat. Leave it on for about 10 minutes.
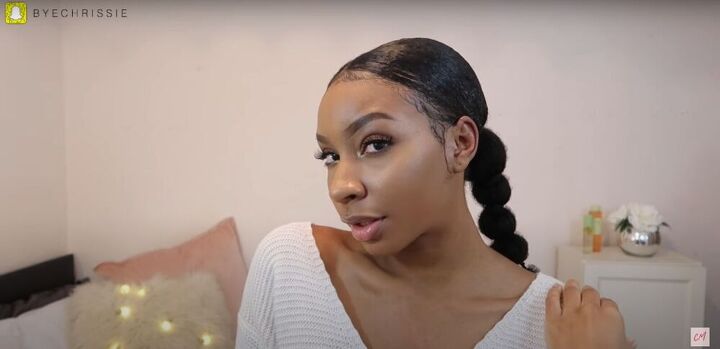
And here’s the big reveal!
I hope you enjoyed this hair tutorial and got some good ideas for some easy natural hairstyles. Which of these looks do you like the best?
The author may collect a small share of sales from the links on this page.


Comments
Join the conversation
I love them all, but the bubbles 🫧 one is my favorite! 🤩