How to Create a Gorgeous Resin Moon Charm Using Regular Dish Soap

What's going on my fellow jewelers?
I adore UV resin, it’s quick and easy to use. Today, I have this mind-blowing UV resin jewelry idea that you are going to love.
I am going to take you through the steps of creating a resin moon charm using regular dish soap and UV resin. Come along and make this bubble effect with me.
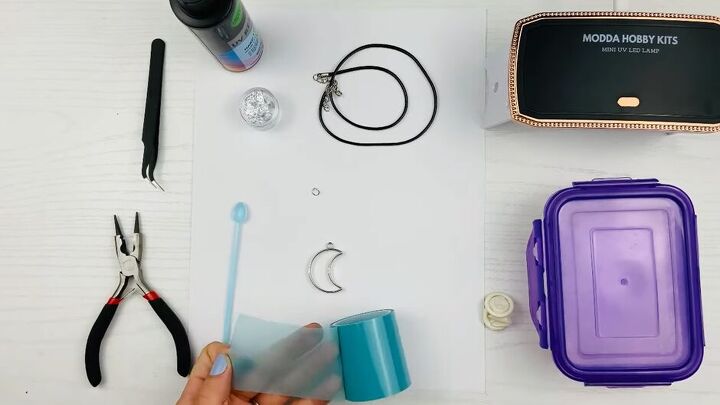
Tools and materials:
- Dish soap
- UV tape
- Charm
- UV resin
- Craft foil
- Orange stick
- UV lamp
- Rubbing alcohol/nail polish remover
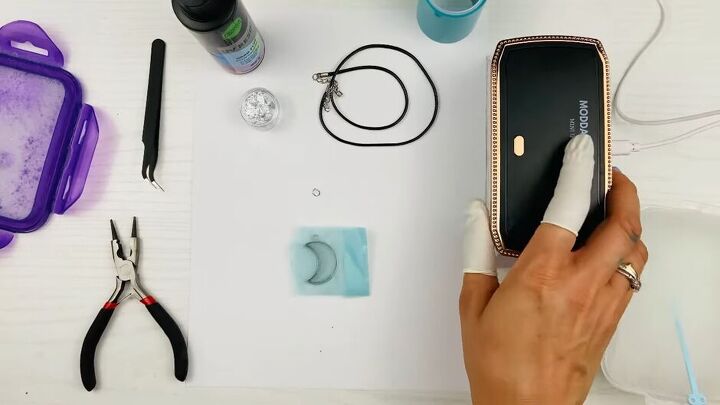
1. Fit UV resin tape to charm
The first thing you need to do is get your UV resin tape and cut a piece that is quite a bit larger than your charm.
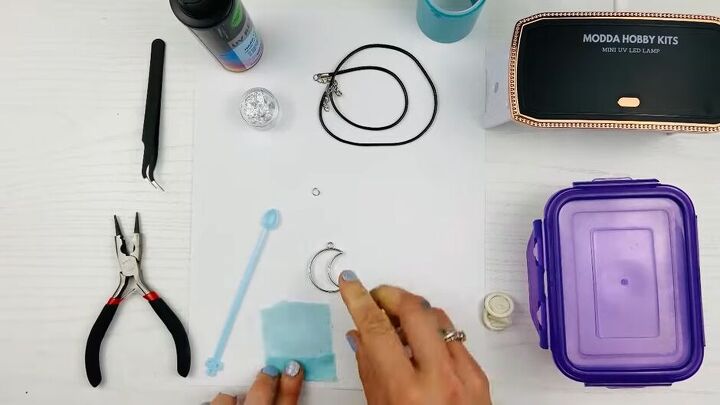
Then fold one edge over, so we have a place to put our finger and maneuver our project as needed.
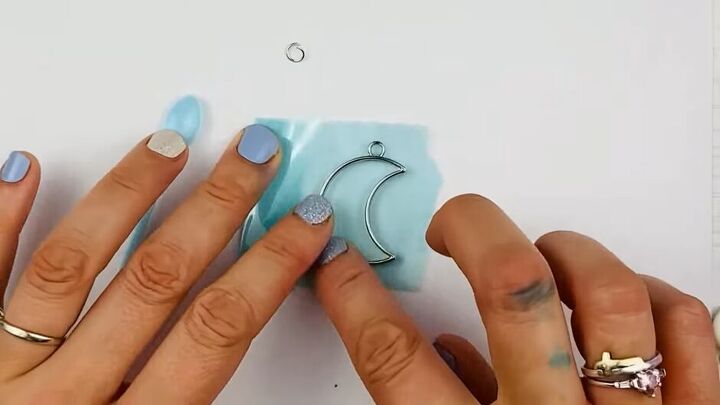
Stick your charm on the tape. Move your finger around the edge of the charm a couple of times to make sure that it is stuck perfectly onto the tape.
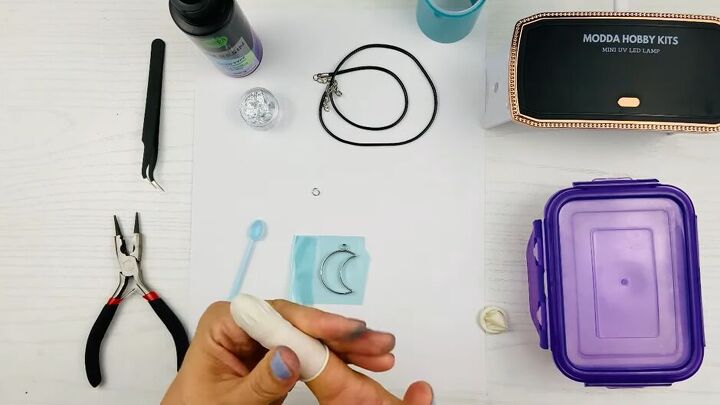
2. Put on silicone finger protectors
Next, put on a couple of silicone finger protectors.
You are working with chemicals, so you need to make sure that you are protecting yourself.
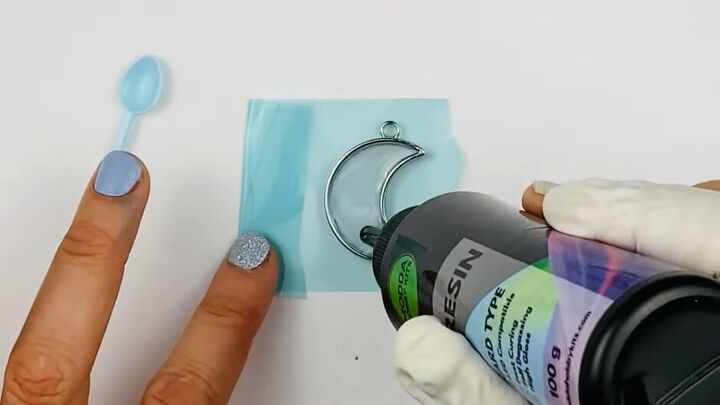
3. Pour resin into the charm
Now, take your resin and pour a layer inside the charm. Don’t go too high.
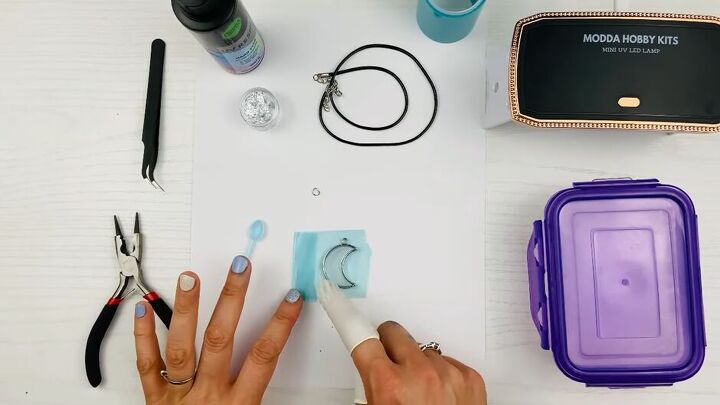
You want to ensure the resin flows into the edges.
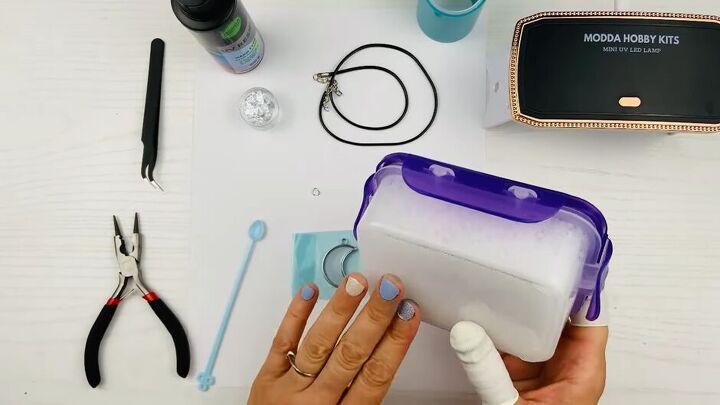
4. Mix water and dish soap
Inside a container mix water with a few squirts of dish soap and give it a good shake to create some bubbles.
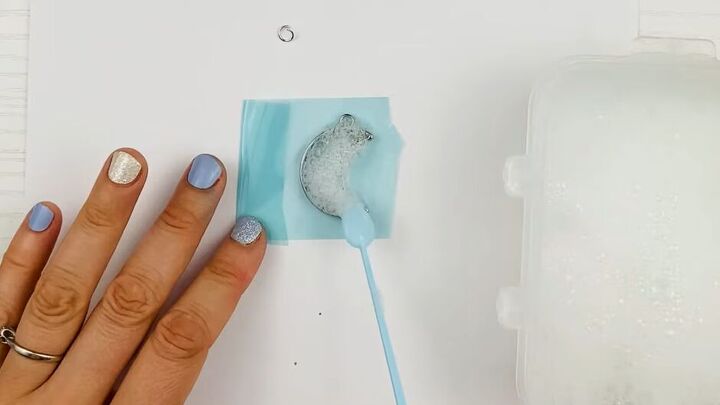
5. Adding bubbles to the charm
Open the container and scoop those bubbles onto your charm.
Don’t worry about there being an abundance of bubbles on the charm, the UV light will make them disappear.
It is more important to worry about covering the whole surface of the charm with bubbles so that we can ensure the effect shows throughout our piece.
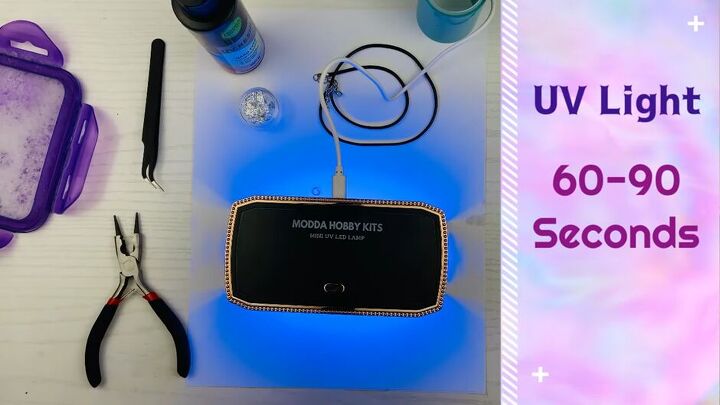
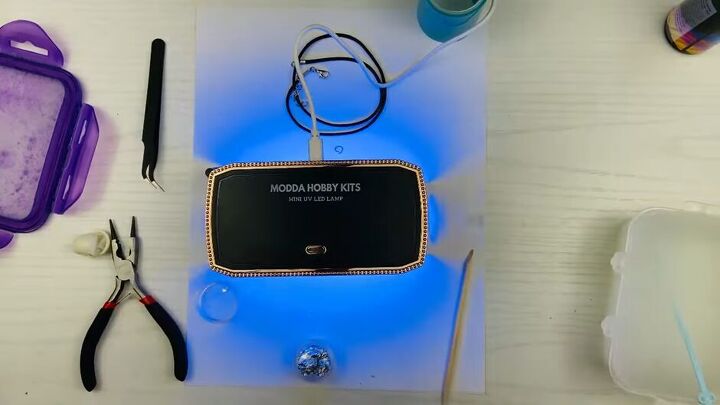
6. Place under UV light
Now we're going to put our UV light over the charm for 60 to 90 seconds.
Flip it over and place it under the light for another 60 to 90 seconds. This way you ensure the resin is completely dry on both sides and is not sticky.
Now that the resin is dry you will be able to see the gorgeous bubble effect.
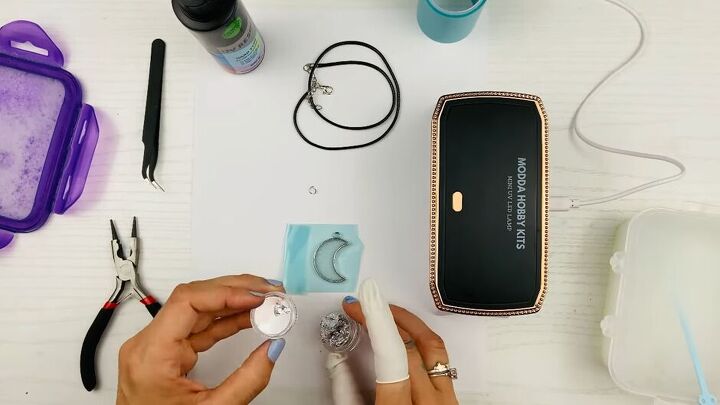
7. Add sparkle
To highlight the effect, you can do a few things.
You can either brush some eyeshadow or mica powder over the bubbles for a pop of color, or you apply silver foil over them, which is what I chose to do for this resin moon tutorial.
The resin is no longer toxic, so you can remove your finger gloves.
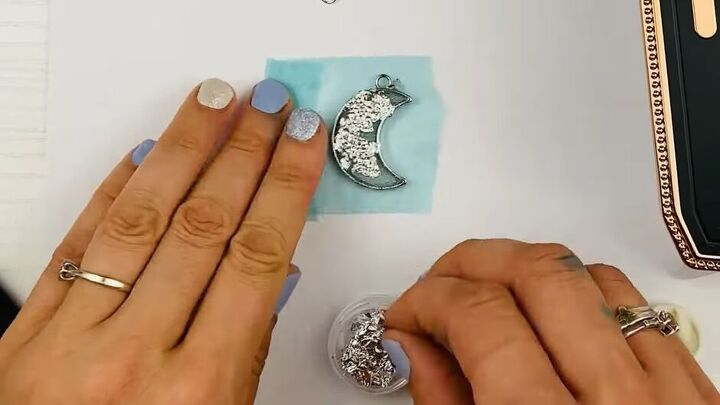
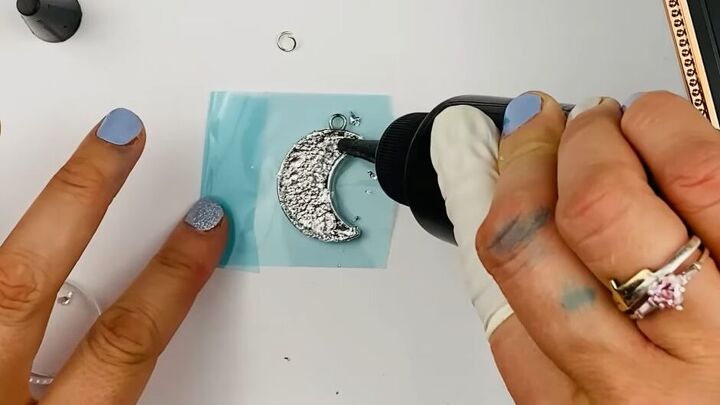
Take the foil pieces and squish them over the resin. The resin is transparent so you will be able to see the foil through the back, and this will accentuate that bubble effect you created.
Make sure you get those foil pieces over the whole surface area and into those corners and edges.
8. Add more resin
Now you need to put the finger gloves back on because we are going to cover this foil with another layer of resin.

This resin layer must be full, use an orange stick to pull the resin into the edges and corners and anywhere else that is lacking.
9. Place back under UV light
Place it under the UV light for another 60 seconds.
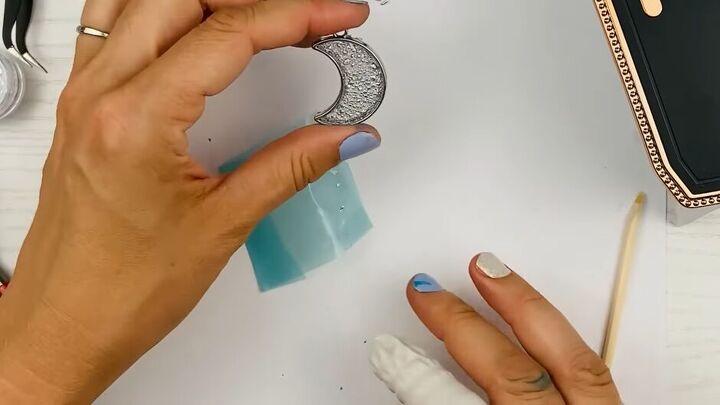
10. Remove UV tape to reveal final product
Carefully remove the UV tape and you are done!
Resin moon pendant
I'm so excited about the result, it looks like the craters on the moon.
If you have UV tape that isn’t coming off, rub it with a bit of rubbing alcohol or nail polish remover.
Remember, you can only do this technique with UV resin, not epoxy, so make sure you buy the correct one.
Wasn’t that fun? This technique is amazing, I absolutely love this resin moon.
Comment down below, I want to hear what you think of this bubble effect!
The author may collect a small share of sales from the links on this page.


Comments
Join the conversation