1950s Retro Hairdo Tutorial

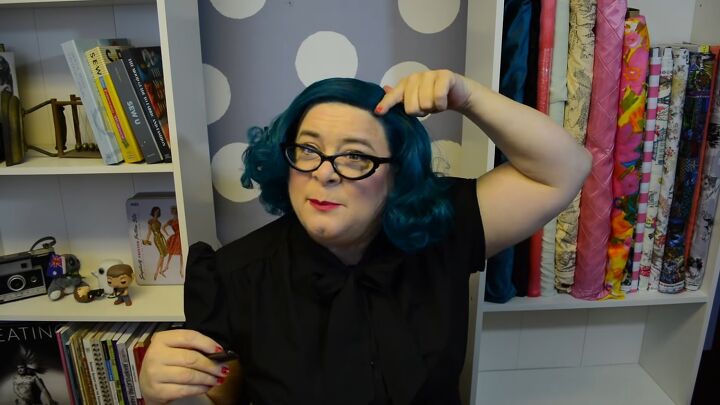
Hi everyone. In this vintage hairstyle tutorial, I’m going to show you how to do a 1950s retro hairdo. Let’s get started.
Tools and materials:
- Hair rollers
- Setting spray
- Brush
- Smoothing serum
- Comb
- Hairspray
- Teasing brush
- Pomade
- Clips/pins
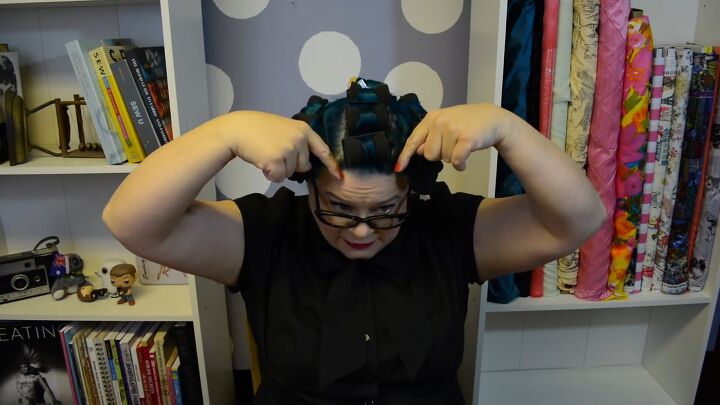
1. Set overnight
The setting pattern is an overnight wet set using two different sizes of foam rollers, one 1 ½ inches and another 1 inch from end to end.
The rollers on the top should go back and everything else should go under.
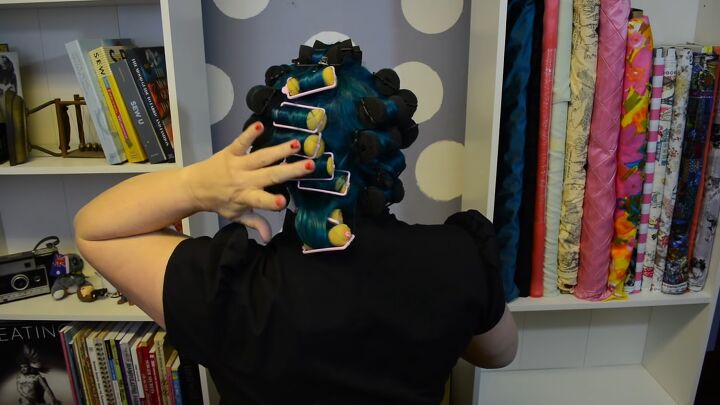
Use the big rollers in the front and the remaining little ones in the back.
I use a hairnet when I sleep otherwise they will all fall out.
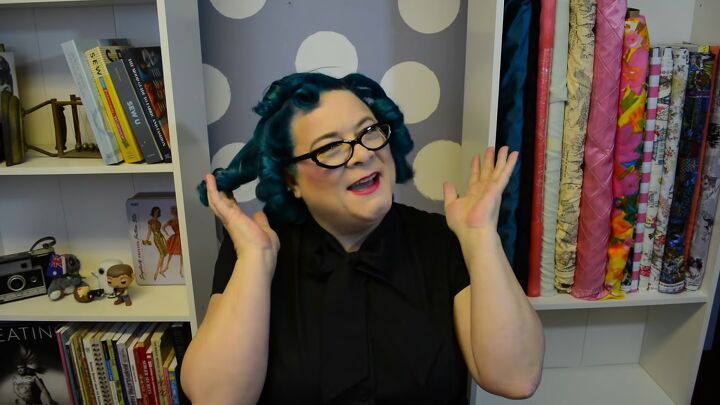
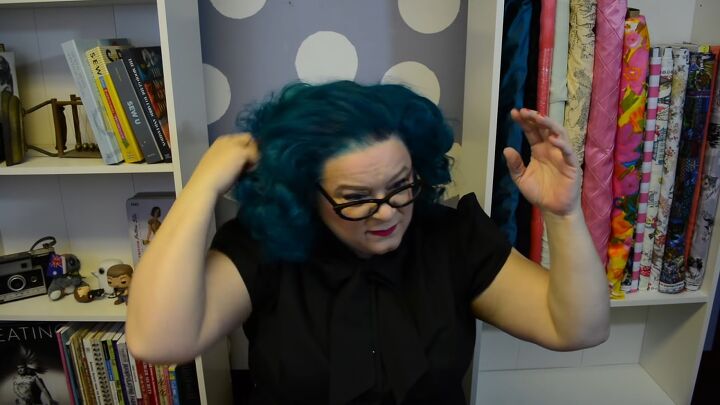
2. Break the curls apart
Remove the rollers and begin breaking the curls apart by raking your fingers through them.

3. Brush out the curls
Use a brush that has stiff bristles and brush through the curls.
Most classic hairstyles have that halo of curls, so brush all of your curls to the bottom of the hair.
Brush the ends of the hair against your hand to help minimize any frizz.
4. Apply smoothing serum
Rub smoothing serum between your palms and place it all over your hair, starting at the ends of the hair.
This is going to help smooth the hair down and provide some shine. It contains a lot of really enriching oils and provides moisture to the ends of the hair.
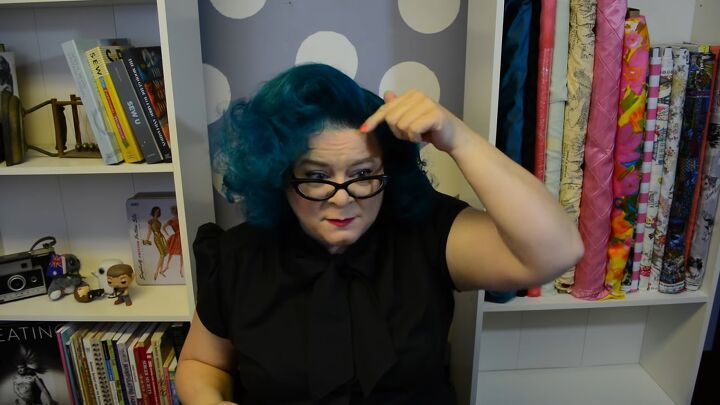
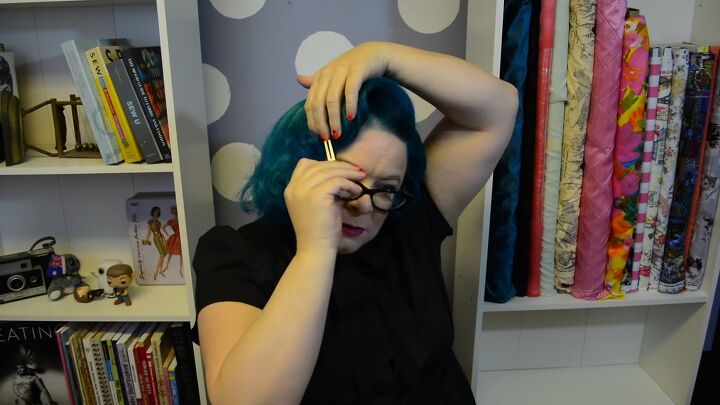
5. Part the hair
Use a rat tail comb to part the hair just past the corner of the forehead.
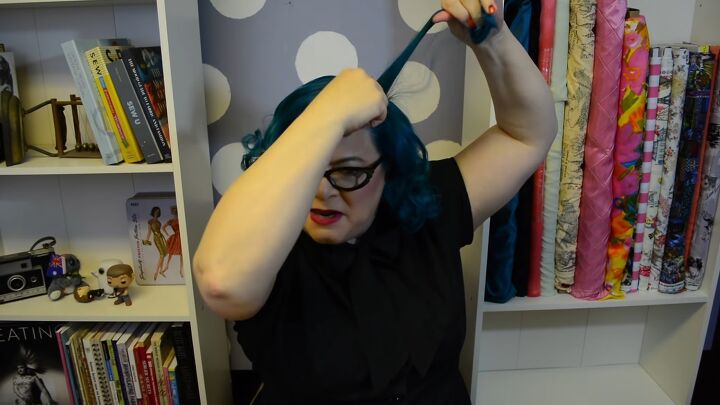
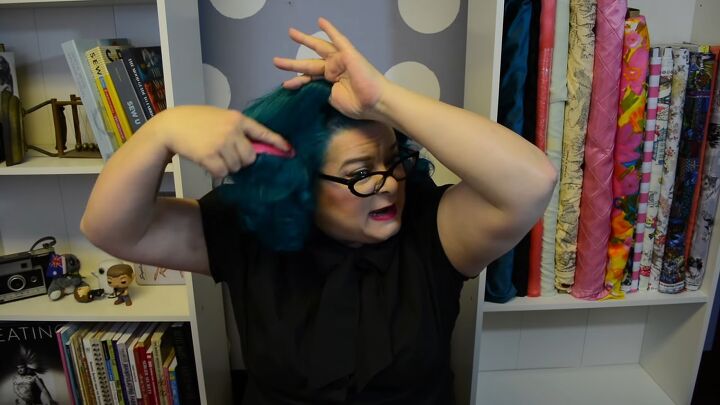
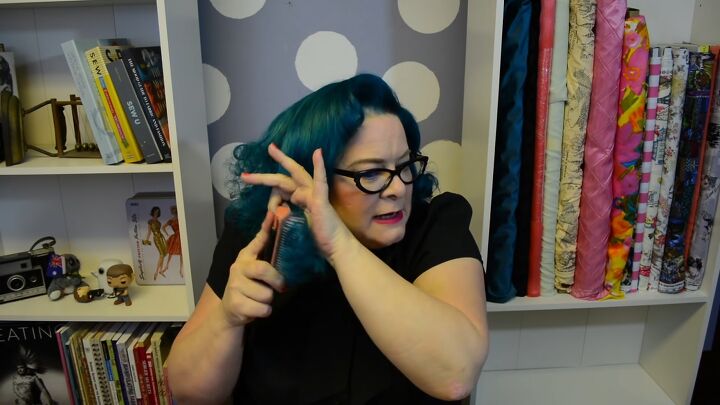
6. Backcomb the side of the hair
Since I want the hair to stay, I’m grabbing thin sections of hair on the smaller side and backcombing and teasing right at the base to give it some lift.
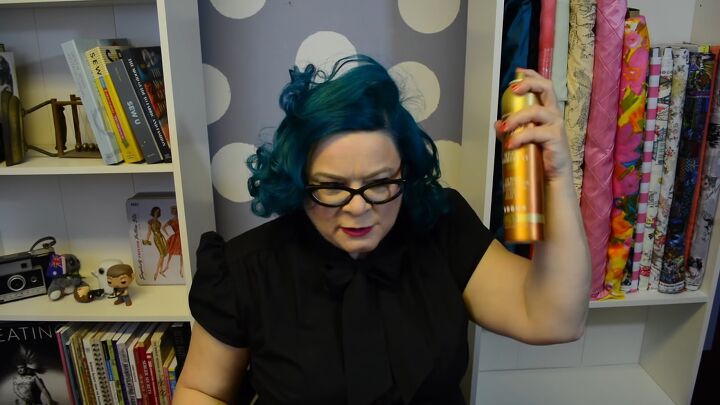
7. Hairspray
Give each layer a spritz of hairspray after you’ve teased it.
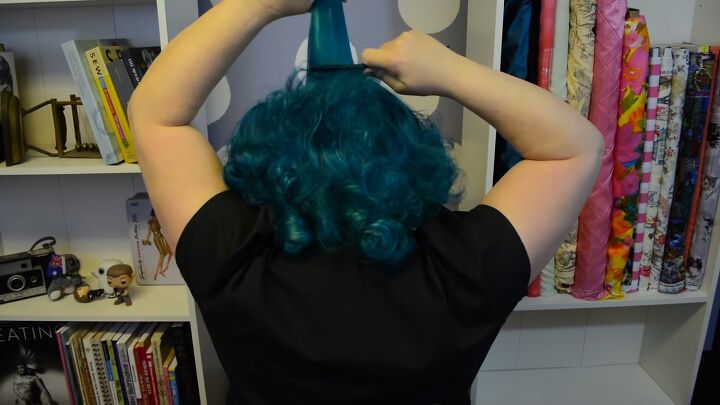
8. Backcomb the back of the hair
Continue backcombing at the base of the hair in the back.
Do this about halfway down the head, so you’re not teasing all of the hair. Give that a spritz as well.

9. Backcomb the remainder of the hair
For the crown area, you’re going to be a bit more strategic and take thinner sections of hair.
Still, backcomb at the base, but go up the strand of hair a lot.
You want to see if you can get it to stand on its own. Again, spritz with hairspray after each layer.

Do this technique from corner to corner.
For the remaining side of the hair, do the same thing you did on the opposite side.
As crazy as it is, the teasing and the backcombing are going to be what help mold the hair.
10. Smooth the outside of the hair
Use a teasing brush that is packed with a lot of soft and flexible bristles so it doesn’t get stuck in the hair or comb through the backcombing.
You just want to smooth the outside of the hair.
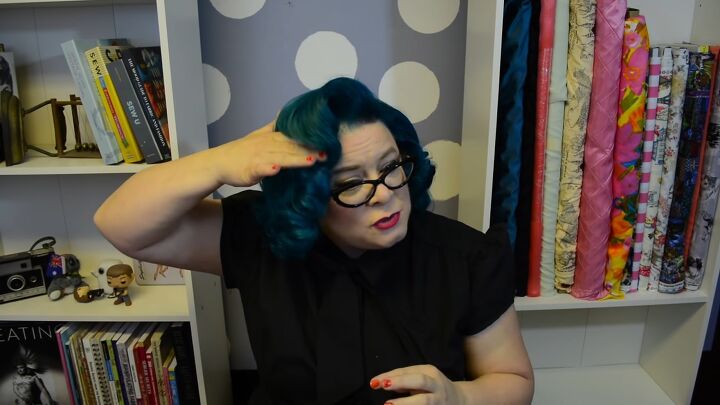
11. Mold the hair at the crown
As you brush the hair at the crown, push it back up so you’re gaining more height and not combing it completely flat.
Hold on to that height and brush the hair so you’re not pulling it out.
12. Brush and smooth out the ends
If your ends are looking frizzy, grab hold of the ends and use a stronger bristled brush to smooth them out.
Grabbing a bunch of hair and brushing it up against the hand can give you more uniform curls after you break it apart.
13. Apply pomade
Smooth pomade into the palms of your hands and work it into your hair around the hairline and then work it into the hair that’s nicely brushed.
It’ll weigh down the errant hairs and make it look a little smoother.
14. Spray with hairspray
Spray with hairspray again, and while it’s still wet, run your hands over your hair.
Make sure that you’re spraying underneath the hair as well.
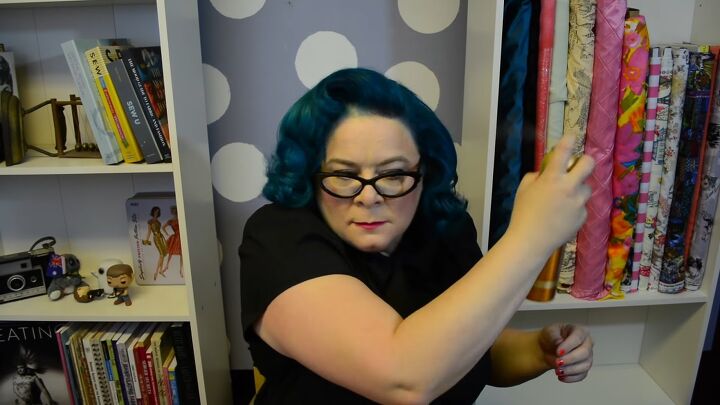
15. Style the hair
Work the hair into the position you want it to be.
You can use clips or bobby pins to lock the hair in place as you work through other parts of the hair. Give it a spray of hairspray.
16. Break the curls up
Apply a bit of pomade on your hands and break up the curls to fluff them out and give them more volume.
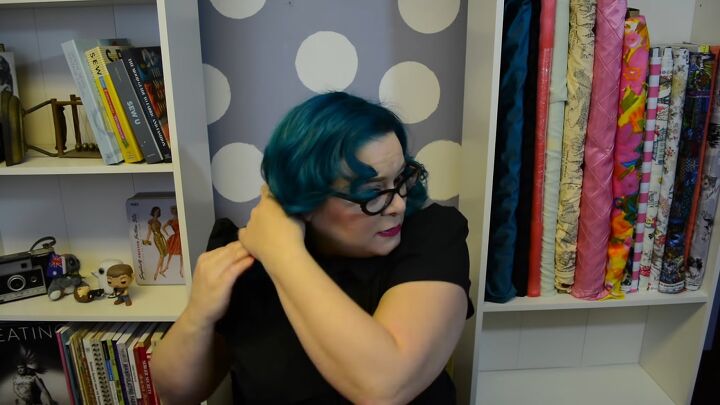
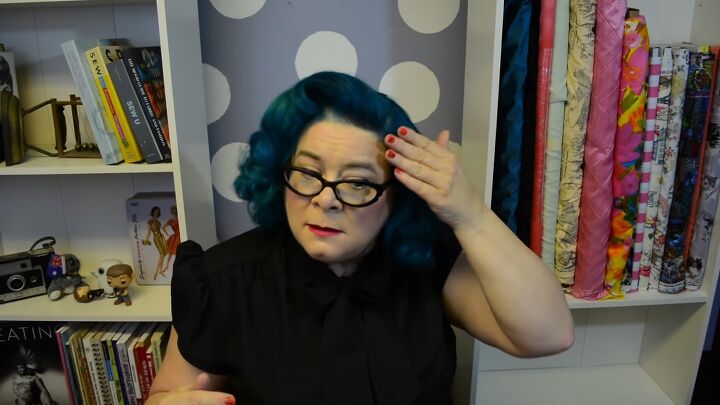
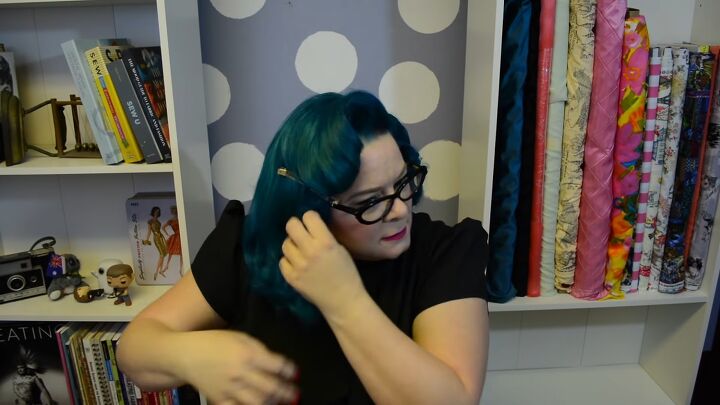
17. Further indent the hair with your hand
Use your hand in a karate chop position to work into the wave and make it more prominent.

1950s retro hairdo
Here’s the finished retro hairstyle! Let me know what you think of this vintage hairstyle down below.
For more hair content, check out my post on How to Preserve Curls Overnight.
The author may collect a small share of sales from the links on this page.


Comments
Join the conversation