Easy Romantic Curls Hairstyle Tutorial

This romantic curly hairstyle has some real magic going on! Follow this tutorial to learn how to create this vintage updo, with tons of volume.
Bonus: Learn how to make your own hair fillers!
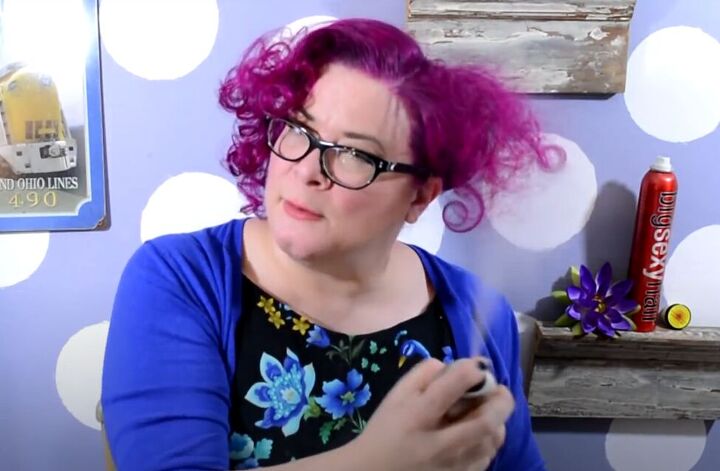
Tools and materials:
- Comb
- Heat protectant spray
- Curl holding spray
- Hair fillers
- Hair extension or ponytail fall
- Curling iron
- Hair pins

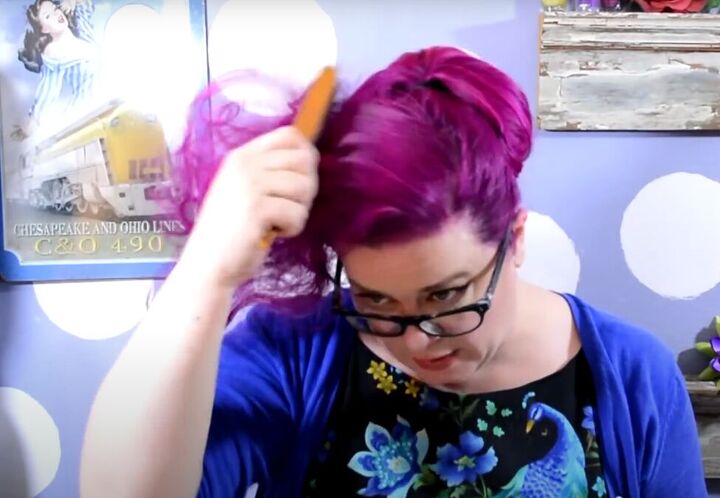
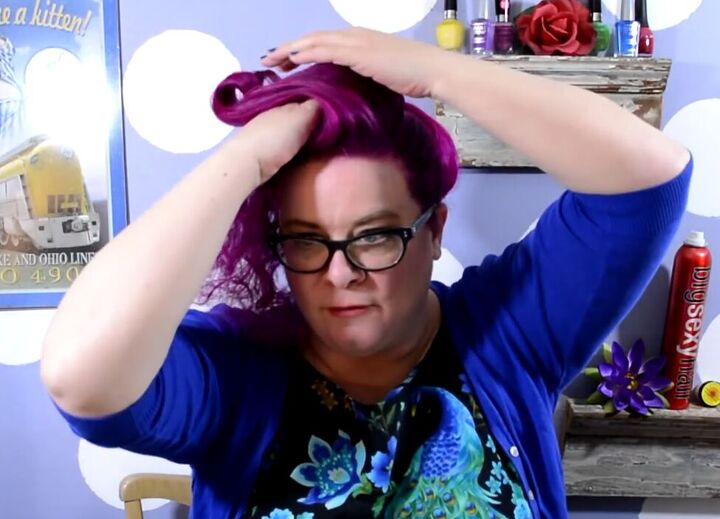
1. Section off your hair
Start sectioning your hair by making a side part.
Then section off the whole front part of your hair.
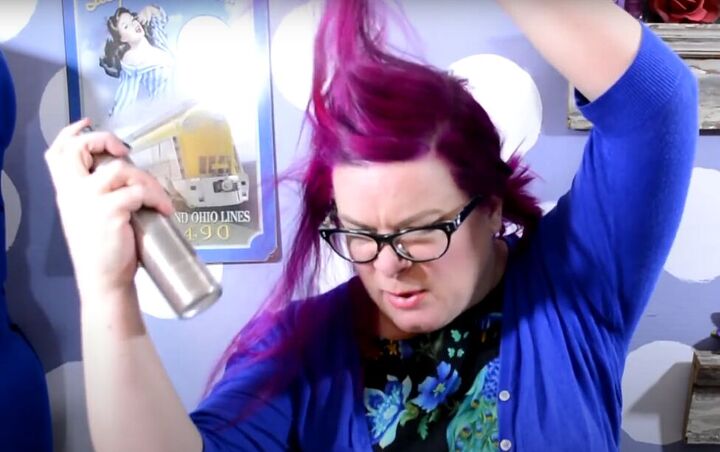
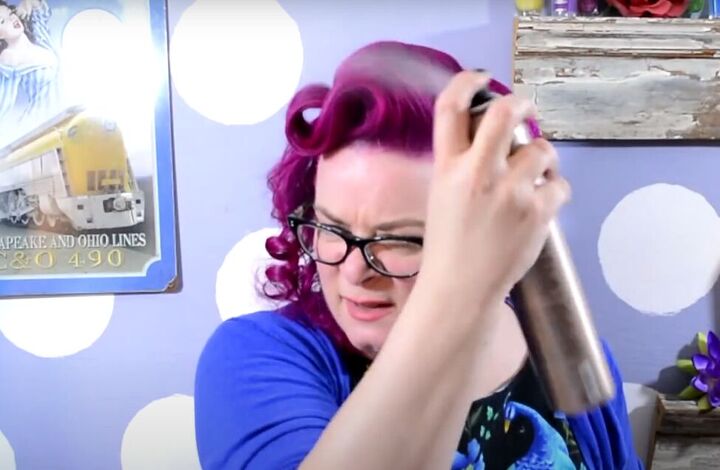
2. Protect your hair
Before using any hot tools on your hair, apply some thermal protection spray to both protect your hair from the heat and add some shine.
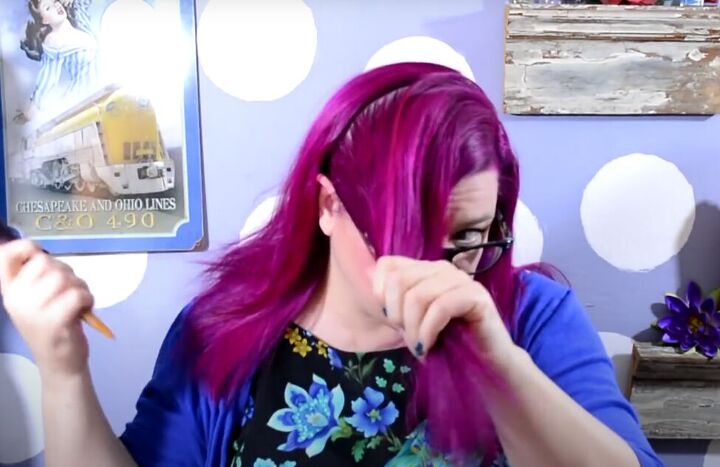
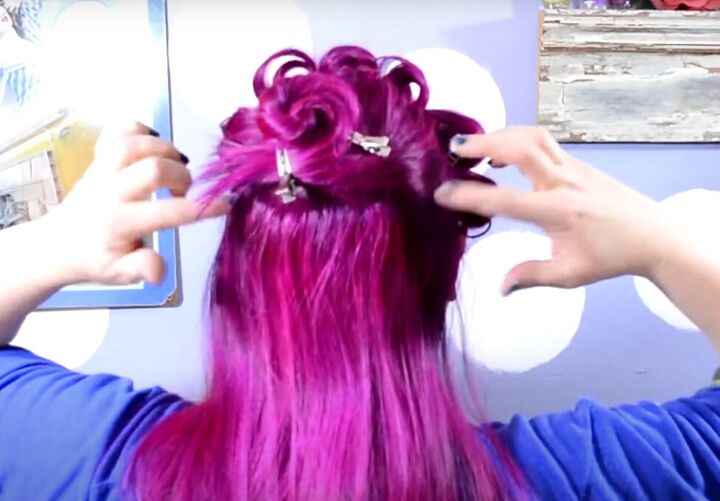
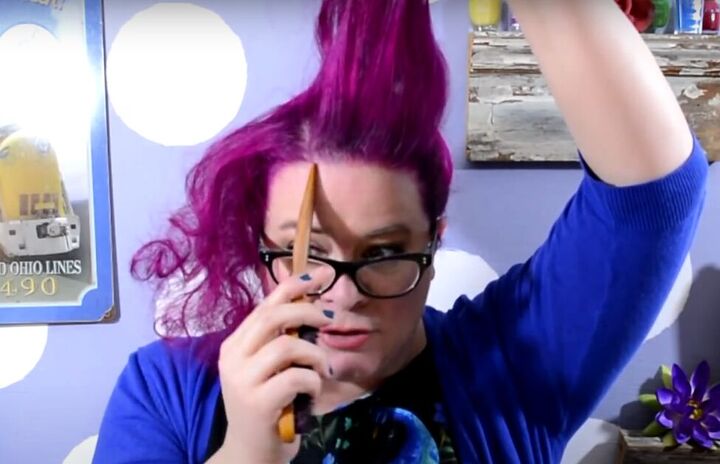
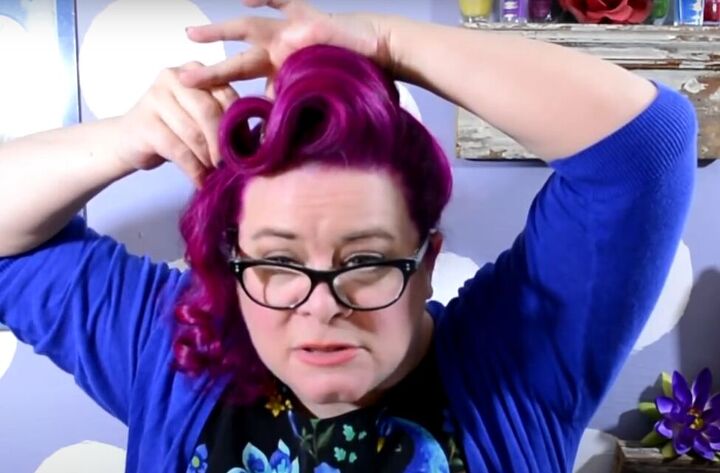
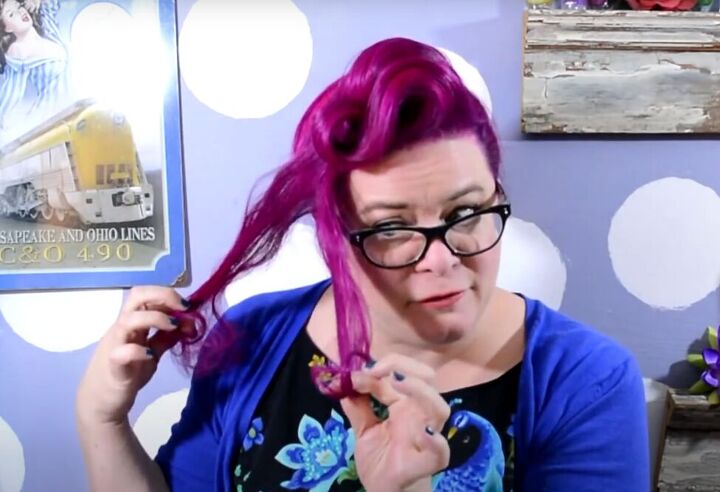
3. Curl the front section
Take a small section of hair next to your side part, the length of your part, and then split that section into two, front and back.
For each section row, you will make two curls.
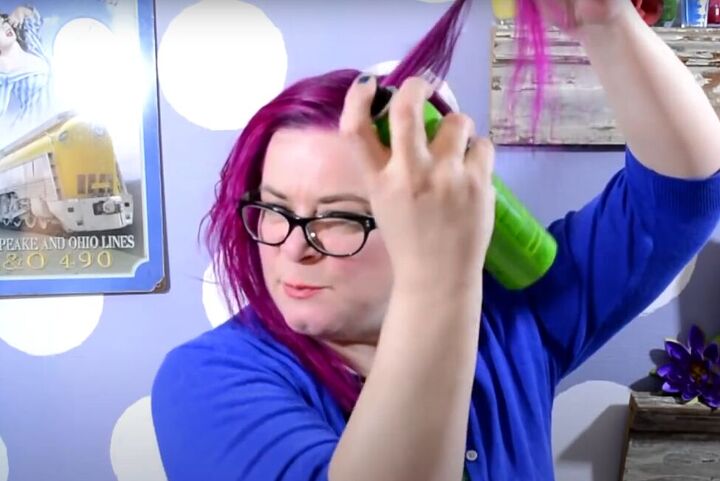
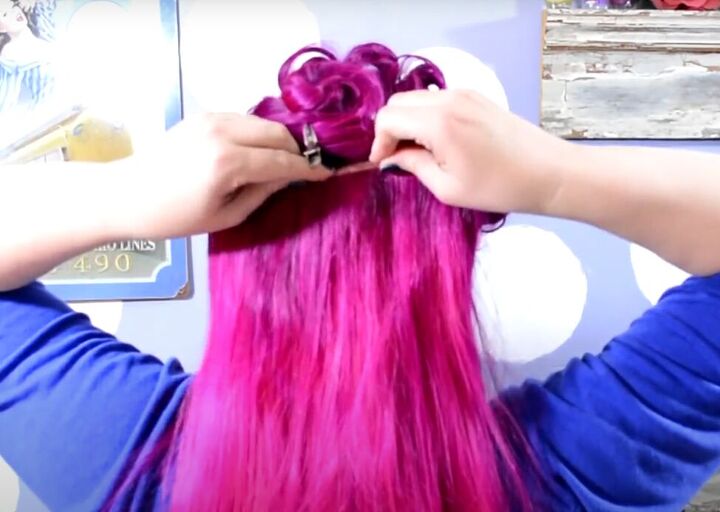
Spray the front section of the first row with curl-holding spray.
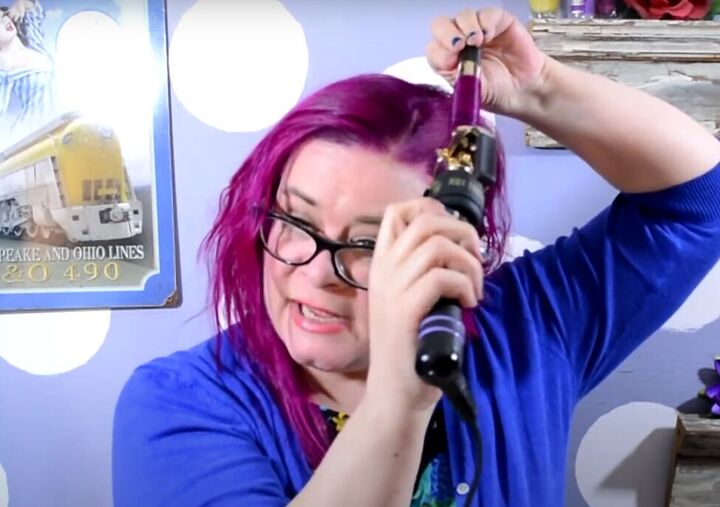
Use your hot curling iron to roll the section, lifting as you roll to get as much height to your curl as possible.
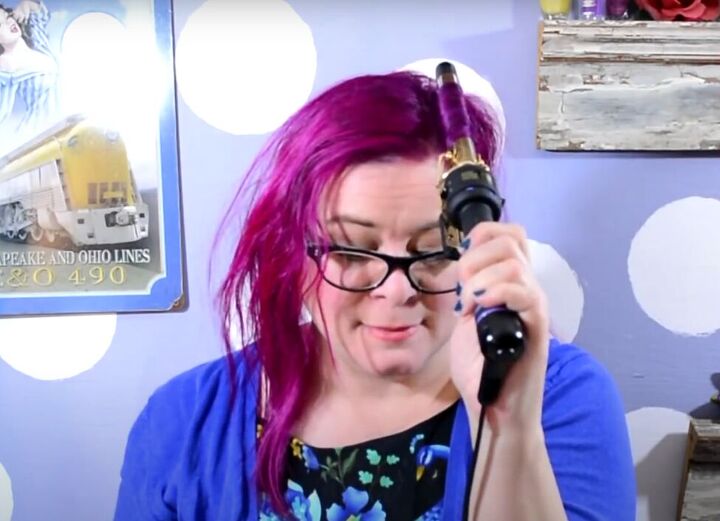
Roll each section right to the base of your hair.
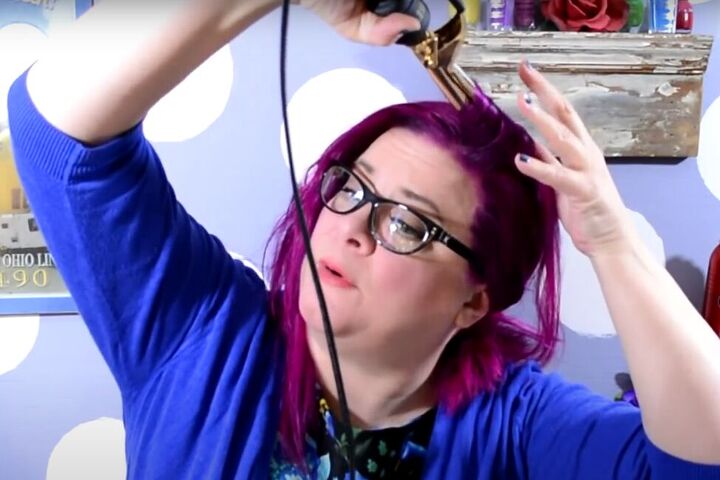
Then gently slide the curling iron out of the curl.
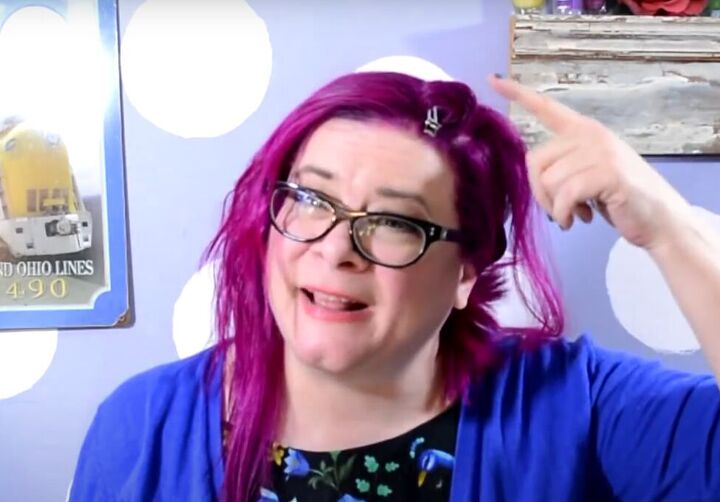
Pin the curl to hold it in place while it cools down.
Repeat making curls from two sections of each row of hair until you have curled the entire front section of your hair.
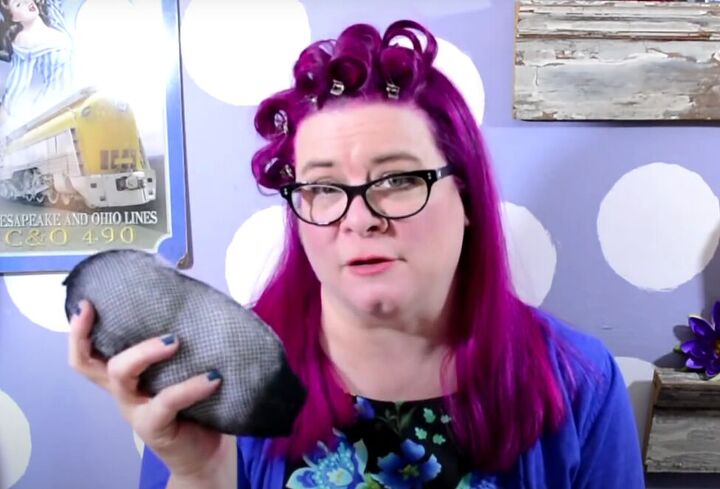
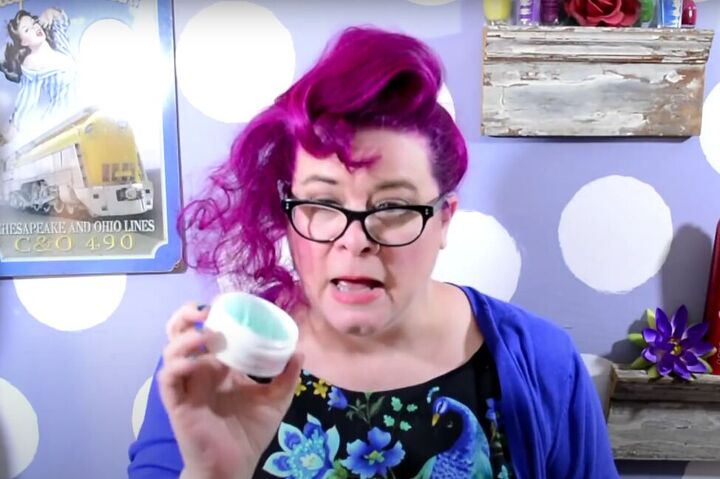
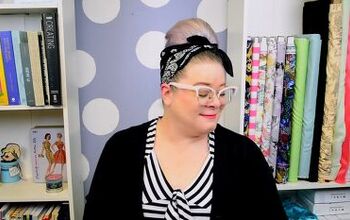
4. Make hair fillers
You can buy hair fillers, but you can also make your own with pillow stuffing and fishnet stockings.
The advantage of home-made hair fillers is that you will b e able to pin your curls right to the filler.
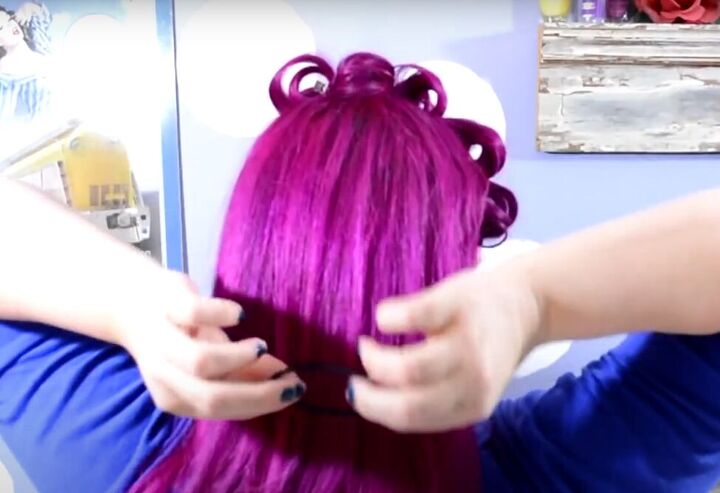
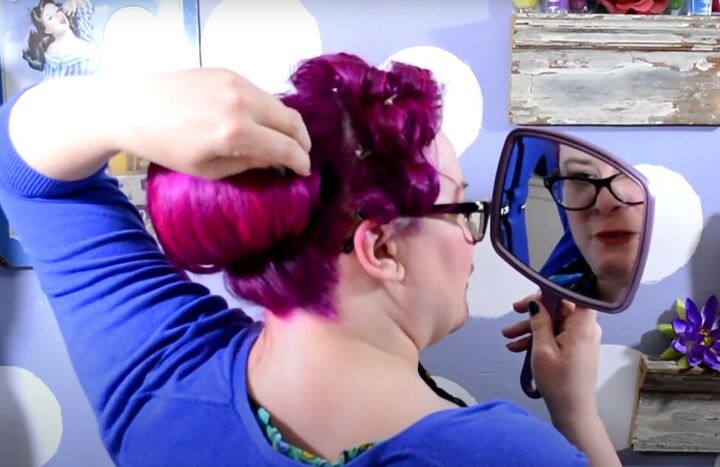
5. Curl the back of your hair
Take a section of hair from the top of the back of your head and pin it out of the way.
Clip your hair extension in right below the hair you’ve pinned up.
Then, release the pinned-up hair over the extension.
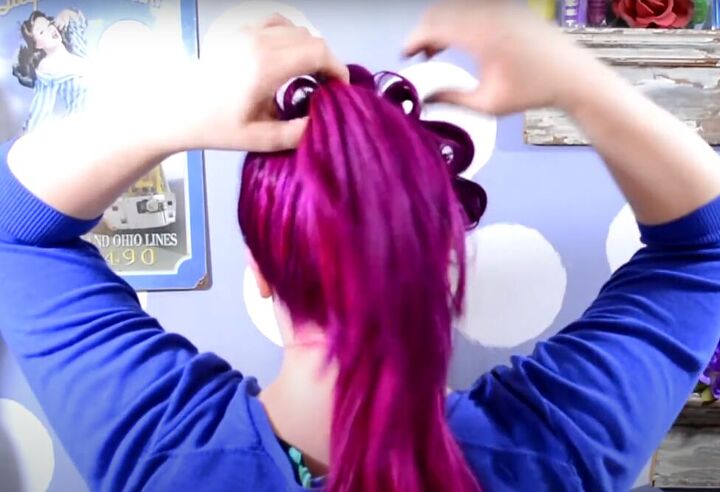
Gather all your hair, with the extension, into a ponytail and secure the ponytail with a hair elastic.
Avoid using a hairbrush as it might pull out your extension.
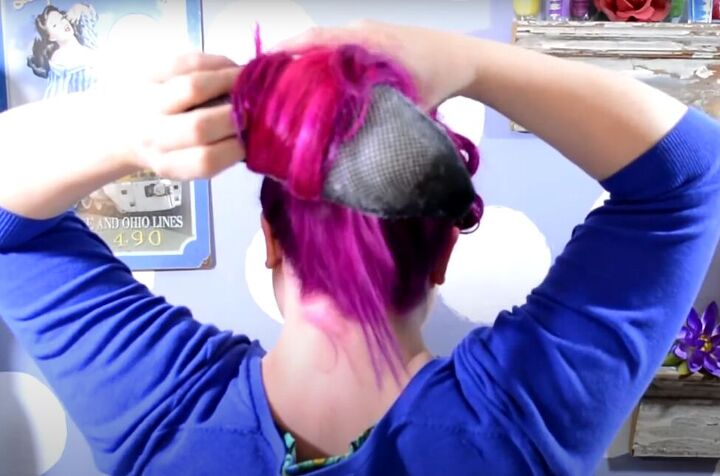
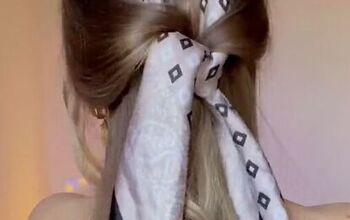
Wrap your ponytail around your hair filler, starting at the bottom of your ponytail.
Tuck the ends of your ponytail under the filler.
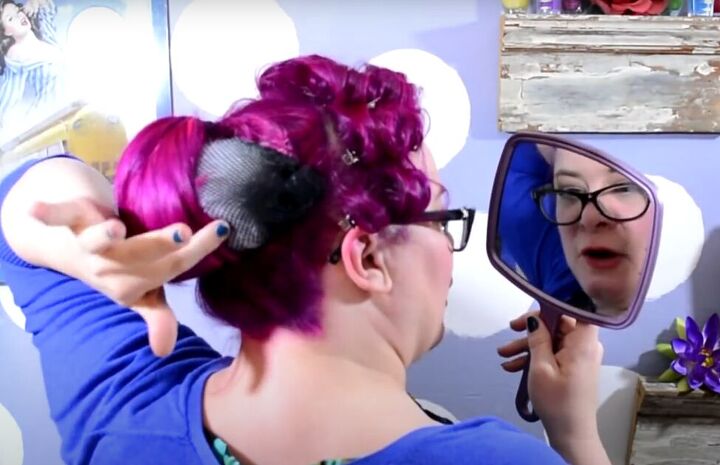
Pin the filler to your head at the top and bottom on both sides, to evenly distribute the weight.
Gently slide your hair to the ends of the filler, to completely hide the filler and any exposed wefts of your extensions.
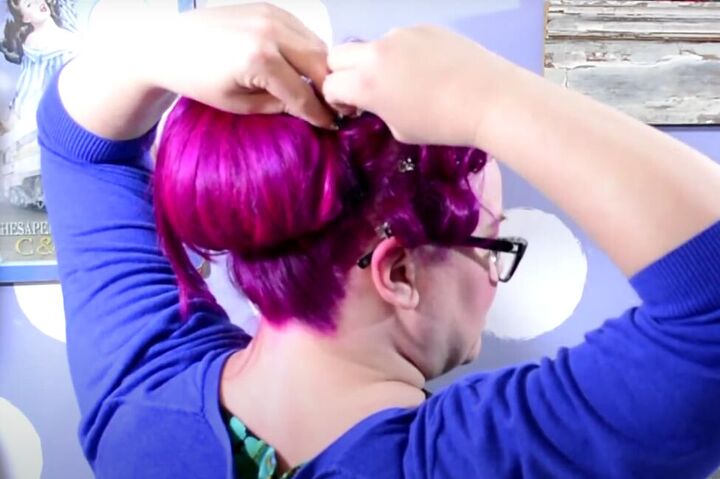
Secure it all with a bobby pin at the top of the filler.
Spray the whole big curl with your curl-holder.
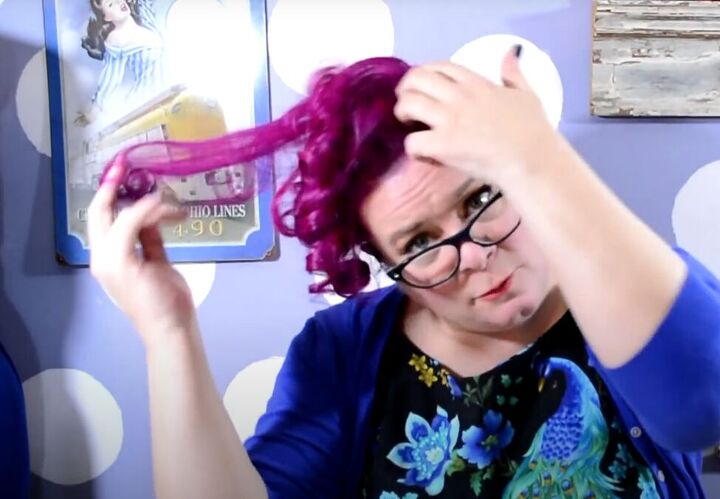
6. Release your curls
Once your front curls are all cooled down, remove the clips, and run your fingers through the curls.
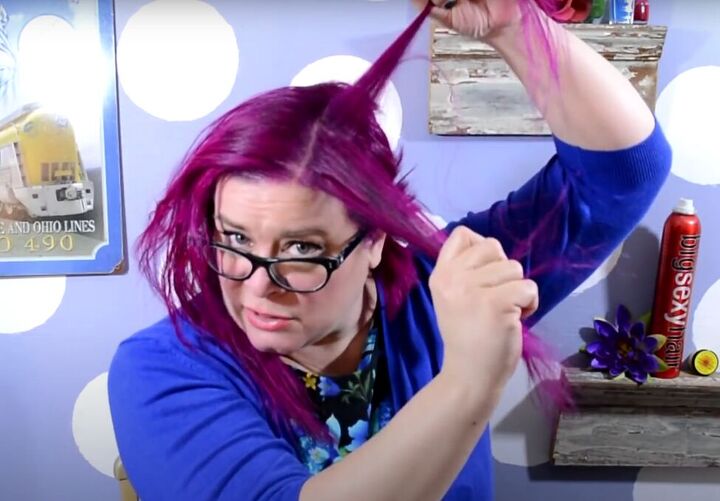
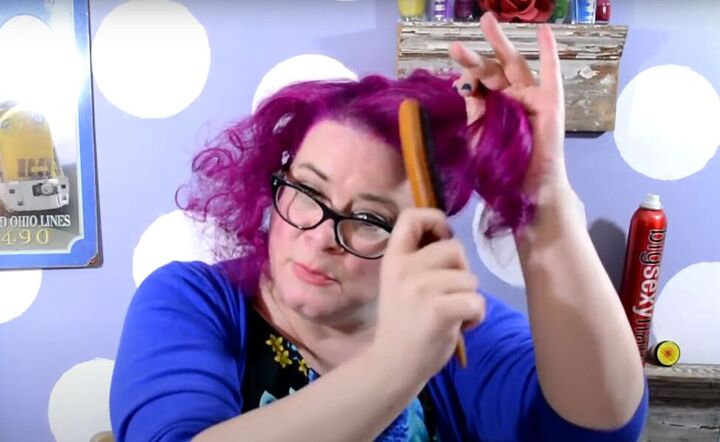
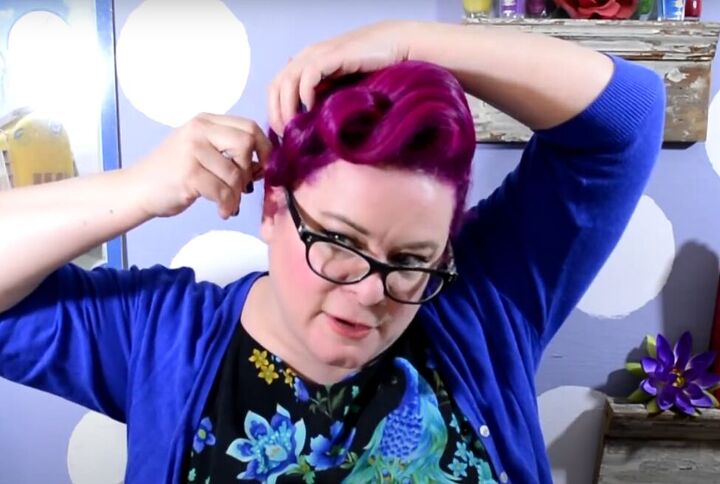
7. Tease or backcomb
Tease or backcomb small sections of your hair from the released curls.
Spray each section as you go.
Tip: When backcombing, always make sure that you comb in only one direction.
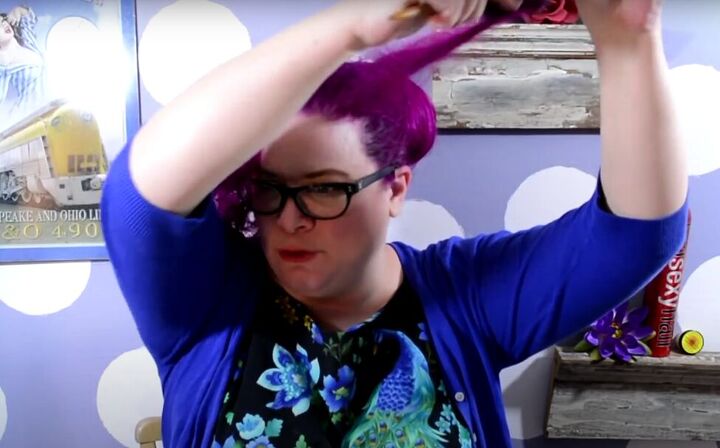
8. Finish the front curls
Once you have teased all the sections of the front of your hair, lightly brush the outside layer of your hair.
Take a generous section of hair from the front.
Brush the ends of that section nice and smooth.
Use the palms of your hands to rub some pomade wax into that section of hair.
Swoop your hair over your hand, and notice that the ends are naturally curling because we brushed them smooth already.
Shape the swoop and curl the way you want it, and pin it in place.
Give it a spray.
Split the remaining side section of hair into two sections, front and back.

Brush each section smooth, add pomade and use your fingers to roll it up.
Pin those curls in place, leaving the front one standing up and the back one lying flat.
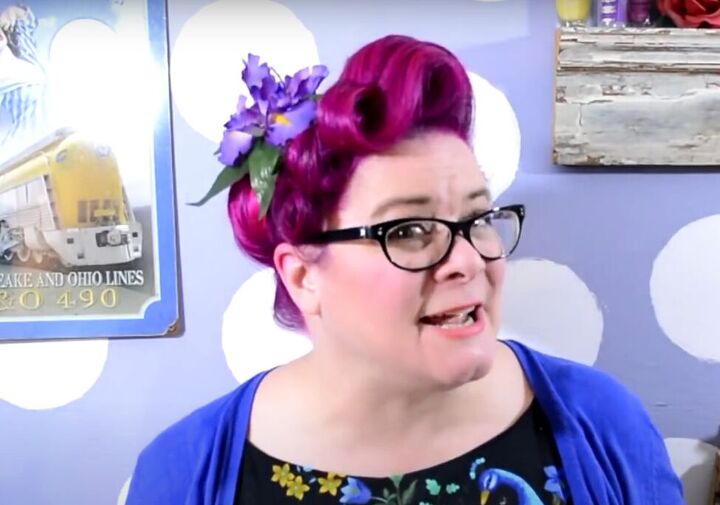
Add a big beautiful flower for effect, and you are all done!
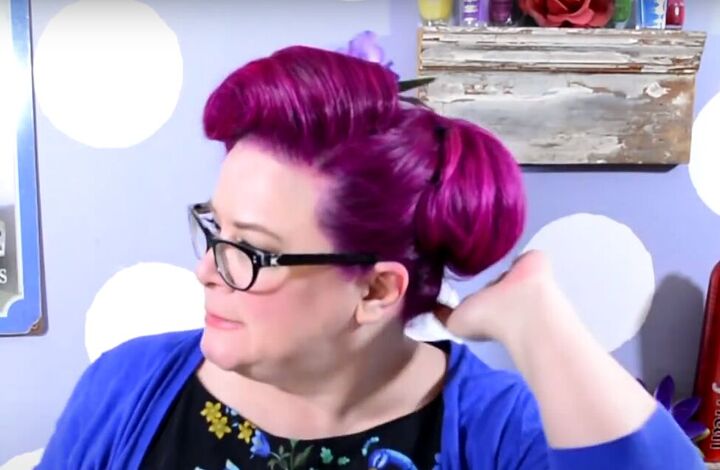
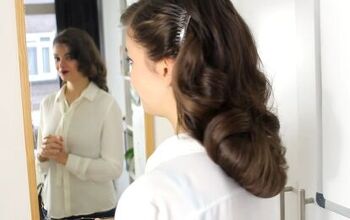
Romantic curls hairstyle
Check out that poof at the back!
I hope you try this vintage, romantic hairdo, and leave a comment to let me know how it worked out for you.
Check out my Easy Vintage Updo Tutorial.
The author may collect a small share of sales from the links on this page.


Comments
Join the conversation