Easy Santa Hat Nail Tutorial

You guys have to check out this Santa hat nail tutorial I put together for you.
This is the most adorable Christmas nail look. It looks detailed and complicated but is extremely simple to achieve.
Tools and materials:
- Gel or nail polish in colors, clear, white, and red
- Detail brush
- UV light for gel
- Toothpick or nail detail tool
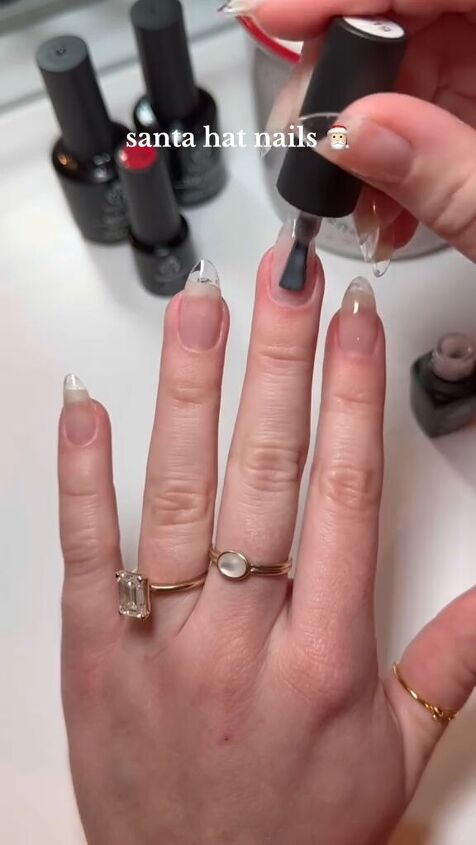
1. Base color
Start with your base color. I chose a clear polish with a hint of cloudy white.
You don’t want to use white as a base because you will need white for the hat details.
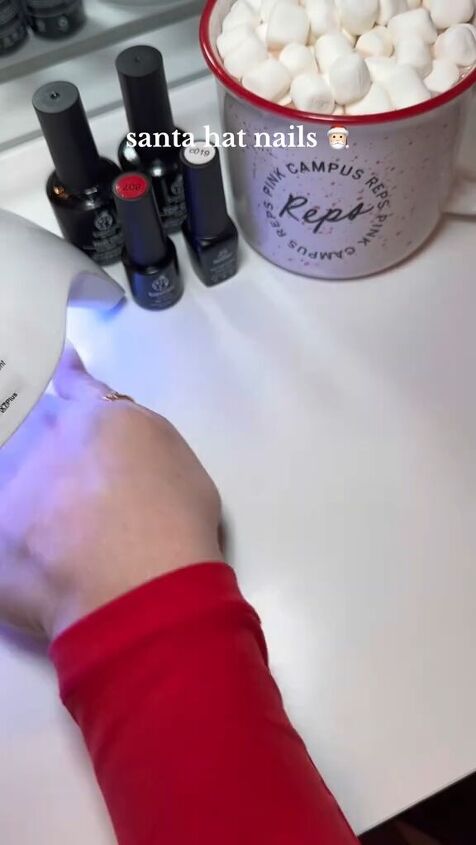
If you’re using gel, remember to use UV light between layers.
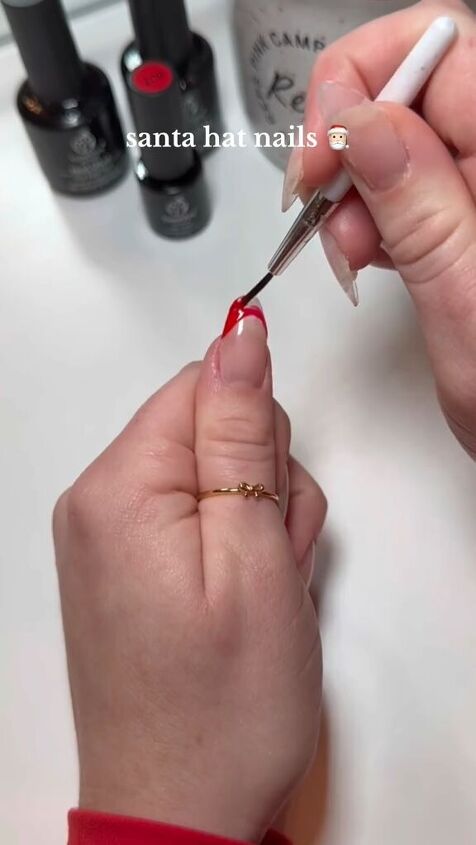
2. Red French tips and detailing
Now take out some Christmas-red polish and use it to create a French tip on your nails.
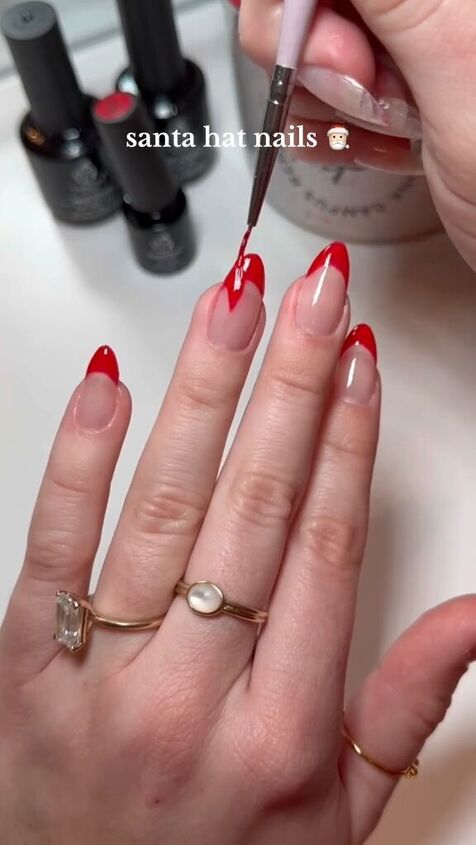
Then use a detail brush to make a small triangle coming down from the French tips of each ring finger.
It should look like the top of the hat flapping down.
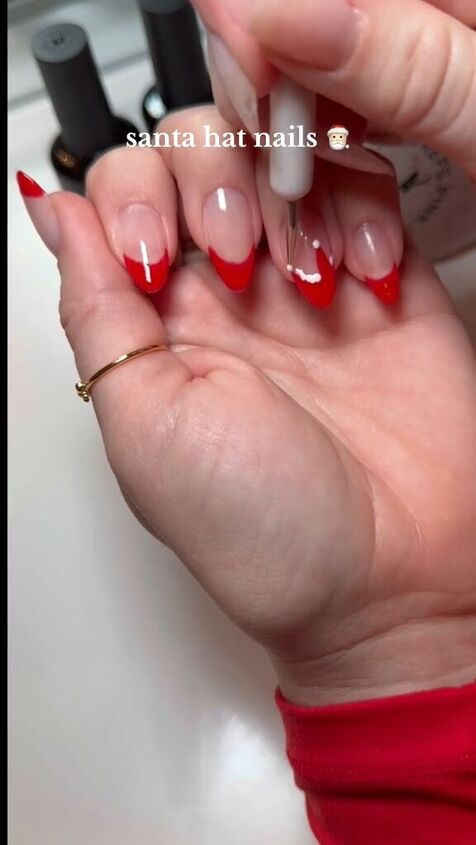
3. Hat details
Dry the new layer and then go back in with some white nail polish.
Use a toothpick or a detail brush to create the white of the bottom brim of the hats on the ring fingers.
Make sure you don’t put white on the triangle area of the hat flap.
Then use the white to create the pompom on the bottom corner of the hats.
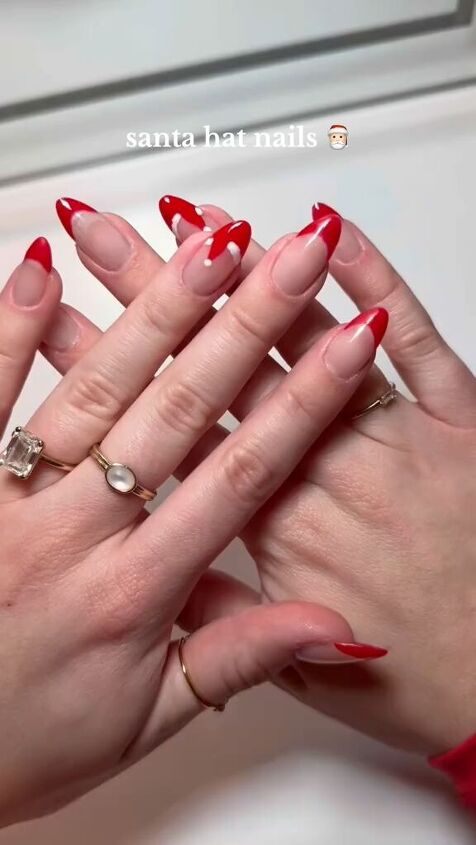
Santa hat nails
How adorable does this look? I love how festive this looks without being over the top.
What do you think? Leave me a comment and let me know.
Next, check out my Holiday Updo, Perfect for Short Hair.
Follow me on TikTok: @alyssarayelee
Follow me on Instagram: @alyssarayelee
The author may collect a small share of sales from the links on this page.


Comments
Join the conversation
Pretty and Cute idea!