Create Your Own DIY Baby Shoes Out of Bibs

I love a good upcycle. Taking something old and turning it into something new never ceases to amaze me. It allows me to make such unique projects and the possibilities are truly endless. So for this project, I decided to take my nephew’s shoe and use it for sizing. Then I took some bibs and made him a brand new shoe from it! One shoe from one bib! Keep reading to see how it turned out.

Tools and Materials:
- Thread
- Sewing needle
- Pins
- Fabric scissors
- Stitch unpicker or thread scissors
- Chalk/washable marker or pencil
- Measuring tape
- Elastic - 1 cm depth
- 2 of the same bib
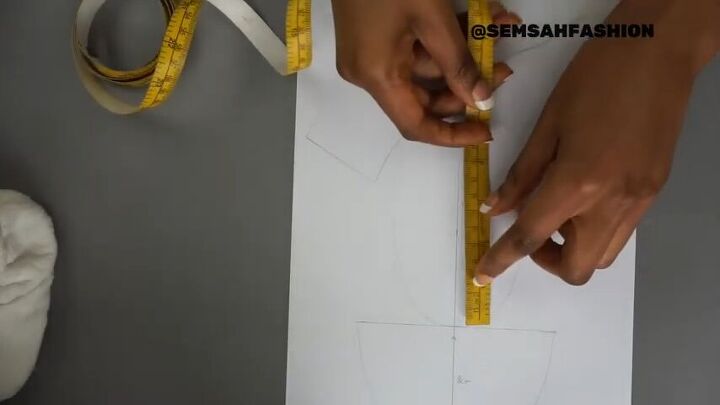
I made a pattern for this project by using one of my nephew’s shoes. I’ve linked it for you in the video description, but you have to modify it to your measurement!
I like to put the pattern together to see how it will look. So I added a .5 cm seam allowance, then cut out and pieced together the pattern. Once I was happy with how it looked, I took the pieces apart again so that I could use them.
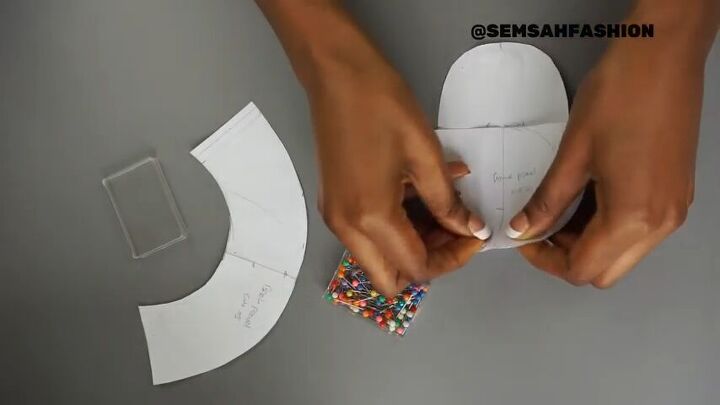
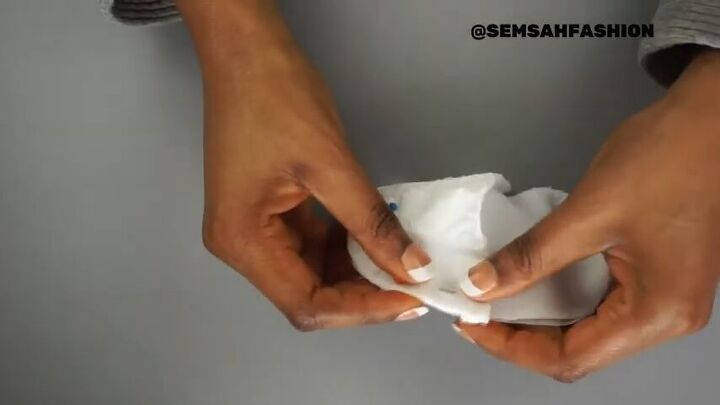
Next, I used my pattern to cut out the material. So I placed the big part of the pattern onto the bib and pinned it down. Then I took my scissors and cut around it so that I had the same piece cut out of the bib.
I didn’t have enough of the bib left to cut out the pieces I needed, so what I did was line up the curve of the pattern with the curve of the bib and cut out the material. Then I marked what I was missing because I knew I was going to have to add that in later. I then took my remaining piece and folded it in half. Then I cut it out in pieces and used my scraps to sew together the pieces I was missing with a cross-stitch.
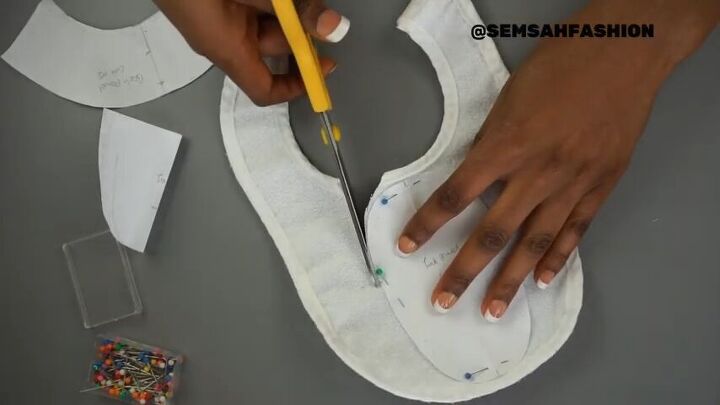
I took the front and bottom pieces of the shoe and put them together with pins. Then I sewed them in place. You can use whichever stitch you prefer, but I chose to use a blanket stitch. Then I took the pieces that make up the back piece of the shoe and sewed them together. Finally, I sewed that to the back of the shoe. I used an overcast stitch for that part. To see exactly how I stitched the different parts, be sure to watch the video!
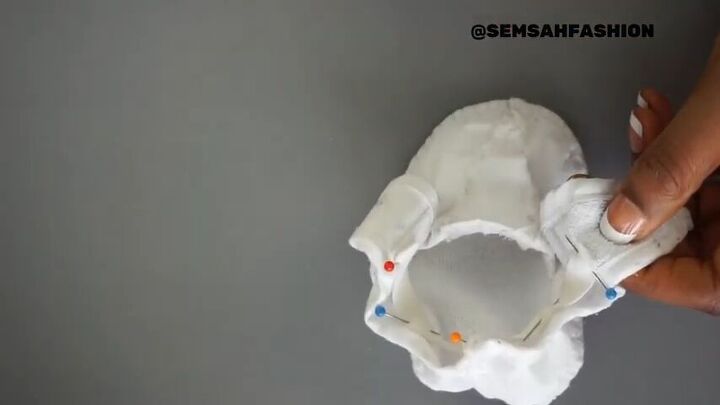
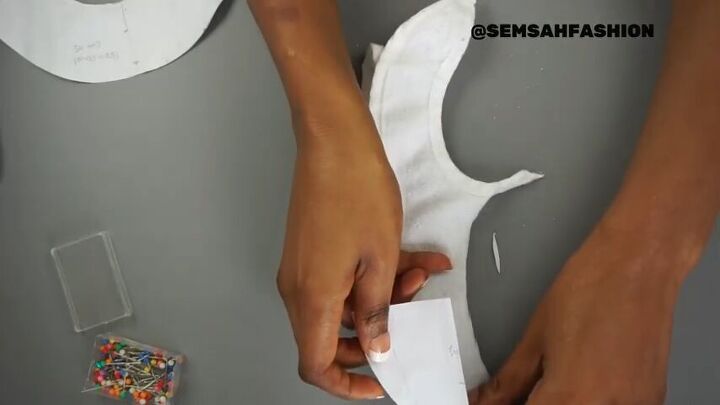
The last thing I did was add the elastic to my shoe. I cut it down to 2 cm less than the width of the back of the shoe and sewed it in place with a running stitch. I tried to stitch it on the seam so that it would blend in.
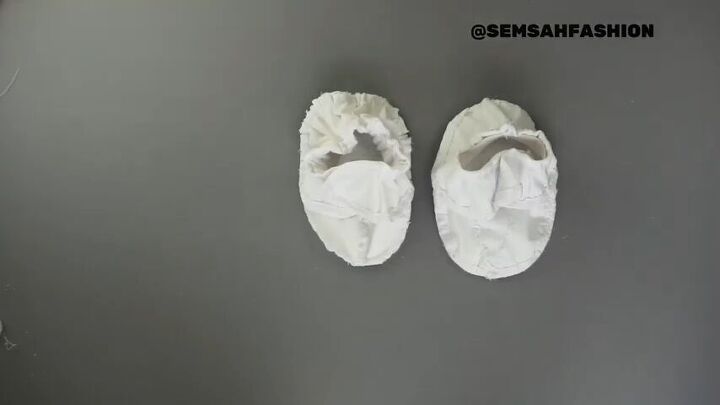
That’s it, you guys! I think these shoes came out super cute. It’s so cool to create something new out of something you already have, so I definitely feel very satisfied with this project. As you can see, I was able to design them differently, so let me know which one you like better in the comments!
The author may collect a small share of sales from the links on this page.


Comments
Join the conversation
Loved these, going to make some for the great-grandchild I haven’t got yet. Thank you for your clear description .