Simple Shirt Thrift Flip

Super Easy & Basic Thrift FlipsMain keyword: Longtails:Thrift flip a shirtRefashion a shirtDIY shirt thrift slipWhite shirt thrift flipSimple shirt thrift flipShirt thrift flip tutorialMeta title: Simple shirt thrift flipMeta description: Make a shirt and skirt from old clothes with this DIY thrift flip.Pick up a shirt and a sweater from the thrift store or use ones that you no longer wear and turn them into a new shirt and skirt with this DIY thrift flip tutorial.

Tools and materials:
- Thrift pullover shirt
- Thrift poncho sweater
- Chalk
- Pins
- Scissors
- Thread
- Elastic
- Sewing machine
Shirt flip
Disassemble the shirt
The amount of work required to disassemble your thrift shirt will depend on the shirt itself. In my video, from 0:43 to 1:58, I show you how I removed a front pleat feature that I didn’t want on my new shirt, and made some small repairs to a hole and a tear.


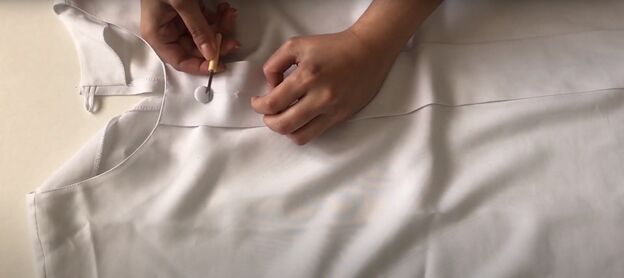
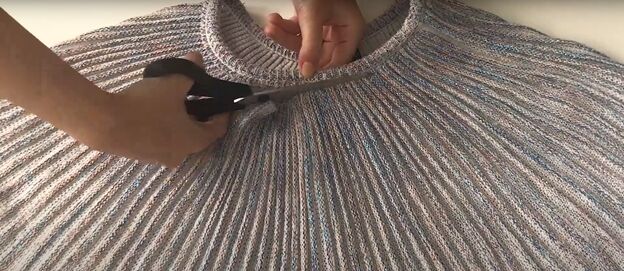
Create neckline
In my video at 1:55 I explain why and how I made the back of the shirt the new front, but that’s optional. With your shirt inside-out on your worktable, use chalk to draw a new neckline, front and back, in the position where you would like it to be on your new shirt. Then draw another line above the first line for the seam allowance, and cut along that new line.
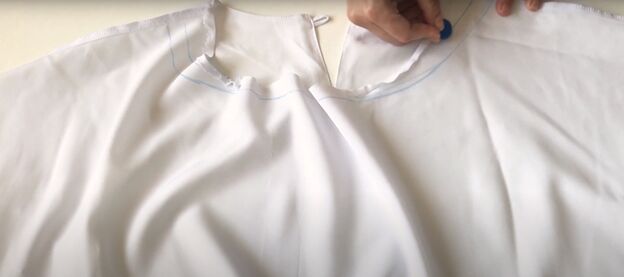
Fold in the neckline about a quarter of an inch and sew it down, then fold it again with enough room to allow you to insert elastic later. Pin and then sew it again as close to the edge as you can, leaving an opening to insert the elastic.
Pull the elastic through the tunnel you just made and gather the neckline to suit your style. Then, sew the elastic in place at the two openings and close the opening. If you want the front of your shirt to have a small slit and not be fully closed, check out what I did in the video at 3:06.
Sleeves
If you want elastic sleeves, follow the same steps as you did for making the elastic neckline. I chose not to make any changes to my sleeves.
Sweater flip
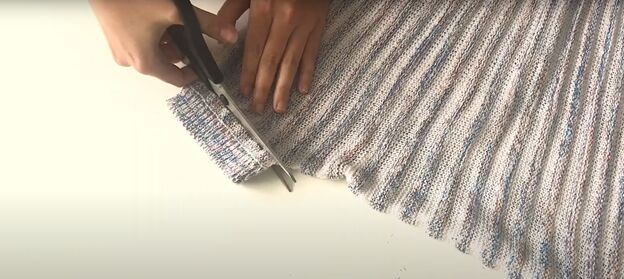
Disassemble the sweater
Cut the waistband and sleeves off your sweater. You may also need to cut off the neckline if it is not stretchy (it will become the waist of your skirt.)
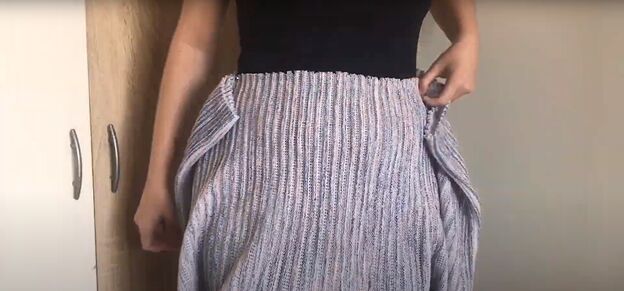
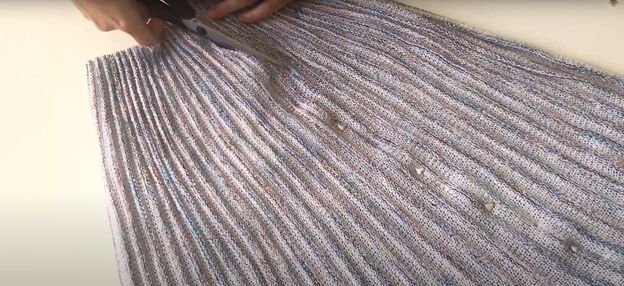
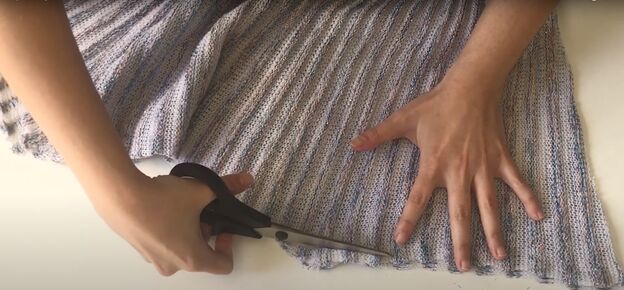
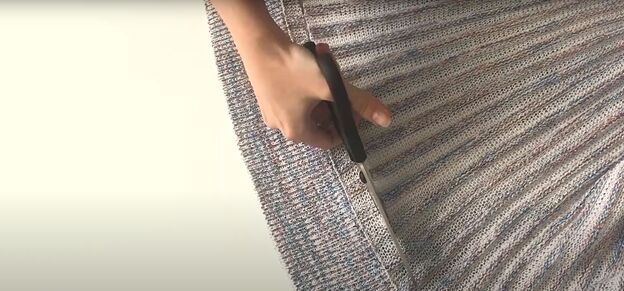
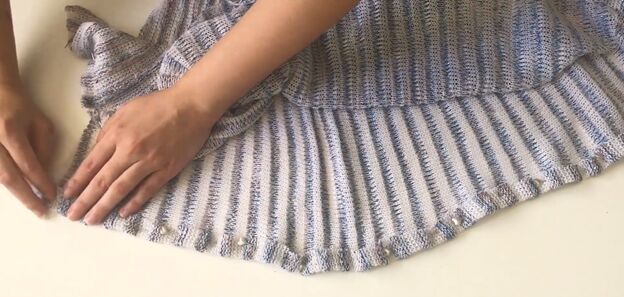
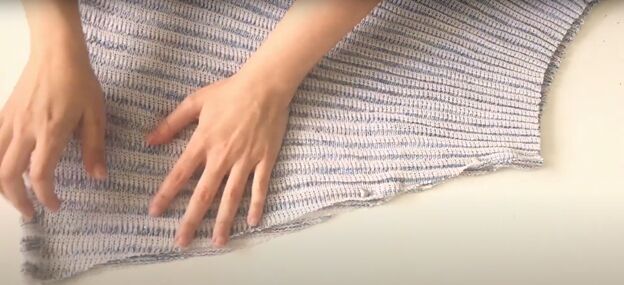
Shape the skirt
Try on the sweater as a skirt now and pin the sides to fit your waist. Cut the seam of the shirt from waist to bottom so you are left with one large piece of fabric. Fold the fabric in half. From your marked waist measurement, create a pin line, making an A-line shape, from the waist to the bottom on the unfolded edge of the fabric. Cut along that line. Now, open the fabric and trim the bottom of the skirt all around so you have an even, slightly rounded hem.
Sew the skirt
Turn up the hem, pin, and sew with a zig-zag stitch. Now, pin the side seam, with right-sides facing in, and sew it with a zig-zag stitch as well.
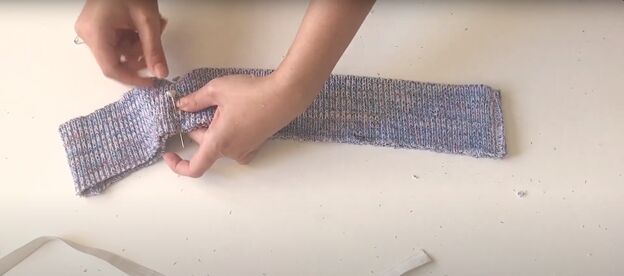
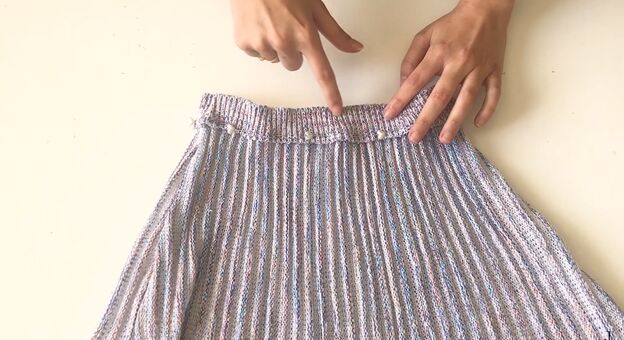
Make the waistband
Cut elastic to a length about 1 inch shorter than your waist. Lay the sweater waist band that you previously cut off on your worktable and pin a new side seam, so the waistband circumference is the same as your waist. Sew the new waistband side seam.
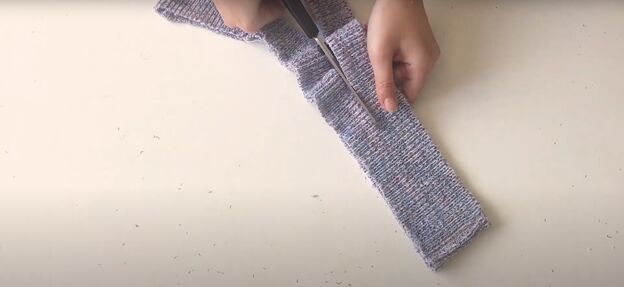
Now, cut the new waistband in half lengthwise. Pin it, right sides facing in, to the top of your skirt, aligning the finished edge of the waistband with the top of the skirt. Sew two rows of stitches with a zig-zag stitch, one at the top of the waistband and one at the bottom, leaving an opening at the top to pull your elastic through. Insert the elastic, attaching the ends, and sew up the small hole.

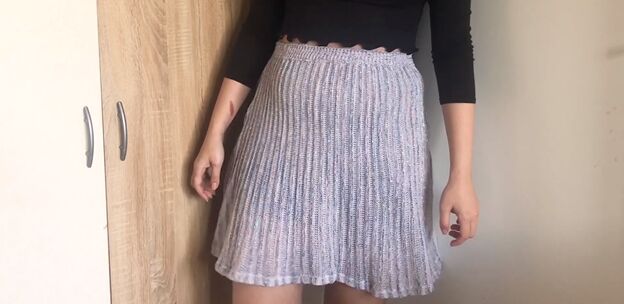
If you liked how these simple DIY thrift flips turned out then remember to like, comment, and subscribe to this tutorial and come back for more.
The author may collect a small share of sales from the links on this page.


Comments
Join the conversation