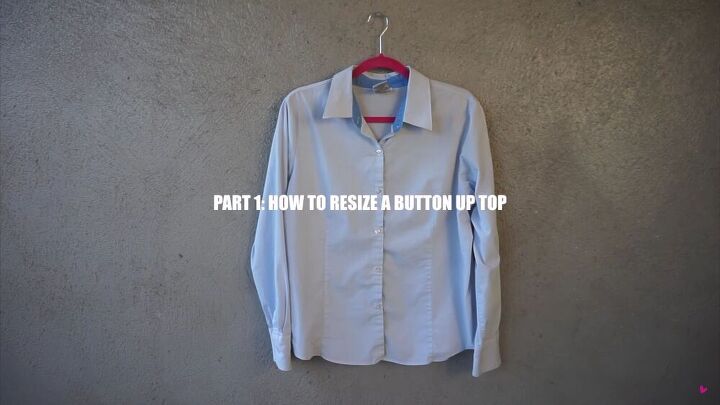
The Ultimate Thrift Flip- Transform a Button- Up Shirt

Who hasn’t caught onto the thrift flip train yet? I love making thrift flip clothes because I get to let my creative juices flow and I love revamping old clothing items; giving them some TLC and making them look new and totally transformed!. In this thrift flip tutorial, I will show you how to make this lovely DIY off-the-shoulder button-up shirt from an ordinary oversized button-up shirt. And, bonus- you’ll learn how to resize a button-up, too. Let’s start this DIY thrift flip!
Tools and materials:
- Oversized button-up shirt
- Magazine or paper
- Elastic thread
- Sewing machine
- Scissors
- Safety pin
- Serger-optional
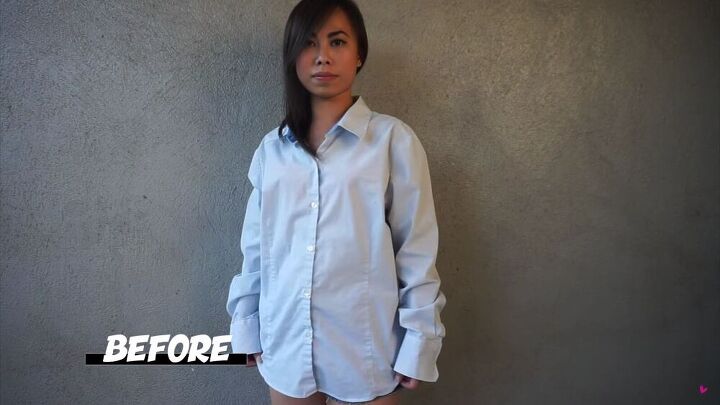
Tutorial 1- Resize an oversized button-up
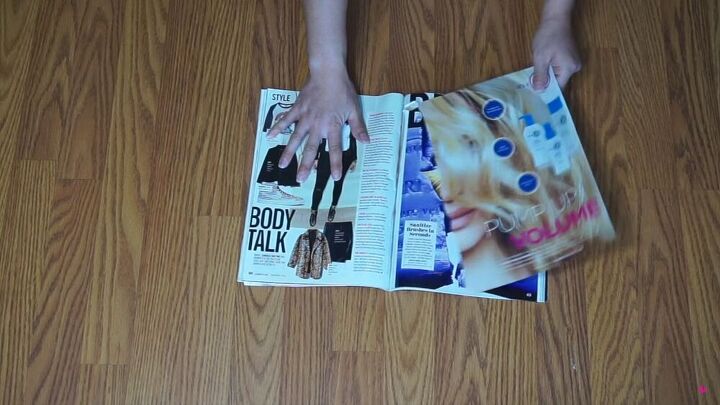
Make the pattern
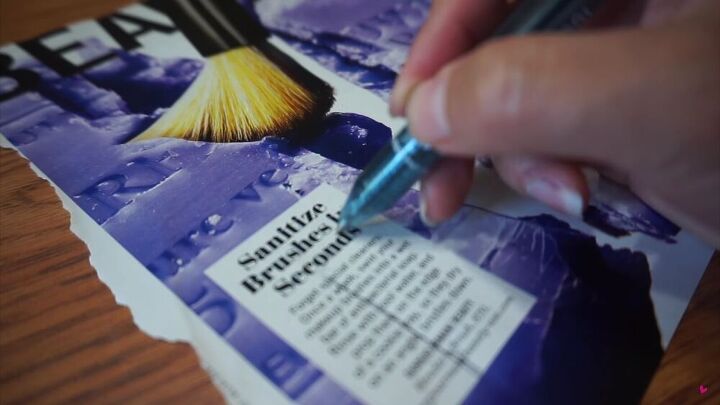
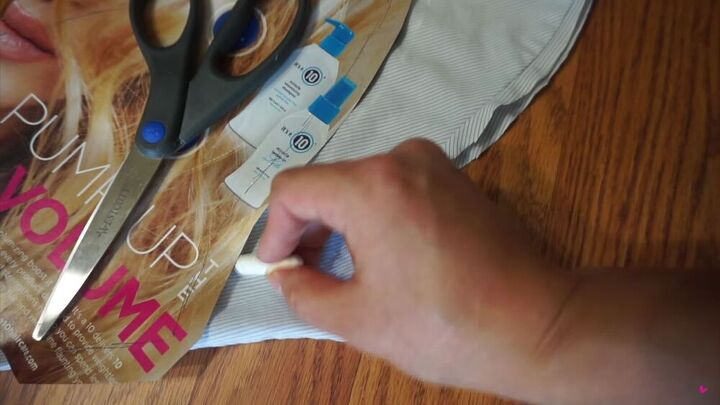
Ok, let’s start with the basics before we make the off-the-shoulder top itself. In this part, I’ll show you how to resize an oversized button-up. Get some papers from a magazine to create the pattern.
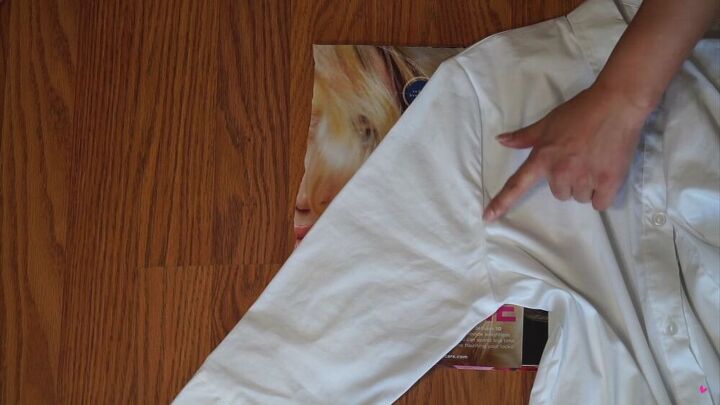
First things first, you'll need a pattern for the side of the armhole, shoulder, side, and sleeve. Line up the shirt against the magazine and use a pin to transfer the shape onto the paper. Poking at an angle makes it a lot easier to puncture through the paper. Make sure to get an accurate representation of the shape.
Then, with a pen, draw out the punctured holes you made with your pin.
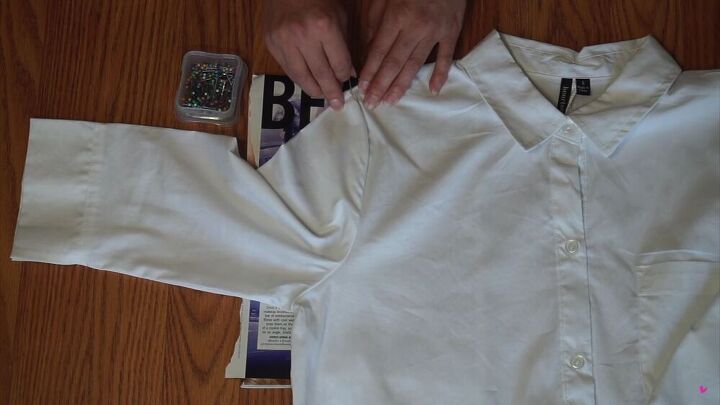
Repeat this for the sleeve; tracing out only the basic shape of the armhole and part of the sleeve.

Cut your patterns with ½ an inch seam allowance.
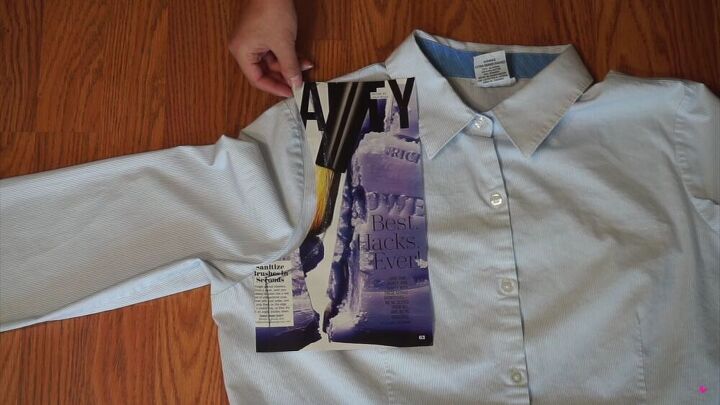
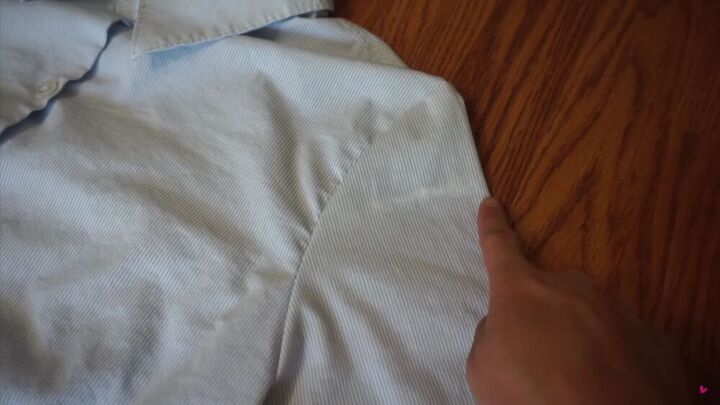
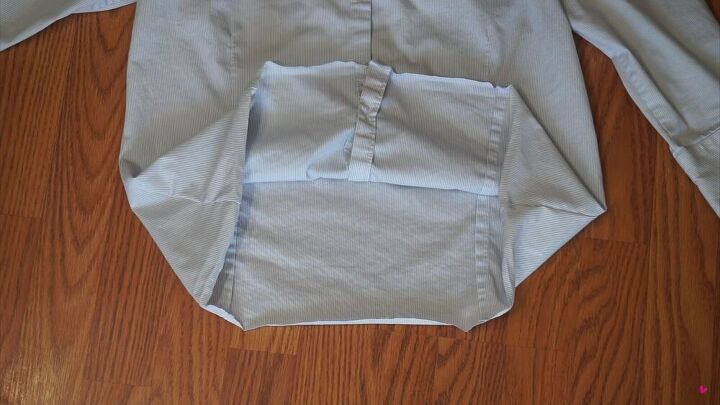
Decide how you want to take in from the oversized button-up shirt. Line up the pattern at the shoulder, as shown.
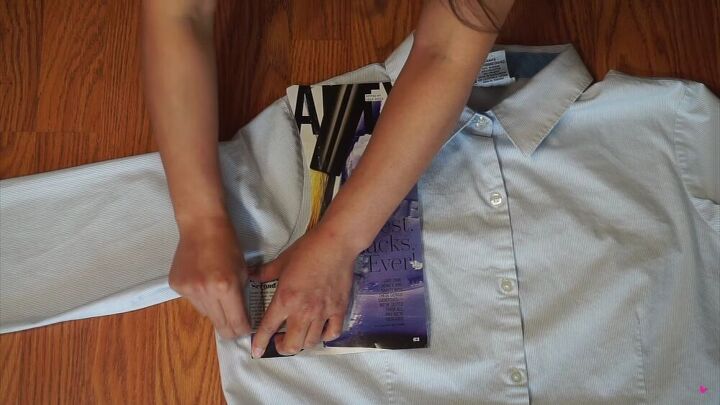
Then, extend the side seam all the way to the bottom.

When resizing the underarm and sleeve area, make sure the cuffs align with the sleeves.
Sew the side seam and the underarm seam if you have one, then reattach the sleeves and you’re done!

Yay, your top should now fit more snugly! It’s the best feeling in the world to thrift flip clothing! What do you think of this fitted button-up? Good job if i can say so myself!

Tutorial 2- Off-the-shoulder top
Make your mark
Let’s move to the next tutorial! Another easy thrift flip! To make this off-the-shoulder top, first mark how low you want the top to sit.
Do this on both the arms and the bodice.
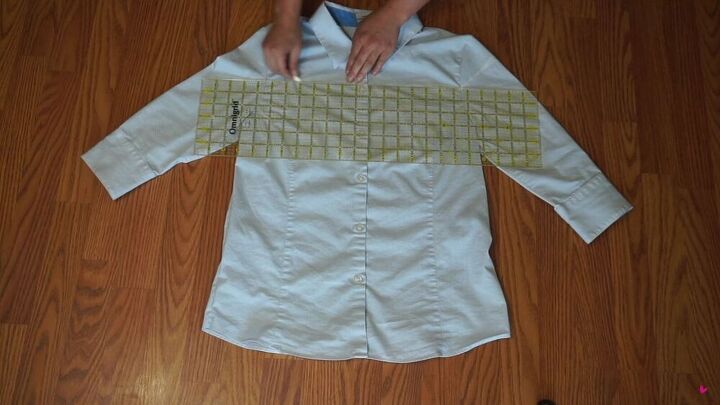
Then, draw a straight line across the bodice, and connect it to the marks you made on the arms. Then, add a seam allowance that is equal to twice the width of your elastic.
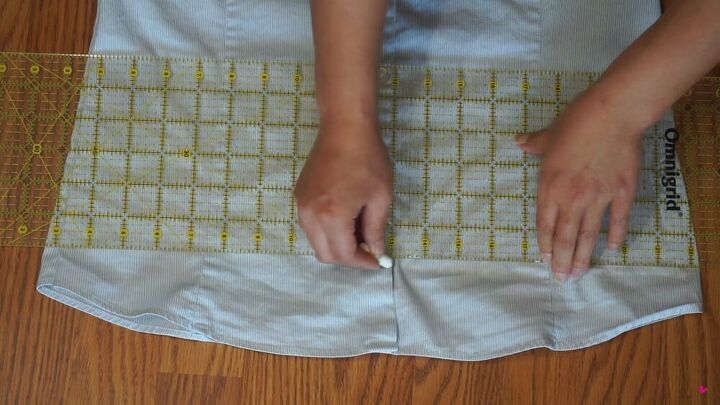
Draw the new hemline, and add a 1 inch seam allowance.

Then, snip off the top and the bottom.
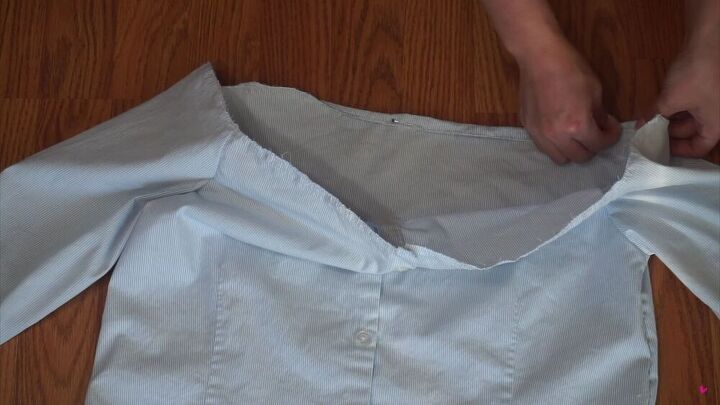
Finish the raw edge of the neckline either with a zigzag stitch or using a serger. Then, create the tunnel for the elastic by folding over once and sewing the fold in place. Make sure to leave a 2-inch gap.
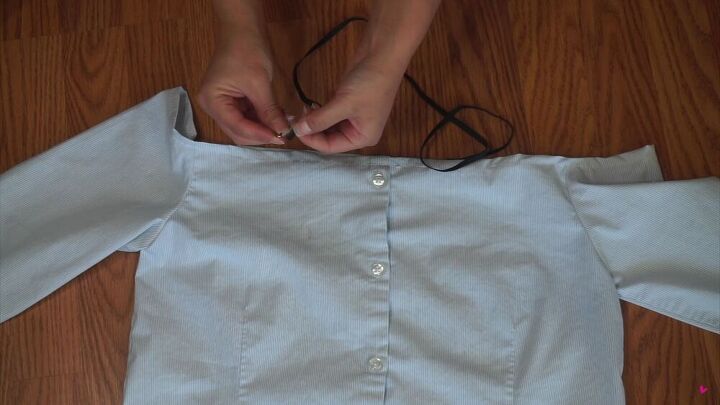
Then, secure a safety pin to one end of the elastic and thread it through the gap.
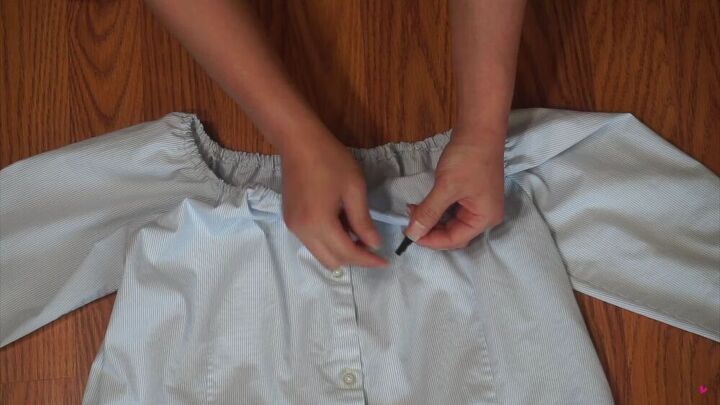
Distribute the elastic evenly along the neckline, sew the ends of the elastic, and sew the gap closed.
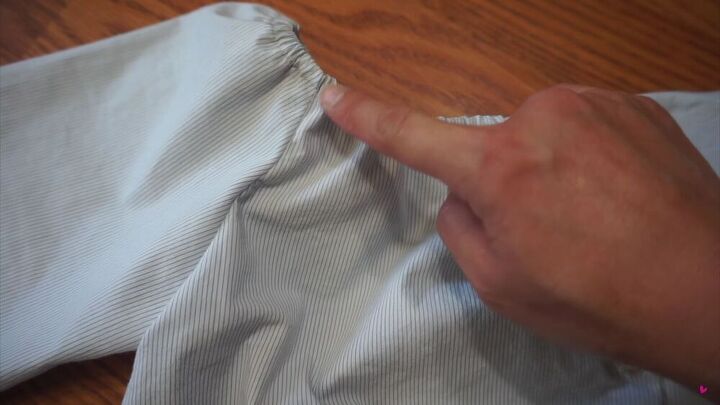
Sew along the armhole seam to keep the elastic from twisting.
This basic thrift flip is almost done. Now, finish off the hemline by folding the edge over twice and sewing it in place.

Yeah! This DIY thrift flip project is now complete. I love the result, it looks amazing and more importantly, as good as new! Now that you have some inspiration on how to thrift flip a large button-up, go and do the same- you won’t be sorry. Thanks for reading and enjoy your thrift flip!
The author may collect a small share of sales from the links on this page.


Comments
Join the conversation
It looks great and great instructions too