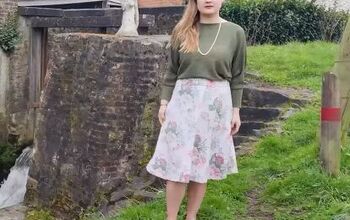
Learn to Make a Circle Skirt Pattern

Circle skirts are timeless! I want to teach you how to draft your own pattern for a circle skirt to help make sewing one a lot easier. In this tutorial, I will be making a pattern for a size 12. This simple and easy pattern is perfect for long time sewers or for beginners!
Tools and materials:
- Pencil
- Marker
- Measuring tape
- Ruler
- Curved ruler
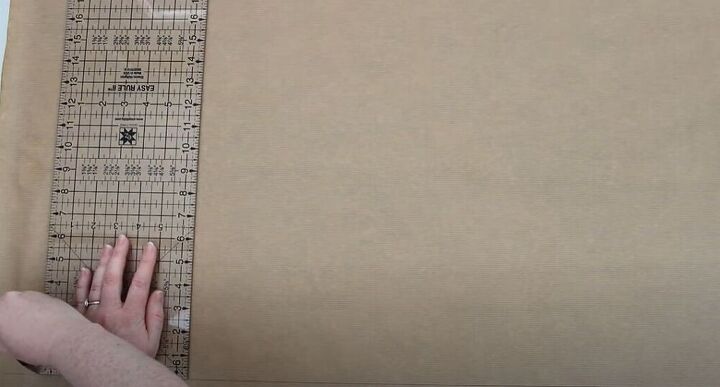
Draw an L
To start off, use your ruler to draw a straight line across your paper. You’re then going to want to go ahead and square cross that line, creating an L shape. Mark the corner of the L as point 1.
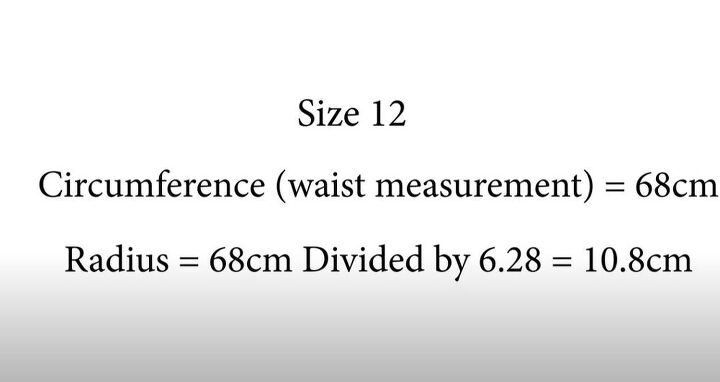
Work out the waist radius
You are then going to have to do a little bit of math and divide your waist measurement by 6.28 cm (2.47 inches) to get the radius.
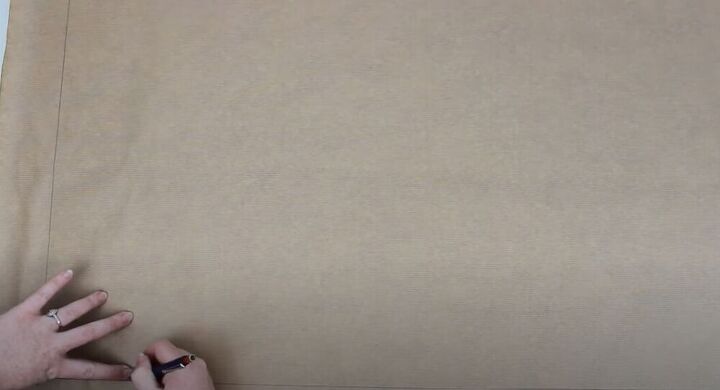
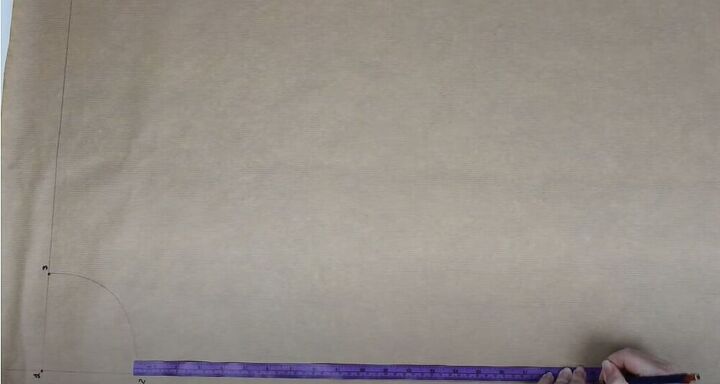
Measure out the radius
From point 1, measure down the size of the radius and mark this as 2. To get point 3, measure upwards from 0, marking the radius again.
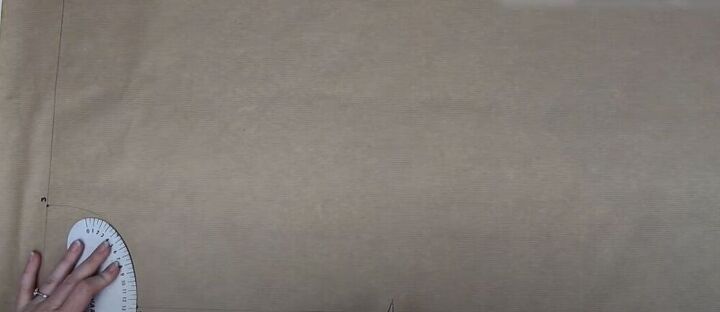
Draw a quarter circle
Then draw a quarter circle from point 2 to 3 using a curved ruler.
Mark the skirt length
From point 2, measure down your chosen length for the skirt and mark this as point 4. Then measure the same from point 3 and mark this as 5.

I like to measure the length of the skirt the whole way across from the quarter circle. This just makes drawing the quarter circle for the hem so much easier.
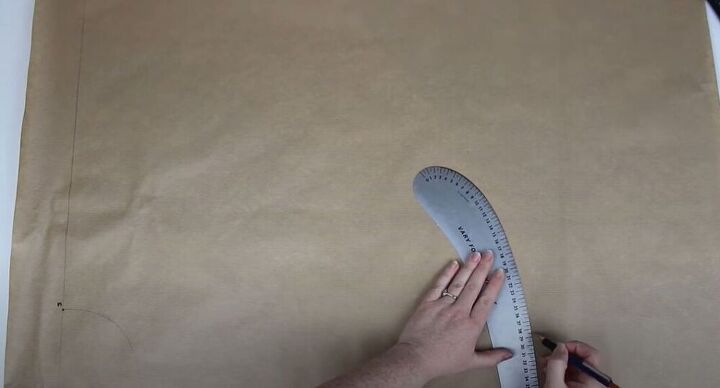
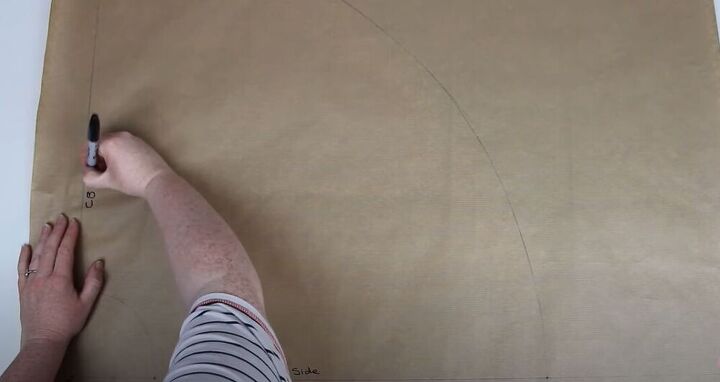
Draw the curved hem
Using a curved ruler, draw a quarter circle along the hem of the skirt.
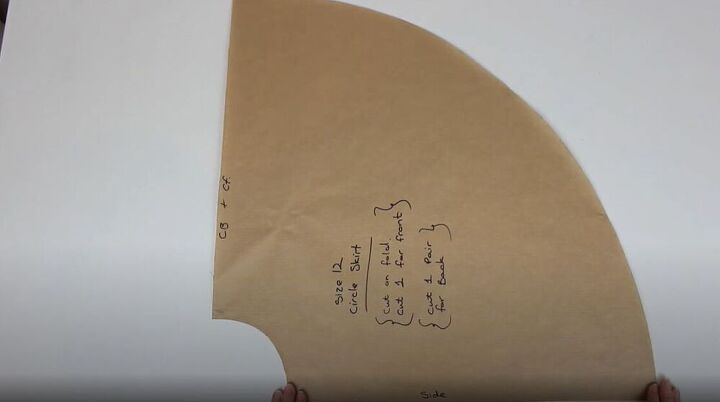
Write the pattern information
Make sure you write in all of your pattern information so that cutting out the fabric for your skirt will be a lot easier. For the front piece, you will want to cut this pattern on the fold. If you want to have a zipper at the back, you may want to cut out two separate pieces for the back of the skirt.
Let me know what type of circle skirt you plan on making with this pattern in the comments below!
The author may collect a small share of sales from the links on this page.


Comments
Join the conversation