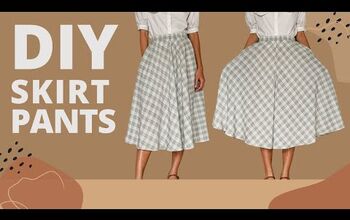
How to Easily Make a Cute DIY Circle Skirt With a Zipper

In this tutorial, I'll show you how to make a DIY circle skirt with a zipper. It’s super easy, and it’s a great sewing project for beginners, too. If you want to know how to sew a simple circle skirt, keep reading!
Tools and materials:
- 1½ yards fabric
- Zipper
- Scissors
- Sewing machine
- Pins
- Thread
- Measuring tape
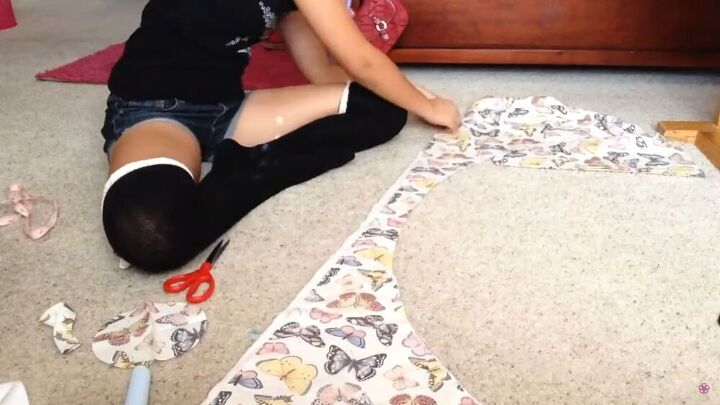
1. Make the pattern
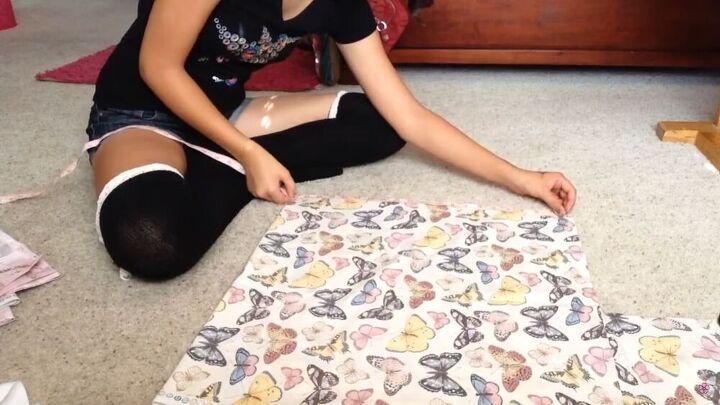
The length of my skirt will be around 18 inches. So, go ahead and measure your desired length. Then, fold your fabric in half, and half again, into a square. Your square piece should measure the length you want; in my case, it’s 18 x 18 inches.
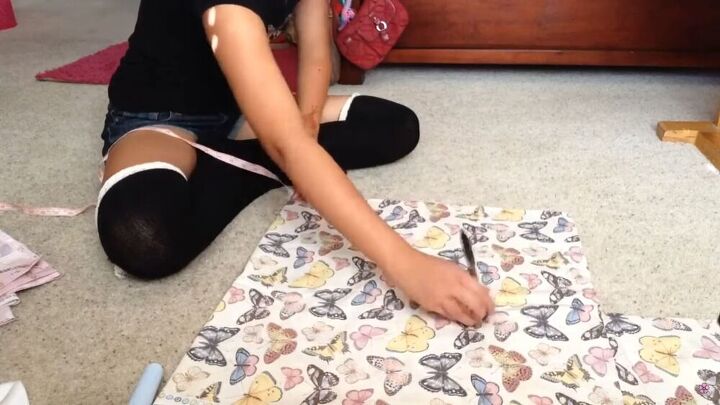
Next, mark with a pen all the way around the skirt, in a semi-circle fashion.
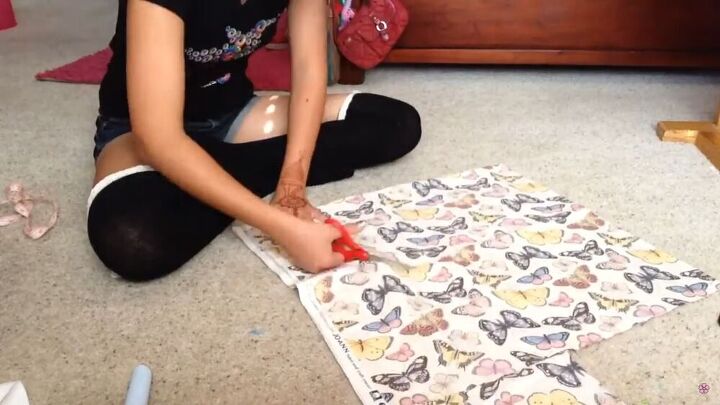
Now, cut out your pattern. Cut along the marks you just measured.
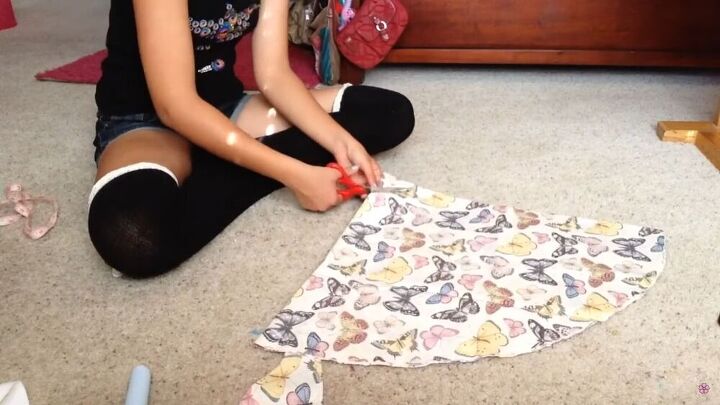
At the top, cut a little circle. Make sure it’s not too big or small.
Now, with the excess fabric, make the top part of the skirt. Measure your waist and add 4 inches to that. So, for reference, my waist is 28 inches, and I added 4 inches, so my final measurement is 32 inches.
Now cut a strip of fabric that is the length of your waist plus 4 inches, and make the strip 2 inches wide. Make 2-inch marks all the way through your strip.

2. Sew the waistband
Open the strip, fold it evenly, with the right sides facing, and sew across one of the edges with a straight stitch.
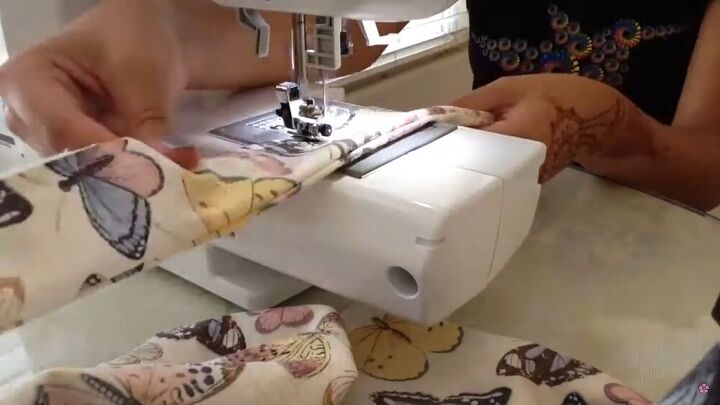
Then, flip it, so the right sides are facing out, and sew the other edge with a straight stitch.

Now, it’s time to flatten the strap. You can either press it down with an iron, or if you want a quick fix like me, just spray the fabric with water.
Next, take your hair iron and gently press the fabric. Pretty neat hack, huh?
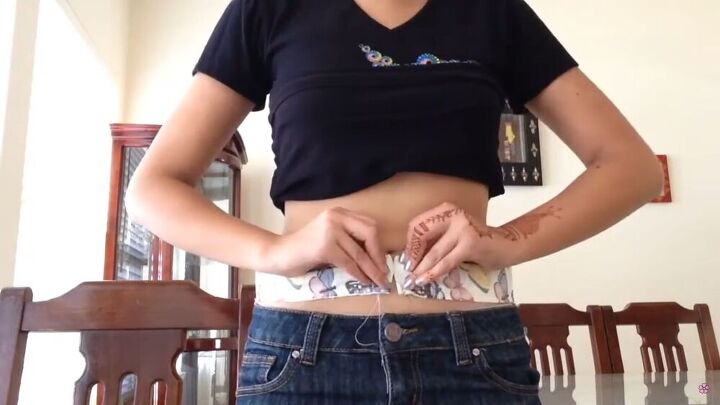
Wrap the strap around your waist to see if it fits. Mine was a little too big. If yours is, too, simply take it in by folding the ends a little and sewing with a straight stitch.
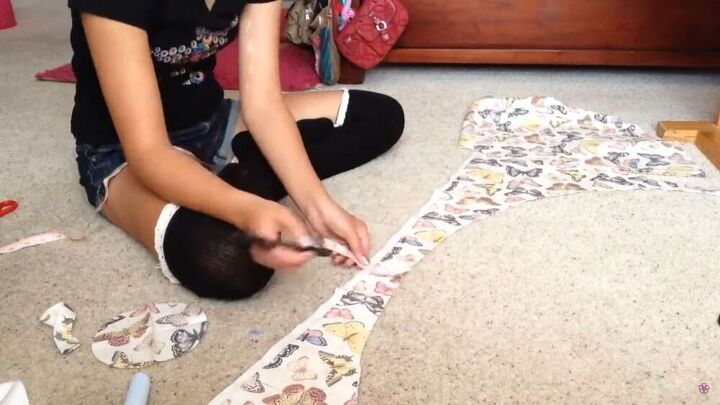
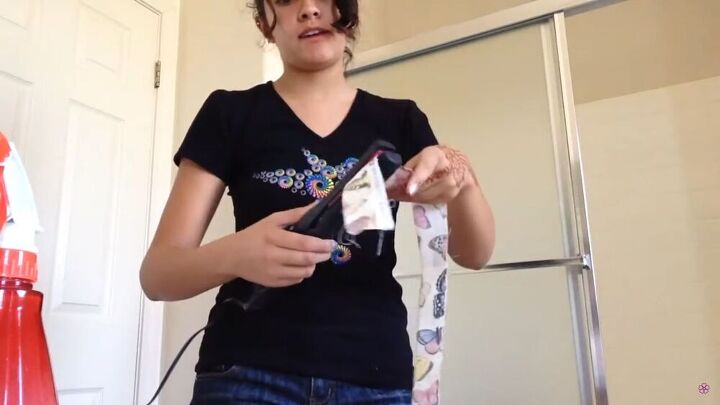
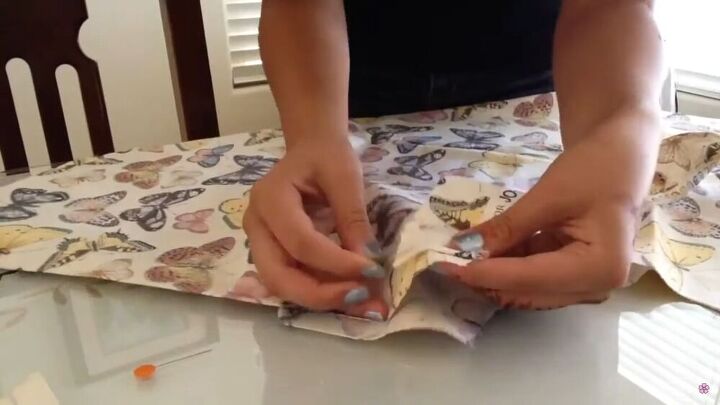
3. Measure the zipper’s location
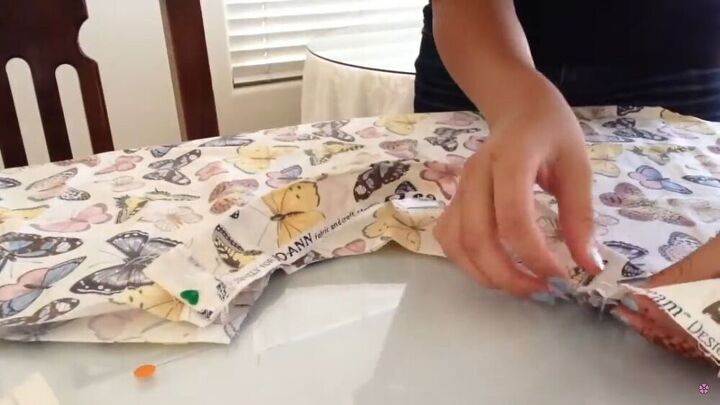
To add a zipper to the DIY circle skirt, simply line up the strap to the skirt, and place the zipper on the edge of the skirt. Next, see how far down your zipper will end, and place a pin to mark this location.
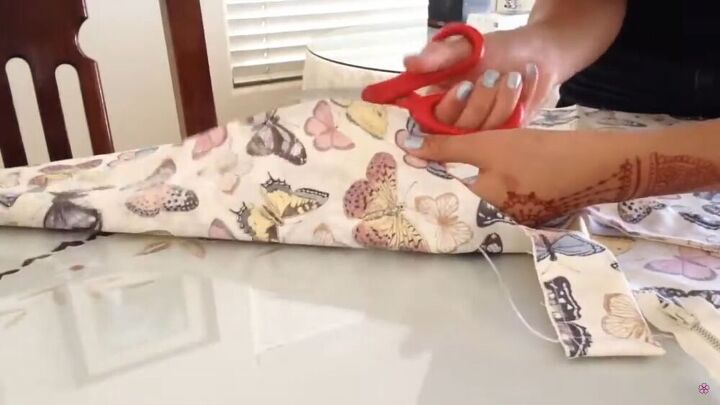
Cut the side of the skirt up to the pin.
4. Attach the waistband
Pin the edge of the waistband to the waistline of the circle skirt. Make sure that they are right sides touching and leave a little seam allowance on the open side of the skirt for your zipper.
Pin the waistband in increments. So, halfway along with the skirt. Like this, everything will be evenly distributed and in place before you sew both pieces.
Now, sew the waistband to the circle skirt with a zigzag stitch. Then, go through the same process, but with a straight stitch, ensuring that the waistband won’t rip.
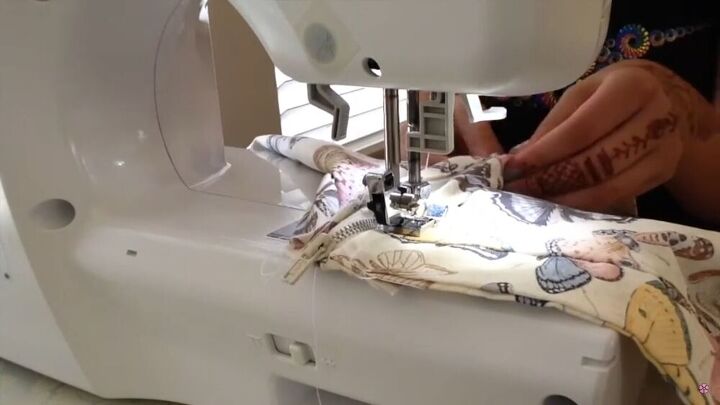
5. Hem the DIY circle skirt
Fold the bottom of the skirt by ½ an inch, and sew with a straight stitch, all around.
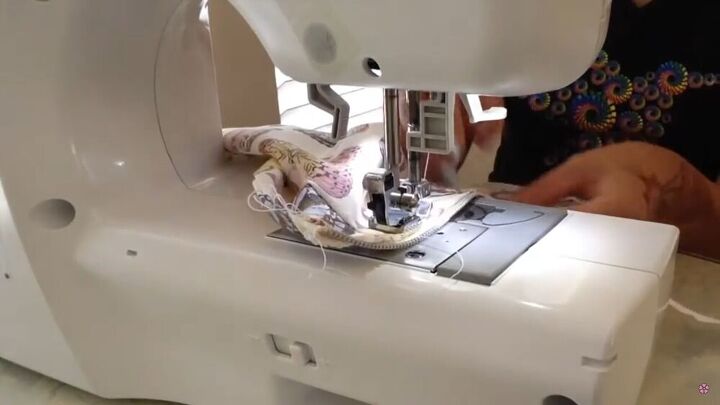
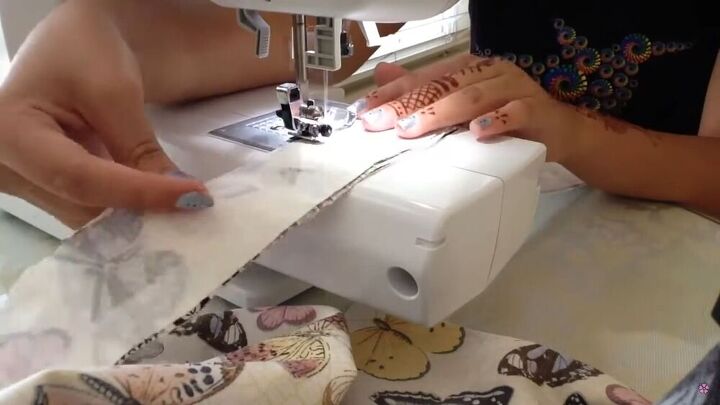
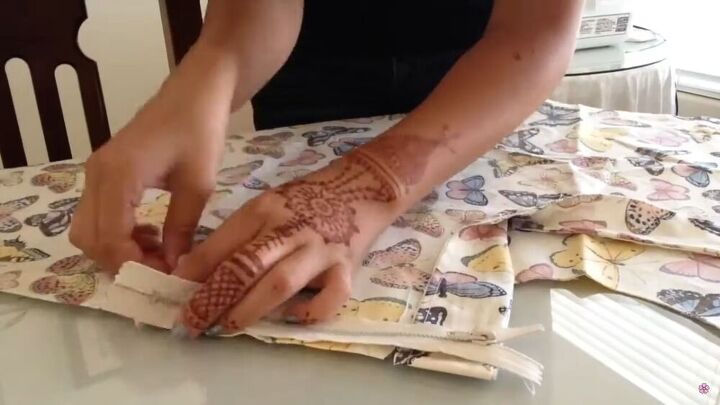
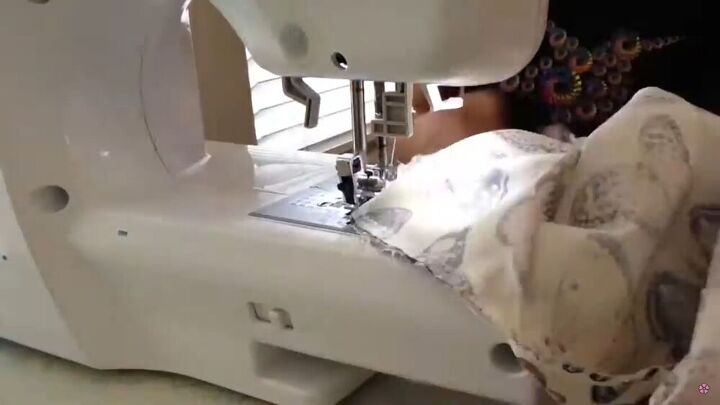
6. Sew in the zipper
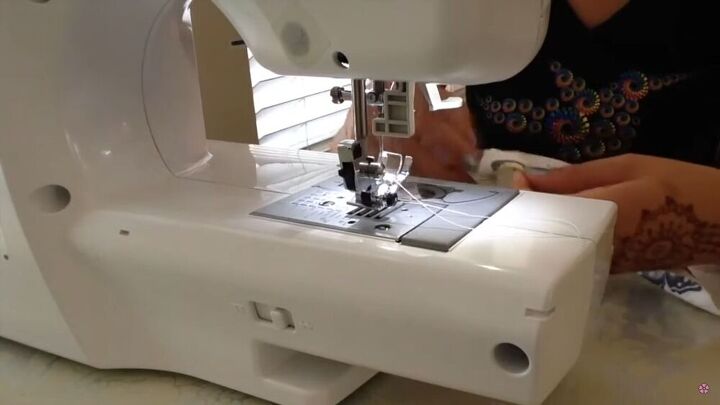
Align the edge of the fabric of the circle skirt to one of the sides of the zipper. Then, if you have a zipper foot, this is the perfect time to use it! If not, just sew carefully along with the fabric and zipper piece. Fold the fabric a little as you sew.
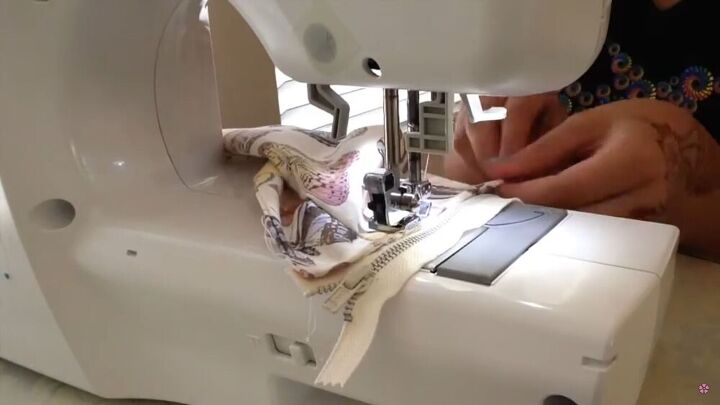
Once you get halfway through, zip up the zipper, and carry on sewing.
Repeat the same on the other side; unzip the zipper; once you’ve stitched halfway through, zip it up, and continue sewing.

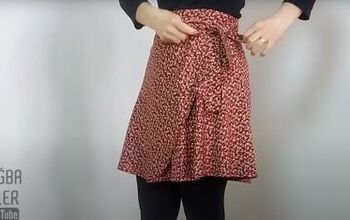
DIY circle skirt with a zipper
We are done! As you can see, you don’t even need a circle skirt sewing pattern! This lovely DIY project is so straightforward, and the result looks chic and trendy, don’t you think?

I hope you enjoyed this tutorial. Thanks for tuning in and let me know what you think in the comments below.
The author may collect a small share of sales from the links on this page.


Comments
Join the conversation
Great instructions. Job well done. Looks fab.