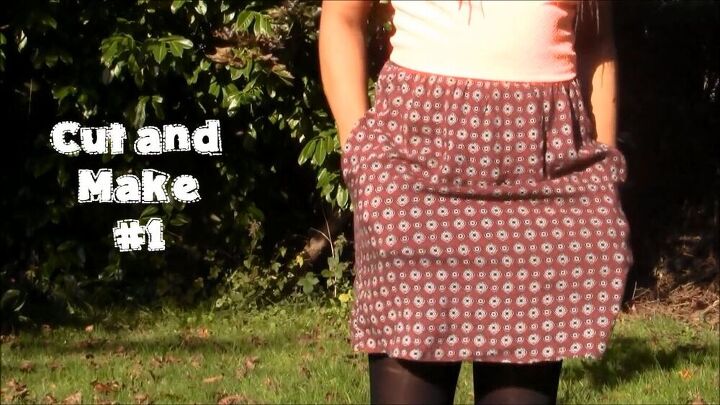
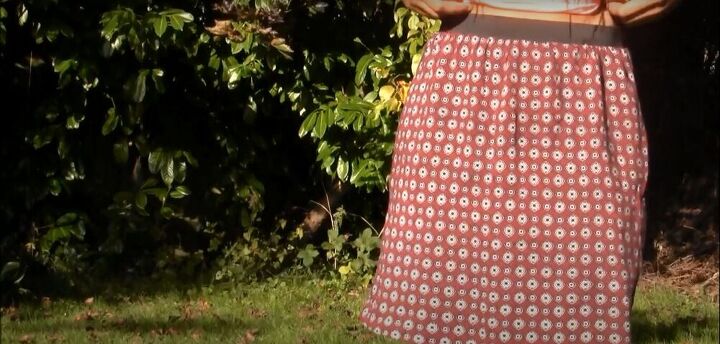
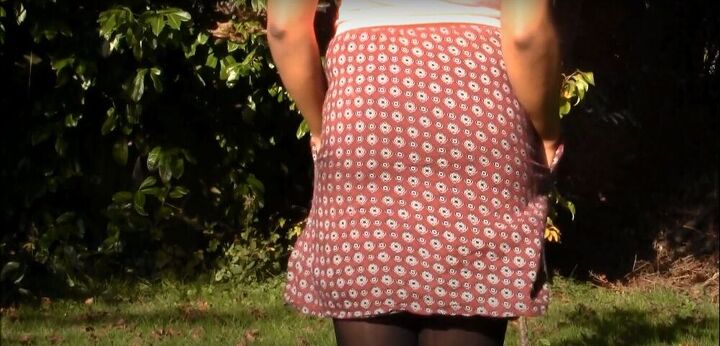
Cute Gathered Skirt With Pockets DIY

In this tutorial, I’m going to show you how to sew a gathered skirt with pockets. This is an easy project that is good for people with any level of sewing skills, including beginners. I love the simplicity of this design, and I’m sure you will, too.
Tools and materials:
- Half a yard of fabric for skirt
- Half a yard of fabric for lining
- Elastic
- Pins
- Scissors
- Fabric chalk
- Sewing machine
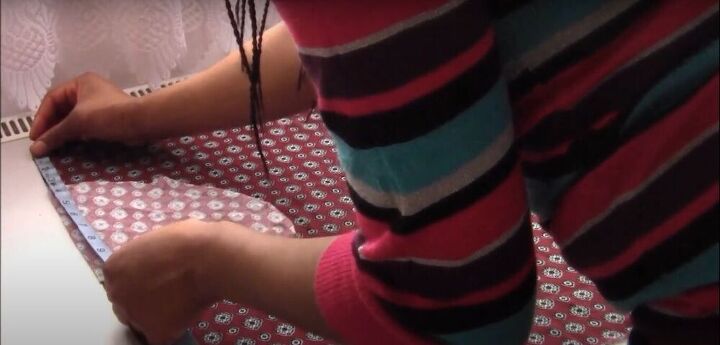
Measure how much fabric you need
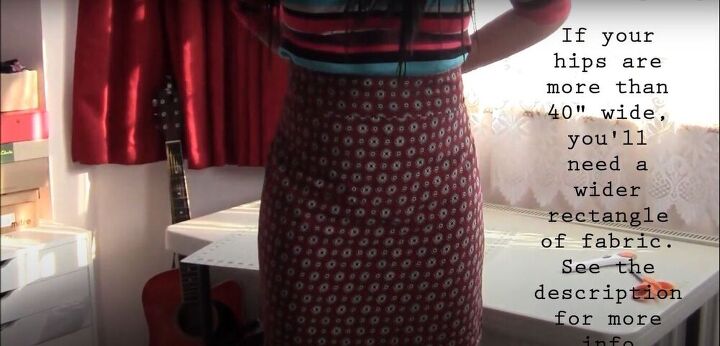
I started with one yard of fabric, which I folded in half lengthwise and wrapped around my waist to measure how much fabric I would need. It fit around my waist perfectly, and the length was where I wanted it, so all I had to do was cut the fabric in half lengthwise, leaving me with half a yard of fabric for my skirt.
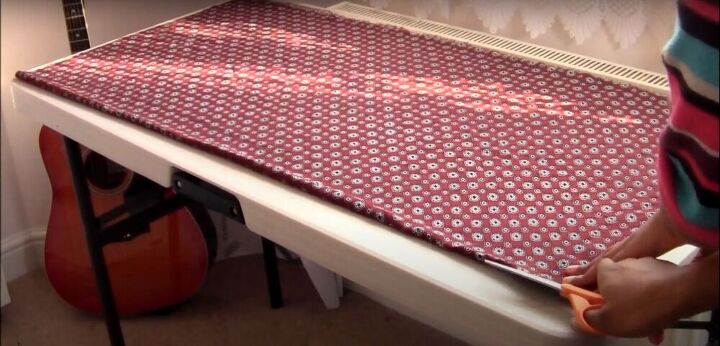
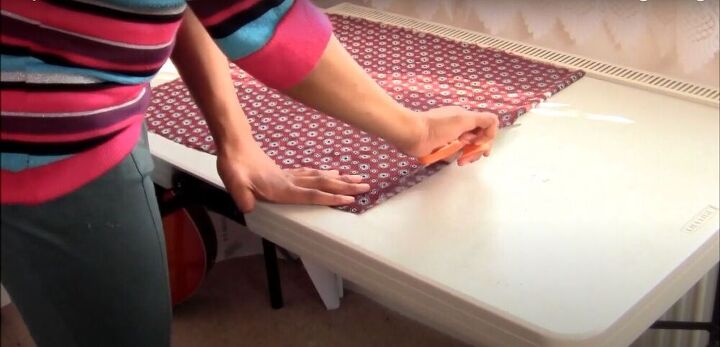
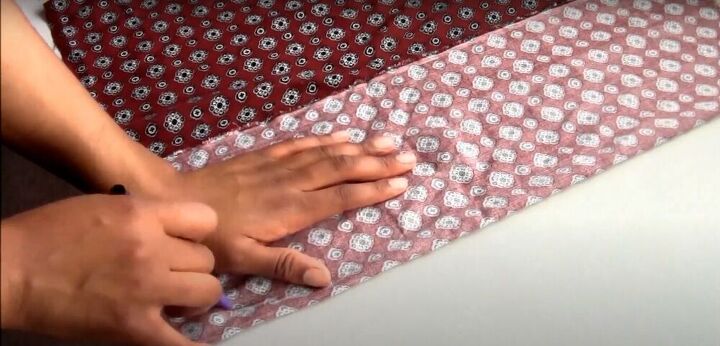
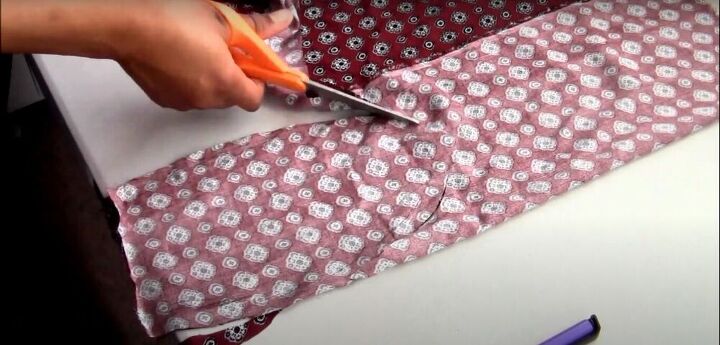
Fold and cut the fabric
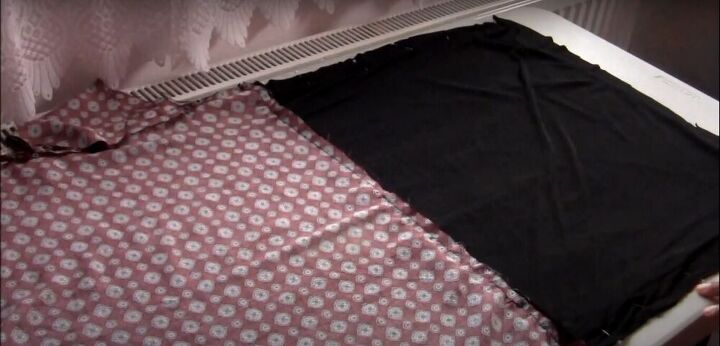
Since I was planning to add pockets, I folded my fabric in half widthwise, and cut it, so I would have a seam on either side of the skirt, where I could sew in a pocket.
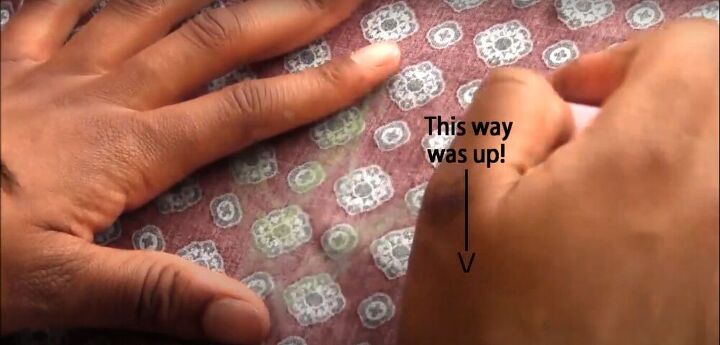
Mark the top edge
I drew an arrow with some fabric chalk on the wrong sides of the fabric so I would know where the top of the skirt should be.
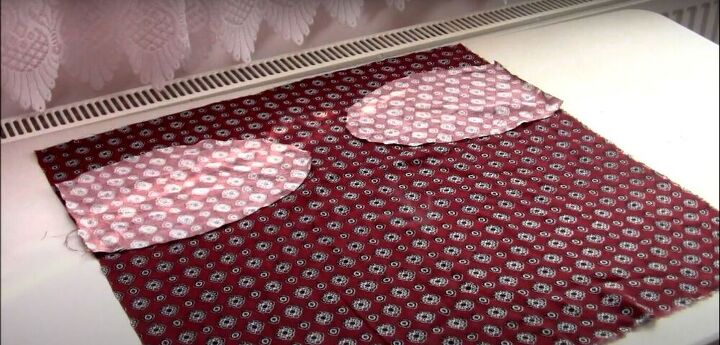
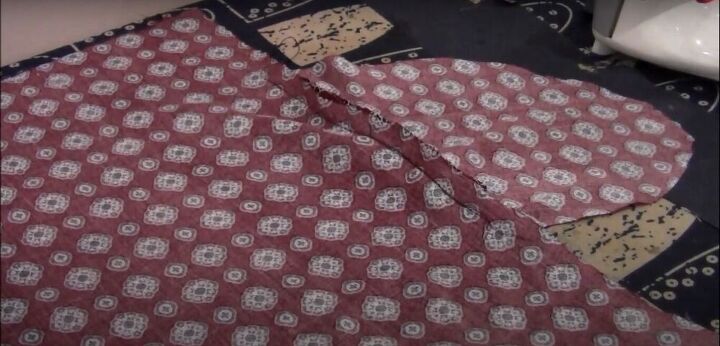
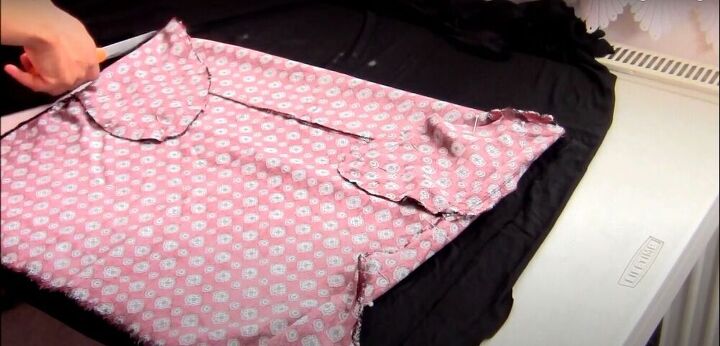
Make pockets
To make pockets, I folded my fabric, right sides facing, and simply traced a curved shape around my own hand.
Then I cut the shape out of the fabric. I used the first pieces I cut to trace the shape for the second pocket, and cut those out, as well.
Decide pocket placement on the skirt
I laid one pocket piece on either side of one skirt piece to decide the placement of the pockets.
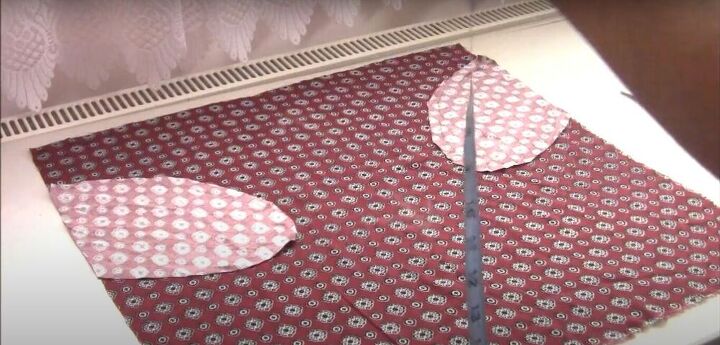
At first, I laid them perpendicular to the side seams but realized that they should actually be somewhat angled. So I repositioned them and cut the excess fabric off before pinning the straight edges of each pocket piece to the sides of the skirt.
Before pinning the pocket pieces down, I made sure they were level with each other. I placed each one about four inches from the top edge of the skirt.
Sew the pockets
I used a straight stitch to sew one pocket piece onto each side of the skirt fabric.
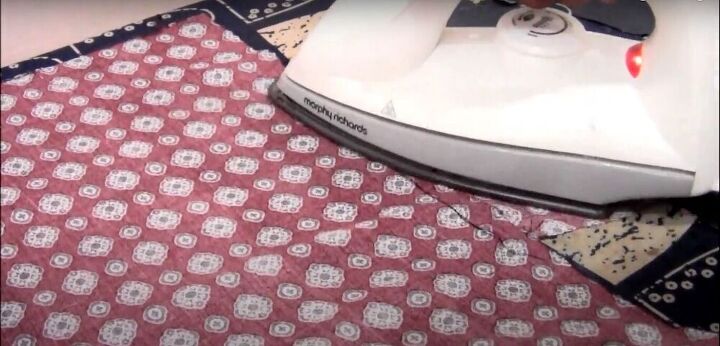
Then I ironed the seams flat.
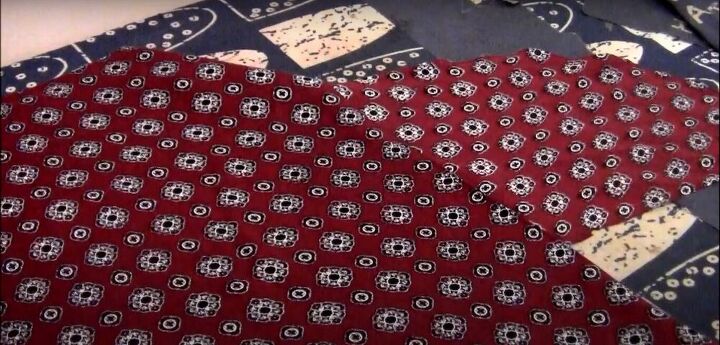
Finally, I topstitched the seam allowance onto the skirt side of the pocket-skirt seam. I repeated this process for the remaining two pocket pieces and the second skirt piece.
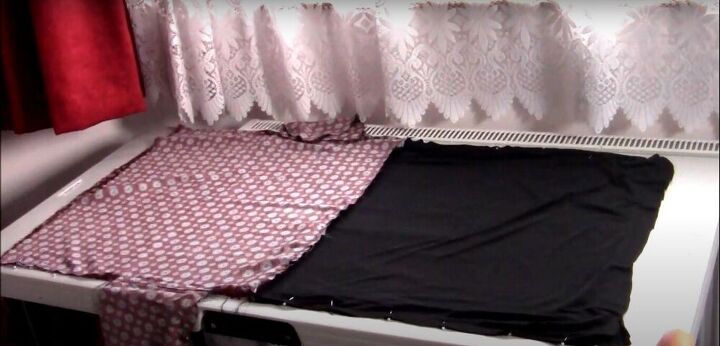
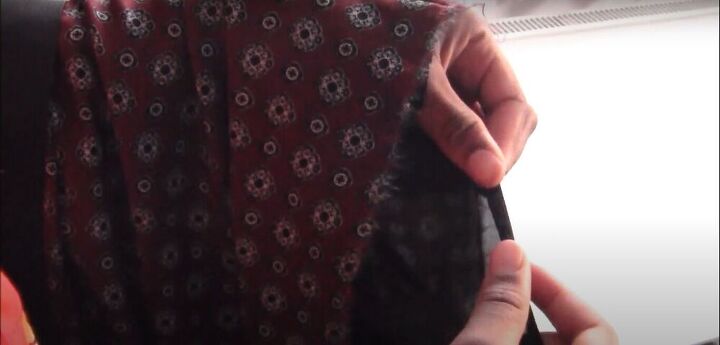
Cut out the fabric for the lining
To cut the fabric for the lining, I simply placed my skirt on top of the lining fabric and cut around it. This created the lining for one side of the skirt.
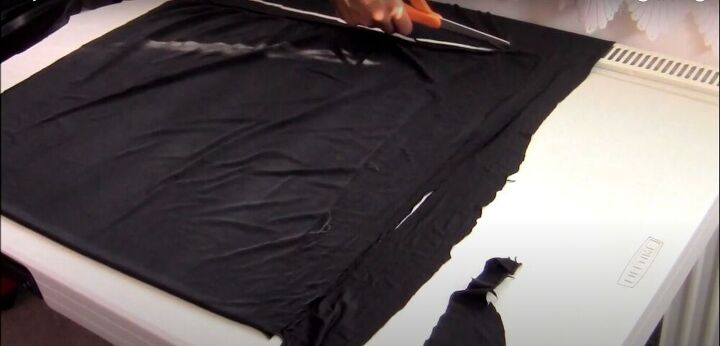
I laid the first piece on top of the remaining lining fabric, and cut around it to create the second piece of lining.
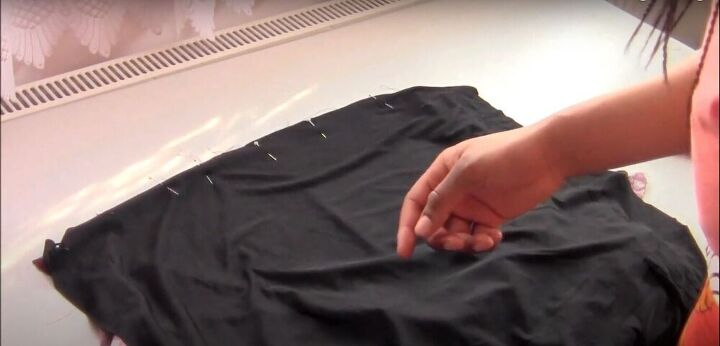
Pin the lining onto the skirt
I pinned each lining piece along the top edge of each skirt piece, right sides together.
Sew the lining onto the top edge of the skirt
Once the lining pieces were pinned in place along the top edge of the skirt, I sewed each one down.
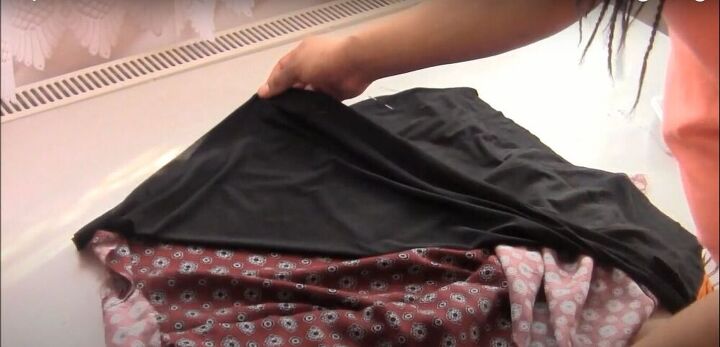
Sew along both side seams of the skirt
Then, I laid each piece of the attached skirt and lining pieces one on top of the other, right sides facing, pinned them together along the side seams, and sewed all the way down each side, making sure to sew around the edges of the pockets, as well. Once everything was sewn together, I turned the skirt right side out.
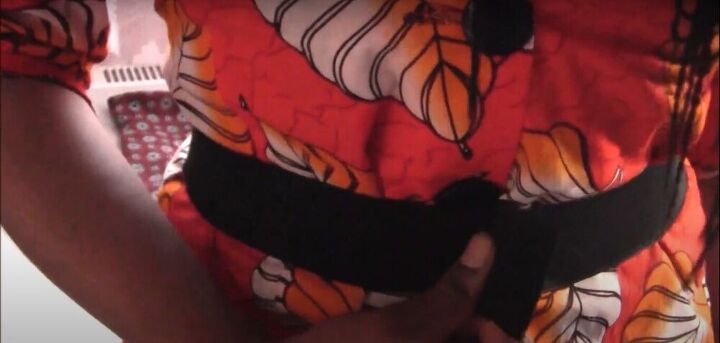
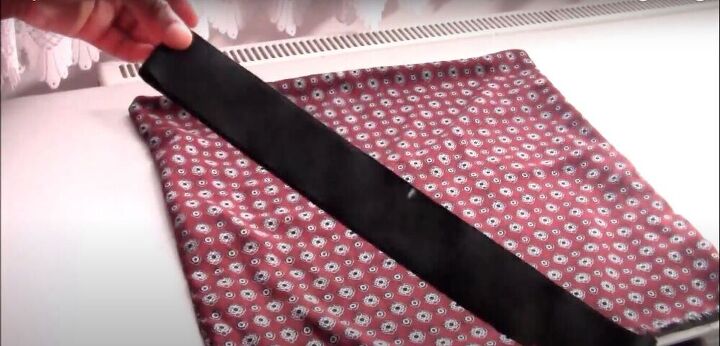
Measure the elastic
To measure how much elastic I would need for the top of the skirt, I wrapped a length of elastic around my waist so it was slightly extended, but not too tight, and then cut it at that point.
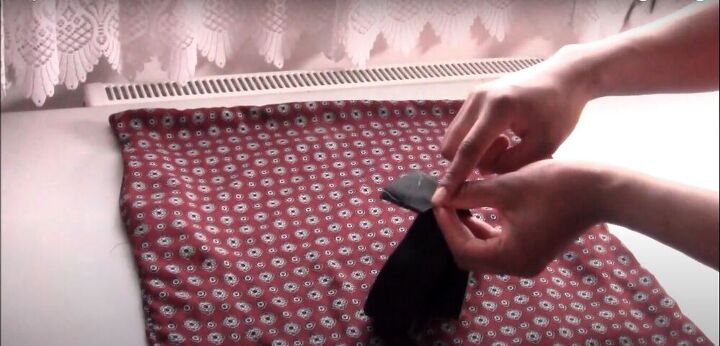
Sew the ends of the elastic together
I sewed the ends of the elastic together using a zigzag stitch.
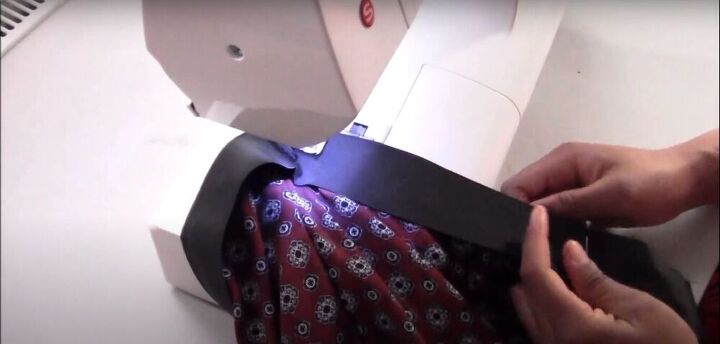
Mark the center point and quarter points
Next, I folded my elastic in half and marked the halfway and quarter points, and did the same along the top edge of the skirt.
Pin the elastic onto the skirt
I then pinned the elastic to the skirt, matching up the halfway and quarter points I had marked on each.
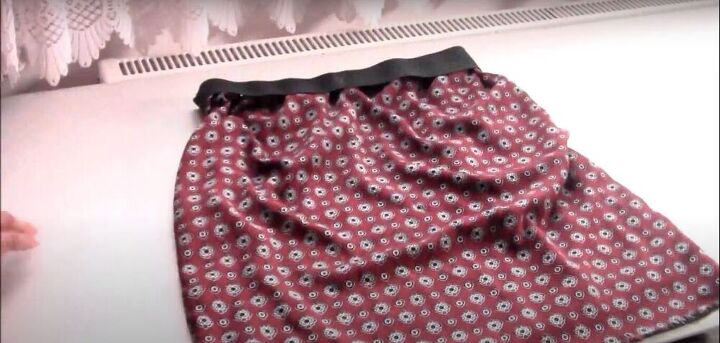
Sew the elastic onto the skirt
I sewed the elastic onto the top edge of the skirt using a zigzag stitch and stretching the elastic as I went.
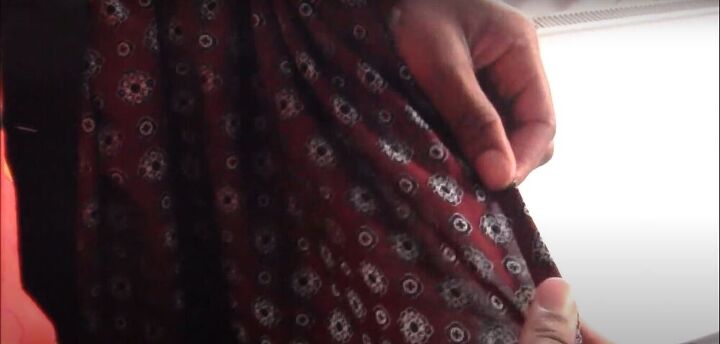
Hem the skirt and the lining
The last step was just to hem the skirt and the lining, which I did by double folding the bottom edge of each one, and sewing them down with a straight stitch.
I hope this tutorial was helpful. Check out my other tutorials for more cool DIY ideas.
The author may collect a small share of sales from the links on this page.


Comments
Join the conversation
So cute- I love those pockets!
Really great work. I would love to try this project out!