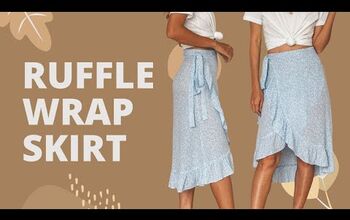
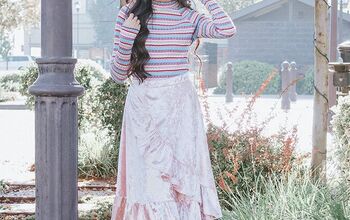
Easy Ruffle Wrap Skirt

You’ll only need one yard of fabric for this project, and you can probably find that length of fabric on the sale tables at your fabric store. I got the fabric for my easy ruffle wrap skirt for just $5! Watch this tutorial to make your own DIY ruffle wrap skirt.
Tools and materials:
- Skirt Fabric
- Interface fabric
- Ribbon fabric
- Paper
- Ruler
- Pencil
- Thread
- Sewing Machine with buttonhole foot

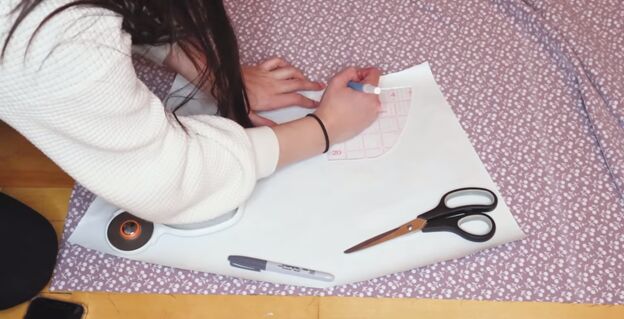
Make the pattern
If you have never made a pattern yourself, I’ve got a great measurement chart for you to use as a guide. Check my video at 0:40, find your waist measurement, and then use the corresponding A-line measurement in the first column for your pattern. For my 29-inch waist, I need an 18.5-inch A-line skirt radius for each piece.
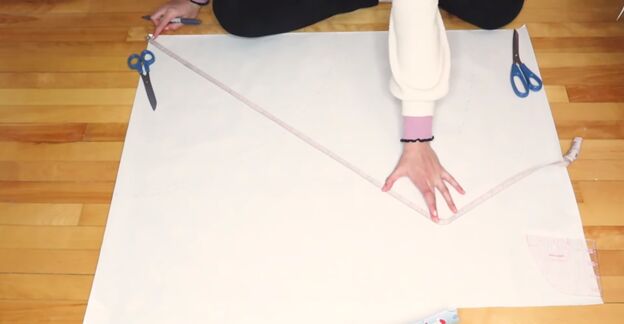
Mark the skirt measurement in a circular pattern starting in the top left corner. Then add 12 inches to the skirt radius for the length of the skirt and make the same circular-patterned marks on your paper at that length. 12 inches may seem short for a skirt, but you’ll be adding ruffles to increase the length.
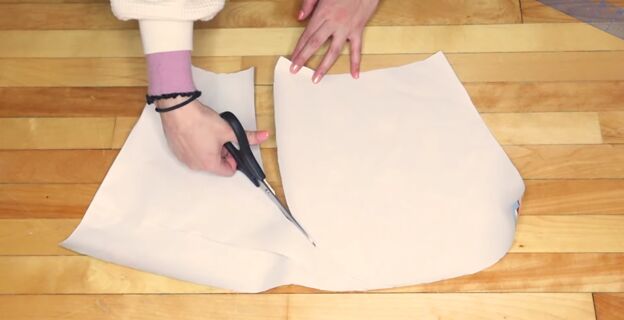
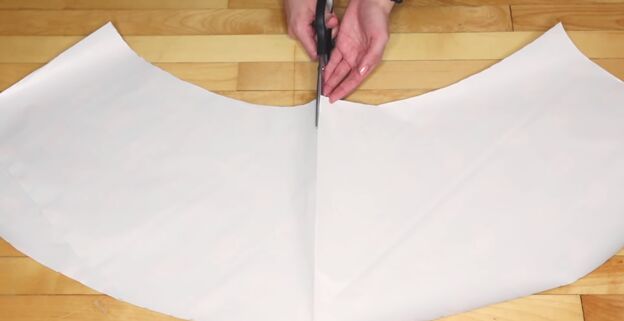
Cut the skirt pattern out, then fold the pattern in half and cut it on the fold. Now you have two pattern pieces: one for the front and one for the back.
To create the wrapped flare, one piece of the pattern, mark 5 inches in from the left side at the top of one pattern piece. Now draw a curved line from that dot to the bottom of your pattern and cut along that line.
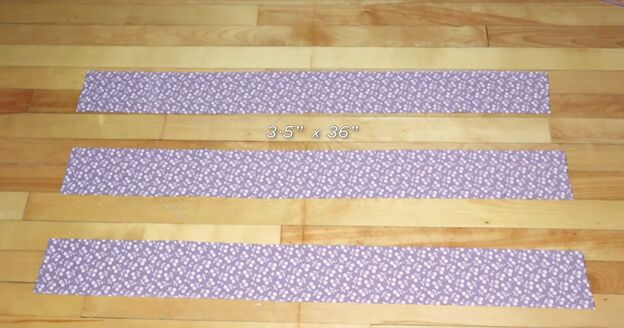
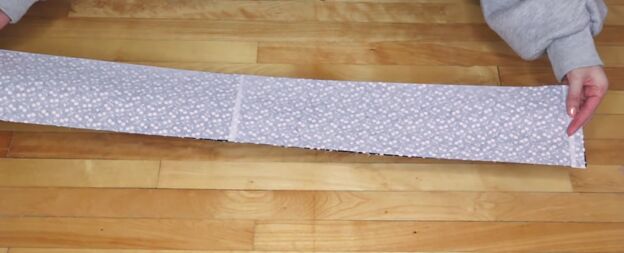
Cut ruffles
You will need three strips of fabric, each strip measuring 36 inches long and 3.5 inches wide.
If your fabric has a stretchy side and a non-stretchy side, you will want the long edge of the ruffle to be on the stretchy side of your fabric. See what went wrong when I used the non-stretchy side, in my video at 2:54.
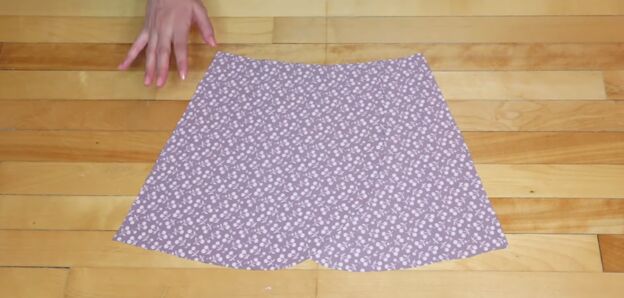
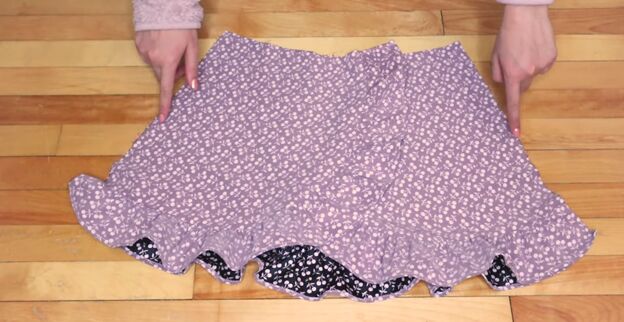
Cut skirt
Place the larger pattern piece (the skirt back) on your fabric, and trace the outline using a water-soluble pen. Repeat with the front pieces. You need two symmetrical, mirror-image front pieces so after you cut the first one, flip the pattern over before you cut the second one.
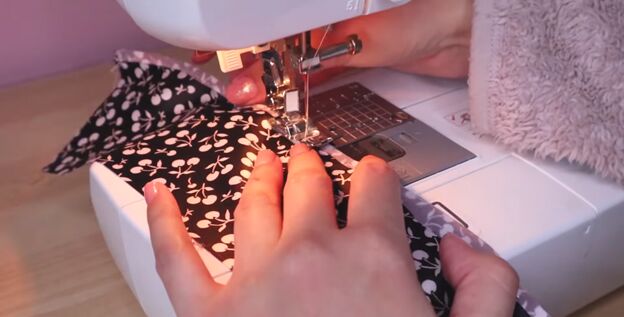

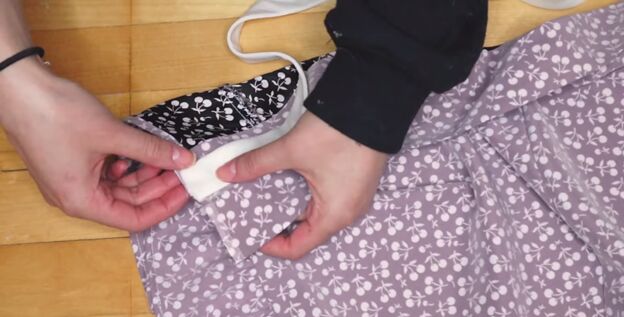
Sew and attach ruffles
Hem one of the long ends of the ruffle strips by folding the edge in twice and sewing along the fold on the right side of the fabric. On the other long edge, sew two parallel basting lines right next to each other. Leave a long piece of thread at the end of each of these two rows of stitches. Hold the two long pieces of thread and pull the fabric gently in the opposite direction. The fabric will ruffle up along the pulled thread. When your ruffled strip is the same width as the bottom of the skirt, attach it by sewing the bottom edge with right sides together. Repeat with another strip and the curved front skirt piece that will be on top. Repeat once more for the curved front skirt piece that will lay under the top piece, but this time don’t ruffle the section that will lay under the other front piece. Only ruffle the section that will be visible so that the flap lays flat.
Sew side seams
Place the front and back pieces with wrong sides together and outside edges matching up. Sew the side seams as close to the edges as you can. Turn the skirt inside out and sew the side seams again.
Waistband
Cut a 4-inch-wide waistband the length of the circumference of the top of your skirt. Cut a matching piece of interface fabric and iron the interface to the back of your fabric waistband. Sew the waistband to your skirt on the wrong side.
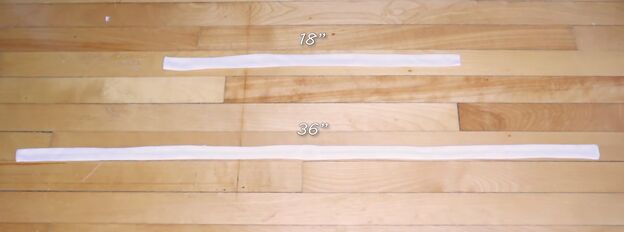
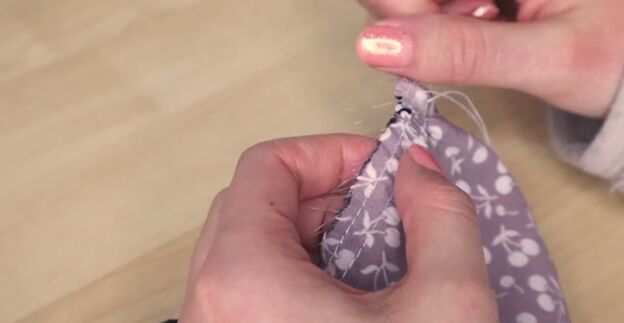
Ribbon tie
Cut two 2.5-inch-wide tie ribbons. One ribbon should be 18 inches long and the other 36 inches long. Fold the ribbons in half lengthwise and sew the open long edge and one open short edge on each ribbon. Snip off the corners and turn the ribbons right side out (see how I did this at 5:35 in the video.) Fold the waistband of the skirt in half with the ribbon laying flat inside the fold. Sew the bottom of the fold. Now topstitch the waistband for a clean finish.
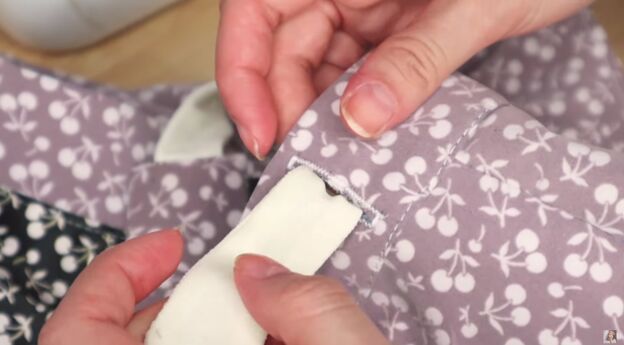
To create the opening at the front of your skirt for the ribbon to pass through, use the buttonhole instructions as described in my video from 7:07 to 7:43.
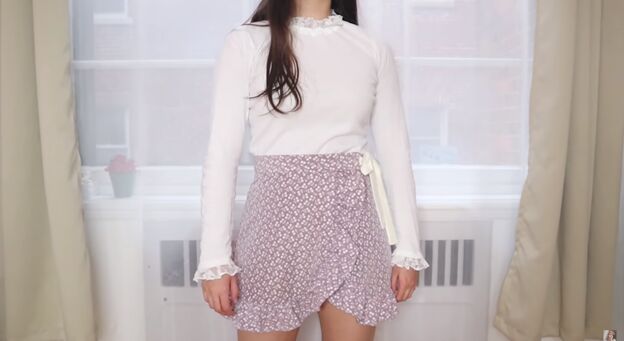
I hope you enjoy the final design of your skirt. Make sure to subscribe for more DIY fashion videos!
The author may collect a small share of sales from the links on this page.


Comments
Join the conversation
I like that you used the light side of fabric instead of darker! This is harder to do than one might think. When I did it once, I had a hard time sewing the correct side together and had to rip out several times. LOL