How to Create a Sweet, Soft & Glowy Spring Makeup Look

Spring is a magical time of year, and this occasion calls for a soft yet glowy makeup look! It’s time to ditch the dark colors and go for something softer and refined.
This tutorial will show you how to achieve simple spring makeup. You’ll love the warm glow that goes with it, too - perfect for this time of the year. Let’s get to it.
Tools and materials:
- Undereye patches
- Brow pen
- Spoolie
- Concealer
- Assorted brushes
- Blush of choice
- Neutral eyeshadow palette
- Mascara
- Foundation
- Makeup sponge
- Highlighter
- Setting powder
- Eyeliner
- Lip liner
- Lipstick
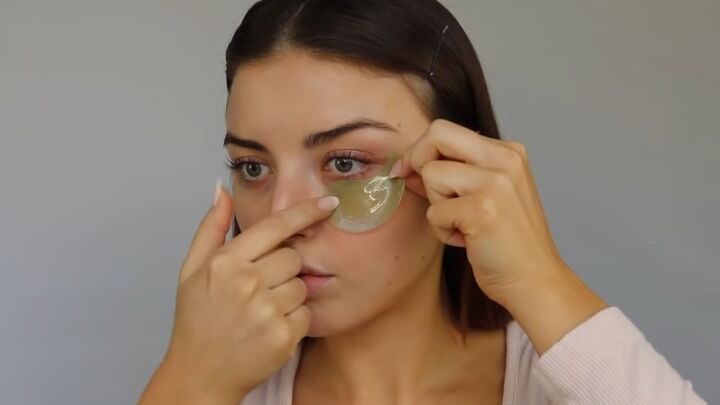
1. Hydrate your eyes (optional)
This step is optional, but if you’re experiencing dryness and discoloring under the eyes, then undereye patches are an excellent way to inject some hydration and brightness under your eyes.
They will also depuff your eyes and give them a smoother texture. Wait 10 minutes and then remove.
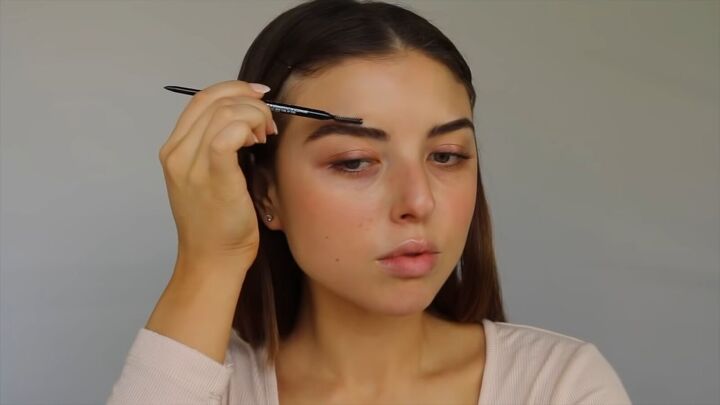
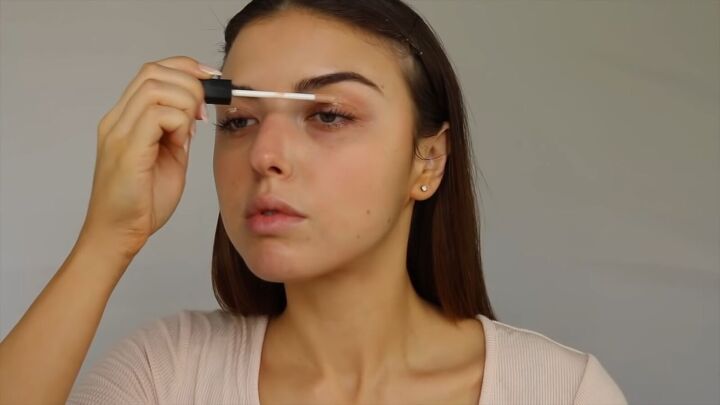
2. Fill in your brows
Grab your favorite brow pencil and fill in your brows lightly. The aim is to fill in the sparse areas of your brows and add a little definition and a nice feathered look. Also, use your spoolie to brush them out.
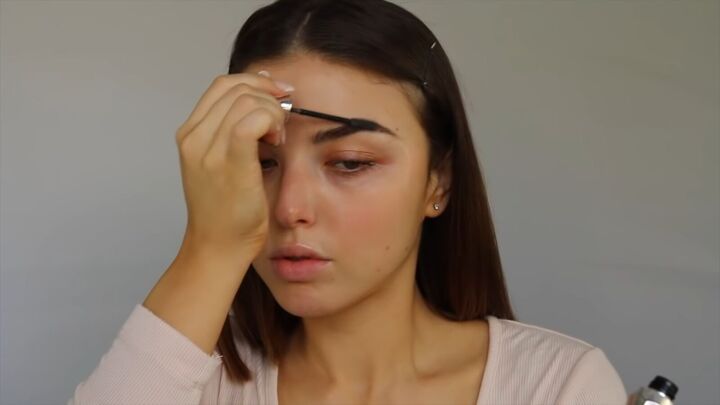
Add an eyebrow styling gel to keep them in place.
3. Apply concealer
Next, apply concealer all over your eyelid and blend it out with a brush. This will help with discoloration and prep your eyelids for the simple spring eye makeup look.
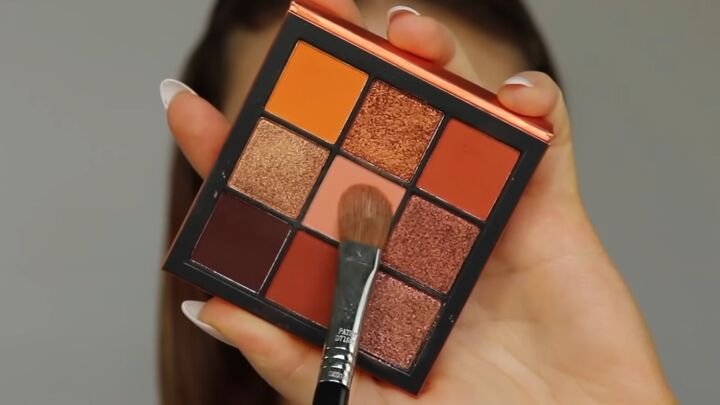
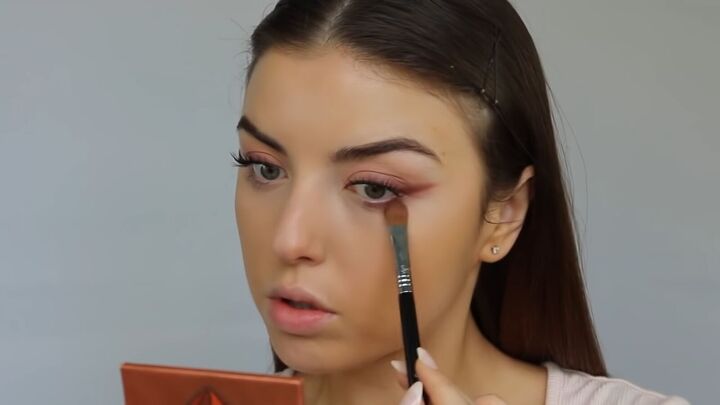
4. Apply eyeshadow
For this step, feel free to grab any eyeshadow palette that you own that has neutral colors. Here’s mine pictured above for reference. I’m choosing a matte pink eyeshadow for my base.

Apply the color over your mobile eyelids, using light taps to pack on the color with your brush.
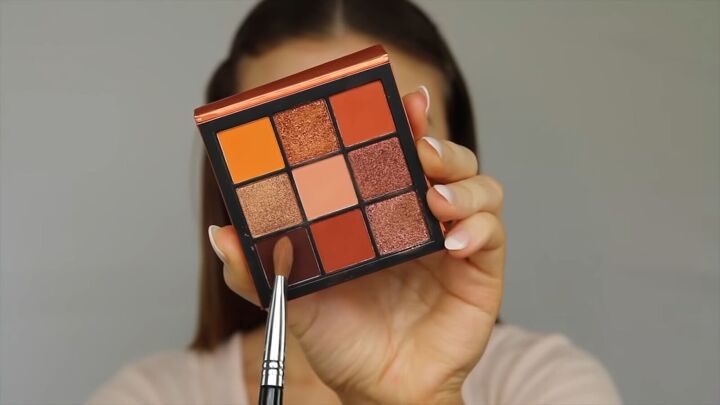
Next, go in with a dark brown color and line along your upper lashline line, then wing it out. Don’t worry if it’s not perfect, and I will show you a cool trick to make a perfect winged liner in the next step.
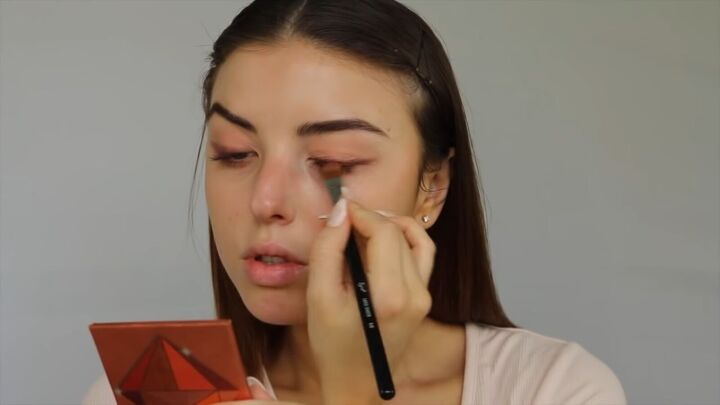
Concealer helps cover up any mistakes or unevenness. All you have to do is apply it around the eye area and go over the areas that look messy. Like this, you’ll get a crisp, soft spring makeup look. This product will literally be your best friend.
Apply it to the outer areas of your eyes with a flat brush. As you can see, I’m underlining the shadow from the eyeshadow and sharpening the lines as best that I can.
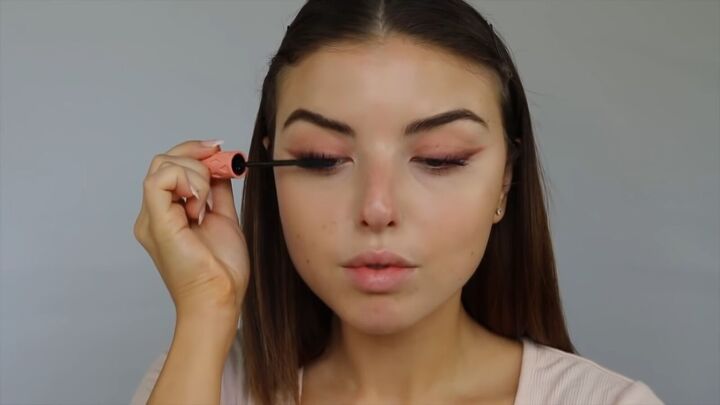
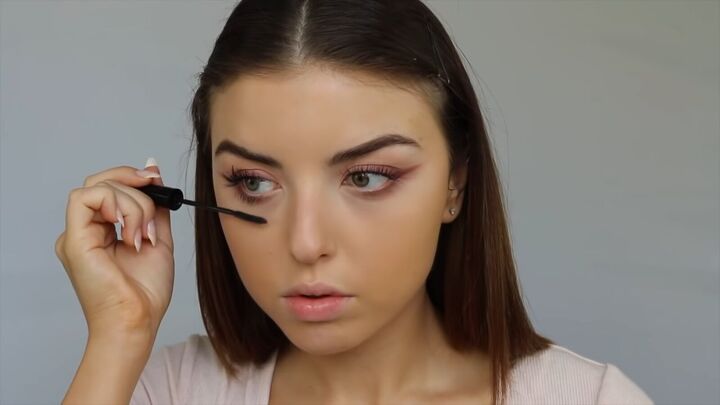
5. Apply mascara
Next, go in with your favorite mascara and coat your lashes. For this spring makeup look, I’ll be skipping out on false lashes.
Tip: Should you get any mascara on your eyelid, wait for it to dry, and rub it out with a spoolie brush. It works like a charm!

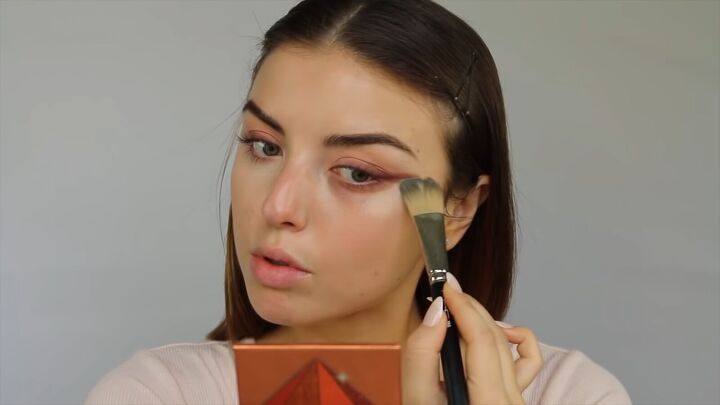
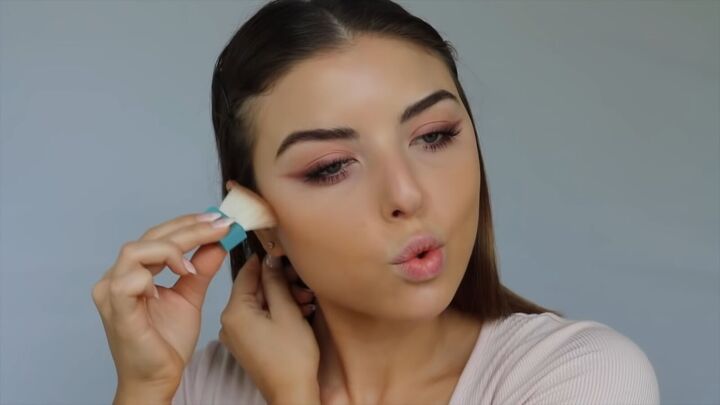
6. Apply foundation
Next, apply the foundation to the rest of your face. I’m using a foundation brush for this step. Make sure to blend the foundation evenly.
Then, go over your foundation with a sponge, using tapping motions. This will ensure that there aren't any harsh lines.
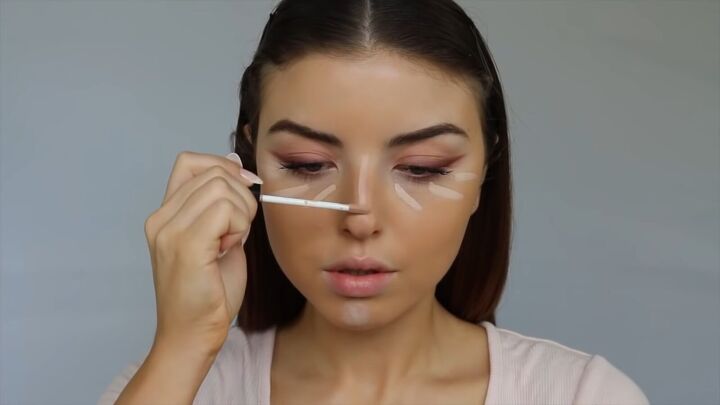
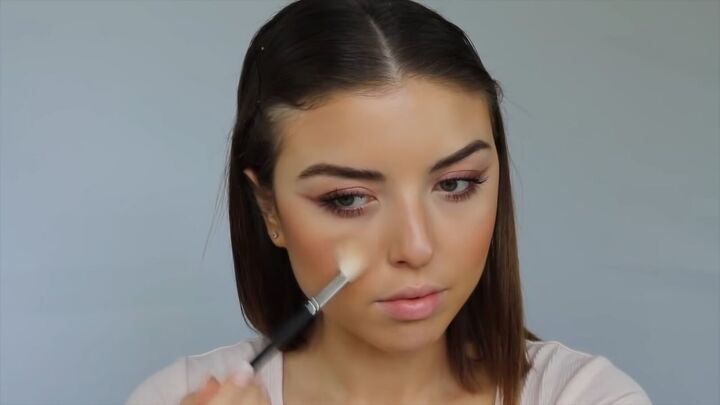
7. Add concealer and bake
Apply concealer underneath your eyes, chin, and nose. This will also brighten the center of your face and create a wonderful balance.
Then, blend it all out with a sponge. I love how even a tiny amount of concealer can make a huge difference.
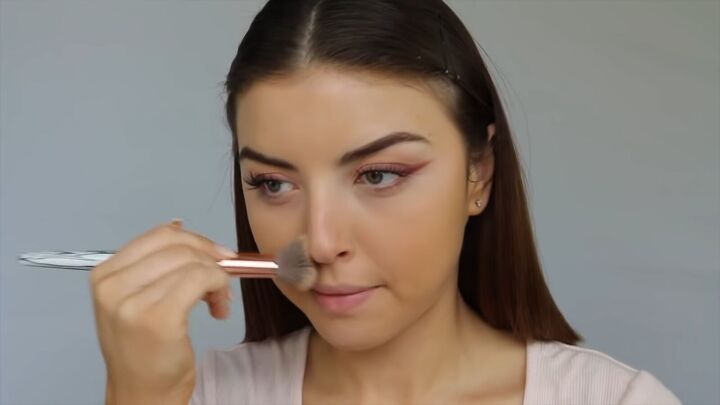
Next, go in with an undereye bake powder. Lightly dust it underneath your eyes, as well as the center of your face, with a large fluffy brush.
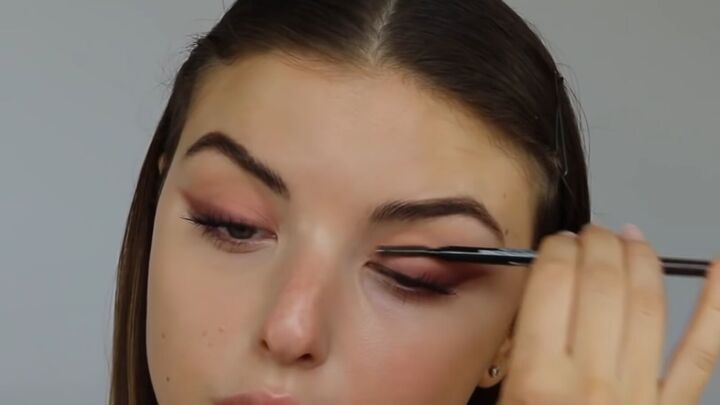
8. Connect the wing
Connect the lower lash line with the wing using the same dark brown eyeshadow as before.
Next, add mascara to your lower lashes.
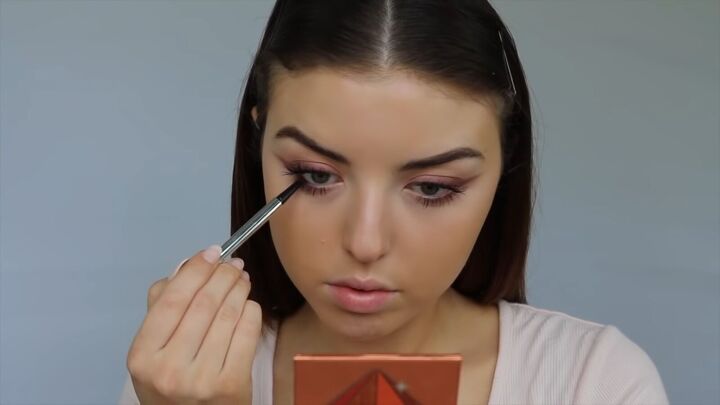
9. Apply eyeliner
For the eyeliner, I opted for a really pretty brown color so that it ties in with the whole soft spring makeup look. Also, apply it to your upper waterline.
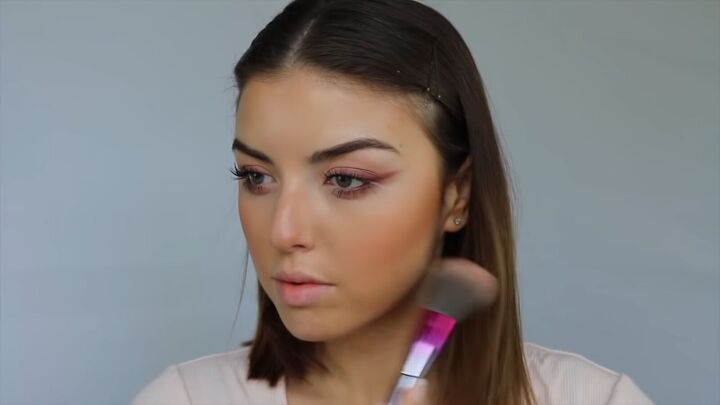
10. Add bronzer
Time for some contouring! Use your favorite bronzer and apply it along the sides of your face. Blend it upward.
11. Apply blush
Go for a lovely spring-colored blush, like a soft pink or peach. Apply it to the apples of your cheeks, moving your brush in an upward motion.
12. Apply highlighter
Apply a highlighter to the highest points of your face. Do this in swift, sweeping motions.
The aim is to achieve a youthful glowy spring makeup look, so don’t use a chunky or over-the-top glittery highlighter.
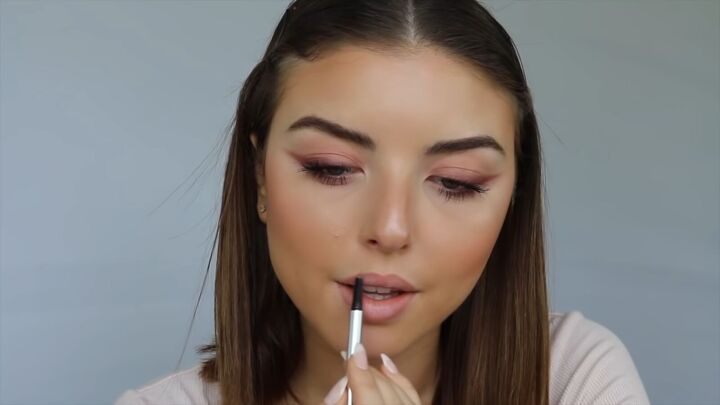
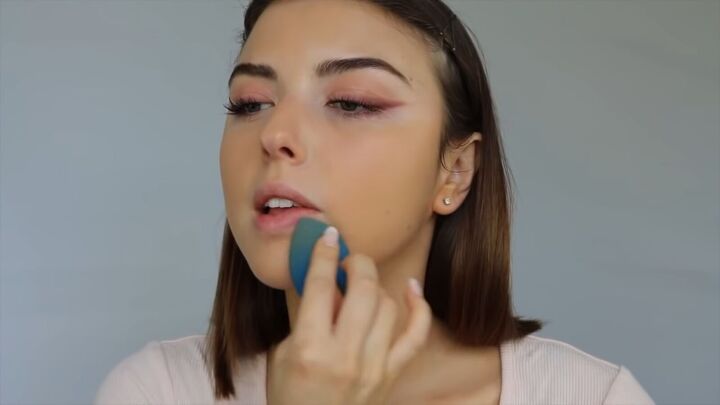
13. Apply lip color
First, outline your lips with a subtle nude lip liner.
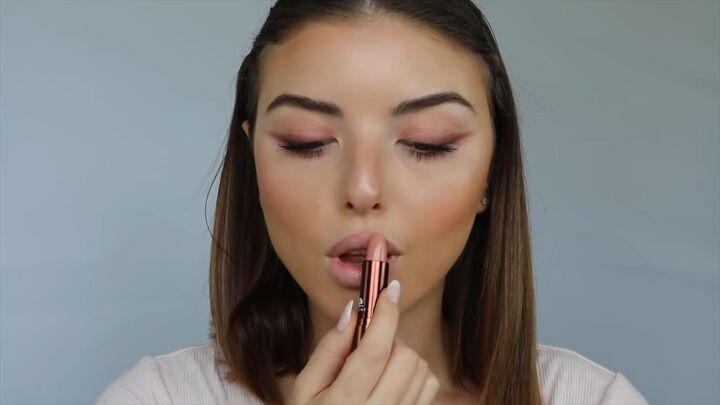
Then, apply a subtle lipstick color. I opted for a beautiful pinky nude color.
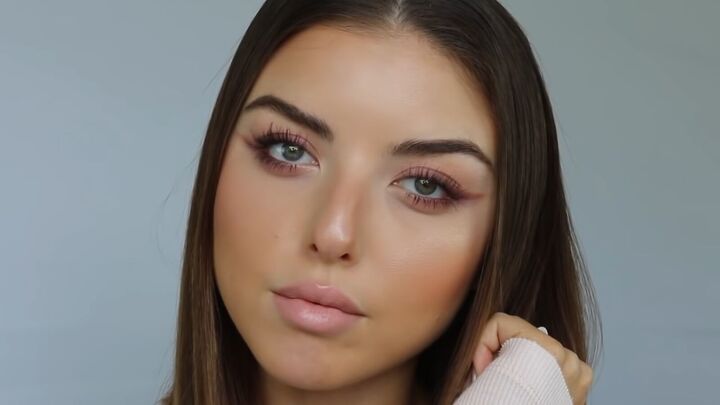
Spring makeup look tutorial
That completes our spring makeup look! It’s definitely subtle, with a touch of glow and shine in all the right areas.
I hope you enjoyed this spring makeup tutorial. Let me know in the comments below what you think of this dreamy look.
Products used
- Pixi DetoxifEYE Hydrating and Depuffing Eye Patches with Caffeine and Cucumber
- CoverGirl Micro-Fine + Define Pencil in "Soft Brown"
- Benefit Cosmetics 24-HR Brow Setter Clear Brow Gel with Lamination Effect
- NARS Radiant Creamy Concealer in "Vanilla"
- HUDA BEAUTY Obsessions Eyeshadow Palette
- Benefit Cosmetics Roller Lash Curling & Lifting Mascara
- Dior Forever Foundation in “Linen"
- HUDA BEAUTY Easy Bake Loose Baking & Setting Powder in "Pound Cake
- Dose Of Colors Eyeliner in “Sketch”
- Benefit Cosmetics Hoola Bronzer
- L.A. Girl Just Blushing Powder
- Hourglass Highlight Palette
- Dose Of Colors “Casual” Lip Liner
- Origins Lipstick in “Nude Blossom”
The author may collect a small share of sales from the links on this page.


Comments
Join the conversation
The pink tones are very pretty, soft, and flattering - you look great! If I may, I’d like to suggest giving paler, less yellow foundation a try just to see what you think - a cool neutral perhaps might be a good match. Whatever you choose, you have a lovely complexion and features, and just about anything you do is going to look wonderful!