It's So Easy to Size Down a Sweater Vest!

Size down a beloved sweater vest and give it a whole new Life! This refashion is perfect for the winter season. You just need a few supplies you may already have on hand. You can do this for ANYONE, you just need an old sweater and a shirt for sizing. Follow a long and see how easy it is to resize a sweater.

Years ago my husband used to love wearing sweater vests during the colder months. He has since changed his mind and prefers not to wear them. Which left us with quite the surplus. Some were donated and gifted to friends and family. A few were kept in hopes that I could find something to do with it. When my youngest showed an interest in one of them I decided to size it down to fit him.
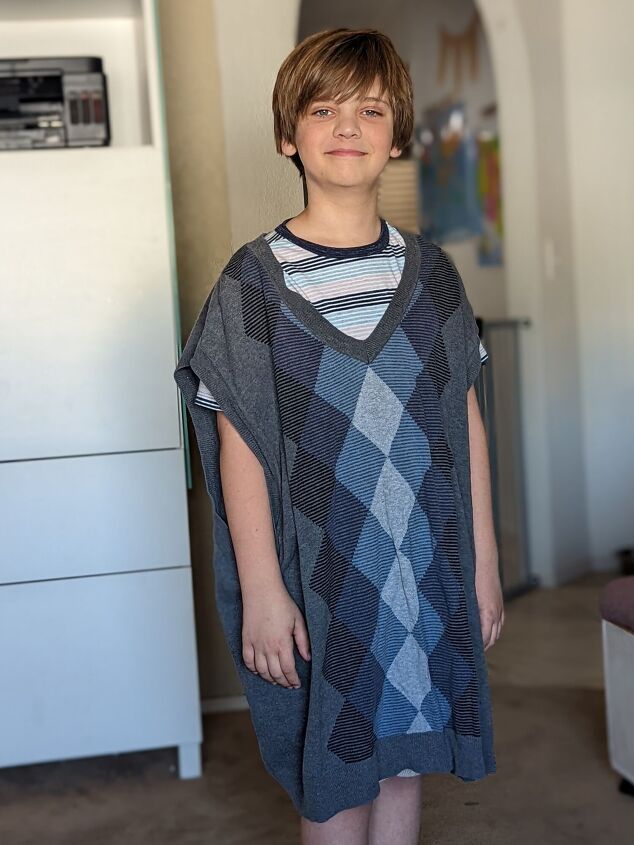
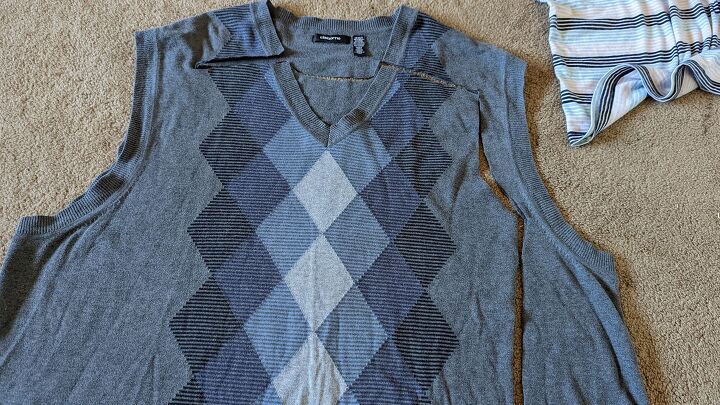
First I needed to see what I was getting in to. I had him try it on to see how big it was on him. You can see it’s quite large. My son wears a size Youth Large and my husband is a 2XL.
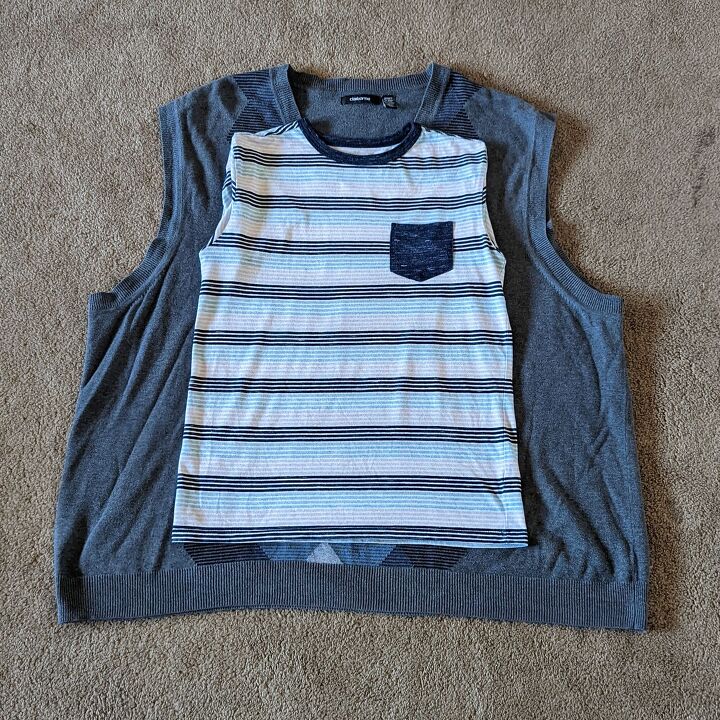
I had my son bring me a shirt that fit him nice and left some growing room. I tucked in the sleeves and laid it on the sweater vest. Since the vest had an argyle pattern on the front I needed to make sure I cut it out evenly. I didn’t want it to look crooked.
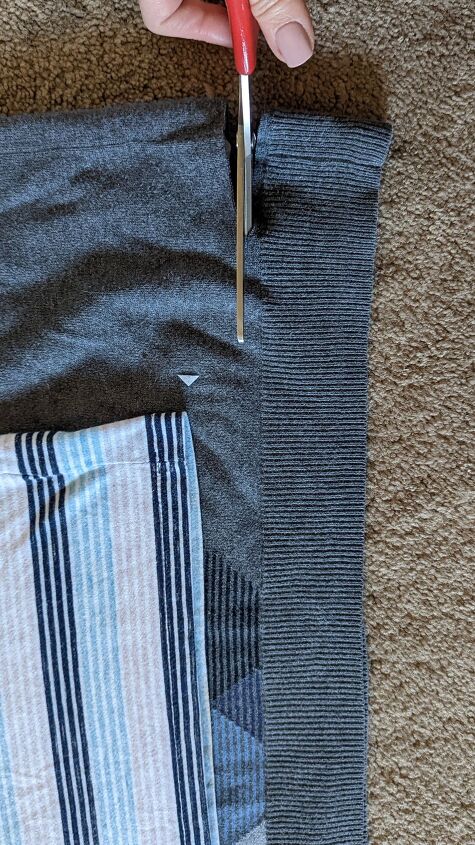
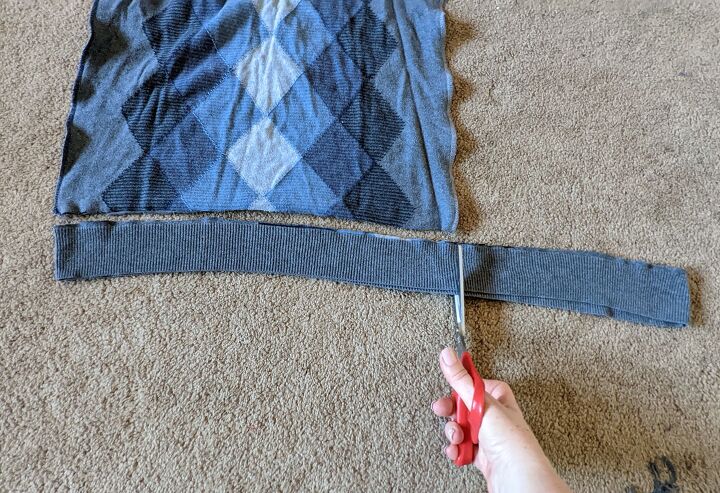
Once I had the t-shirt placed where I wanted, I cut off the ribbing from the bottom of the vest. I placed it aside to use on the bottom of the resized vest.
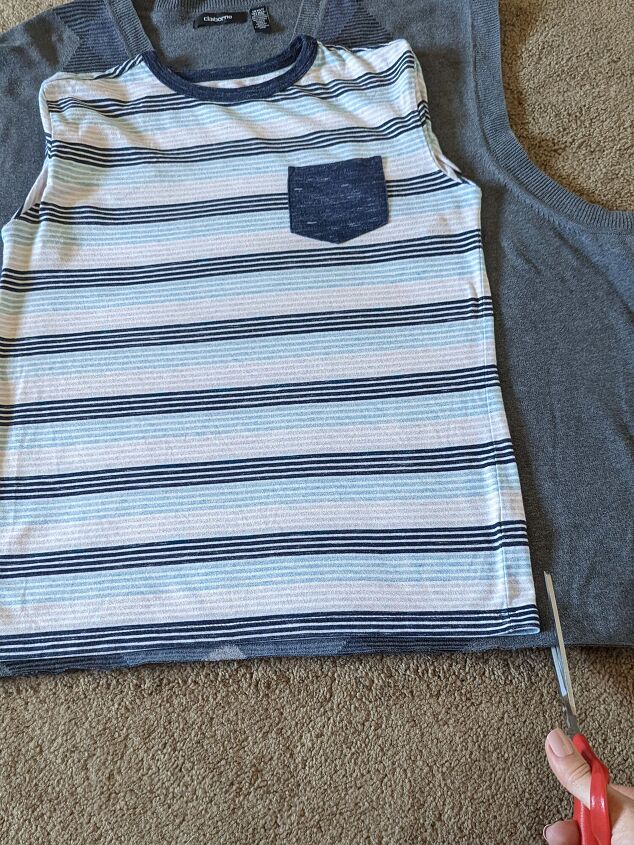
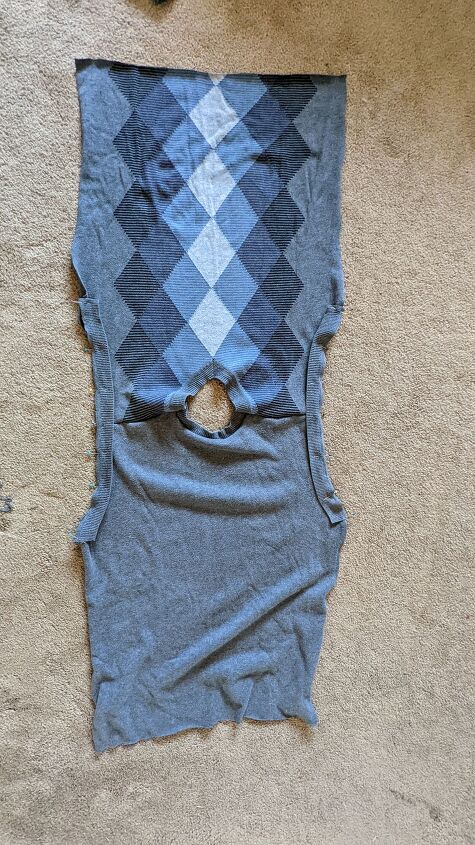
The I used his shirt as a pattern and cut the sweat vest out.
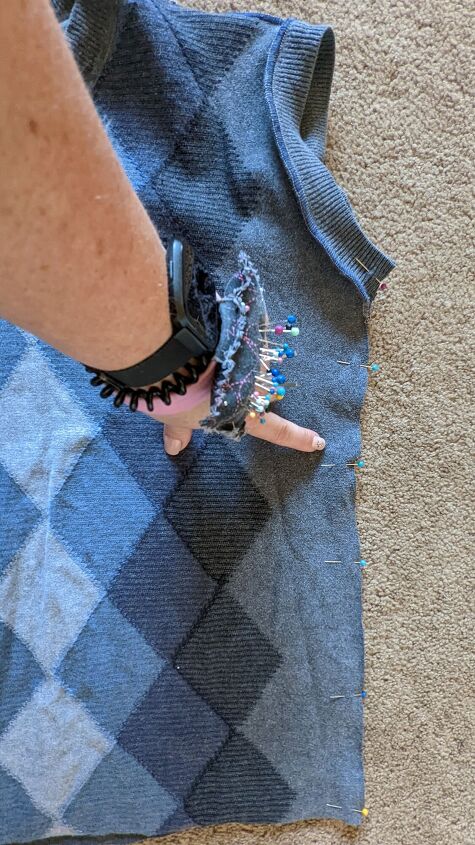
To keep the argyle pattern symmetrical, I cut around the shirt on one side.
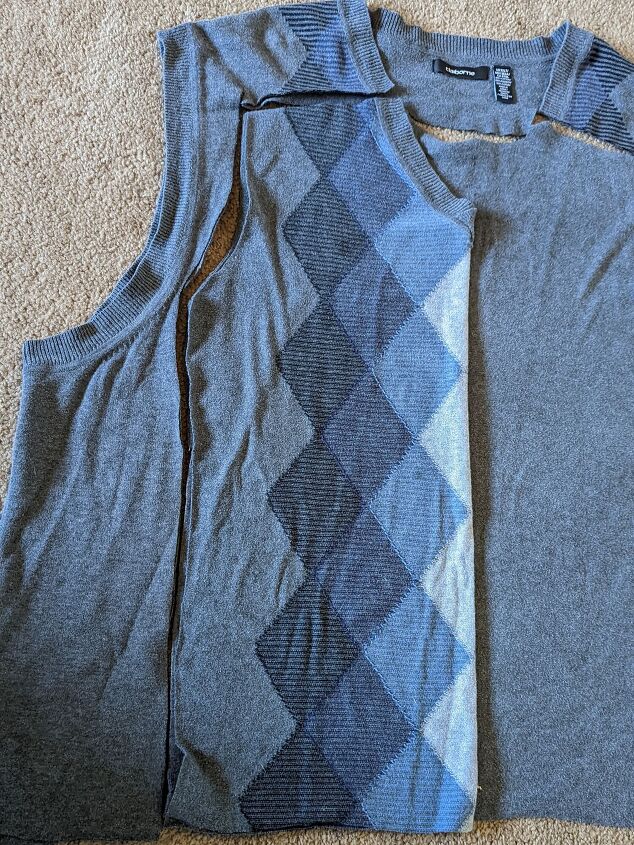
Then took the shirt off and folded the top part of the vest in half to cut out the other side.
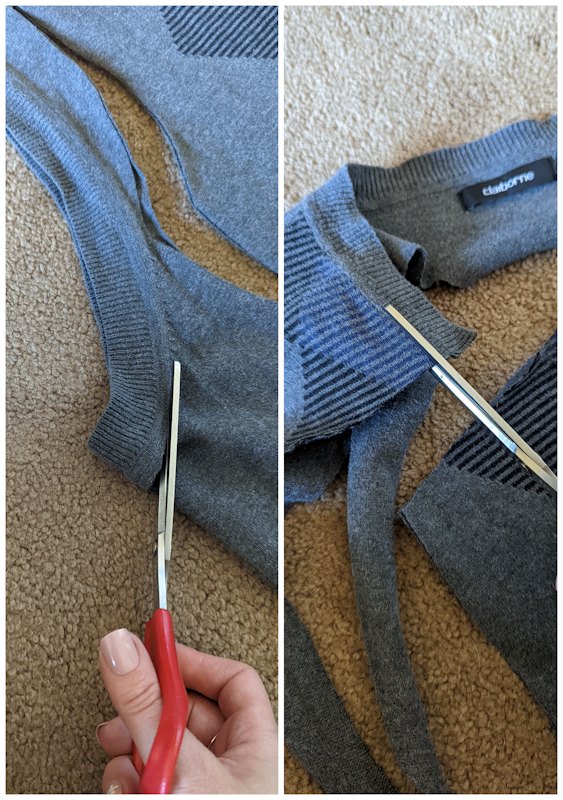
Next I removed the sleeve and neck ribbing from the portions I cut off the vest. I placed them aside to use later as well.
Since I was able to cut the vest out to still have the front v-neck ribbing on, I just needed to attach the ribbing to the back neck portion. I pinned the ribbing I had just cut off to the back of the vest, right sides together. Then I trimmed it to fit.
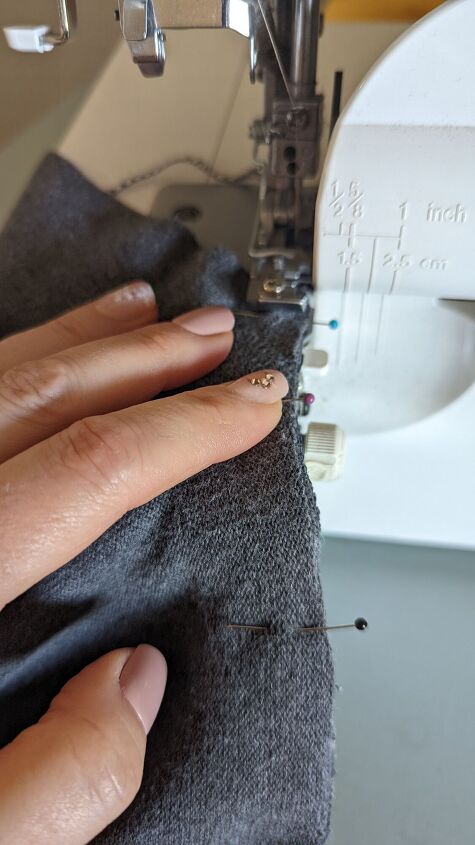
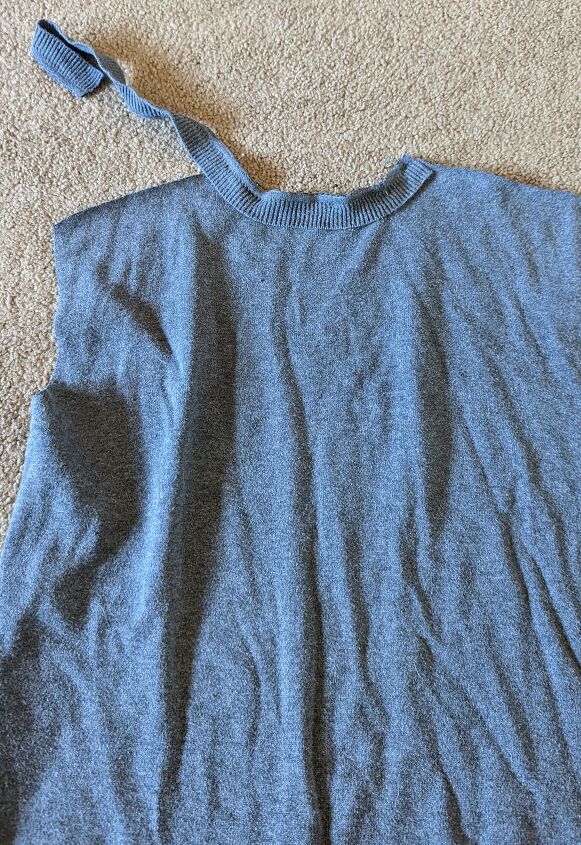
Using my serger, I attached the ribbing to the back neck portion. Because this is a tight knit sweater fabric a zig zag stitch on a regular sewing machine would work fine too.
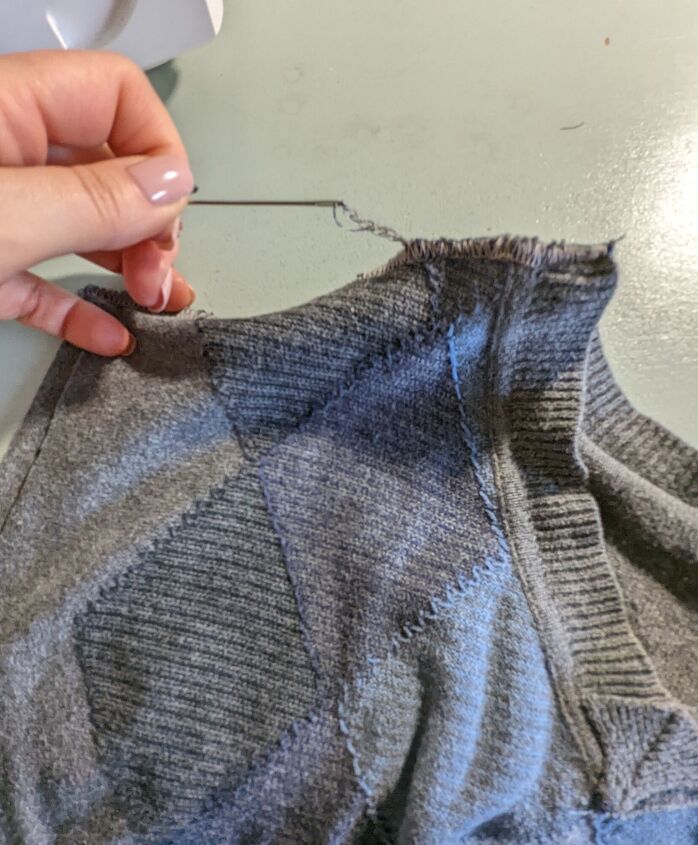
Once I had that attached, I placed the front and the back right sides together and stitched it at the shoulders. Because I was using my serger I had to use an embroidery needle and weave my serger threads back through the stitching and tie a knot.
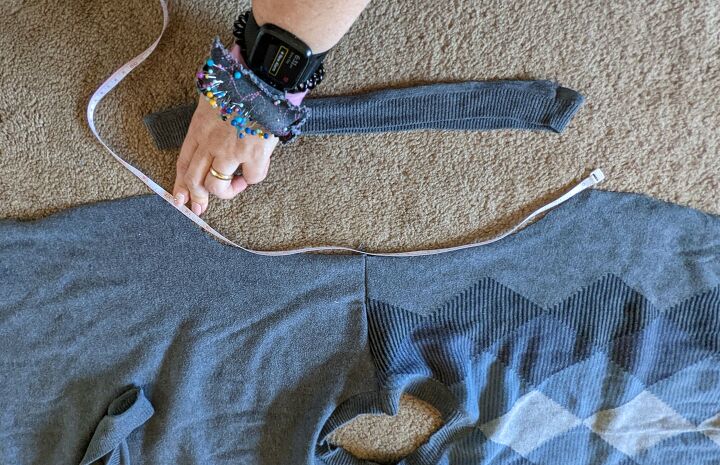
Before I sewed down the sides I opened the vest and laid it flat. Then I measured the sleeve openings and cut some ribbing I had set aside to attach to it.
I cut my ribbing a bout ½ inch smaller than the opening, but I could have done more since my ribbing was so stretchy.
When the ribbing was attached I folded front and back right sides together. Then I sewed from armpit to hem on both sides.
I was almost finished. I just had to attach the bottom ribbing. I measured it next to the sweater and cut it slightly smaller. Then I sewed it together to form a circle and attached it to the bottom of the sweater.
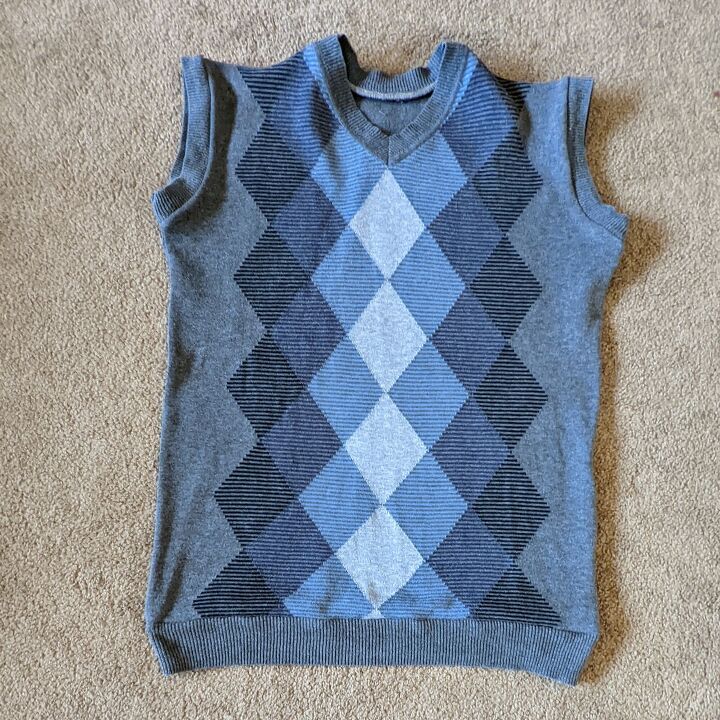
All done! I want to say this whole process took maybe 45 min. This is definitely one of the easier refashions I have done. The great thing about this is you can do it for almost any size.

My son is so happy that he gets to wear dad's old sweater. He completely adores his dad and loves all the clothes I make him from dad's hand-me-downs.

Tell me in the comments something you have resized for either youself or a loved one!
Happy sewing my Friends!
The author may collect a small share of sales from the links on this page.


Comments
Join the conversation