How to DIY a Super Cozy Sweater Vest

I used a machine-knit fabric to make a DIY sweater vest for my daughter with stretch ribbing edges.
Tools and materials:
- Sweater knit fabric
- Ribbing fabric or very stretchy knit fabric
- 1/8 inch draping tape/graphic tape
- Tape measure
- Paper for pattern
- Pencil
- Scissors or rotary cutter
- Fabric clips and pins
- Sewing machine
- Serger (optional)
This is a cut and sew project that does take some experience, but the steps to put it together are straightforward.
I made this knit vest oversized and with a drop shoulder, so bear that in mind when you see the measurements I used.
1. Make the pattern
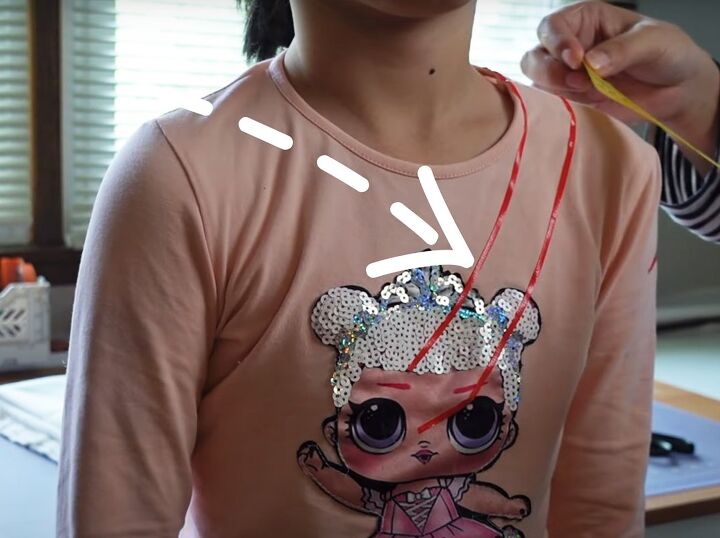
Use draping tape on a t-shirt to design the neckline and shoulder seams.
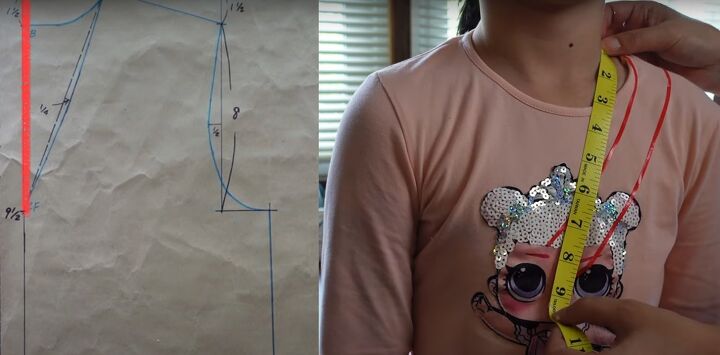
See the video at 0:24 for how I measured my daughter and transferred the measurements to make the DIY vest pattern.
I also tell you how to adapt the pattern for an adult.
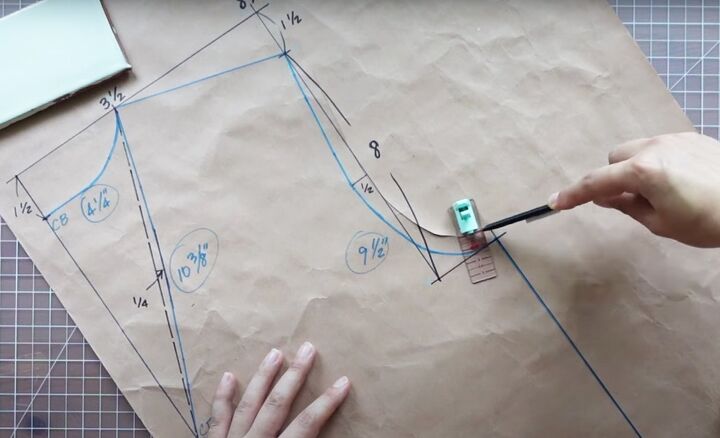
Add a 1/2 inch seam allowance when you cut out the paper pattern.
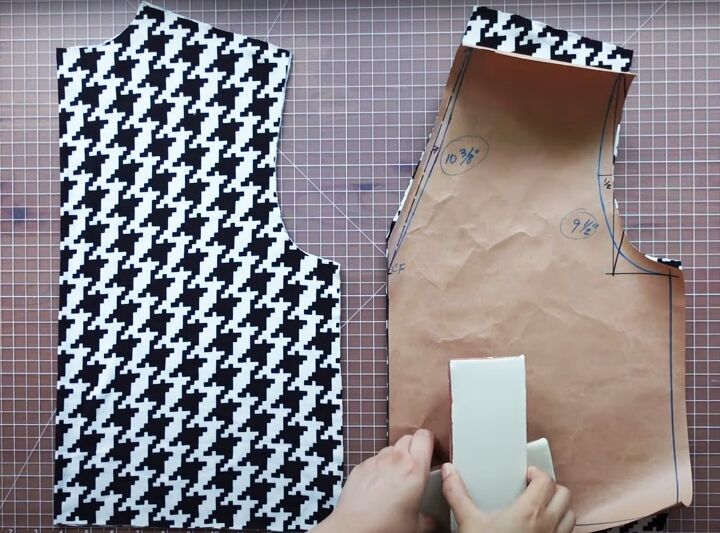
2. Cut fabric
Place the pattern piece on the fold of your fabric and cut 1 back and 1 front. Cut notches at the center front and center back neck edges.
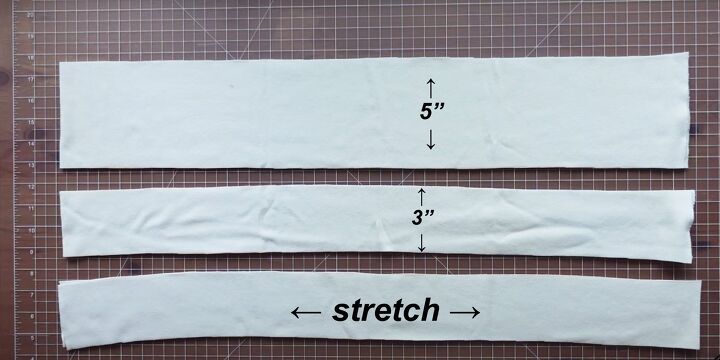
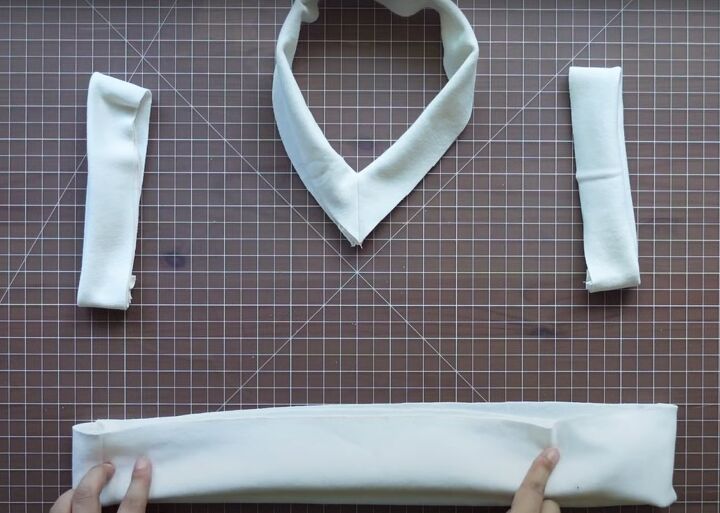
3. Cut ribbing
You will need a very stretchy fabric for the ribbed edges.
With the stretch of the fabric horizontal, cut a 5 inch strip for the hem and two 3 inch strips for the armhole and neckband.
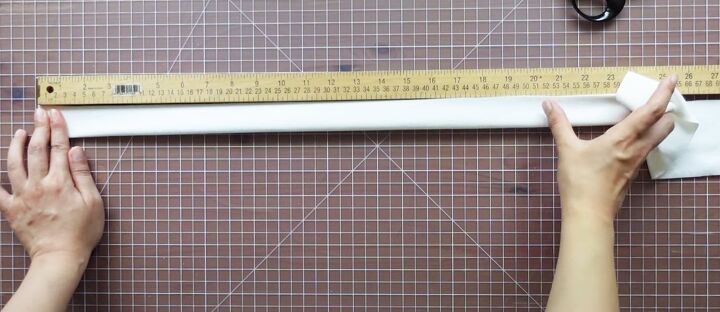
Fold the armhole ribbing in half lengthways and stretch the fabric as much as it will stretch comfortably.
My armhole length around the curve was 9.5 inches, so I cut the stretched ribbing at 20 inches to give a 1 inch seam allowance and used that to cut a second piece of the same length.
Cut the hem ribbing in a single piece, adding the seam allowance of 1 inch.
For the neckband length, add the width across half the back neck to the length of the V and multiply by 2.
Cut a small notch at the center of each ribbing piece on the raw edge.
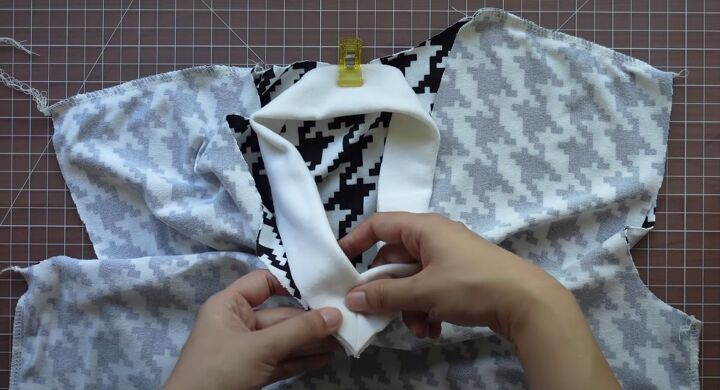
Place the folded neckband on the front pattern and mark and cut off the point at one end, fold the band in half widthways and cut the other end to match.
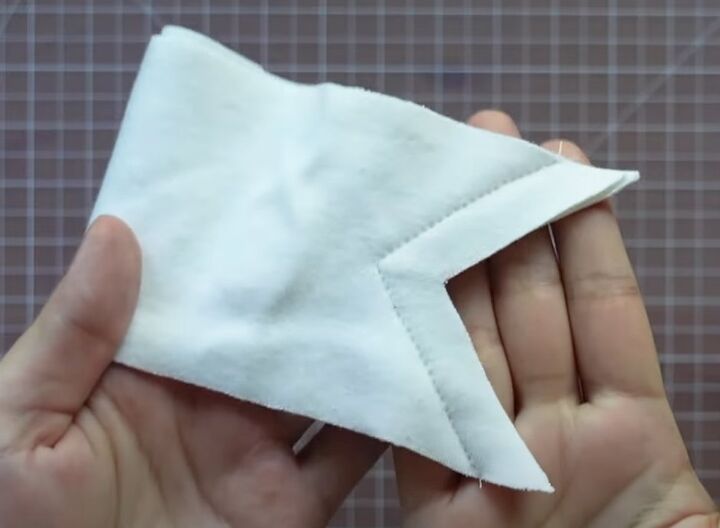
4. Stitch ribbing
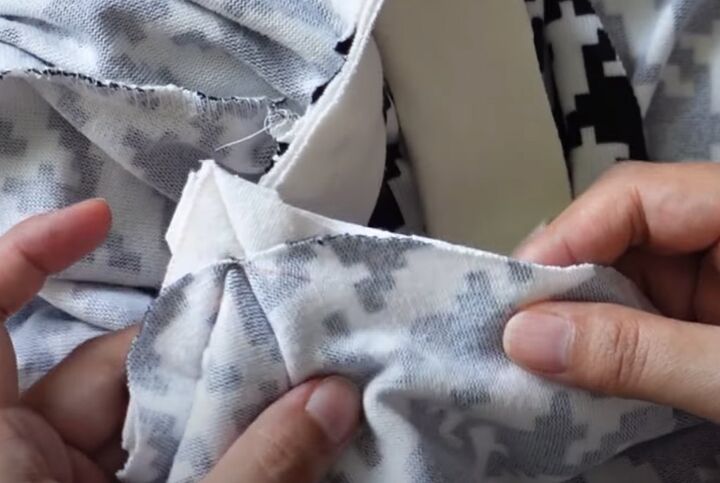
Fold the neckband in half widthways, matching the mitred ends, and stitch around the mitre.
Turn the folded neckband right side out and cut off the excess fabric in the center.
Join the short ends of the armhole and hem ribbing.
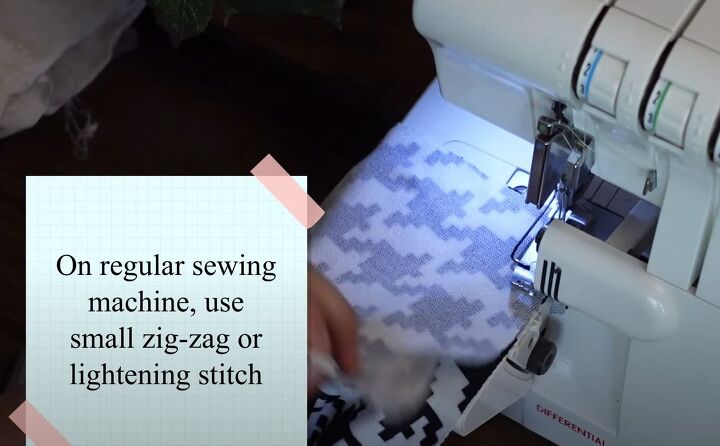
5. Side and shoulder seams
Use a serger or small zigzag stitch to join the front and back at the side and shoulder seams.
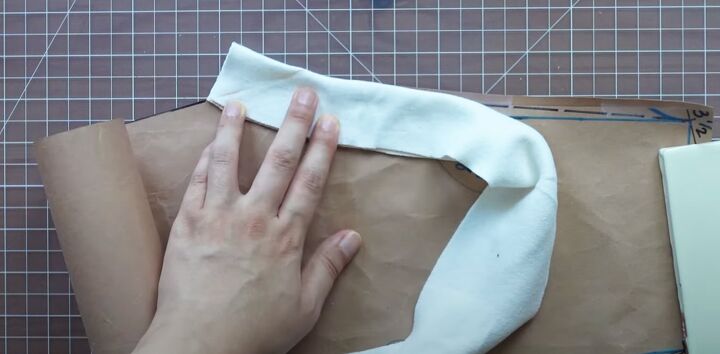
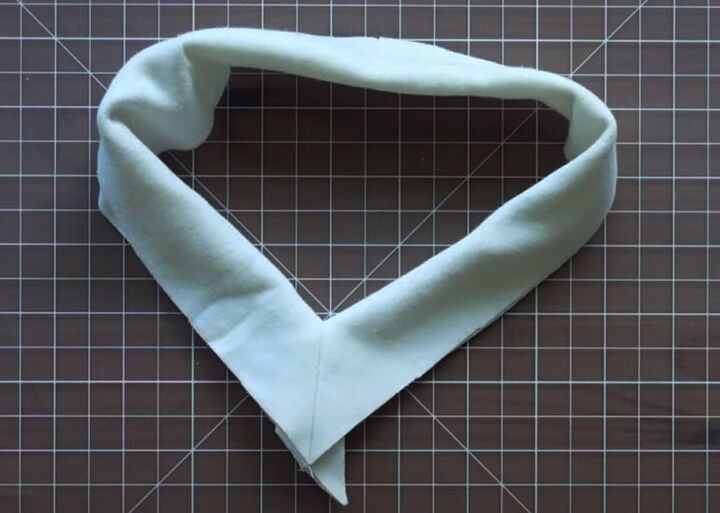
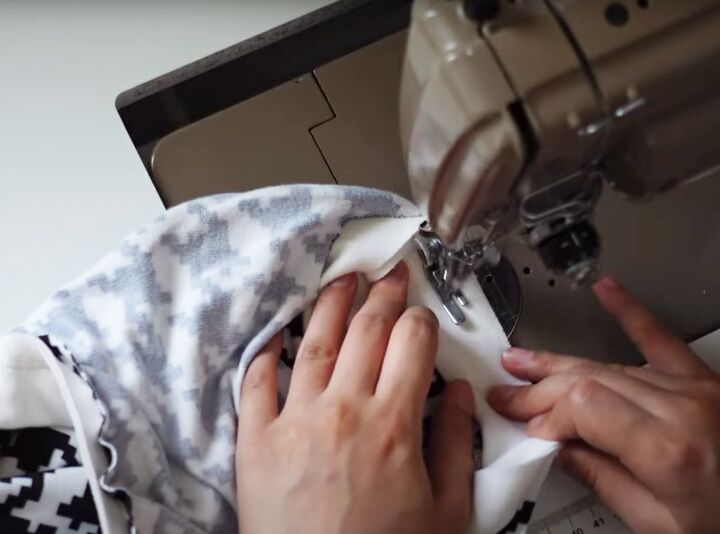
6. Attach neckband
Matching the notch at the center back to the notch on the neckband, pin and sew one side of the ribbing at a time to the right side of the neck edge.
Stretch the ribbing as you sew it.
After sewing one side, cut the center of the vest at the V down to the stitching so it won't pucker.
Stitch the second side from the center back down to the V.
7. Attach armhole and hem ribbing
Align the seam in the armhole ribbing with the underarm seam and the center notch with the shoulder seam. Sew in place, stretching the rib as you sew.
Sew on the hem ribbing in the same way, matching the seam in the ribbing with one of the side seams.
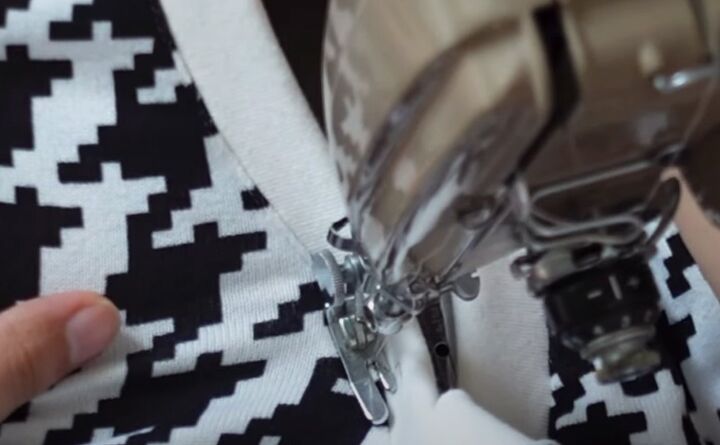
8. Finishing
Serge or zigzag stitch all the raw edges.
Top stitch the neckline and armholes on the right side.
Steam press the ribbing on the wrong side.
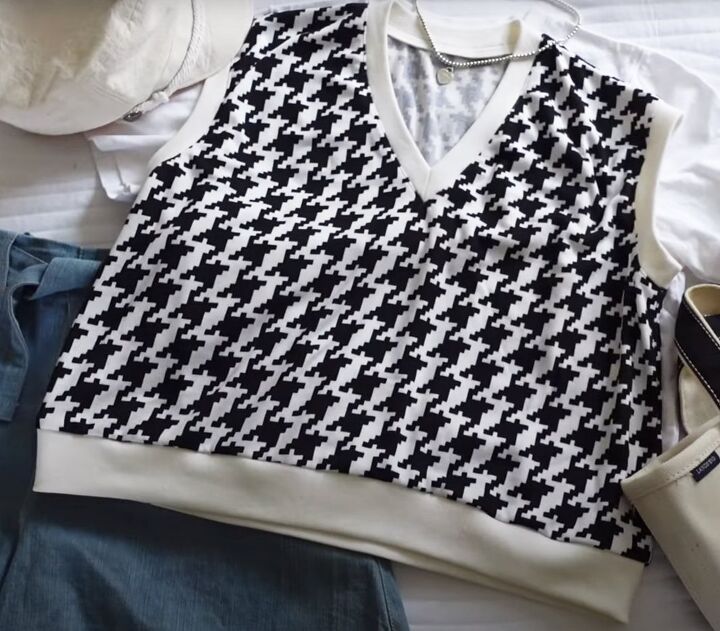
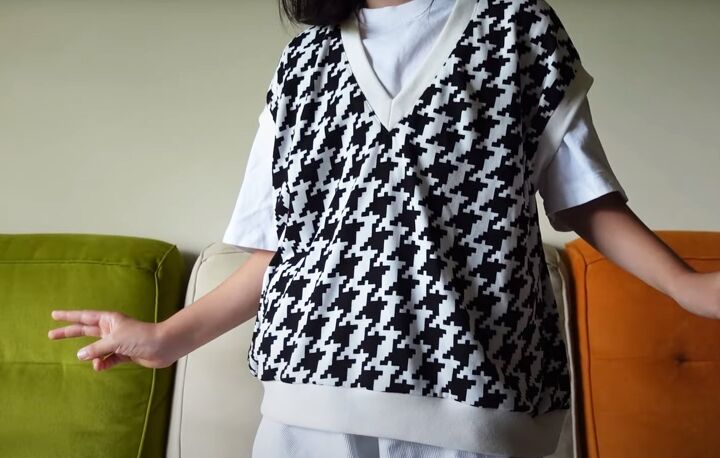
DIY sweater vest
My daughter loves her knitted vest and I'm delighted with how it turned out. Working with knit fabrics takes a little more patience but I think the results are well worth it.
Have you made any cut and sew knit garments? Do tell me in the comments and let me know if you’d like to see more projects like this.
The author may collect a small share of sales from the links on this page.


Comments
Join the conversation