Learn How to DIY an Adorable Shrug

I bought my little girls the cutest strapless dresses but I knew I wanted to add a little something to their outfits to cover up their shoulders. I bought an extra-large knit sweater and used the stretchy fabric to make the most gorgeous little shrugs for my girls. This DIY was so easy to do and turned out better than I expected. The shrugs add so much to any outfit and I love how simple it will be to make them again in a different fabric. If you want to learn how to sew these stunning shrugs, follow my step-by-step tutorial below.
Tools and materials:
- Fabric
- Measuring tape
- Pins
- Scissors
- Sewing machine
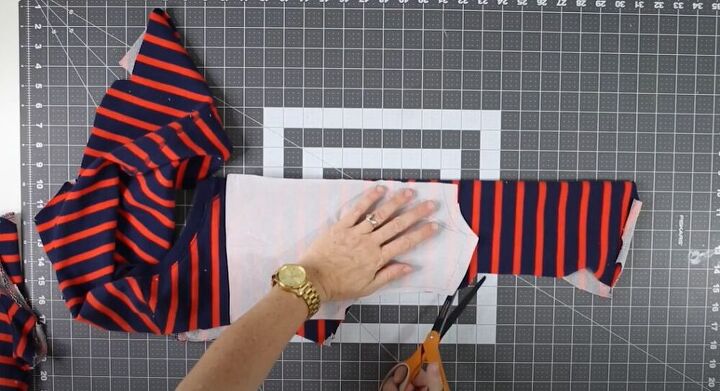
To make these absolutely adorable shrugs, I needed to cut a front bodice, back bodice, and sleeves. I had already made two shrugs so to cut the first piece I had to get a little bit creative with finding enough fabric from the scraps. I cut the front bodice on the fold, but you can just cut two halves instead since it needs to be cut down the center anyways. Once the front piece was cut I worked on the back piece, which I recommend cutting on the fold.
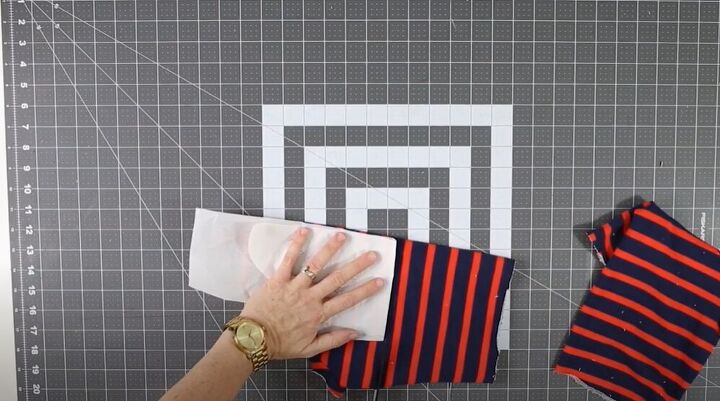
Next, it was time to cut my sleeves. I started by making sure my fabric would have the perfect width.
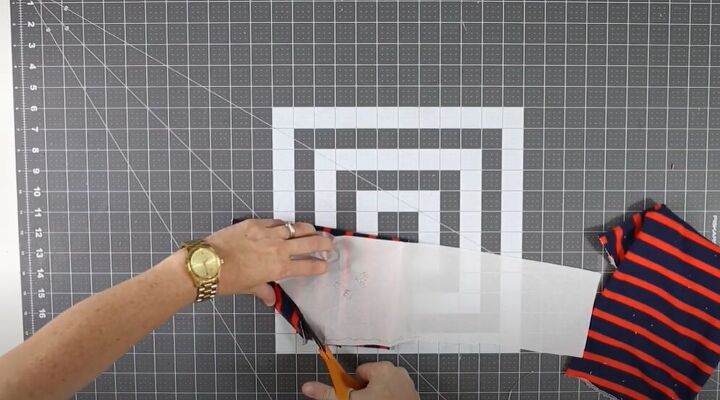
I then unfolded the pattern piece and cut the curved shape of the sleeve.
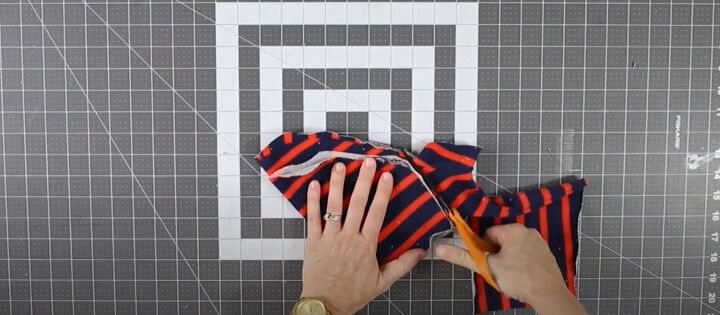
I used the cut pieces to trace and cut out the second sleeve. I could already tell this shrug was going to be adorable!
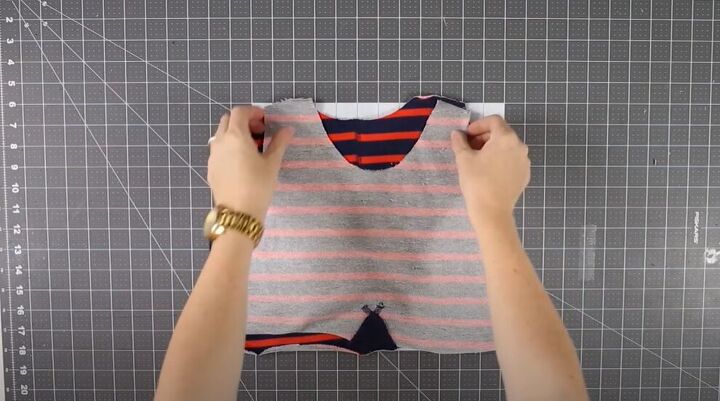
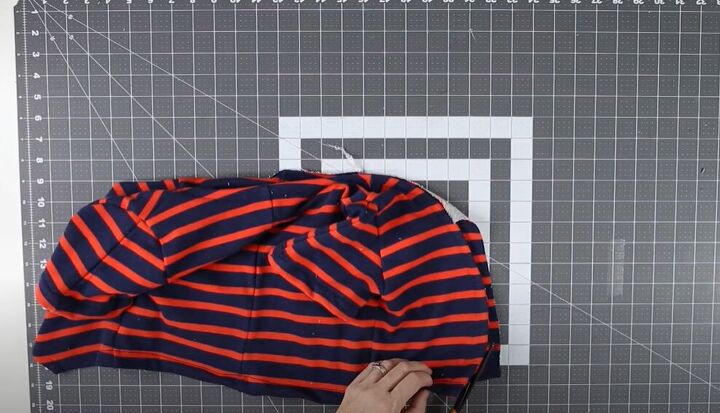
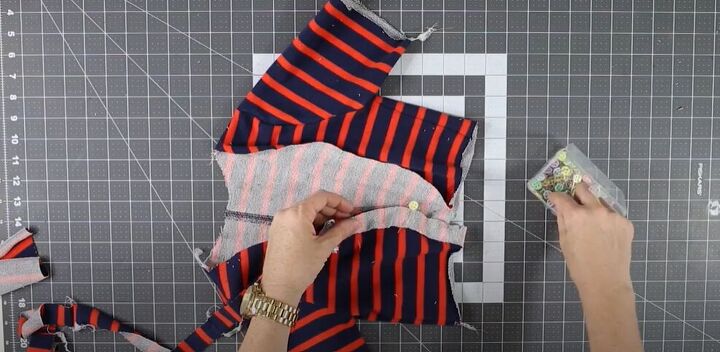
Next, I matched up the back bodice and front bodice, right sides together. I sewed across the shoulder seams and side seams to connect the two pieces. I used a serger for this project but any stretch stitch will work just as well!
I matched up my shoulder seams and side seams so that I could cut the front bodice directly down the center. If you didn’t cut this piece on the fold, you can skip this step!
I was ready to start sewing my sleeves. I folded each sleeve, right sides together, and sewed along the straight edge. I then turned the sleeves right side out and pressed the seam to get my fabric sitting perfectly.
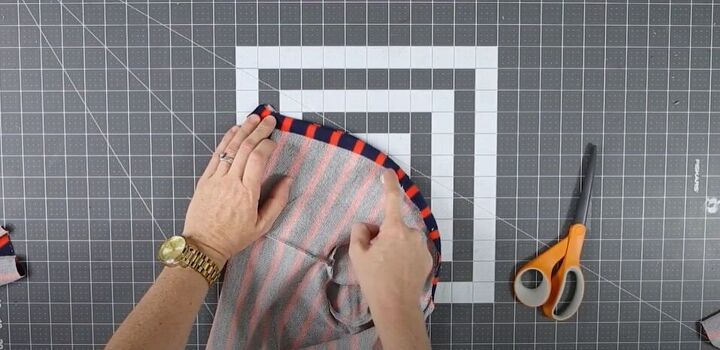
To attach the sleeve to the bodice, I turned my bodice inside out. I then slipped my sleeve into the armhole so that the fabrics would be right sides together. I made sure to line up the side seams of the bodice with the underarm seams of the sleeves and pinned the fabric in place. I pinned all the way around and then sewed the fabric. I made sure to press this seam as well to get the perfect finish!
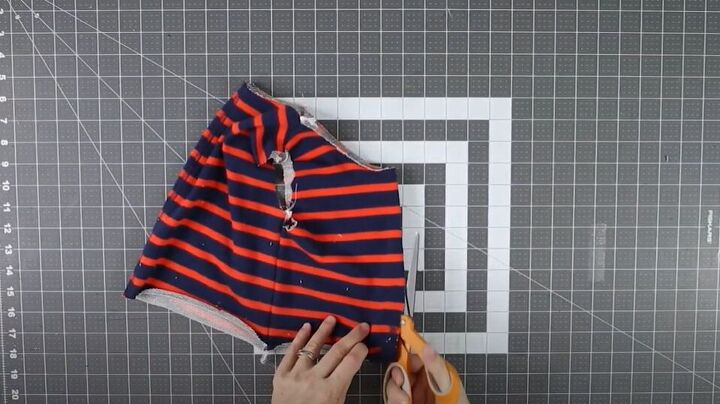
I couldn’t believe this shrug was nearly finished! I used a shrug I had already made to trace the curve at the edges but it’s totally up to you how much of a curve you want to have. Once I had trimmed one side, I used it as a template to cut the other side.
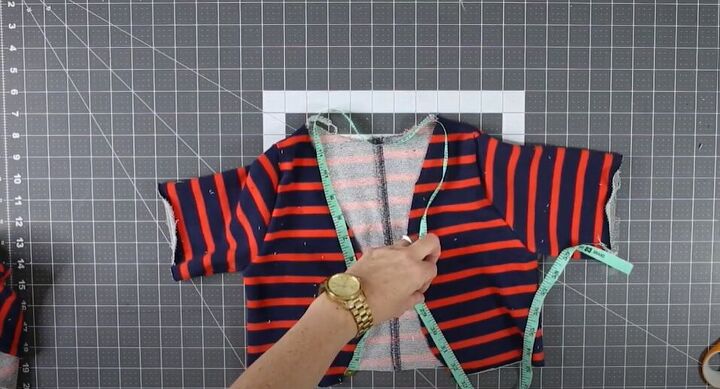
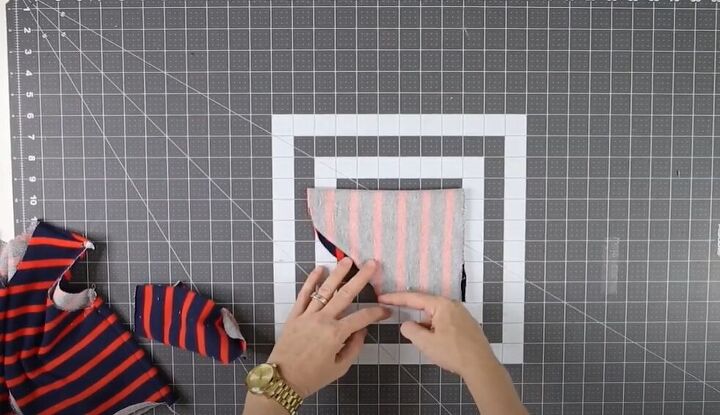
In order to make a neck facing, which is a detail I just love for this piece, I measured all around the front opening of the shrug, including the neckline.
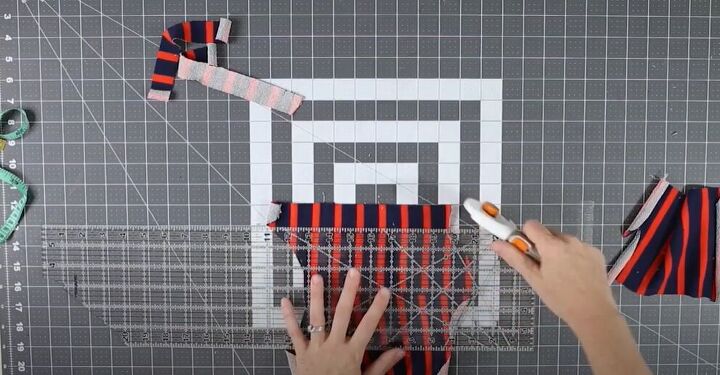
Next, using the fabric scraps I had, I made sure to cut strips, long enough to make the neck facing. I didn’t have a piece of fabric long enough, so I cut a few strips that I would later join together.
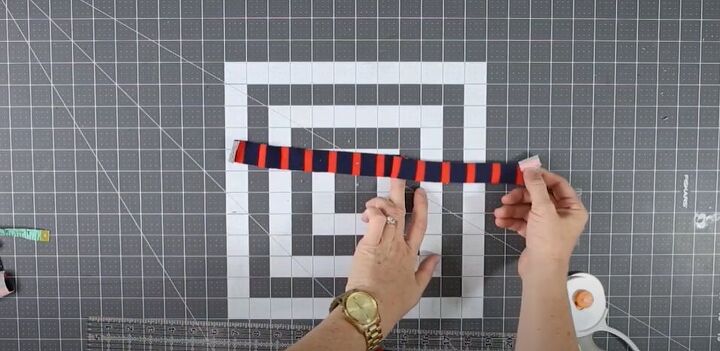
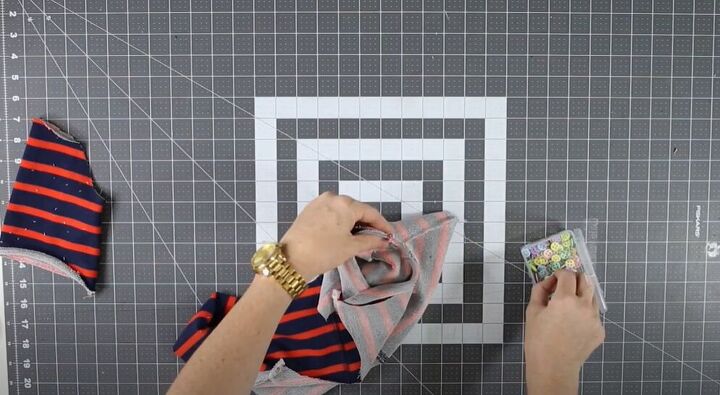
I sewed the edges of the strips together to make one long strip for the neck facing. The shrug was so close to being finished and I couldn’t wait to see how it would turn out.
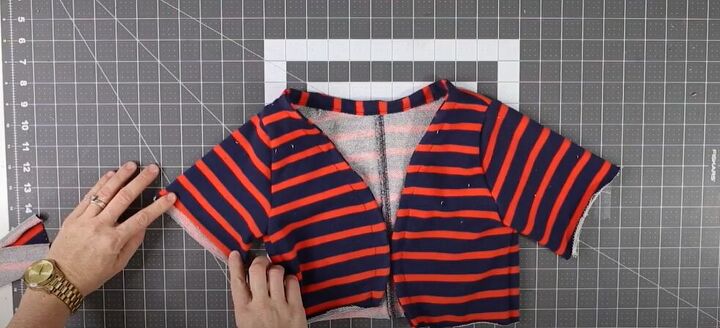
To attach the facing to the shrug, I pinned it to the raw edge of the front opening, right sides together. I then stitched the facing to the bodice leaving a small seam allowance.
Once the seam had been sewed, I folded the facing around the bodice edge to make sure it wouldn’t be visible from the front. I then topstitched the facing to the bodice by sewing close to the raw edge of the folded facing. This small detail definitely adds a professional finish to the shrug!
For the final step, I hemmed the sleeves and bottom of the shrug. I serged the edges but you can use a zig-zag stitch or skip this step if you’re using a fabric that doesn’t fray.
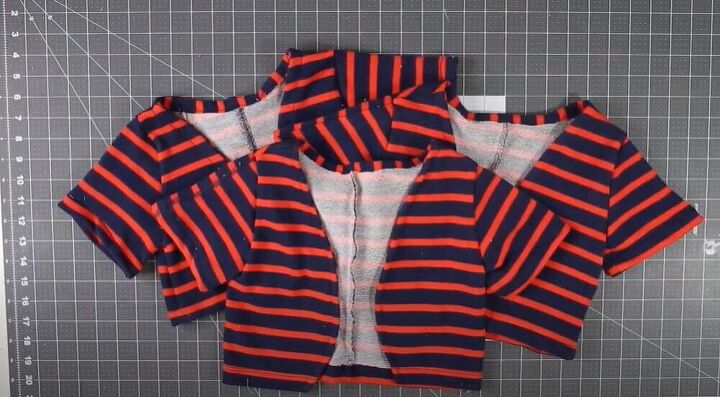

These shrugs are absolutely adorable! How would you style this super-cute piece? Let me know in the comments below!
The author may collect a small share of sales from the links on this page.


Comments
Join the conversation