Sweatshirt Refashion- Wrap Front
The cold weather and shorter days have revealed the “hibernation phase” of my wardrobe. The only thing I really want to wear are sweaters, leggings, and baggy sweatshirts. Since baggy sweatshirts aren’t particularly work appropriate, I’ve made it my mission to transform the simple sweatshirt into something both stylish AND comfortable. Many set-backs and a great deal of time later, we come to the Wrap-Front-Sweatshirt-Refashion!
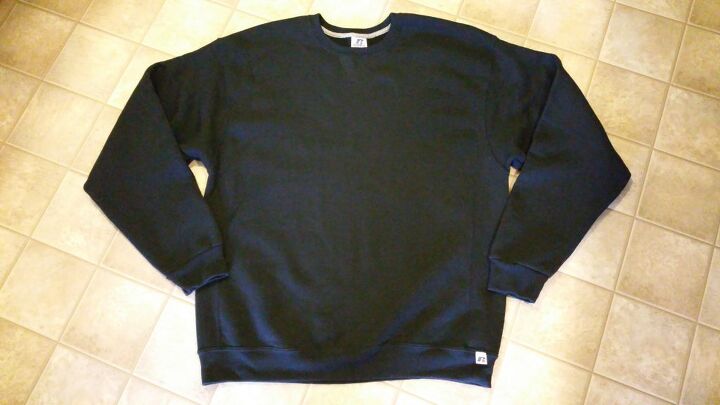
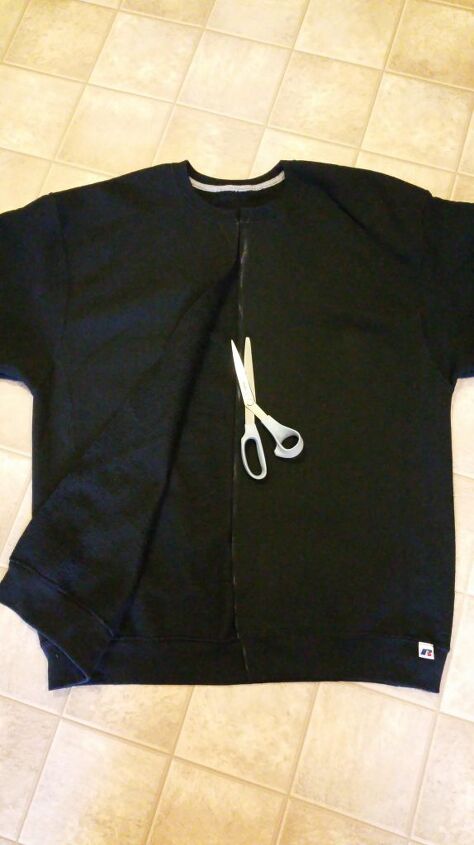
I give you Exhibit A: a men’s XL sweatshirt I found new at a thrift store. Two features of this sweatshirt are critical to the success of the project. See how the band of fabric at the bottom of the sweatshirt doesn’t scinch and gather the sweatshirt fabric? Instead, the band is about the same size as the base of the sweatshirt and lays flat. Some sweatshirts have a band that gathers in the fabric above it. This causes the fabric of the sweatshirt to poof out and mushroom over the band. WE DON’T WANT THAT for this project. The second critical feature of this sweatshirt is butt coverage. Since I want to wear the sweatshirt with leggings, it’s gotta cover my booty. (Note: I’m about 5’5″, and this XL was just long enough. If you are taller, you may want to look for a men’s “tall” size to get extra length.)
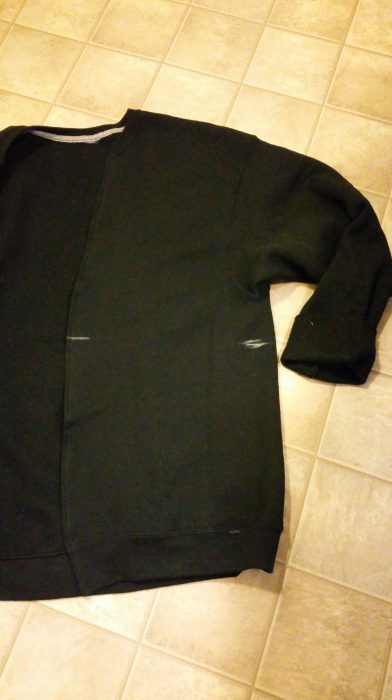
Once you’ve found and washed your sweatshirt, you’re ready to start! In order to turn this pullover sweatshirt into a wrap-front, I started by cutting open the front. To help me create a straight, basically centered cut, I folded the sweatshirt in half. I then used tailor’s chalk to mark along the fold.
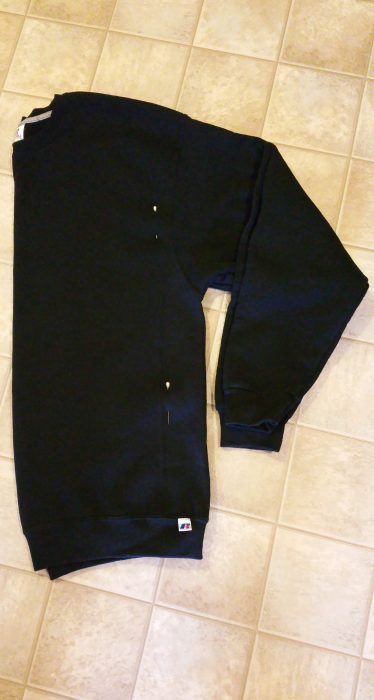
After doubled checking the placement of the marks, I cut along the chalk line.
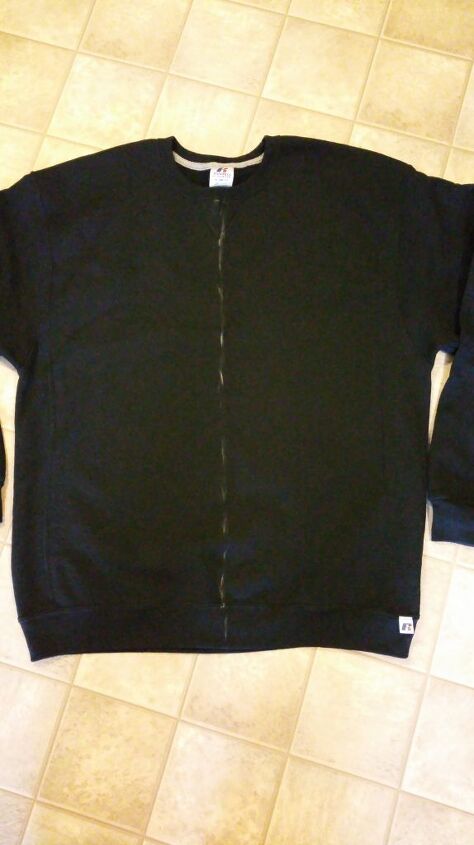
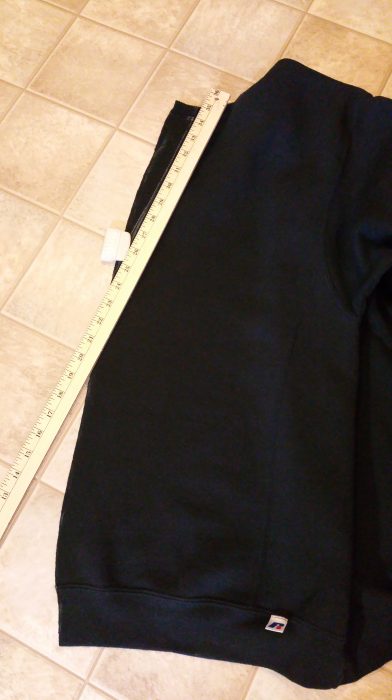
Next, I measured and trimmed the new opening to create a v-neck.
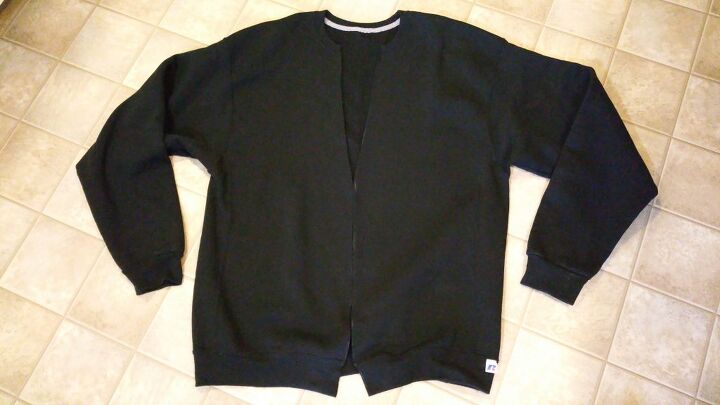
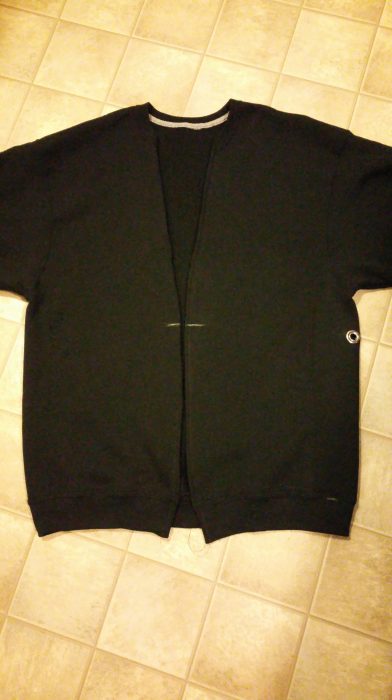
I then hemmed the raw edges to create a finished look. You could skip this step if you didn’t mind a more casual style. (Note: Be sure to use both a stitch and a sewing machine needle designed for knit fabrics!!)
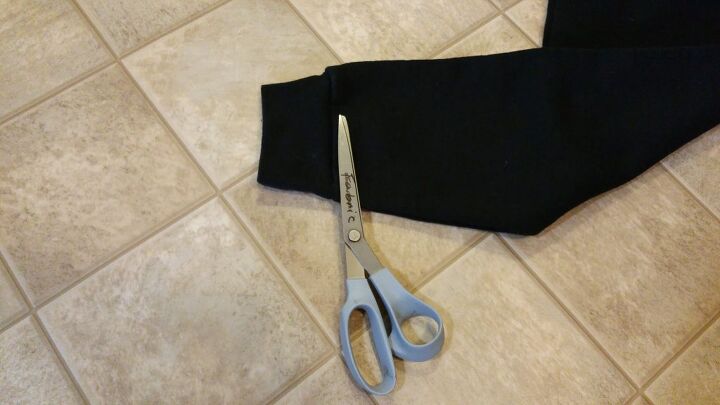
Those cuffs had to go!
Next, it was time to determine the placement of the ties and eyelet that would create our wrap-front. I tried on the sweatshirt and found the length right above my hip bone. At this length, I marked the spot for my eyelet about 1-2 inches forward of the side seam. I then marked this same above-hip-bone length on the new front seams. These marks would be for the ties.
On to the eyelet! I started by ironing a small circle of Pellon fusible interfacing onto the wrong side (the inside) of the sweatshirt under where the eyelet would go. The interfacing helped stabilize and strengthen the stretchy fabric before the eyelet was punched into it. (I guessed at the pellon weight, but the package mentioned that it was good for sportswear and reinforcement of snaps.) I made the pellon circle a little bigger than the size of the eyelet and ironed it on according to the package directions. Now for that eyelet! I bought both the eyelets and applicator tools for size “extra large” 7/16 inch eyelets. I followed the package directions and went outside to do the hammering over towel-covered asphalt. Be sure your surface is flat… or it will take forever.
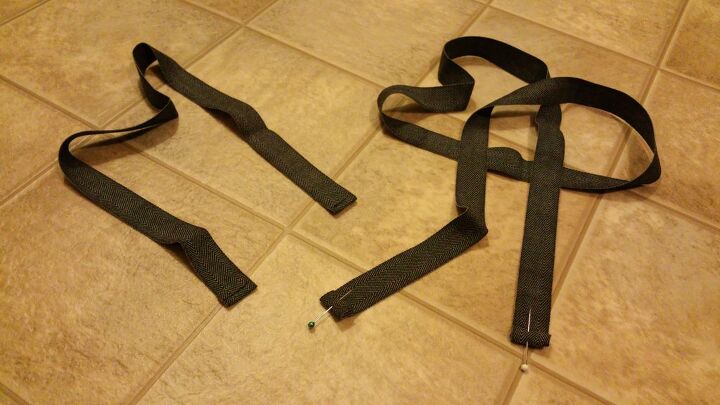
Next, it was time to sew ties to the markings on the front opening. I used a woven fabric tape that was 3/4″ wide, but you could also use ribbon. To figure out the lengths of the ties, I tried on the sweatshirt again and practiced wrapping the front opening closed. I used a tape measure to see how long each tie would need to be to wrap around or across my body and tie at the side. My ties were about 45″ and 22″ long, but it’s always good to estimate longer than shorter! I rolled the ends of the ties under and stitched to keep them from raveling. (Note: I should have waited to finish the edges until after sewing on the ties and trying on the sweatshirt! lol) Of course, you could just finish the tie ends with Fray-check…
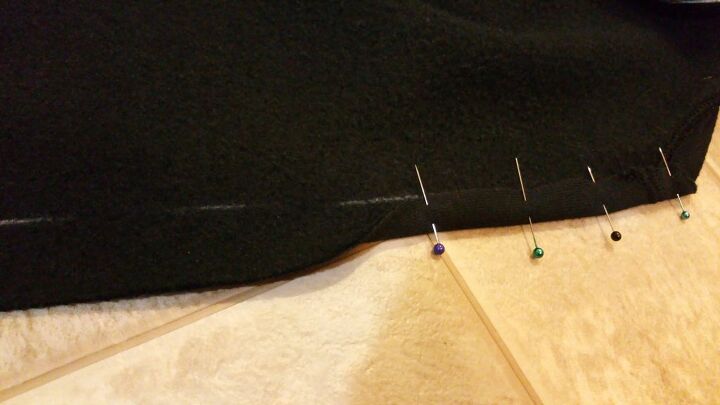
I pinned the ties to the inside of the sweatshirt in preparation for sewing. Be sure to attach the long tie to the side opposite the eyelet!
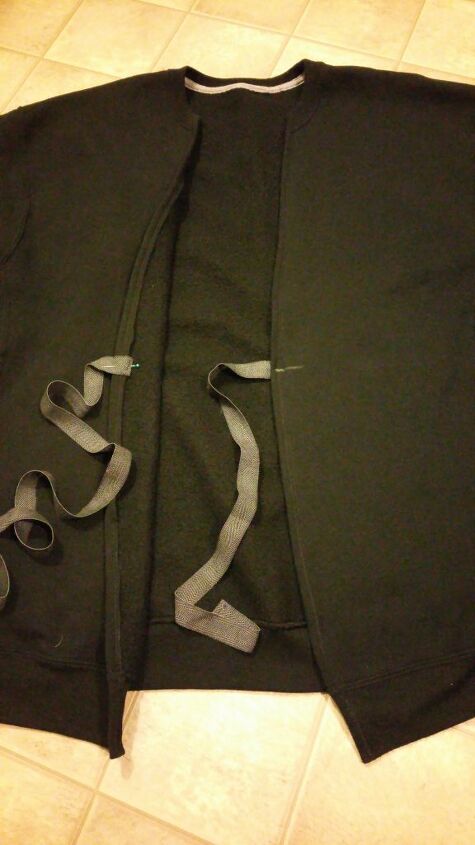
See? Long tie goes on the side OPPOSITE to the side with the eyelet! I then stitched the ties to the sweatshirt.
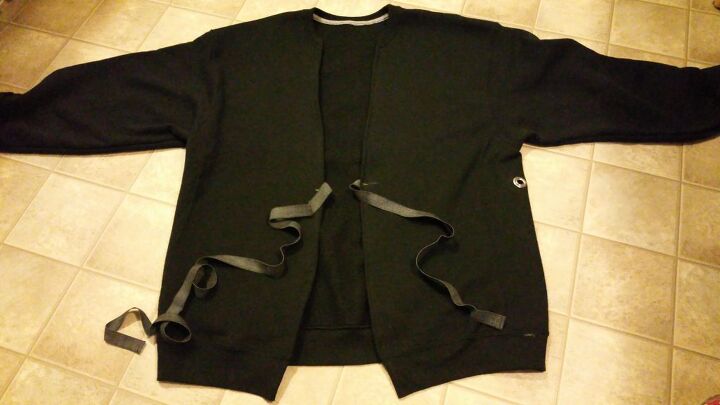
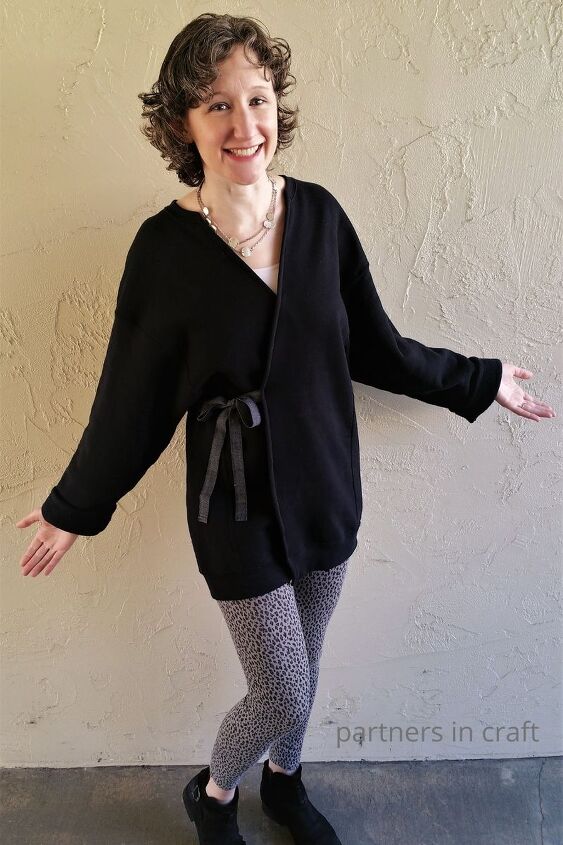
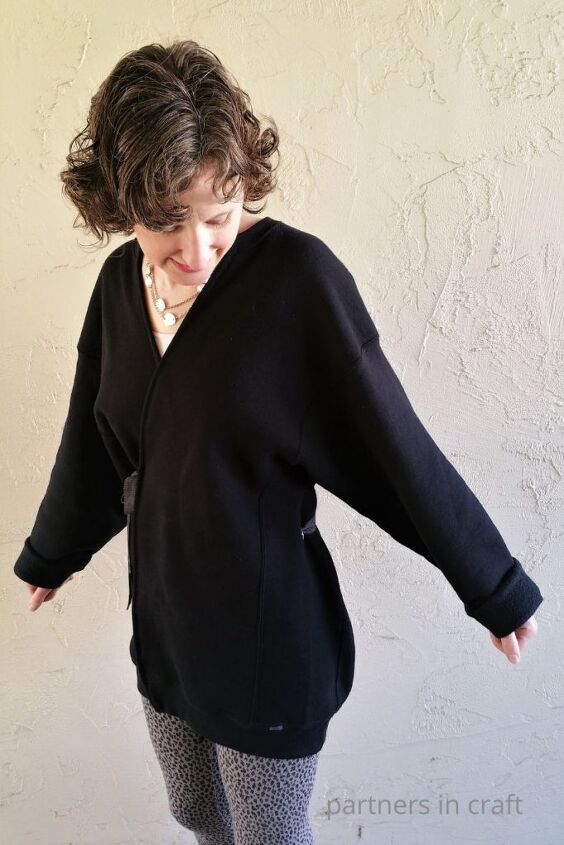
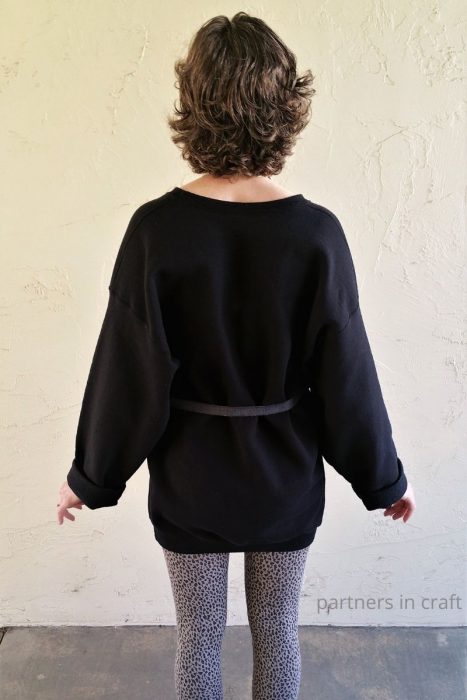
HORRAH! With the ties attached, it was time to wrap that front! The long tie went under the wrap front, out the eyelet, across the back of the sweatshirt, and tied with the shorter tie at the side of the sweatshirt!
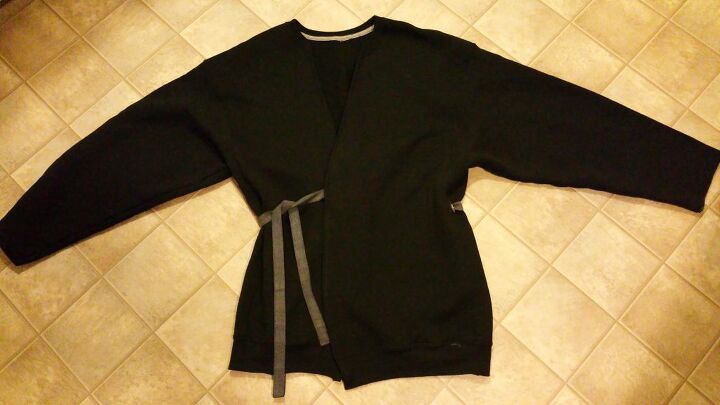
Time for some super comfy stylishness!

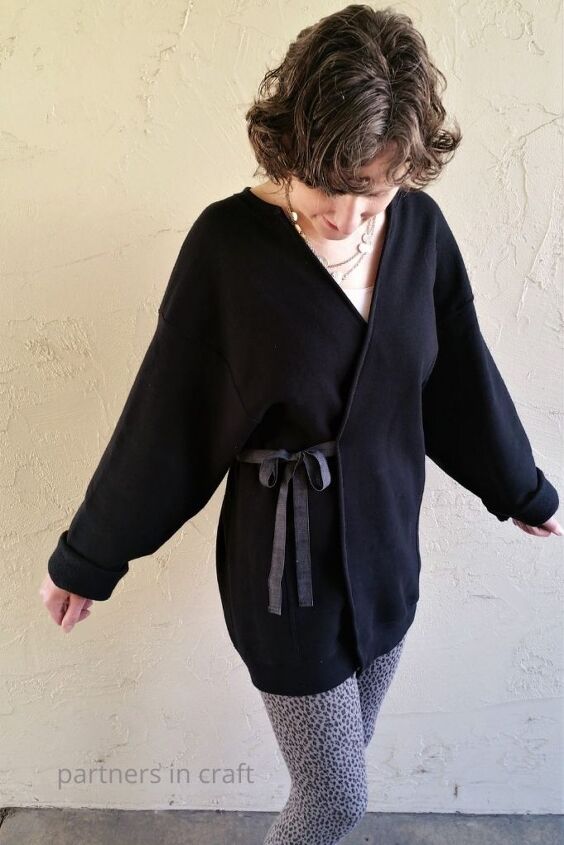
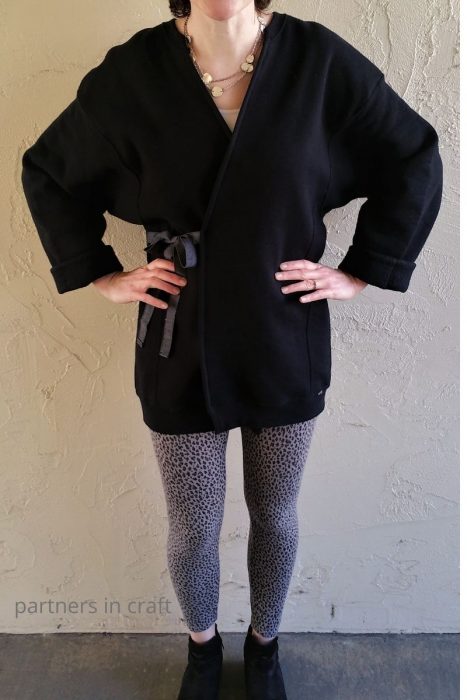
Now, there’s no need to tell people just how comfortable you are in this outfit. Or that you’re basically wearing a giant sweatshirt. You enjoy that comfy fashion statement, and no one has to know… 🙂 Stay crafty, Everyone, and see you for our next project here at Partners in Craft!~
The author may collect a small share of sales from the links on this page.


Comments
Join the conversation
I love it but you didn't show anything about the cuffs. Do you just cut them off and roll them up?
Great transformation! Looks amazing on you!