Thrift Flip a Retro Style Swimsuit

Summers come and go and I never seem to find a swimsuit that is right for me! I recently thrifted a swimsuit that was a little too big on me and decided to get creative! Using the extra fabric, I thrift flipped the swimsuit into a piece that had the perfect fit! I designed a totally new summer, swimsuit and I am just in love with the results. If you are ready to feel comfortable in your swimwear, this tutorial is for you! Follow my easy, step-by-step guide and learn the ins and outs of how I made an amazing retro swimsuit that was customized for my comfort and style!
Tools and Materials:
- Swimsuit
- Lining
- Sewing Machine
- Rotary cutter/scissors
- Elastic
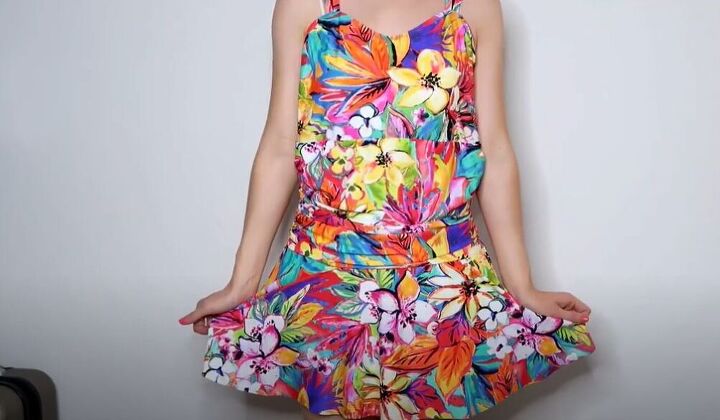
Before we get started on this amazing thrift flip I wanted to show you the swimsuit I would be using. I love how colorful and fun this piece is! I made sure that when I thrifted this, it was too big for me because I knew I would need extra fabric to work with during the project.
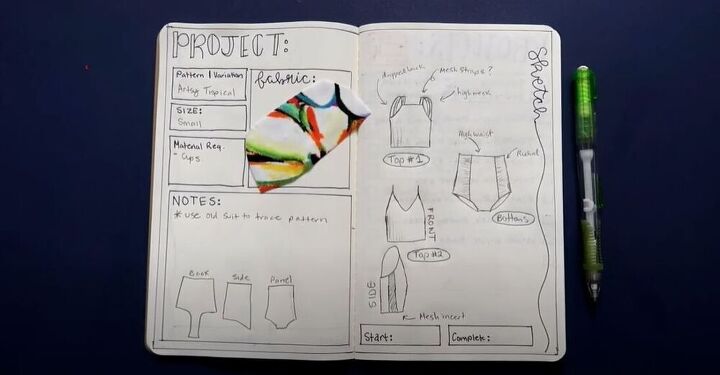
I sketched all of my ideas for the pieces I would need just to make things clear when I started working. I love planning ahead to make sure I get the best possible results!
Using a seam ripper and a pair of scissors I deconstructed the whole swimsuit. This process can take a little time but keep at it because the end result is so worth it!
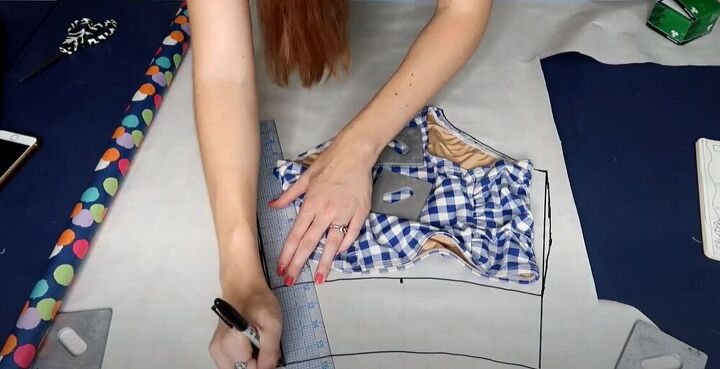
In this step, I traced swimsuit bottoms I already had onto wrapping paper. These bottoms are already high waisted but I decided to extend the waist for my new piece. The best thing about working with swimsuits is that you don’t need to leave seam allowance because it’s such a stretchy fabric.
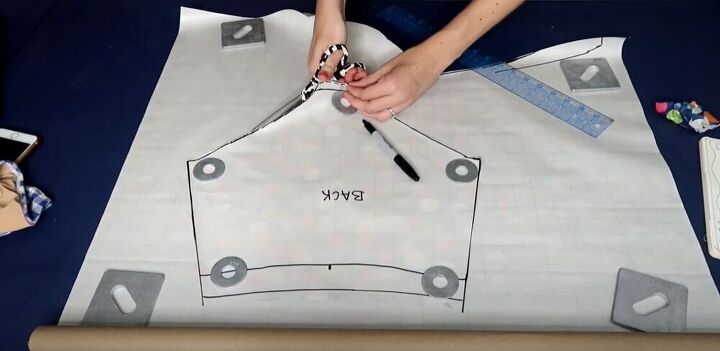
I labeled the pattern ‘back’ and cut it out. I then placed it on my wrapping paper and used it to trace my front pattern. I made sure to extend the crotch and I divided it into three pieces since there would be a middle panel and two side panels. The two side panels needed to be extra long because they would later be gathered to create an amazing ruched effect. To see in detail how I drew the front pattern, got to 4:53 in my video tutorial.
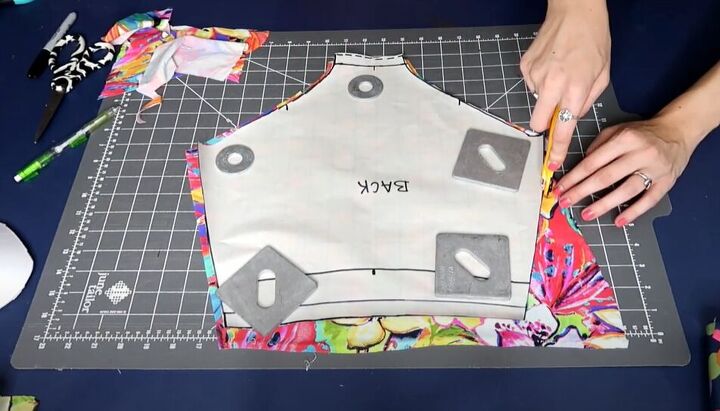
Once my patterns were ready I moved on to cutting my fabric. I used my rotary cutter because I think it’s the easiest tool for cutting fabric, especially swimsuit fabric.
I moved on to the bodice of my swimsuit and decided I would actually keep the shape. I cut it a little smaller by measuring it against a swimsuit I already have. I started playing with the mesh straps a little bit to see whether I wanted them on the side of the bodice or on the back. It’s always okay to veer away from your original design and play with new ideas!
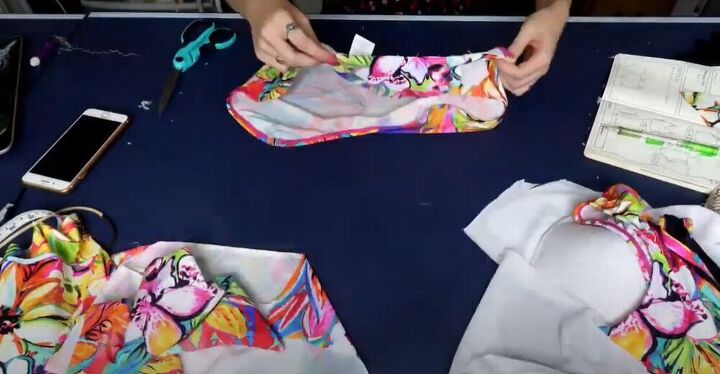
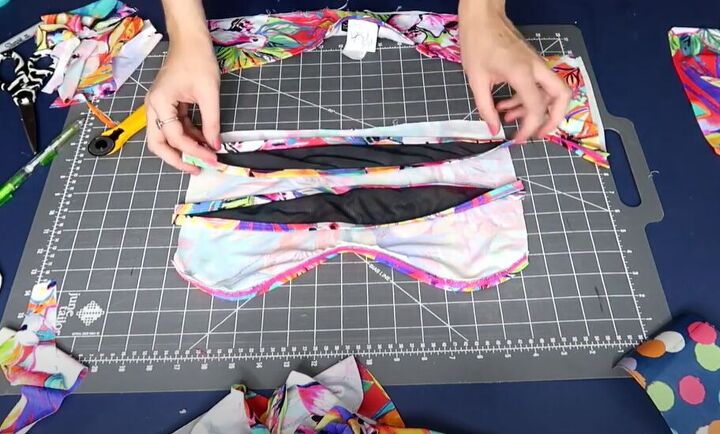
I also made sure to cut the lining for all the pieces. I used a stretchy polyester fabric I already had from another project and knew it would work well with my swimsuit.
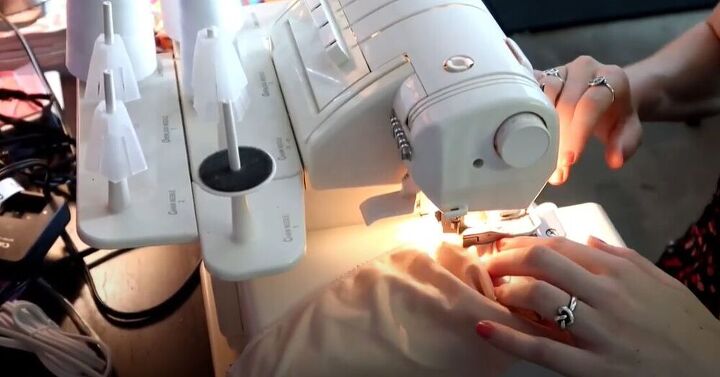
Once all my pattern pieces were cut out, I took them over to the serger and connected the lining to the swimsuit material. You can also use a basting or zig-zag stitch in this step.
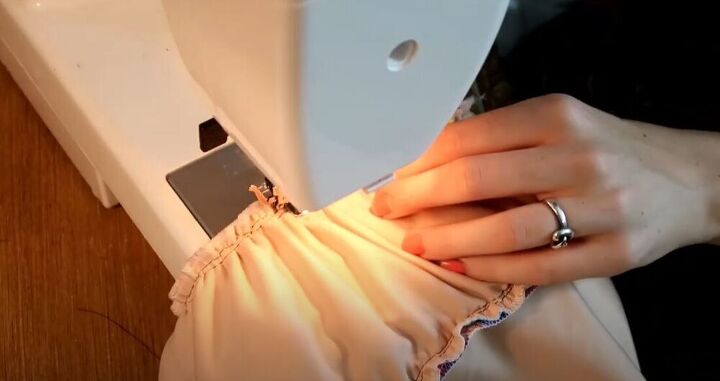
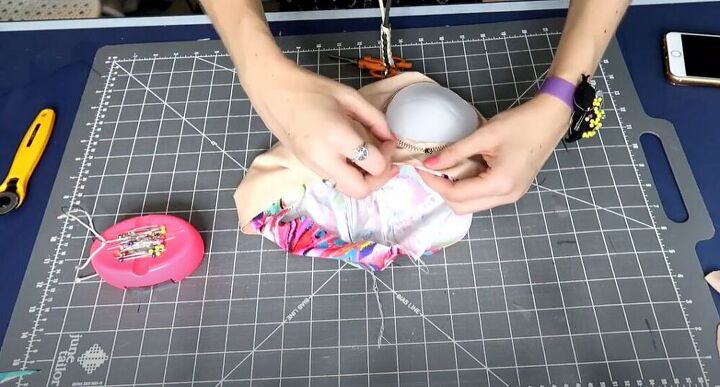
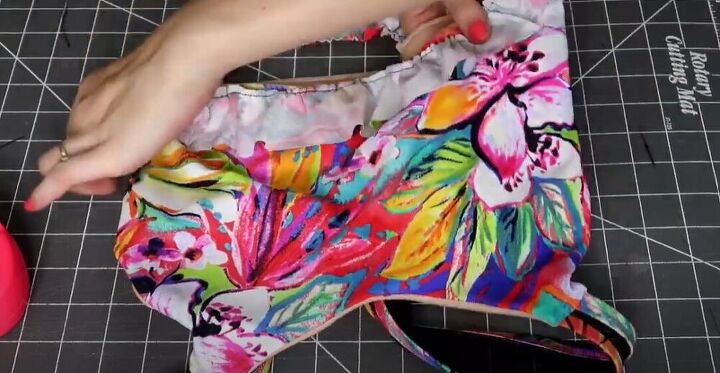
The first step in creating the bottoms is to gather the side panels. I started by adding basting stitches to both sides.
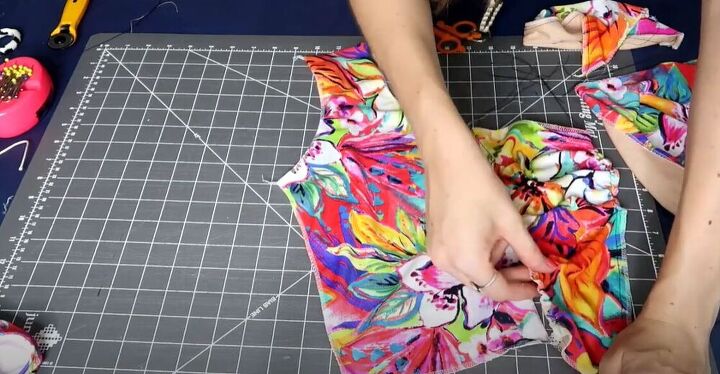
Next, I gently gathered both sides of the side panels. I absolutely love the ruched detailing this created. I measured it against the middle panel, making sure it aligned properly when gathered.

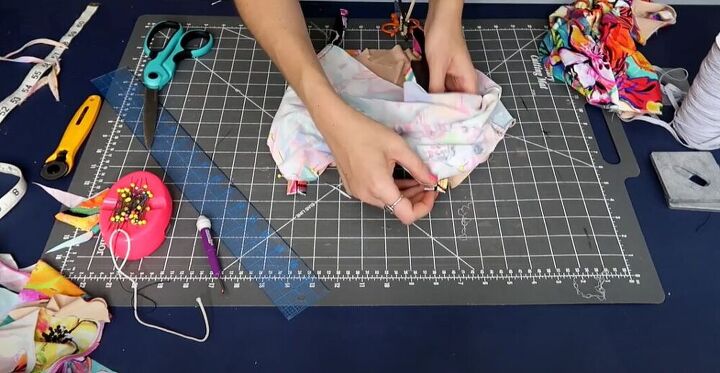
Once it was the perfect length, I tied off the strings used for gathering and pinned it to the middle panel of the bottoms.
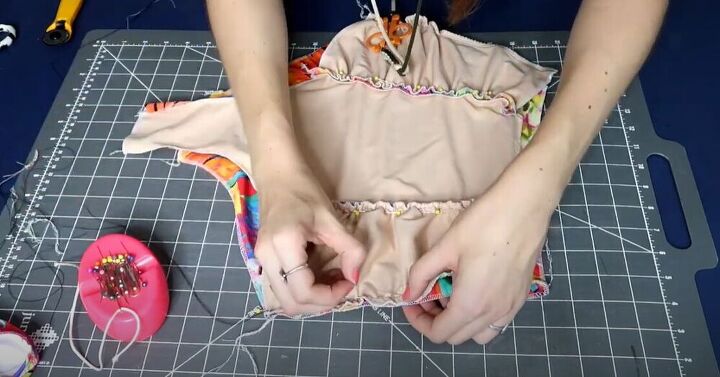
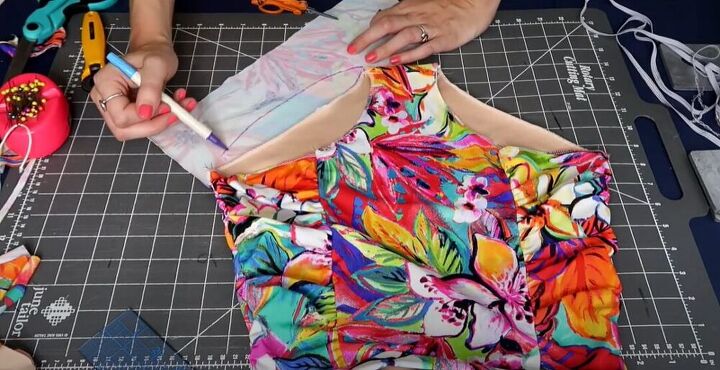
I then placed the pinned front piece onto that back piece, right sides together, and pinned the two pieces in place.
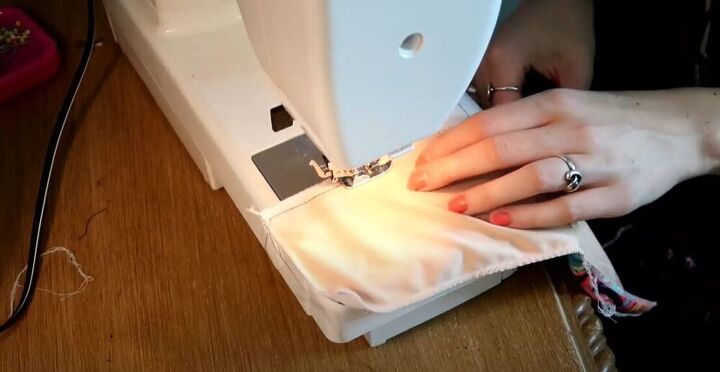
I hopped over to my sewing machine and sewed the front and back pieces together. I also sewed the side panels to the middle panel at the front of the bottoms.
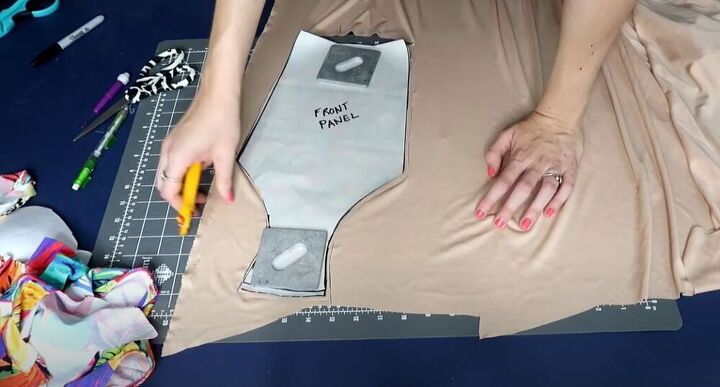
I took a small break from my almost completed bottoms to work a little on my bodice. I decided to work on the sweetheart shape in the front of my bodice and in the back, the fabric would just be going straight across. I made sure to cut out the lining for the pieces as well.
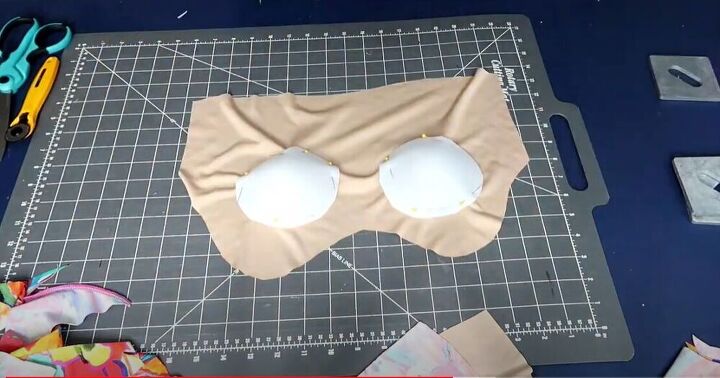
I love that I was able to reuse the pads for this upcycle! I cut them a little smaller, pinned them to my front bodice lining, and attached them with a zig-zag stitch.
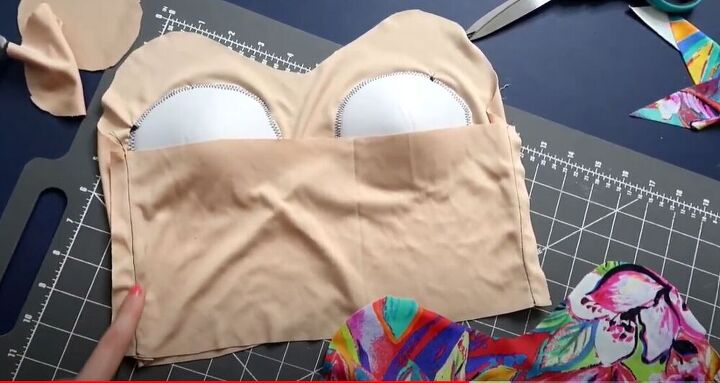
I also went ahead and sewed the sides together on both the lining and the outer fabric.
Next, I pinned the lining to the outer bodice, right sides together, and sewed all the way around. I suggest adding your straps now, which is something I totally forgot to do in this step. I used a serger but it works with a zig-zag stitch too. Using a straight stitch can work, it just doesn’t have as much stretch. Once I had sewed, I turned the fabric right side out so that all the seams were hidden on the inside and I was left with a gorgeous looking bodice.
I ended up having to seam rip a little at the top and bottom to attach my straps to the swimsuit. It worked out well because I actually tried it on and decided I didn’t like the fit. I made a few chops and changes and created more of a tank top bodice as opposed to the sweetheart shape I had started with. I headed back to my serger and serged the holes I made for my straps, attaching as I sewed.
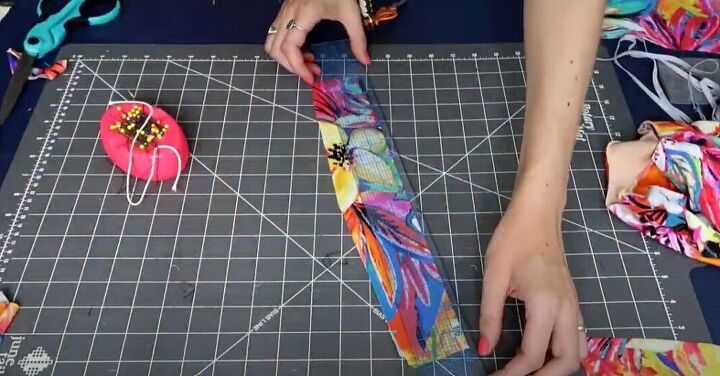
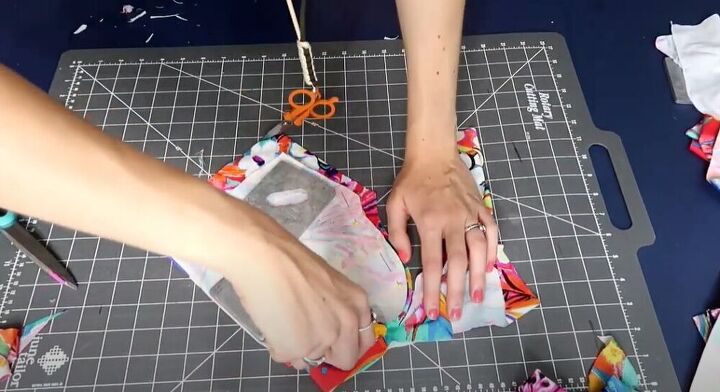
In this step, I returned to perfecting my swimsuit bottoms. I decided to add an elastic waistband. I cut about 2 inch wide pieces of fabric. I attached the pieces making a circle, folded it in half, and then pinned it to the waistline of the bottoms. I left a gap so that I could pull elastic through later. Adding an elastic waistband would give these bottoms a better fit!
Another detail I decided to add to my bottoms was small slivers of fabric at the back. I tried the bottoms on and decided there was a little too much skin showing at the back. It’s always important to make pieces that you feel totally comfortable in!
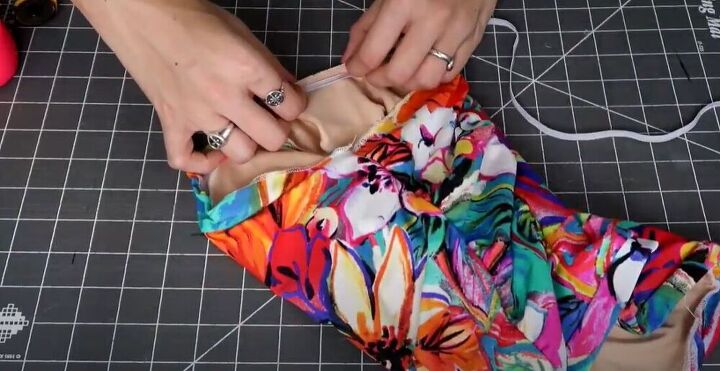
I added some elastic to the leg holes of my swimsuit because I love how it gives the piece a better fit! I folded the fabric over the elastic and pinned. I then used a straight stitch to attach it but in the future, I would probably use a zig-zag. I then went ahead and added elastic into the channel I had made on the waistband.
Like I said, feeling comfortable in your own pieces is so important. I decided that the bodice was a bit too short on me and so I went ahead and added a ruffle about 2 inches long that I made with the extra fabric. I gathered the fabric and attached it to the bottom of my bodice
for some extra flair and length.

In this final step, I added some elastic to the waist of the bodice with a straight stitch. Not only did it make the swimsuit fit better but It also helped me sew down the seam of my ruffle, giving this swimsuit the perfect finish!
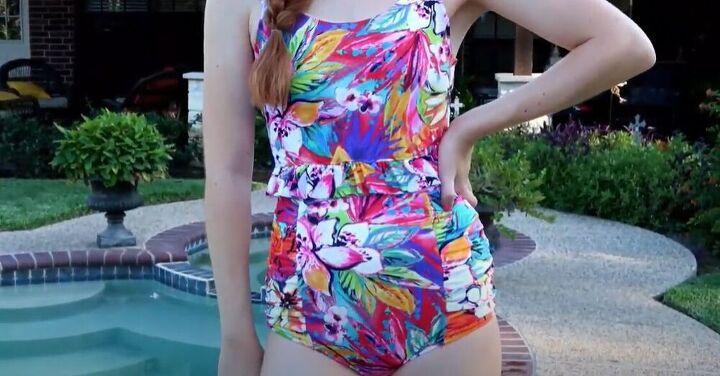
I am just obsessed with this retro-style swimsuit! What bodice shape would you want for this piece? Let me know in the comments below!
The author may collect a small share of sales from the links on this page.


Comments
Join the conversation
Wow! This is so cute! Love the before and the after!