How to Sew a Cute and Easy Ruched T-shirt

I used one of my favorite fabrics, a cotton jersey with 5% elastane, to make a ruched T-shirt. It's a blend that’s usually cheap and easy to find.
The T-shirt sewing pattern is my own, it's called the QT Tee, and I made this top without modifying the pattern at all.
Tools and materials:
- Cotton jersey stretch fabric
- QT Tee pattern
- Glue or tape
- Scissors
- Pins
- Ruler
- Loop turner or long crochet hook
- Sewing machine
- Serger (optional)
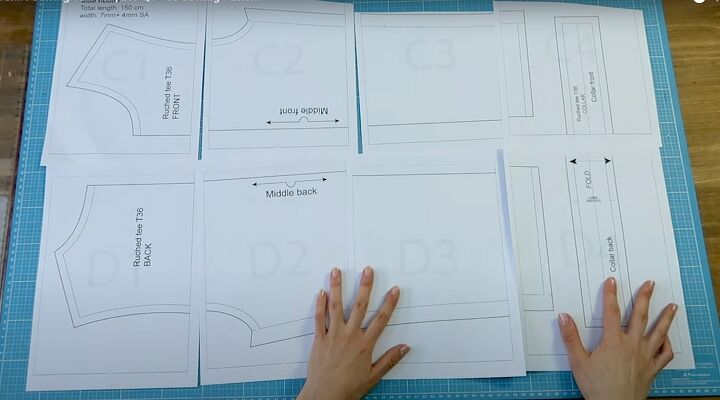
1. Assemble the pattern
Lay out the pattern pieces in numerical order. Cut off the lower margins and tape or paste the pieces together.
Cut around each piece.
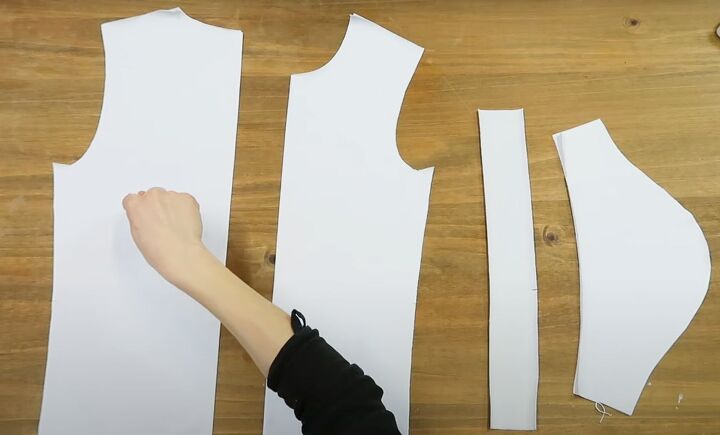
2. Cut out the fabric
Cut the back and front pieces on the fold. Cut 2 sleeves, 1 neckband and 4 strips to make the ruching.
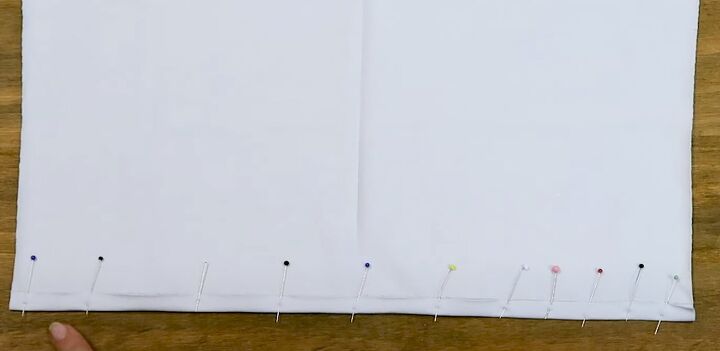
3. Sew hems
Turn up the front and back hems by 1/2 inch (1 cm) and sew with a zigzag stitch.

4. Sew shoulder and side seams
Lay the front and back together, right sides facing, and pin the shoulder and side seams.
Sew the shoulders with a straight stitch, taking a 1/2 inch (1 cm) seam allowance. Finish the edges with a serger if you have one, or a zigzag stitch, to stop the edges from fraying.
Sew the side seams with a zigzag stitch, with a 3/4 inch (2 cm) seam allowance.
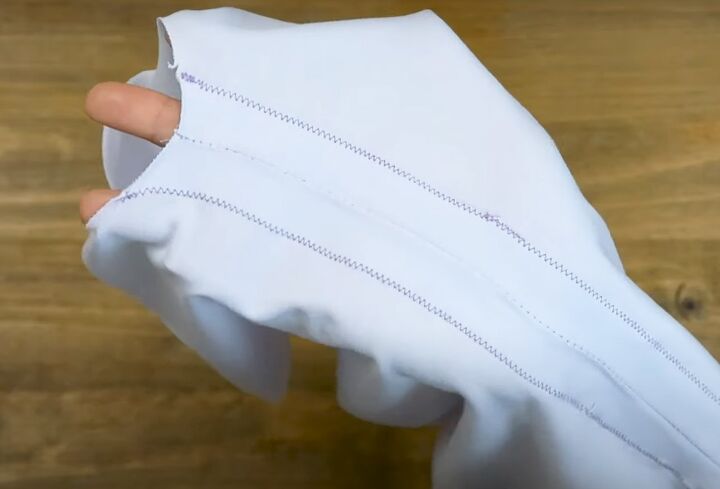
Open the side seams flat and sew the seam allowance to the bodice using a zigzag stitch. I've used a contrasting thread for clarity.
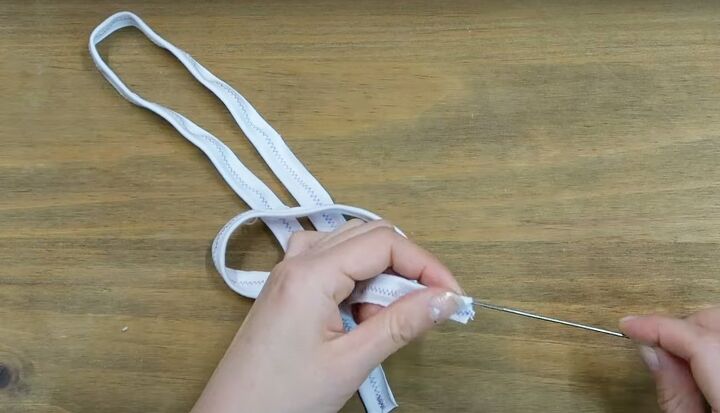
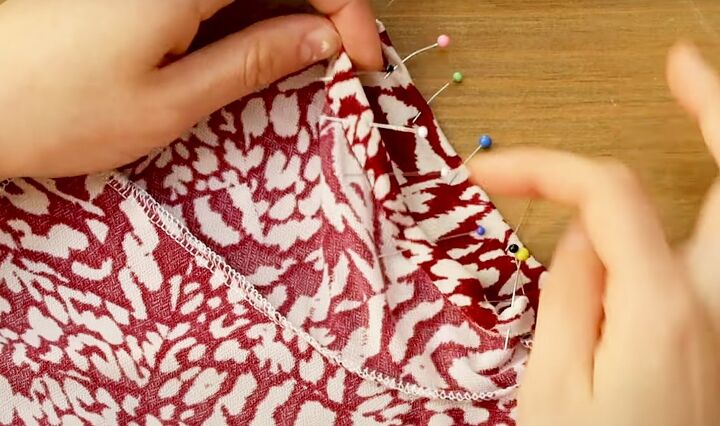
5. Make the ruching straps
Fold each strip in half lengthways, pin, and sew with a zigzag stitch. Use a loop turner to turn it right side out.
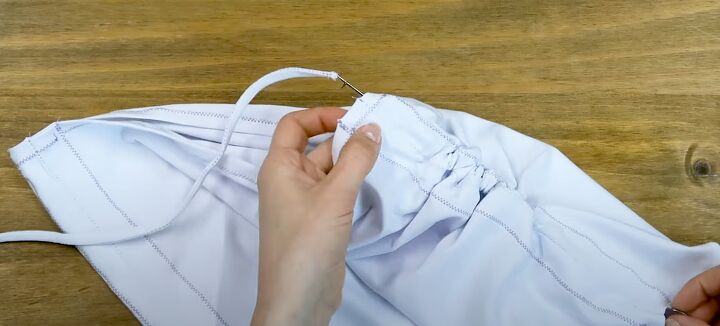
6. Attach ruching straps
Insert the loop turner in the channel made by the seam allowance on the bodice, hook the strap and pull through from the hem to the underarm.
Do this for all 4 straps, pin them at the armhole edge and sew them in place inside the seam allowance.
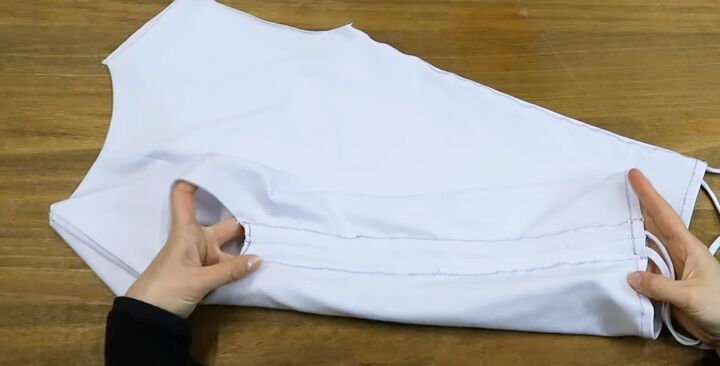
7. Insert sleeves
Fold the sleeves right sides together, pin and sew the straight seam.
In this pattern, the notches on the sleeves are to indicate the front and back sections, not for aligning them.
Turn the top inside out and the sleeves right side out. Insert the sleeves into the armhole, with right sides facing, and pin in place.
Match the underarm seam to the side seam and the center of the sleeve head to the shoulder seam. Sew, using a zigzag stitch.

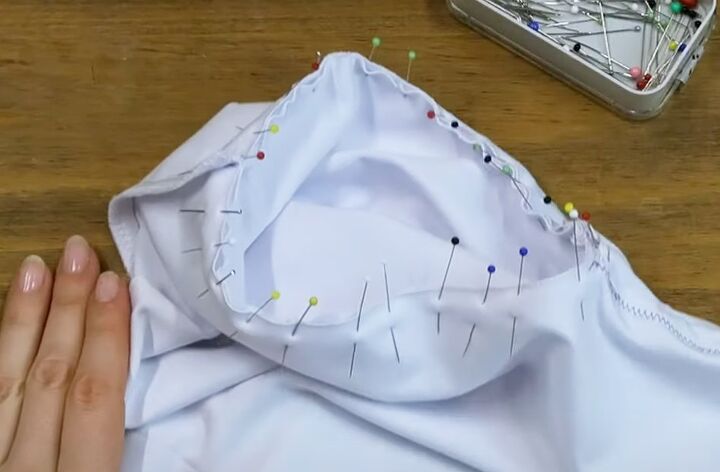
8. Attach the neckband
Sew the short ends of the neckband, right sides together. Press the seam open.
Fold the neckband in half lengthways, wrong sides together, and press.
Pin the neckband around the neck edge, right sides together.
Match the notches to the center front and back. The band is slightly smaller than the neck opening, so you need to stretch it to fit.
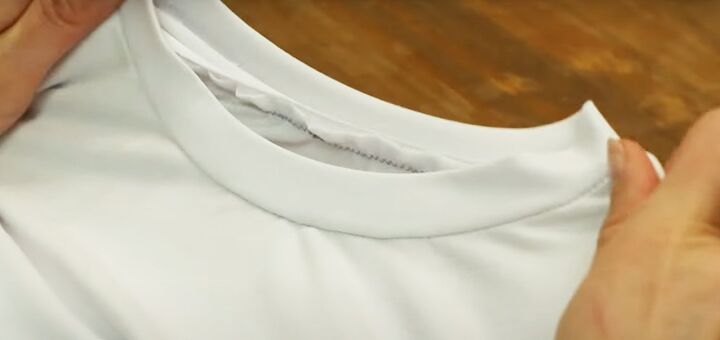
Sew through all three layers with a zigzag stitch and finish the raw edges.
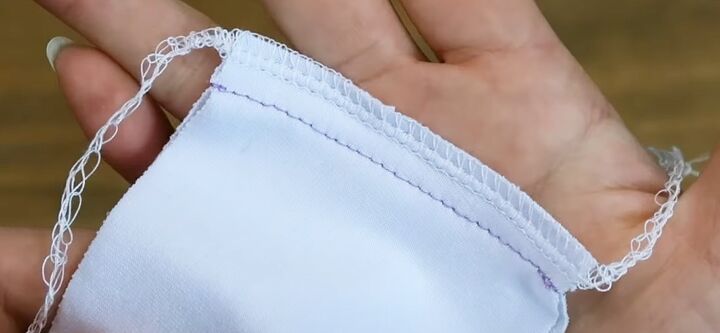
9. Hem the sleeves
The footage for this step is from another video. Turn under a 1/2 inch hem at the end of the sleeves, pin and sew with a zigzag stitch.
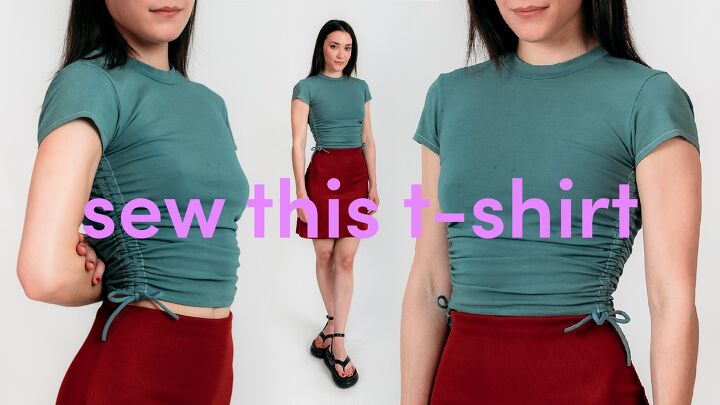
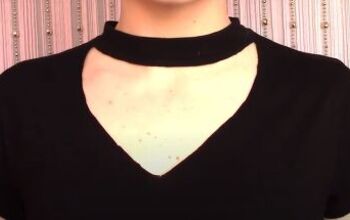
Ruched t-shirt
This is a super-cute top whatever color you make it. I decided to dye my DIY T-shirt a sage green color after finishing it and I will show you how to do this in another video.
I hope you enjoyed seeing how to sew a T-shirt and that you'll give this pattern a try. Do let me know what you think in the comments below.
The author may collect a small share of sales from the links on this page.


Comments
Join the conversation