How to Make a Sexy Bustier Top & Pants Set Out of Old Silk Pajamas

I recently thrifted a silk pajama set and decided to turn it into a gorgeous DIY bustier top and matching pants. I plan to wear this outfit to my friend's bachelorette party!
If you're curious about how to make your own bustier top and matching pants, then keep reading this tutorial. Let’s start!
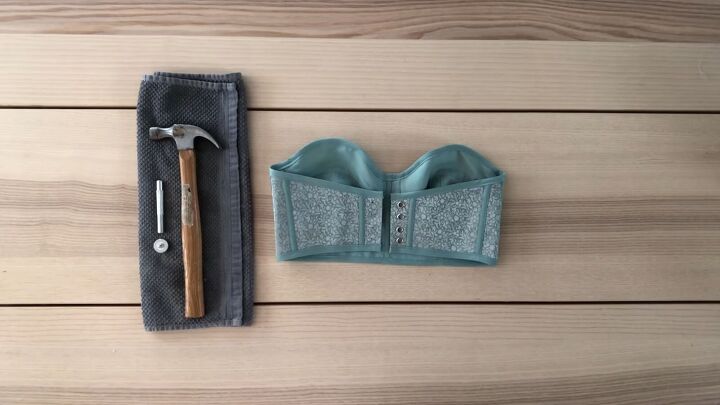
Tools and materials:
- Thrifted pajama set
- DIY bustier pattern
- Bra pattern
- Ruler
- Marker
- Paper
- Fusible interfacing
- Fabric for bias tape and lining (I used an old curtain)
- Underwire
- Boning
- Eyelet kit
- Hammer
- Pants pattern
- Measuring tape
- Sewing machine
- Invisible zipper
- Matching thread

DIY bustier top
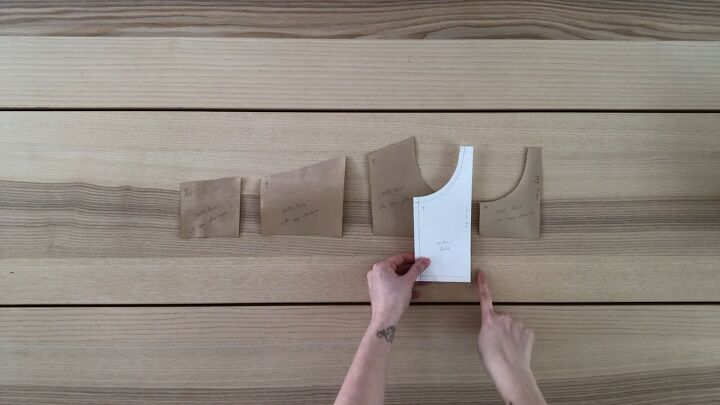
1. Make the pattern
I used a bodice pattern I made for my DIY Reformation Christine dress and cropped it by 3 inches. You can follow that tutorial to make your own.
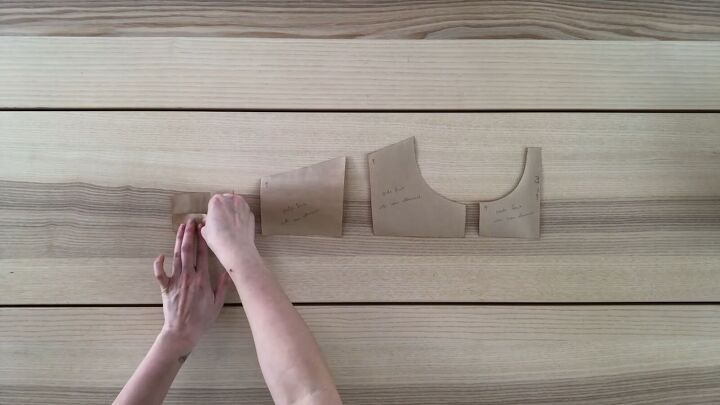
I folded the center back piece in by 1 inch to make room for my lace-up closure.
For the bust pieces, I used the free Maya bra pattern by AFI Atelier.
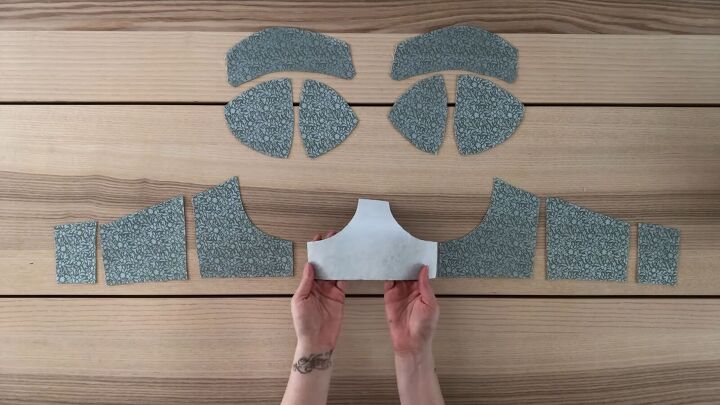
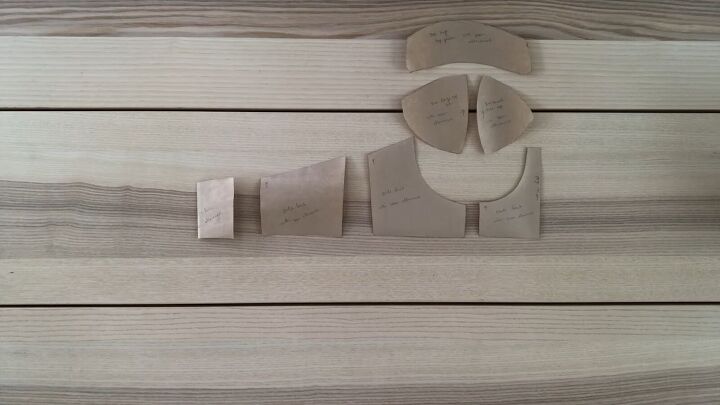
2. Cut the pattern
Cut the pieces out in fabric and fusible interfacing, with the center front piece cut on the fold. Iron the interfacing onto your fabric to make it sturdier.
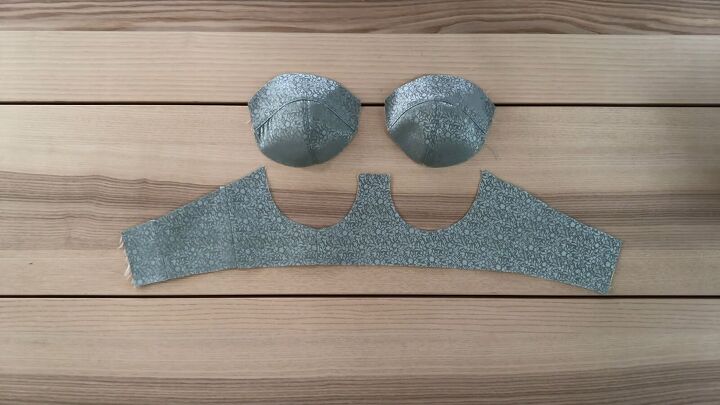
3. Sew the DIY bustier top
Sew the bodice pieces together and the cup pieces together.
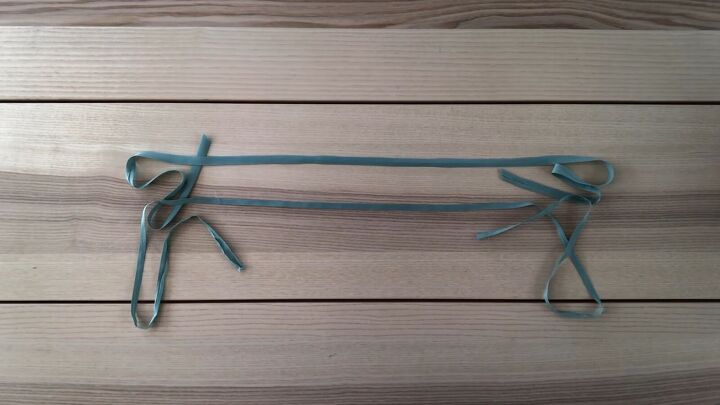
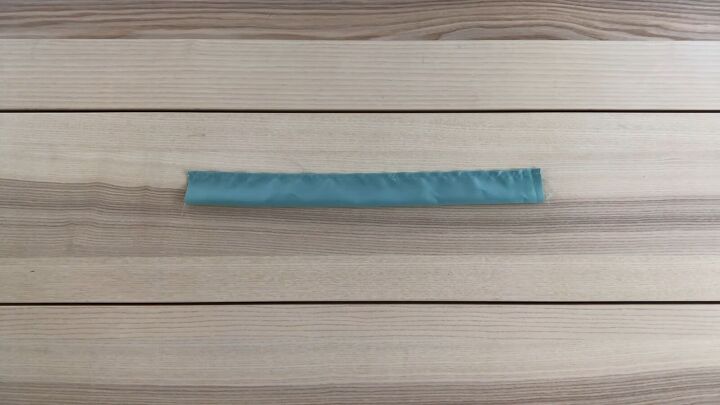
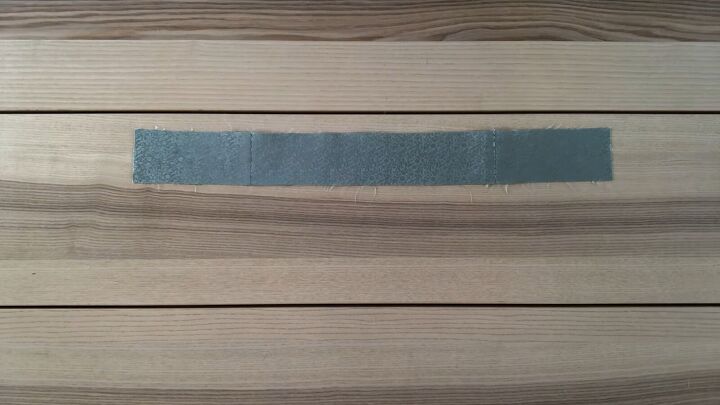
4. Make the bias tape (optional)
I made my own bias tape using an old curtain I had in a matching color (watch the video from 2:25 to see how), but you could buy some pre-made if you prefer.
I made a wide strip 1¼ inches wide and a narrow strip ⅞ inch wide.
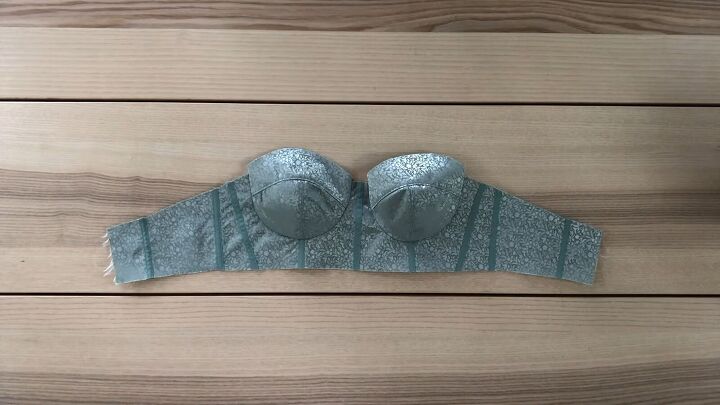
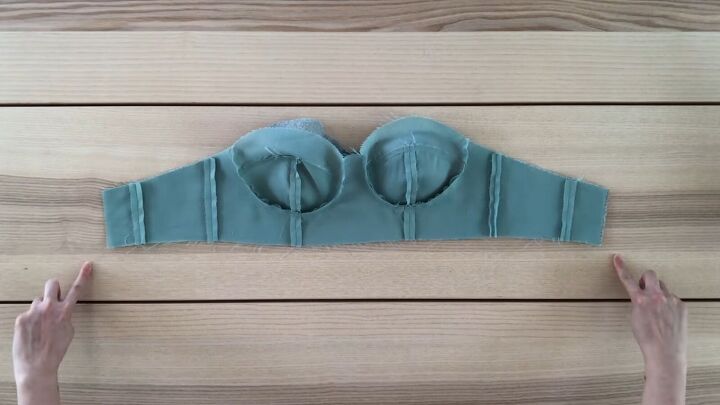
5. Attach bias tape
Add the narrow bias to the bodice in the above pattern - this helps cover the seams and provides casing for boning. Sew along the edges of both sides of each bias piece.
Then, sew the cups to the bodice.
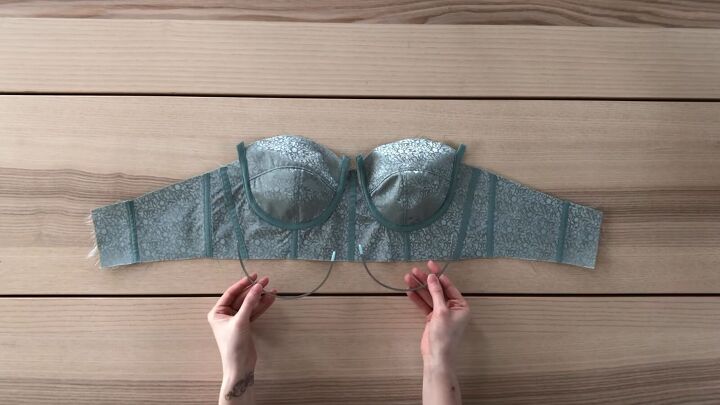
Place the wider bias tape under each cup and sew along the edges. Insert underwire into the tunnels.
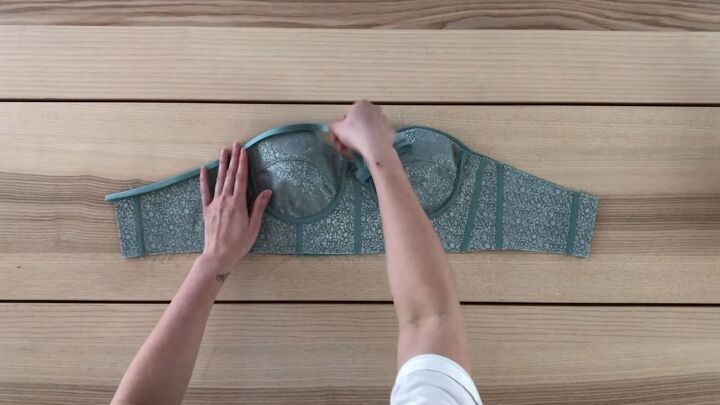
6. Attach the lining
Using more curtain fabric, I made lining and attached it to the bustier, right sides facing.
Sew along the short ends, then turn right sides out and press.
Then, sew the wider bias tape along the top to enclose the raw edge seamlessly.
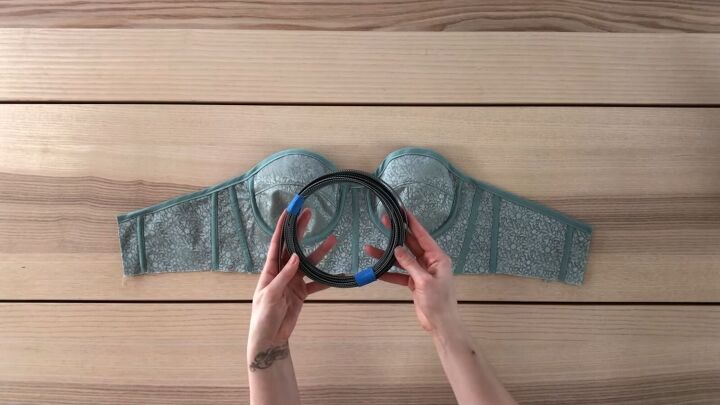
7. Insert boning
I came across a unique way to add boning, so watch the video from 5:01 to see how I do this.
Sew the wider bias tape along the bottom to seal in the boning
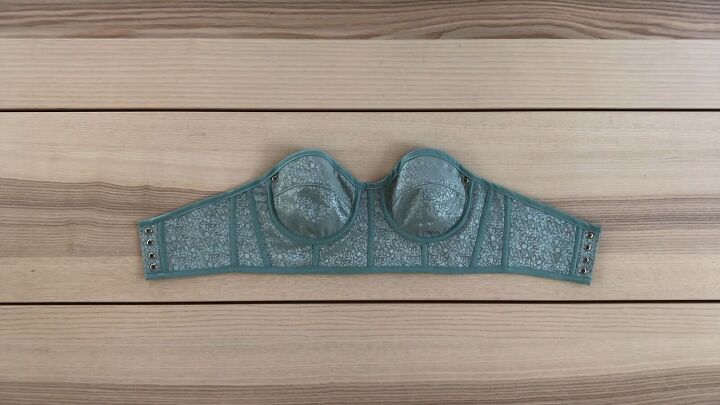
8. Add the eyelets
Attach the eyelets to both sides of your DIY bustier top following the instructions with your eyelet kit. Make sure the holes are smaller than the actual eyelet and that you evenly space the holes.
9. Make the straps
Cut a piece of fabric 22 x 4 inches. Fold the piece (right sides facing) and sew along the length.
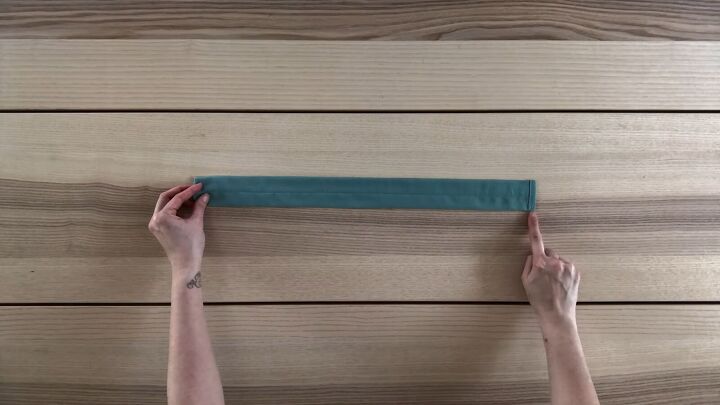
Flip the fabric and press it to center the seam. Hem one side of the strip. Repeat to make a second strap.
Add eyelets to the outer corners of the bra cups.

Take the finished edge of the strap and attach it to the inside of the bustier top.
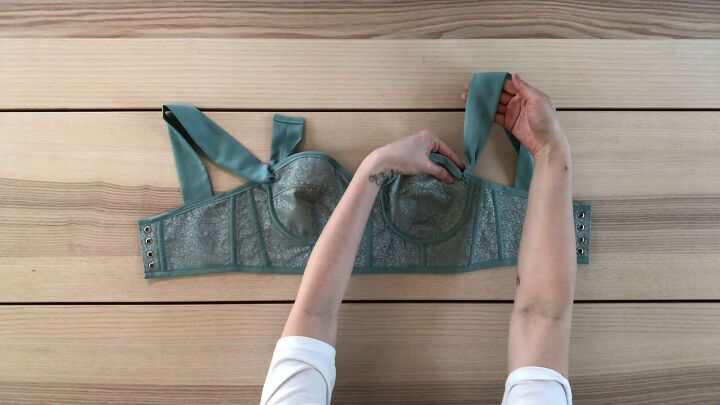
Take the loose end of the strap, fold it into thirds, and insert it through the eyelet. Then, knot the short end of the strap around the eyelet.
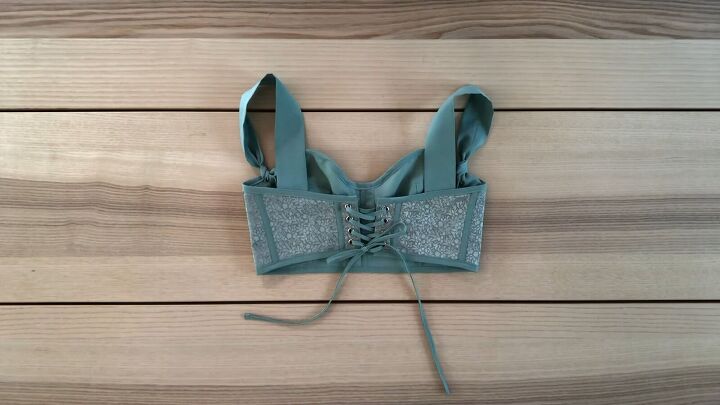
Now, lace up the back. You can easily make a tie from your scrap material using the same method as the straps, just with thinner fabric strips.
DIY pants
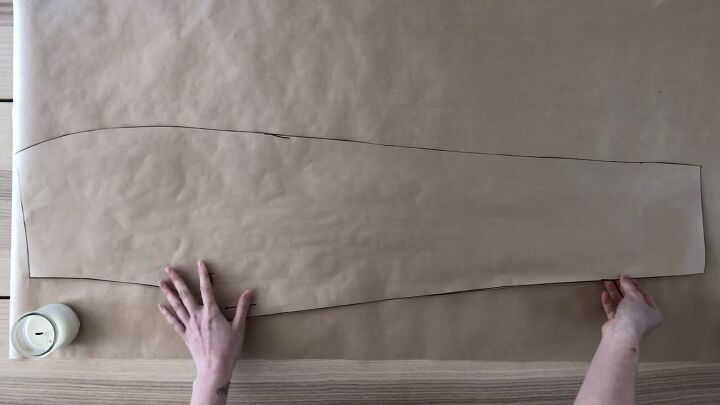
1. Make the pattern
Trace a pair of pants that fit you well, or use this free pants pattern. I traced a pair of pants I own, then modified my pattern.
Watch the video from 8:00 to see how I adjusted the pattern to my preferences and added pockets.
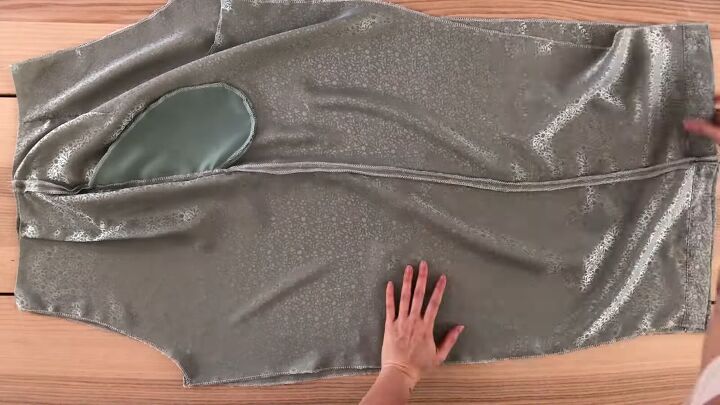
Cut the pattern pieces out in the fabric.
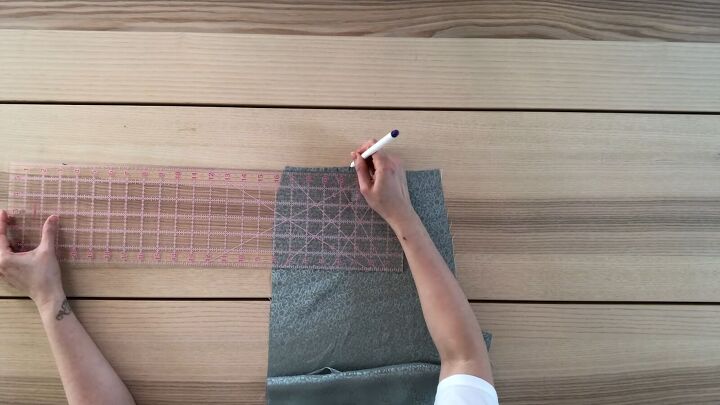
2. Create pleats
I wanted a pleat in my pants, so I measured and marked 2.5 inches from the side seam.
Make another mark ¾ inch from the first mark and again ¾ from the second.
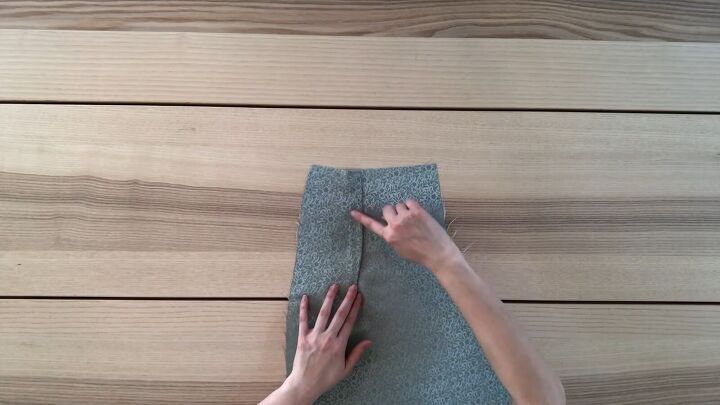
Fold the fabric at the center mark, draw a line ¾ inch away from the fold and measure 4½ inches in length. Then, sew on the line.
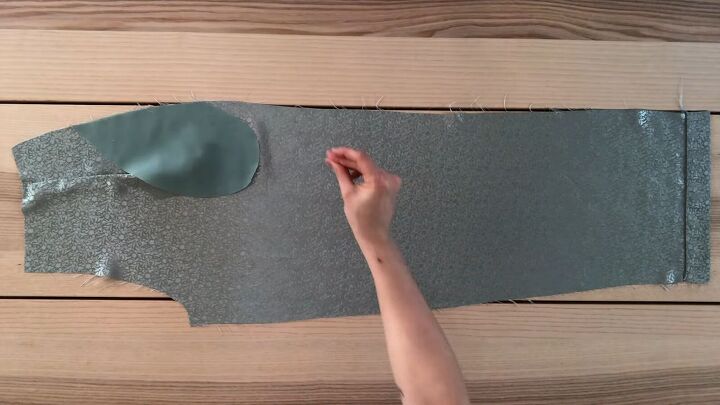
3. Sew the pants
Next, measure 4 inches from the pocket seam and pin your pocket. Sew to secure.
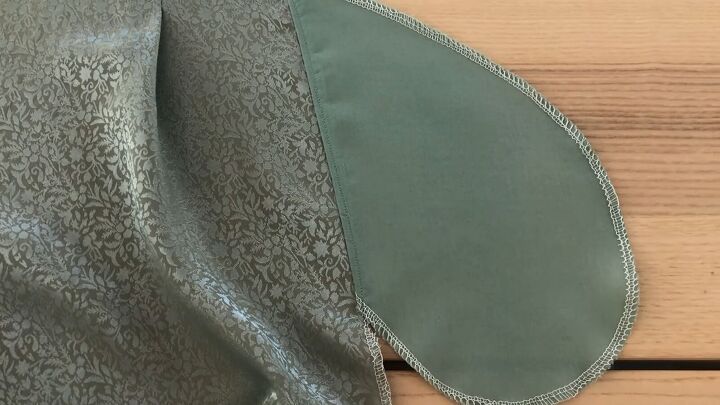
Overlock the raw edges and understitch the pocket.
Repeat the same process for the back.
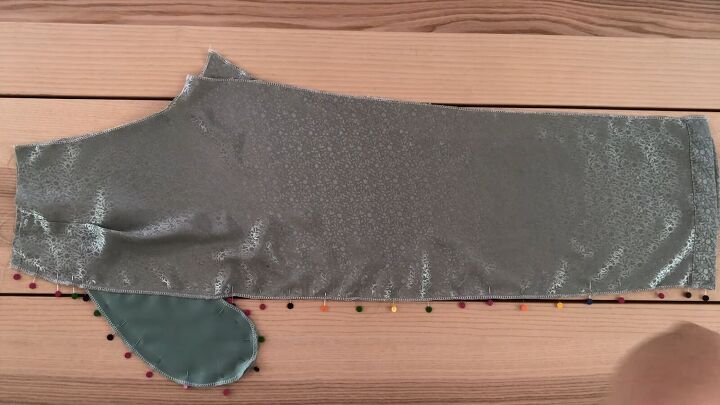
Lay the pant leg pieces right sides facing, pin, and sew. Repeat for the second pant leg.
Sew both pant legs together at the center front seam, right sides facing.
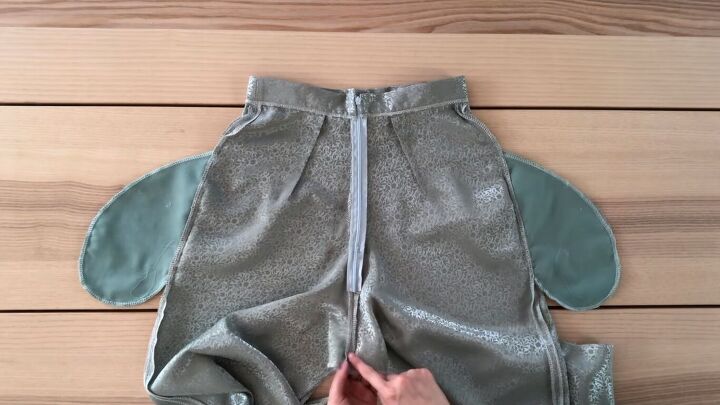
4. Add a waistband
Using my pants waist as a guide, I cut out a waistband and reinforced it with interfacing.
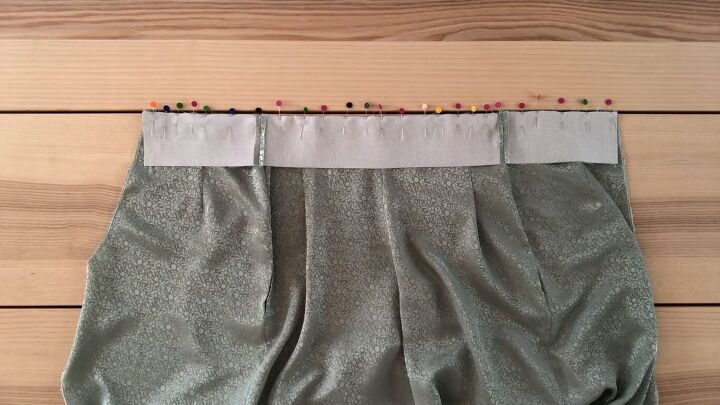
Place the waistband at the top of the pants, right sides facing, pin, and sew along the top edge.
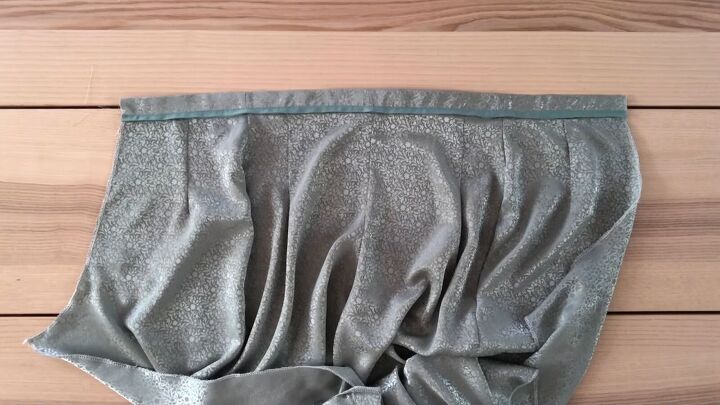
Fold the waistband in half lengthways and press it with an iron. You can also add detail by adding bias tape over the seam.
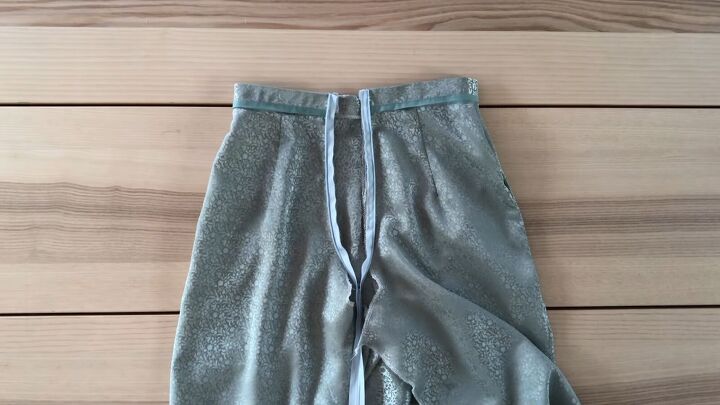
Moving to the back, fold the pants so that they meet at the center back seam and attach the invisible zipper here.

Then, fold the waistband, right sides facing, sandwiching the zipper, and sew to secure. Do this on both sides for a really neat zipper closure.
Topstitch all around the waistband.
Finally, sew the remaining center back seam together. Press that seam open and trim the zipper.
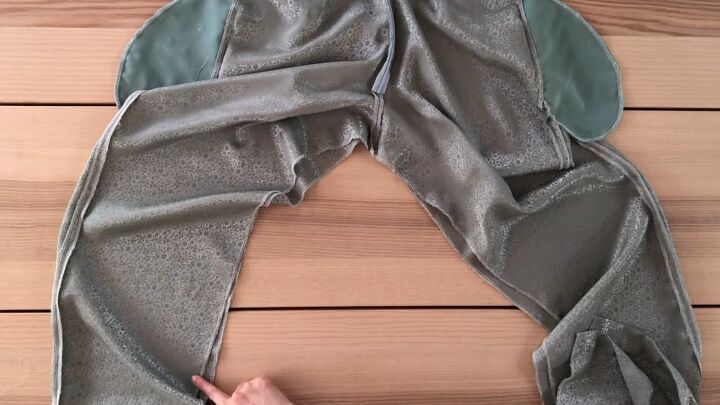
5. Sew the inseams
Match up the legs and sew the inseams.
I ended up using the original hem of the pajama pants, so I didn't have to hem these.


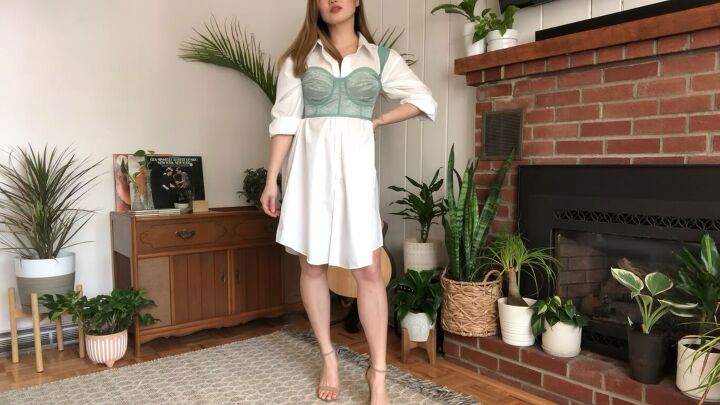
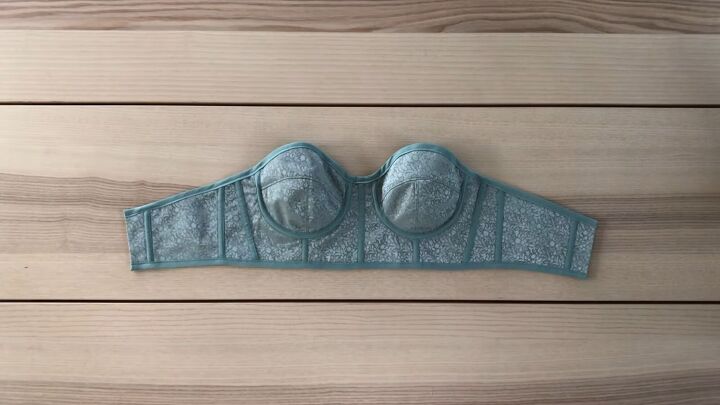
How to make a bustier top and pants set
Here’s the result! Thanks for joining me for this thrift flip transformation. I hope you enjoyed this tutorial on how to make a bustier top and pants set from old silk pajamas.
Let me know what you think in the comments below.
The author may collect a small share of sales from the links on this page.


Comments
Join the conversation
Adorable outfit! Nice workmanship. Wish I was young enough (and skinny enough) again to wear that!! : )