Elegant Thrift Flip - Make This Intricate Ruffle Top

Today, I will show you an amazing thrift flip, transforming a silk blouse into a ruffle top. Not only that, but I’ll be doing a special kind of ruffle- a ruffle peplum top. This tutorial is great for those who have an unused blouse lying in their closet, doing nothing but collect dust. I’m going to show you how to transform a blouse into something more functional and trendy with this ruffle top tutorial. Ready? Let’s begin!
Tools and materials:
- Blouse
- Paper
- T-shirt
- Water-soluble marker
- Sewing machine
- Thread
- Scissors

Make the pattern
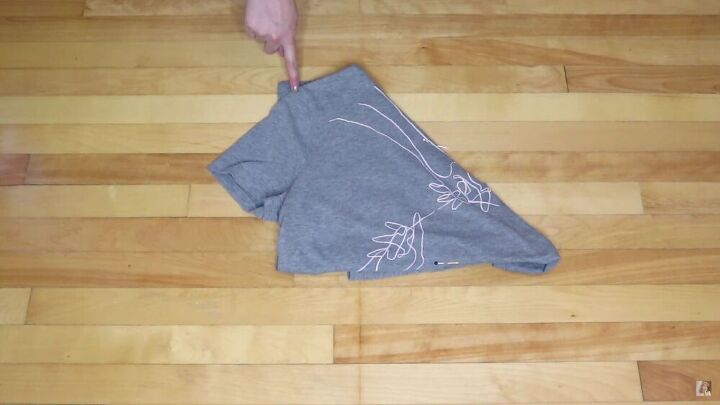
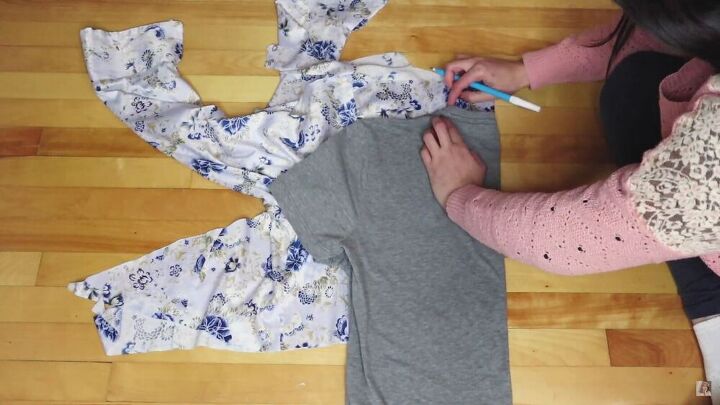
We are going to start by making the pattern for this ruffle top by using a t-shirt that fits you snugly. First, fold the t-shirt as shown.
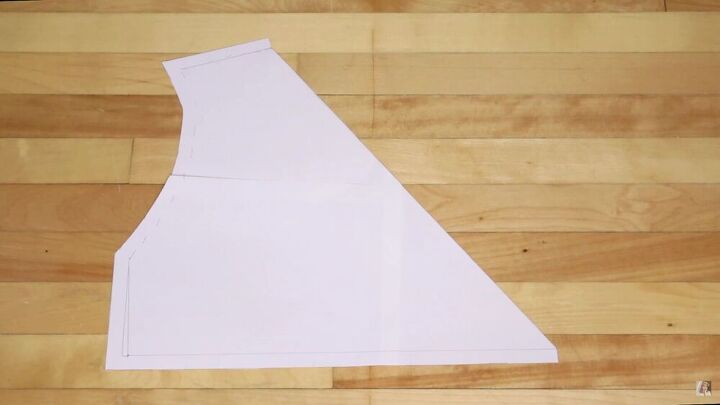
Next, trace this onto some paper; this will be for the front pattern. Add ½ an inch seam allowance and cut out the pattern accordingly.
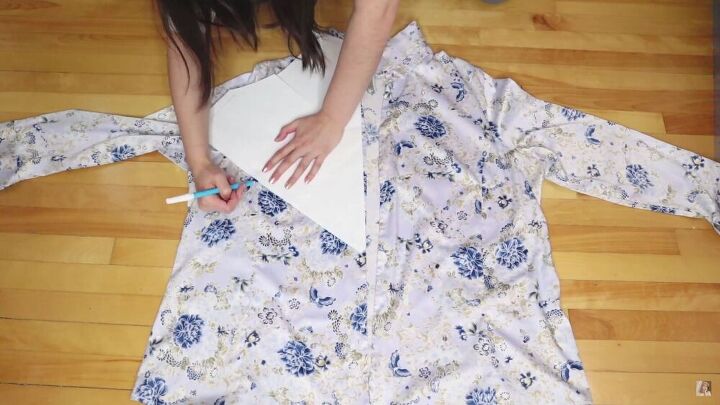
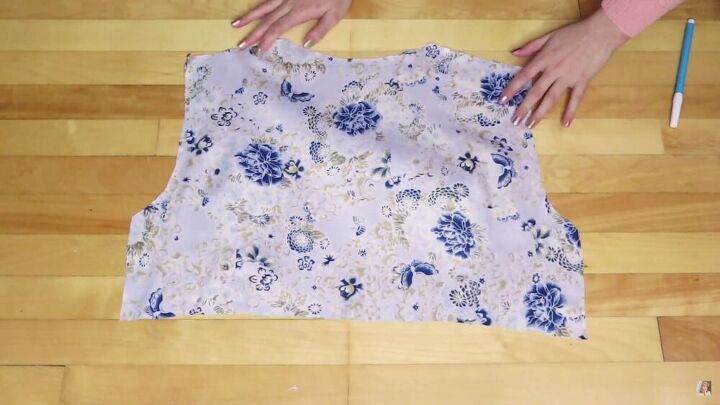
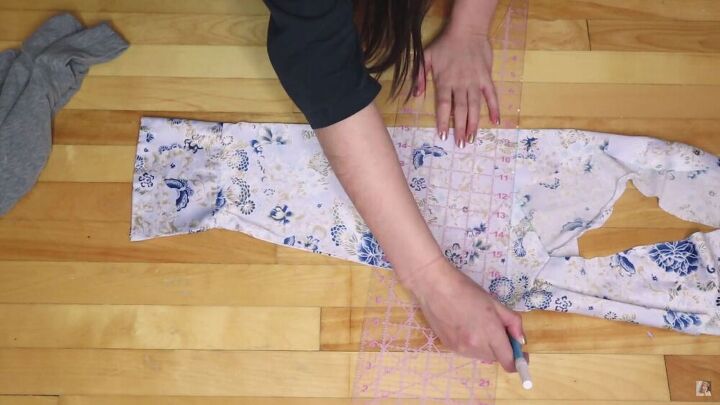
Place the pattern with the short, diagonal part on the button part as shown and trace this on your blouse. Then, repeat this on the other side.
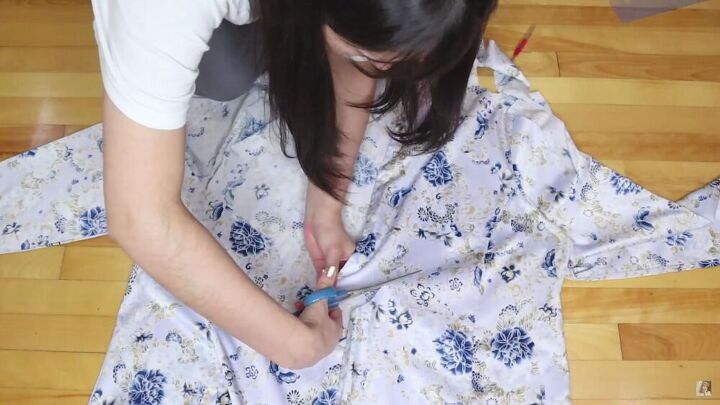
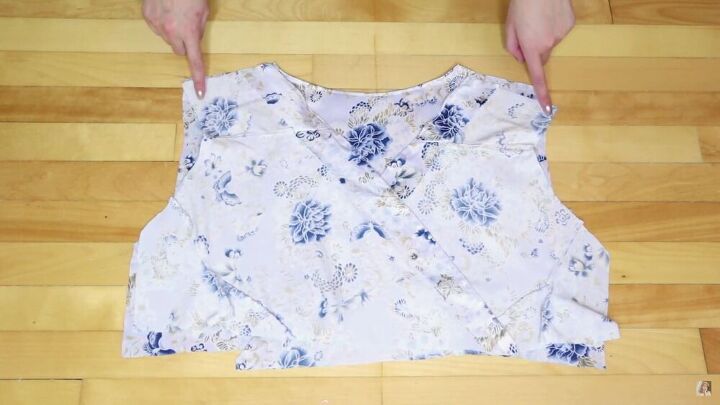
Now, cut out the pattern on both sides.

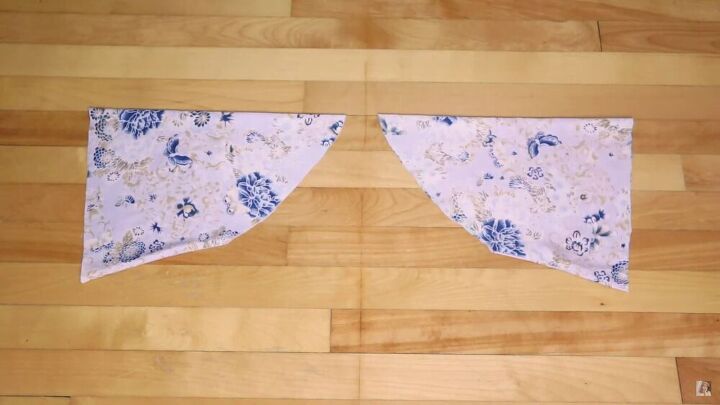
This is how your pieces should look.
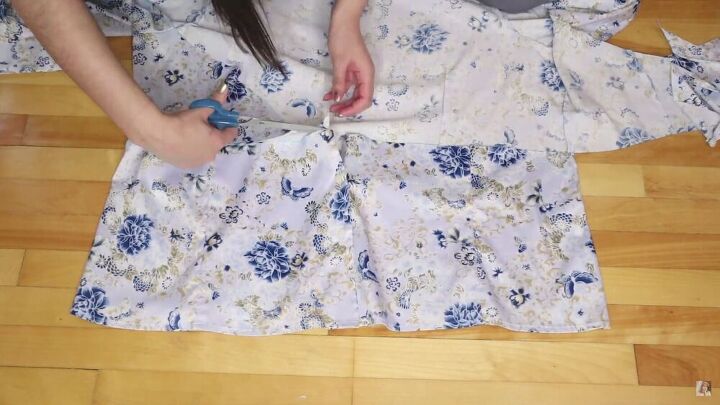
Next, cut the bottom of the shirt to create a long rectangle- this is for the ruffled bottom.
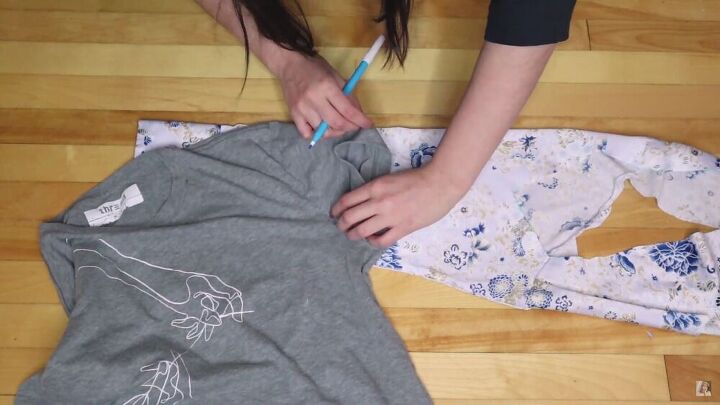
For the back piece, fold the remaining fabric in half and trace the back of the t-shirt accordingly.
Cut out the back piece, as shown.
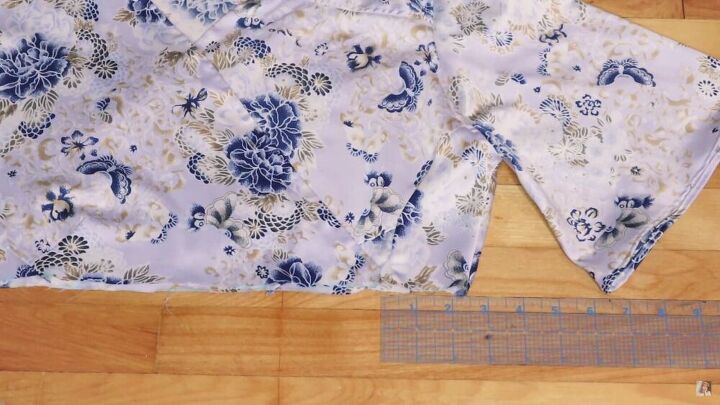
For the sleeves, make it wider at the end so it’s like a bell. Then, trace the sleeves starting at the slimmer section.
Then, trace a straight line at the wider part.
Cut it out, and the sleeve is complete! Make sure to repeat this on the second sleeve.
Hem the pieces
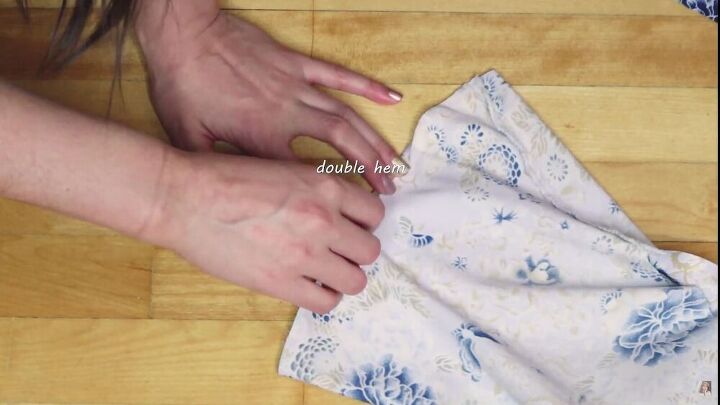
Now that everything is cut out, we can start putting the pieces together! Fold the edge of the sleeves with a thin, double hem. Then, pin and sew to secure.
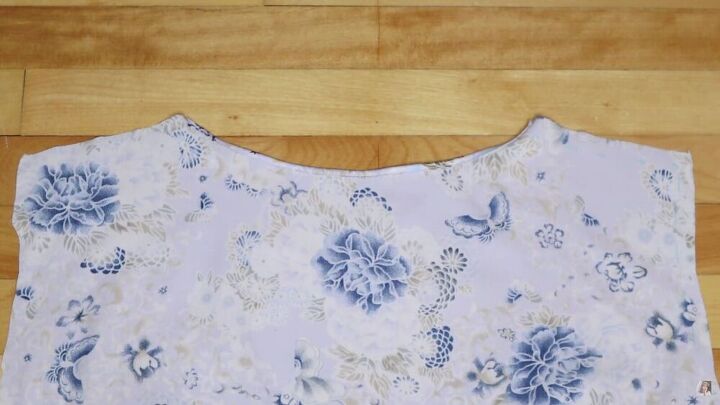
Next, hem the neckline of the backpiece, again, with a thin double hem.
Complete the bodice
Add the back pieces to the front pieces, right sides touching, and sew the shoulder seams.
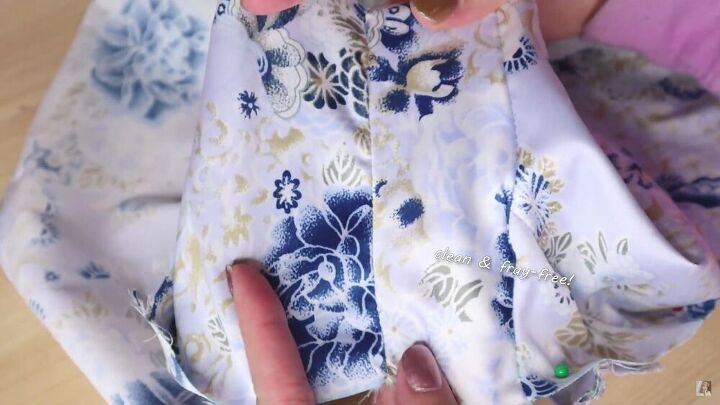
Then, sew the side seam by using a french seam. For this, sew it with the wrong sides touching and as close as possible to the edge. Then, turn it right side touching, fold the seam at about ¼ of an inch and sew.
TIP- Make sure the stitch hides the inside seam.
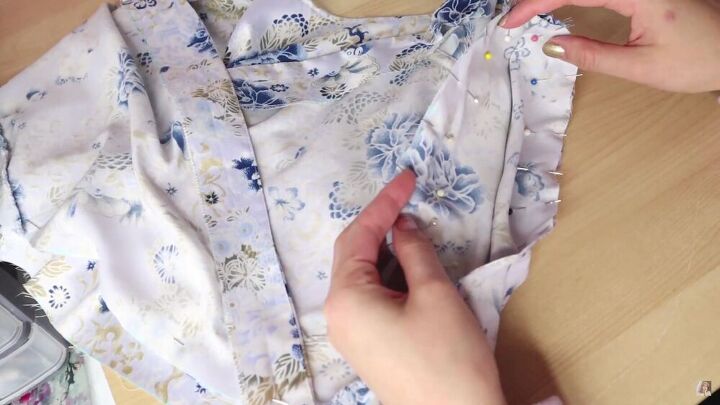
Attach the sleeves
Turn the top inside out and attach the sleeves by first inserting them and then pinning the armhole to the sleeve itself. Then, sew all around.
Step 5- Modify the bodice
Before we complete the DIY ruffle top, sew the crossed-over pieces at the bottom. I made mine overlap at 2.5 inches from the side seam, as shown. Start with a basting stitch so that the two front layers are attached together.
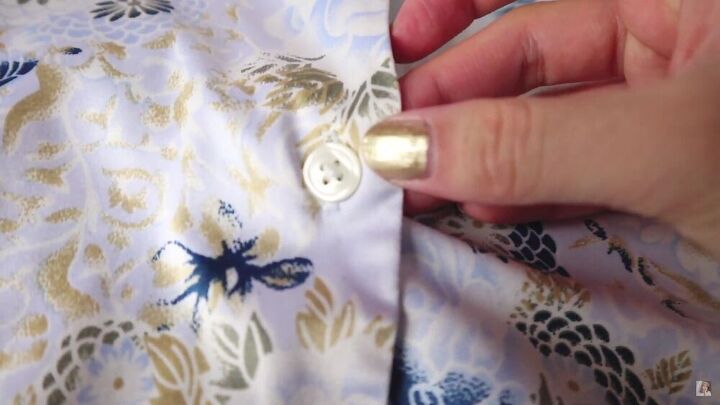
Remove the buttons and hand sew them diagonally in front of the criss-cross.
Make the ruffle
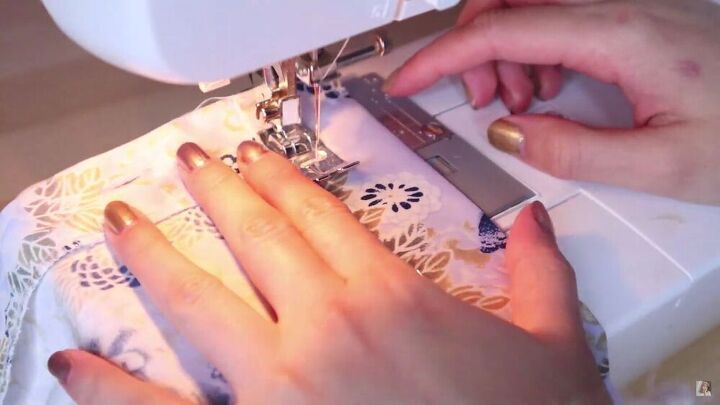
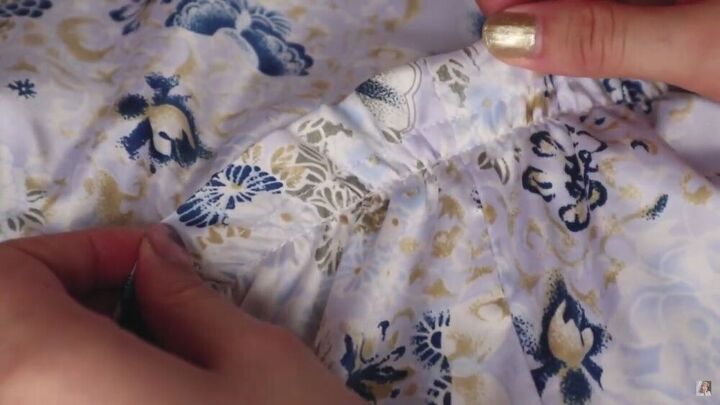
For the bottom, fold the bottom edge at 1.5 inches. Pin it all around and sew a basting stitch to create the ruffles. Sew it in at ½ an inch.
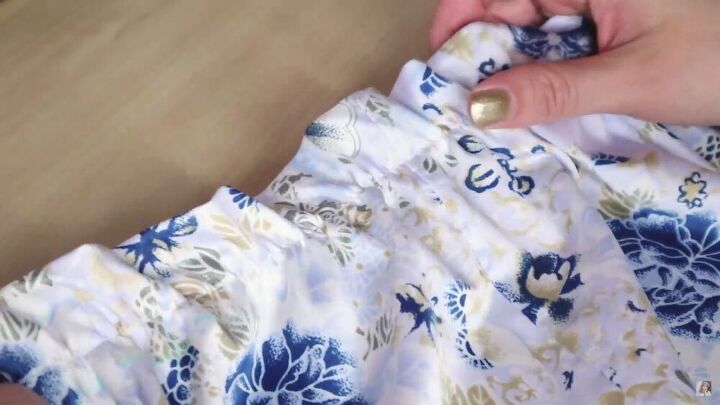
Now, gather the fabric by pulling at one of the threads. Once it’s ruffled enough to fit the top, the ruffles are done!
Pin it to the top and topstitch it down. It’s best to sew right on top of the existing stitch.
If your ruffles are not ruffled enough, like mine, sew the second row of ruffles on top of the main stitch line. Again, sew a basting stitch and pull the thread.
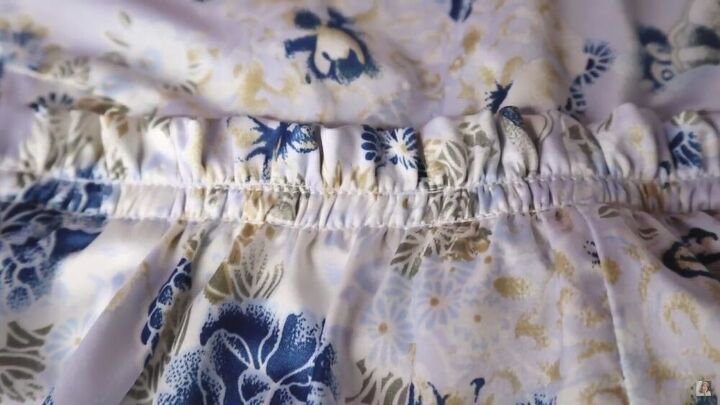
Then, sew it with a topstitch onto the top.

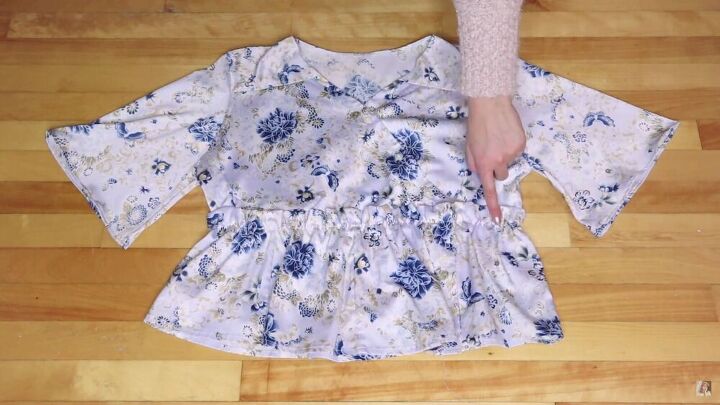
We’re done! Here’s the final transformation! How amazing does this look? It’s really elegant, and the detail here is just breathtaking. I hope you make a DIY ruffle top of your own so you can flaunt it! Thanks for joining me!
The author may collect a small share of sales from the links on this page.


Comments
Join the conversation