How to DIY a Gorgeous Flowy Bubu Top

This style of flowy top originates from West Africa and is known as a Bubu or Agbada top. It characteristically has long, wide sleeves and can be worn in several ways. The top I’ll make in this tutorial is full-length in the back and shorter in the front.
In this tutorial, I'm going to show you how to make this gorgeous DIY flowy top. Let's get started.
Best fabric scissors!
Tools and materials:
- 2 yards of 60-inch-wide chiffon fabric
- Hemming tape
- Tape measure
- Scissors
1. Create the pattern
I’m going to show you the pattern on plain pattern paper, so it is easier to see the folds, but it’s not to scale visually. You can make the measurement markings directly on your fabric, if you prefer.
First, determine the length you want for the front and the back of your top. I made my top 30 inches long in the front and 50 inches in the back.
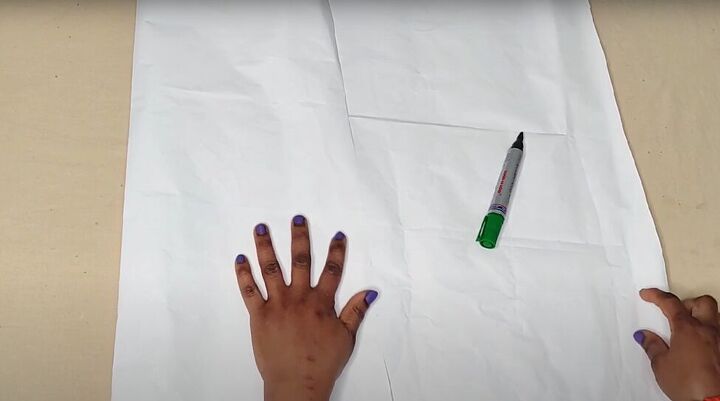
Now, lay out your fabric fully with the right side facing down. Fold one short edge over so the edge meets the point of the front length you want.
The folded edge (at the far left of the image above) will be the shoulder of your top.
The next edge (in the middle of the image) will be the hem of the front, and the last short edge (at the far-right of the image) will be the hem of the back.
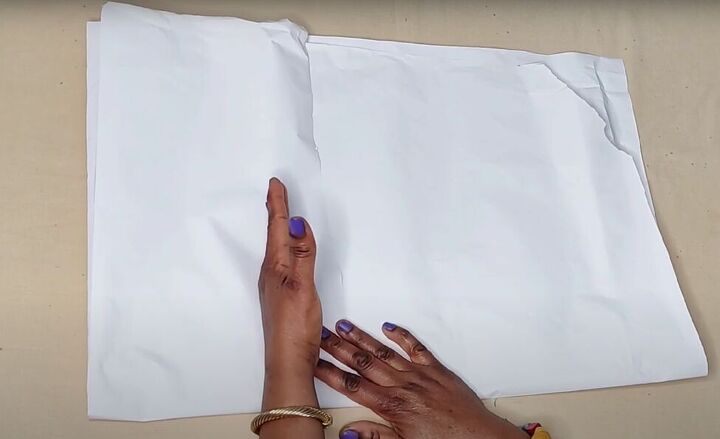
Now fold the whole piece in half as shown with the front of your top facing up.
The image above, on paper, doesn't represent my actual measurements. I made the front of my flow top 30-inches long and the back 50-inches long.
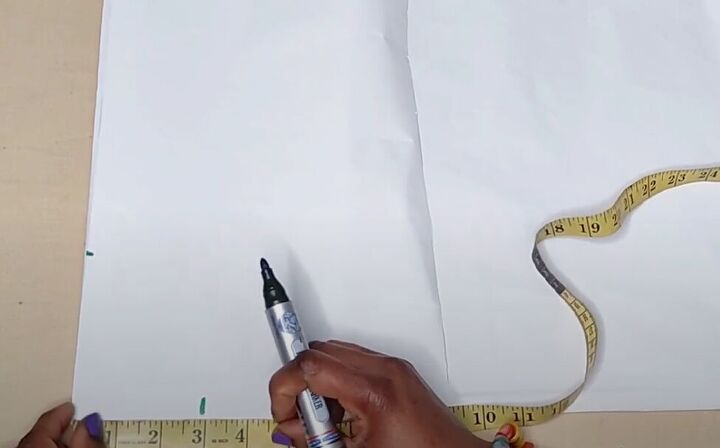
2. Mark the neck hole
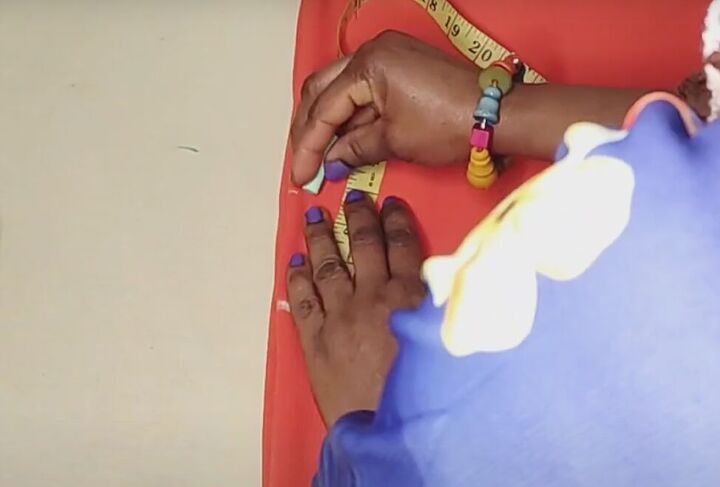
Mark 4 inches in from the center fold along the shoulder line, and 3 inches on the center line from the shoulder.
Connect those marks to make the neckline.
Now measure across the back of your shoulders and divide that measurement by 2. My shoulder measurement was 17 inches, so half of that is 8½ inches.
Mark the half-shoulder measurement on the shoulder line of your fabric or paper, from the center line.
I will demonstrate the rest of the tutorial on the fabric itself.
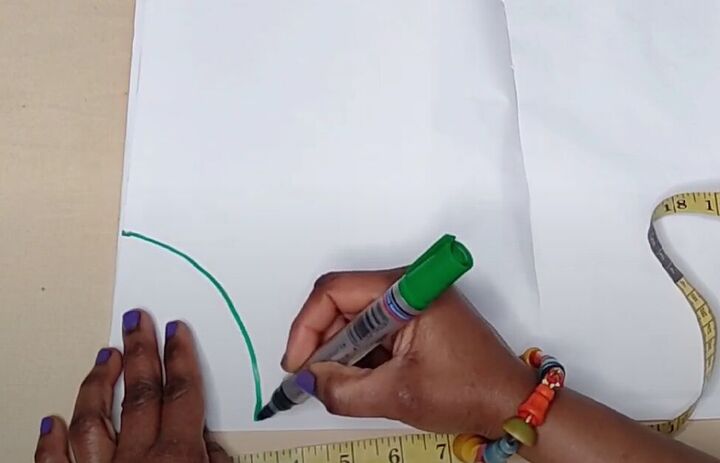
3. Mark the armhole
From that shoulder mark, mark another 3 inches along the shoulder and then another 7½ inches.
Find the midpoint between the last two marks you made. Mark it about a half-inch down from the shoulder.
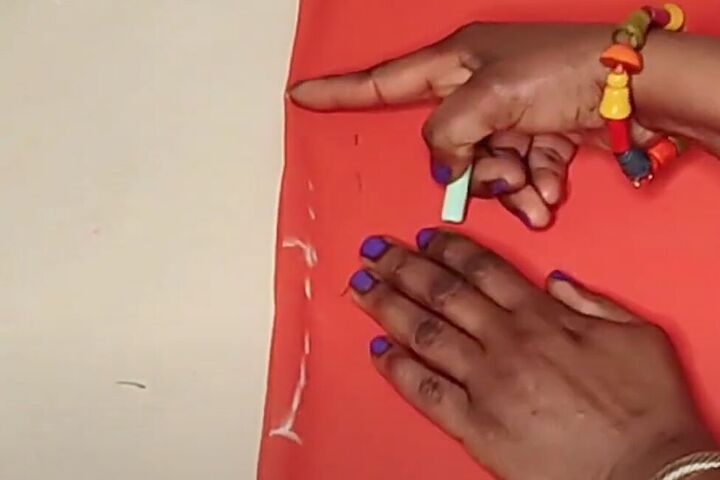
Join those last three marks with a curved line.
Here are all the markings on my fabric.
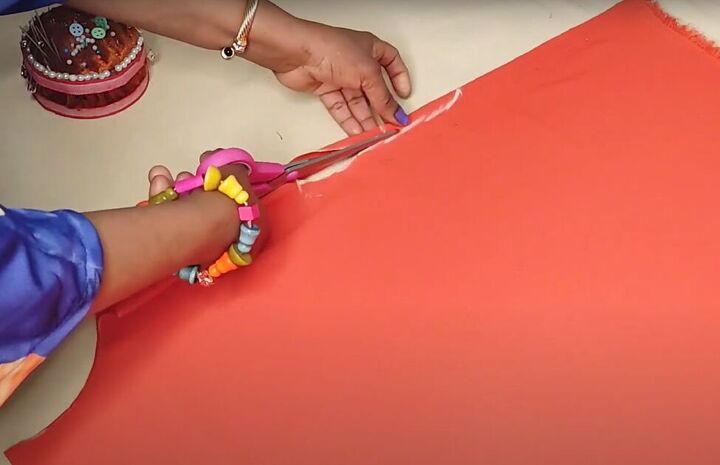
4. Cut your fabric
Cut out the neck hole and the armhole.
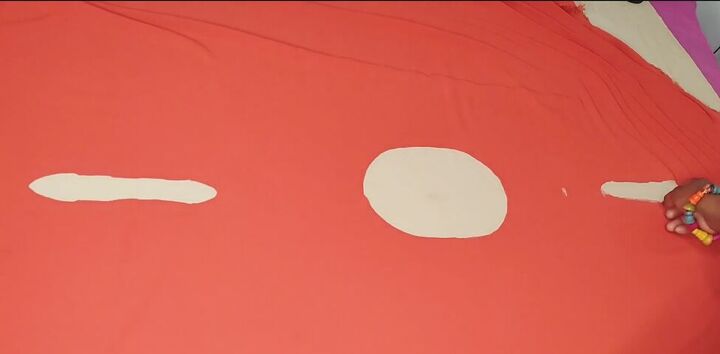
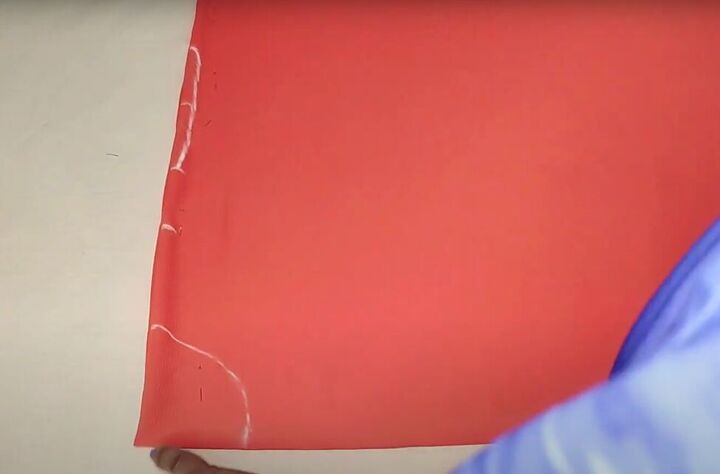
This is how it will look unfolded.
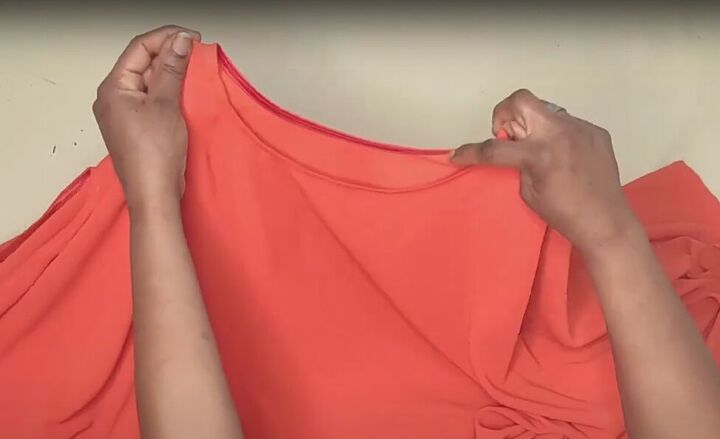
5. Finish the edges
Tape the neck and armholes to finish the edges. Then sew a half-inch seam on all four sides of the top.
Finally, iron all the edges.
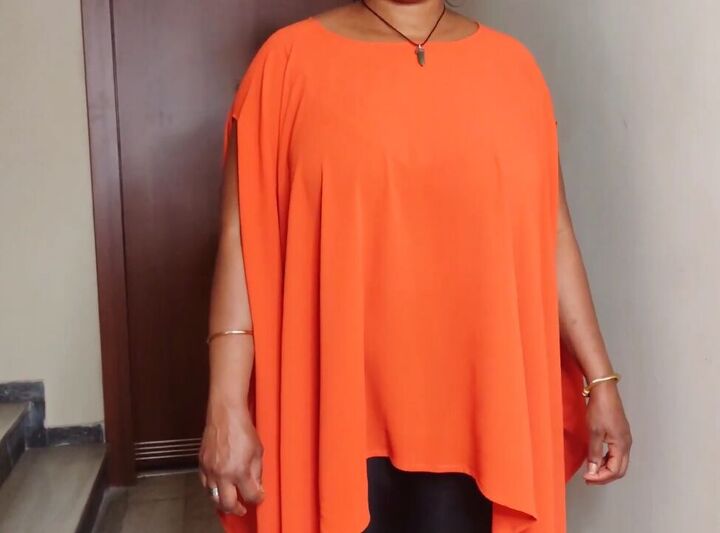
Completed DIY flowy top
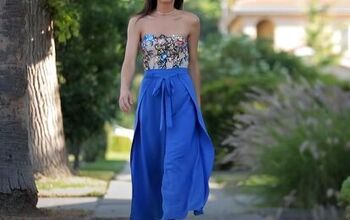
Here is the front of my finished flowy Bubu top.
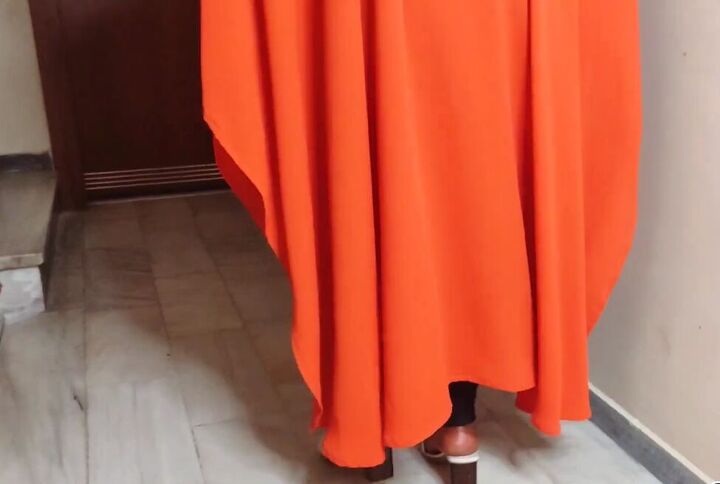
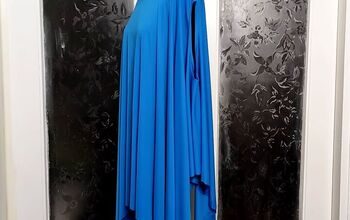
And here is the back of my flowy top.
It was so simple to make but looks so elegant! You can rock this beautiful Bubu top with jeans, leggings, or any other piece you want.
Try it yourself and leave a comment to let me know how your DIY flowy Bubu top turned out.
The author may collect a small share of sales from the links on this page.


Comments
Join the conversation