How to DIY a Gorgeous Beaded Bustier Top

This tutorial will show you how to create a stunning custom DIY bustier top for that special wedding or elegant event.
I'll guide you through the process of transforming a store-bought bustier into a one-of-a-kind piece using lace appliques or trims.
Whether you want to match the wedding's color scheme, pay tribute to the bride, or simply stand out in style, this project is the perfect solution.
With some basic sewing skills and creativity, you'll craft a DIY bustier outfit that looks tailored and elegant. So, let's dive in and create a show-stopping look that's uniquely yours.
Tools and materials:
- Store-bought bustier
- Beaded lace appliques or trims of your choice
- Scissors
- Safety pins
- Fabric glue (optional)
- Clear thread
- Sewing needles and pins
- Fabric for the bottom part (optional, if you want to cover the bustier)
- Hooks and eyes or snaps (optional)
- Sewing machine (optional)
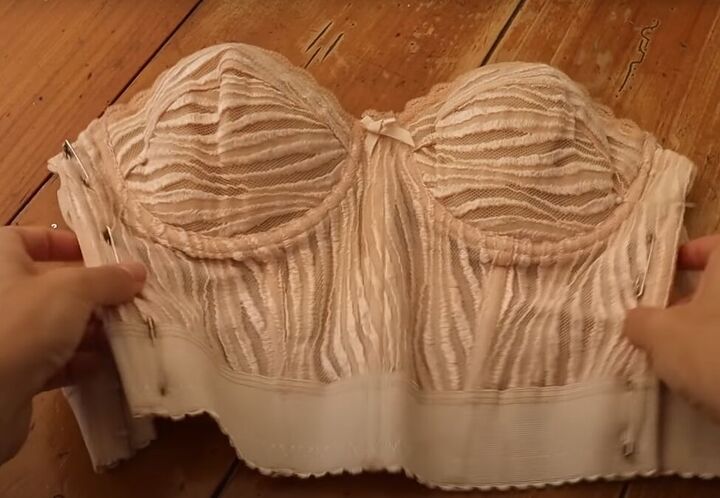
1. Adjust the bustier fit
If your store-bought bustier is a bit large, use safety pins to pin out the excess fabric.
Try on the bustier and stretch it tight to figure out how much you need to take out.

Sew down the overlap to make it fit better. Don’t worry if it’s not a pretty sewing job, no one will see it!
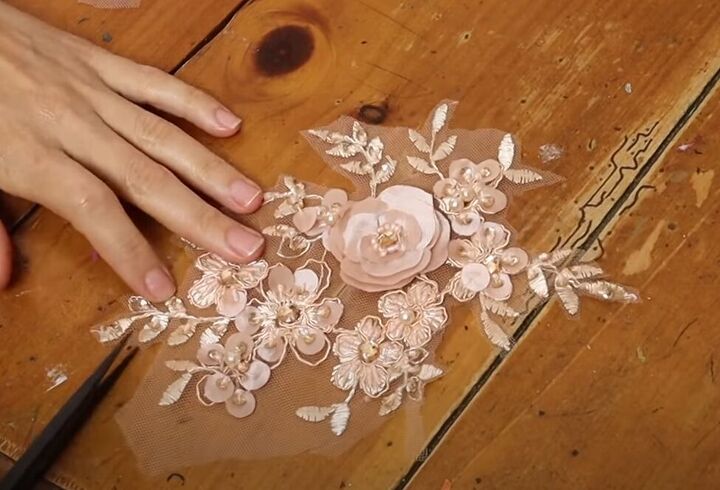
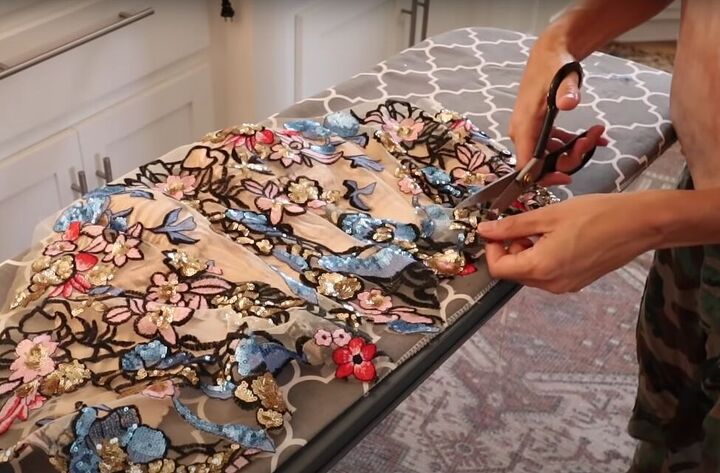
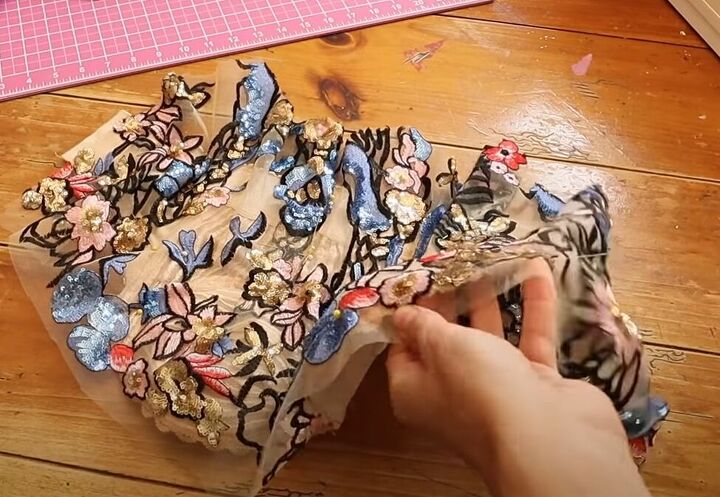
2. Prepare the lace appliques
Cut the trim off the scalloped edge of your chosen lace appliques.
Cut out several appliques from your lace or trim.
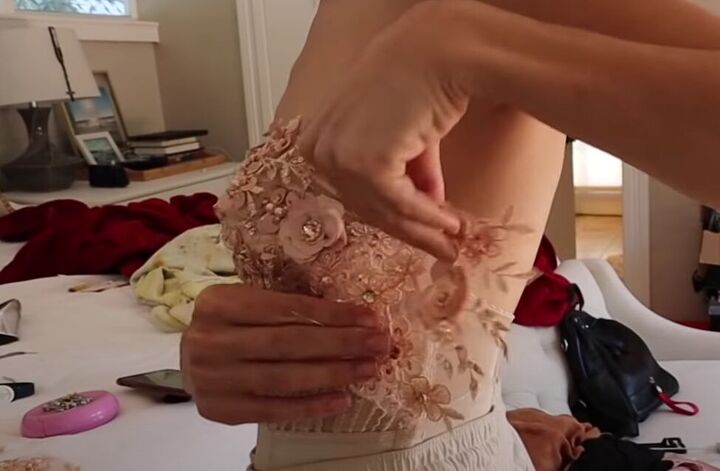
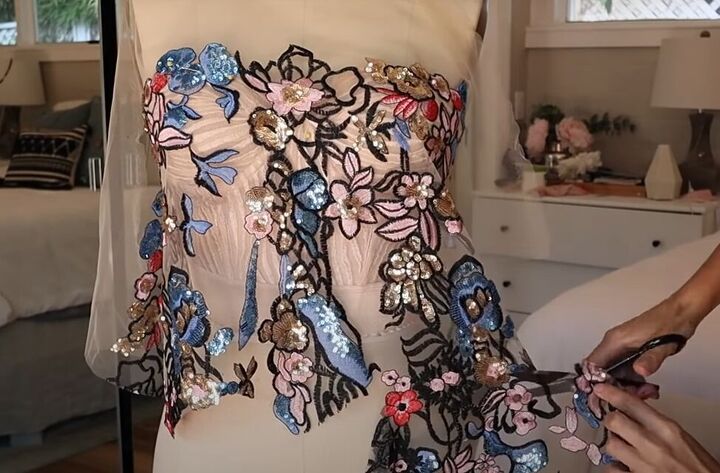
3. Pin the lace appliques to the bustier
Put the bustier on, or if your bustier doesn't stretch, you can do this on a flat surface.
Pin the lace appliques onto the bustier where you think they should go.
Create a balanced and textured look, covering up areas that need it.

Work on the entire bustier until it's filled with appliques.
I decided on a slightly asymmetric vibe for my bustier.
4. Adjust the fit and stretch factor
Ensure the bustier fits you properly. If your bustier stretches, stretch it while pinning the appliques to avoid issues when wearing it.
You might find this easier to do on a form.
For the stretching part, pin some of the appliques, skip a few inches, and repeat the process. This will allow the bustier to stretch while keeping the appliques in place.
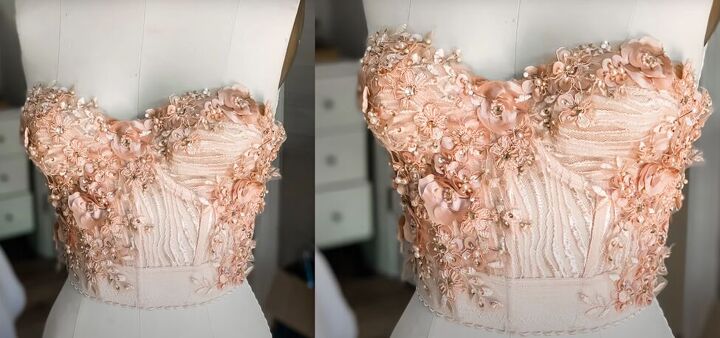
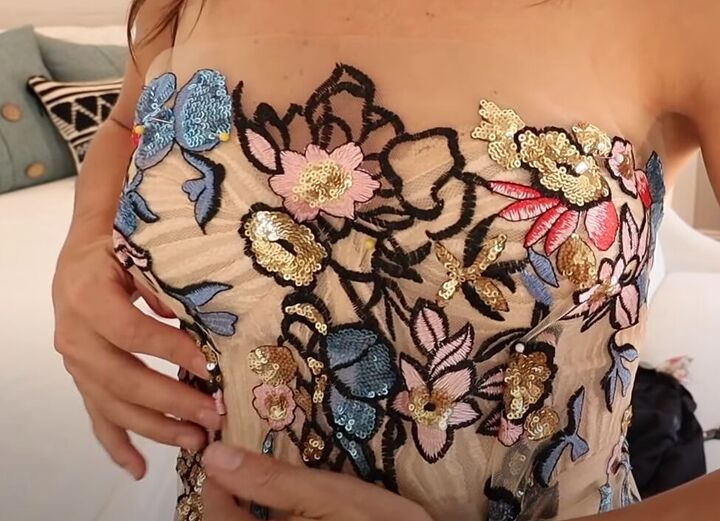
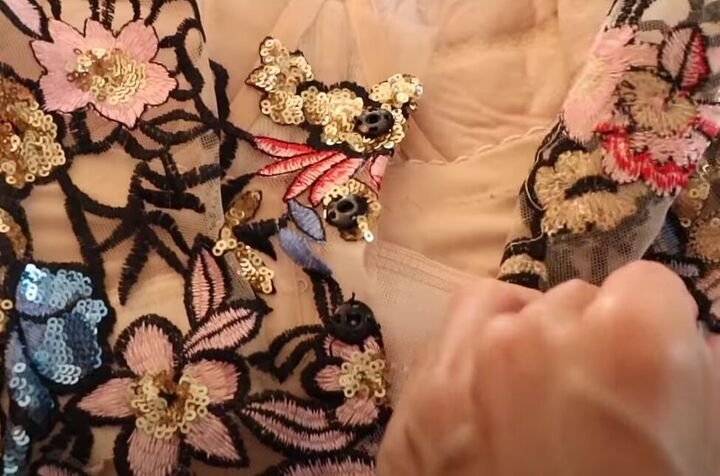
5. Hand-sew the appliques to the bustier
Hand-sew each applique into place using clear thread. Be careful not to sew through the boning or stretchy parts.
Ensure the appliques are securely attached, especially on the stretched parts.
If you have gaps or awkward areas, cut extra pieces from your lace or trim to fill them in.
6. Customize the bustier (optional)
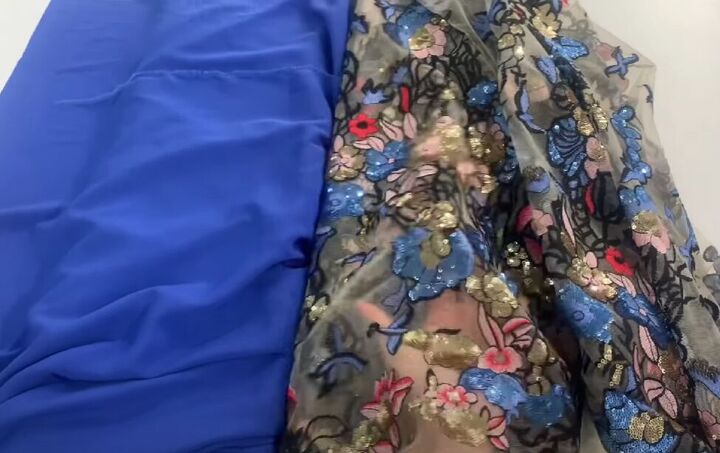
Instead of individual appliques, you can use a length of appliqued fabric.
You will need two yards of fabric to do what I did.
I added this beautiful fabric over my bustier (with no appliques added), and created two pleats in the font.
7. Cut and finish the bustier
Trim the excess fabric from the bottom or cut as desired.
8. Hand-sew the fabric to the bustier
You can hand-sew this to the bustier, or you can glue it. If you choose to use glue, make sure to put the glue behind the appliques in the fabric, and not on any of the clear parts of the tulle.
Of course, you can customize the design to your preference.
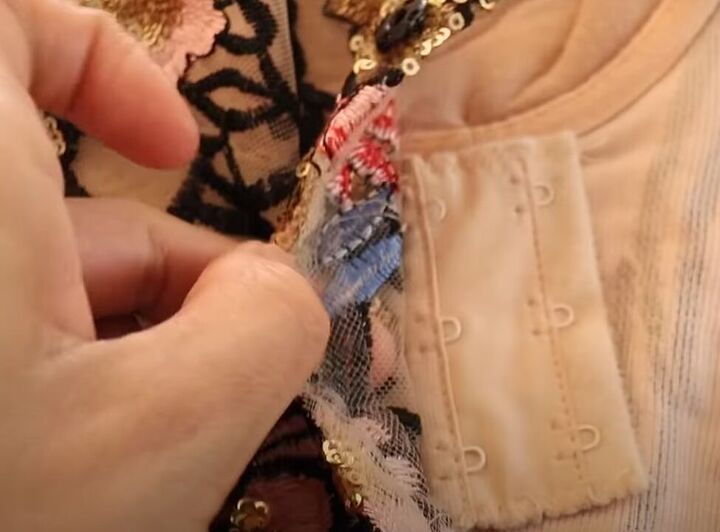
9. Add a closure (optional)
Stop sewing in the fabric or appliques just shy of the bustier hooks, so you can still close the bustier.
Then sew in an extra piece of fabric to make a nice, clean flap at the book, and sew in snaps to create a fabric closure.
10. Create a bottom piece (optional)
If you want to create coordinating wrap pants to go with your custom bustier, check out the video from 11:00 to 11:34.

DIY beaded bustier
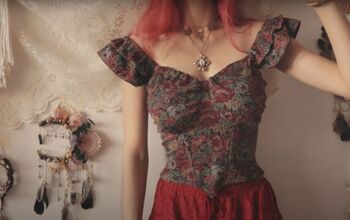
Now put on your custom bustier outfit and enjoy wearing it to the wedding or any special occasion.
That's it! You've created a beautiful custom bustier outfit for a wedding or any elegant event. Be sure to personalize the design to match your style and enjoy your unique creation.
Please leave a comment and tell me about the DIY bustier outfit you made!
The author may collect a small share of sales from the links on this page.


Comments
Join the conversation