How to Sew a Beautiful DIY Butterfly Top With Flowy Tie Sleeves

Follow this tutorial to learn how to make a DIY butterfly top. The wrap ties and butterfly sleeves make it soft and flowy, and you can pair this butterfly top with any bottom piece from your wardrobe. It’s pretty easy to make, so let’s get started.
Tools and materials:
- 100% polyester fabric
- Iron-on interfacing
- Ruler
- Scissors
- Sewing pins
- Thread
- Sewing machine
- Iron
- Plate

1. Cut out your butterfly top
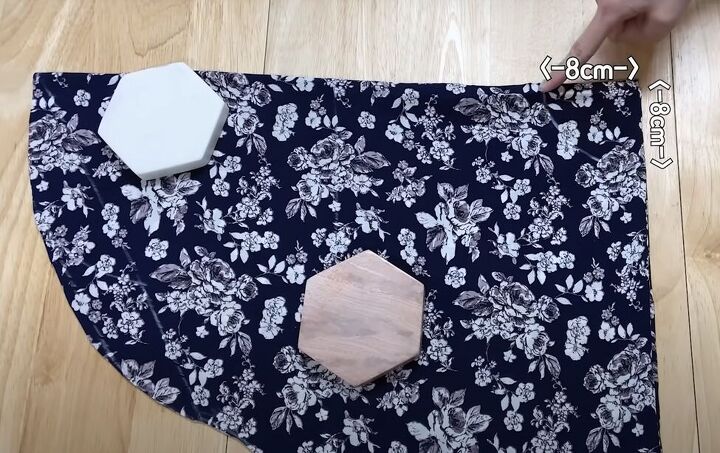
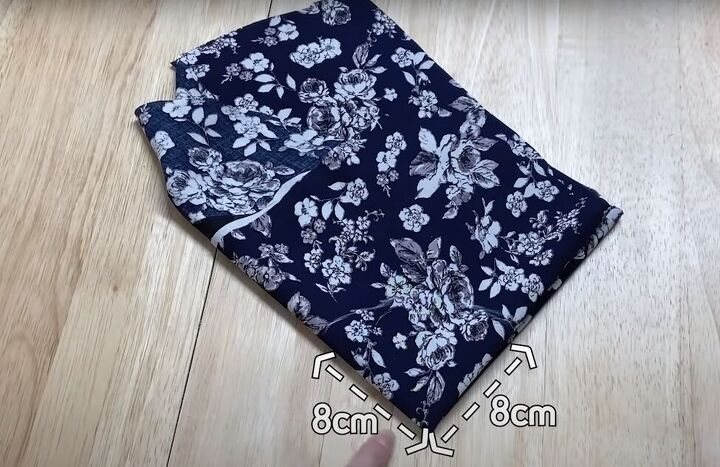
Fold your fabric in half widthwise and then the lengthwise so you have four layers in a square.
Mark 50 centimeters (19.68 inches) from the folded corner along the top fold of your square.
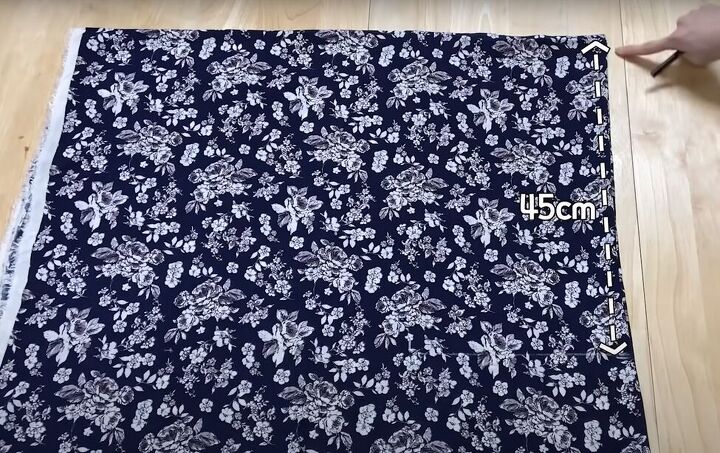
Mark 45 centimeters (17.16 inches) from the folded corner along the side folded edge.
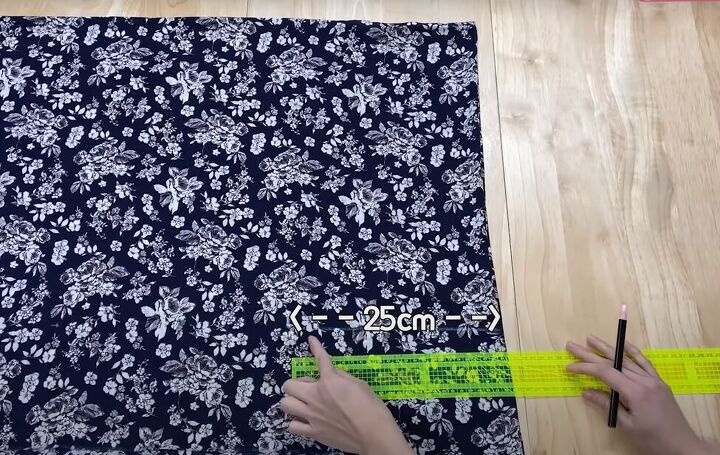
Make a 25-centimeter (9.84-inch) line from the 45-centimeter (17.16-inch) mark into the fabric, parallel to the open edges.
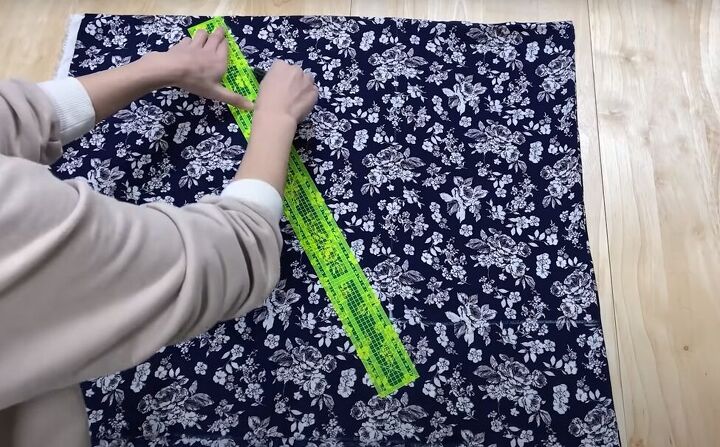
Now draw in a line to connect the 50-centimeter (19.68-inch) mark with the end of the 25-centimeter (9.84-inch) line.
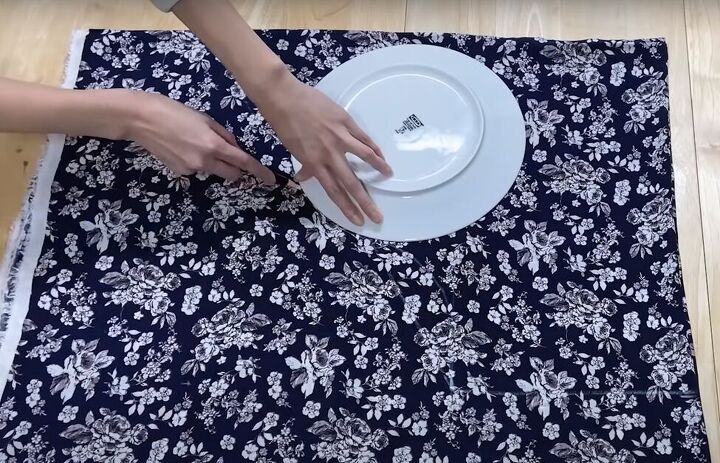
Use a round object (I used an inverted plate) to mark curves at three points along that diagonal line. Watch the video from 0:43 to 0:53 to see the exact placement of these curves.

Cut the fabric along the curved line.
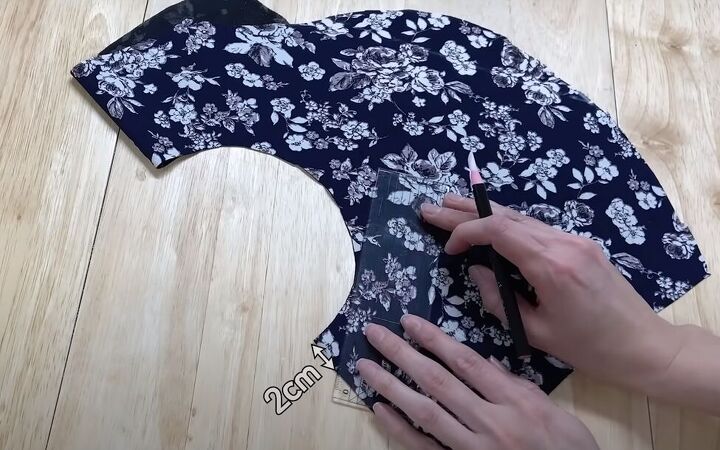
2. Make the neckline
Mark an 8-centimeter (3.15-inch) quarter-circle at the folded corner of the fabric and cut it out. That will be the hole for your neck.
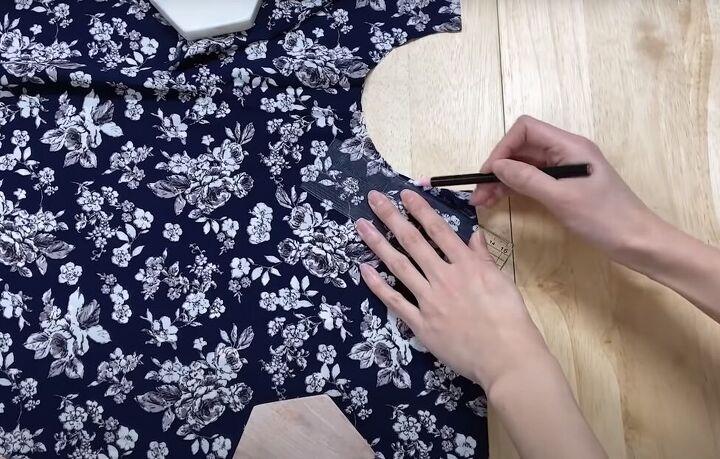
Unfold the fabric once and draw a line starting 2 centimeters (1.78 inches) from the neck on the shoulder, angled down gently to join the side of the neck. Cut out the angle.
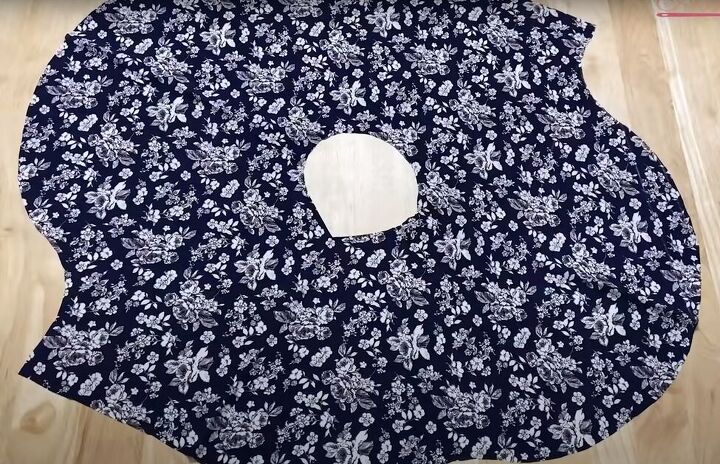
Unfold the fabric completely to reveal the V-neckline of your top.

3. Add neckline interfacing to your butterfly top
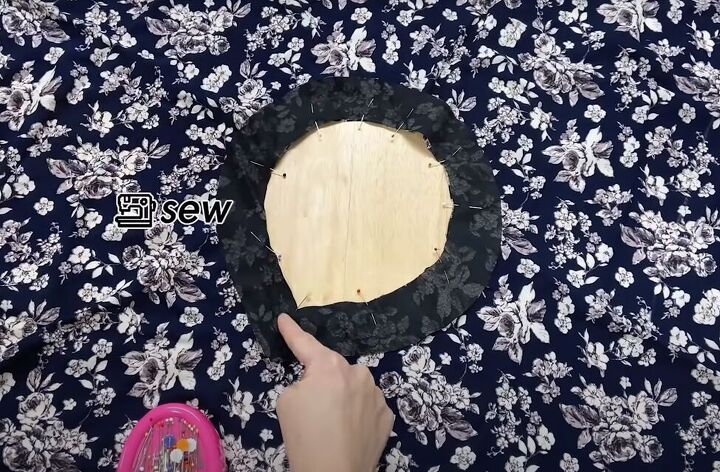
Follow the video from 1:26 to 1:35 to see how I cut the neckline interfacing.
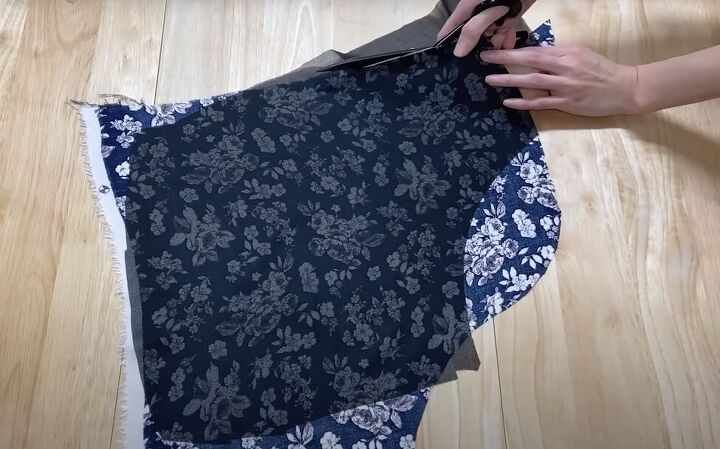
Alternatively, you can cut a 30-centimeter (11.81-inch) square from your leftover fabric and then cut the interfacing to match it.
Iron the interfacing to the wrong side of your leftover fabric.
If you didn’t cut your fabric to a 30-centimeter (11.81-inch) square first, then cut the fabric to the interfacing size on just the straight edges.
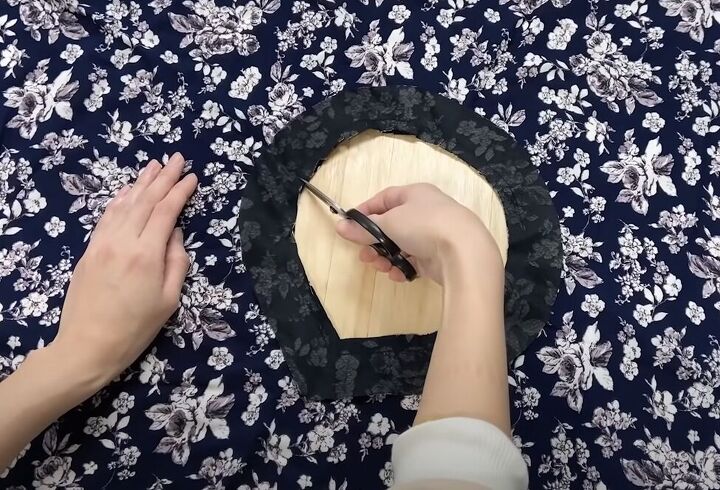
Fold that piece of fabric, with the interfacing, into quarters and mark an 8-centimeter (3.15-inch) quarter-circle at the folded point. Cut out that quarter circle.
Unfold the interfacing piece once and make the same 2-centimeter (0.79-inch) angle cut that you did for the main piece.
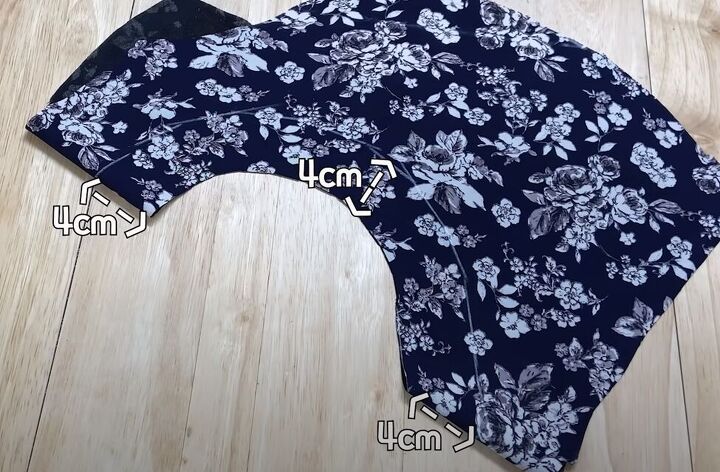
Mark in and cut out 4 centimeters (1.57 inches) from the neckline on the front of the interfacing fabric piece.
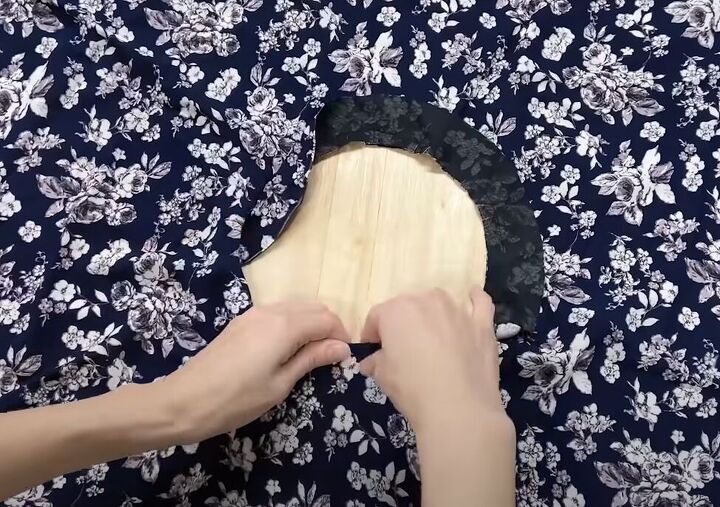
Here is what your completed neckline facing should look like.
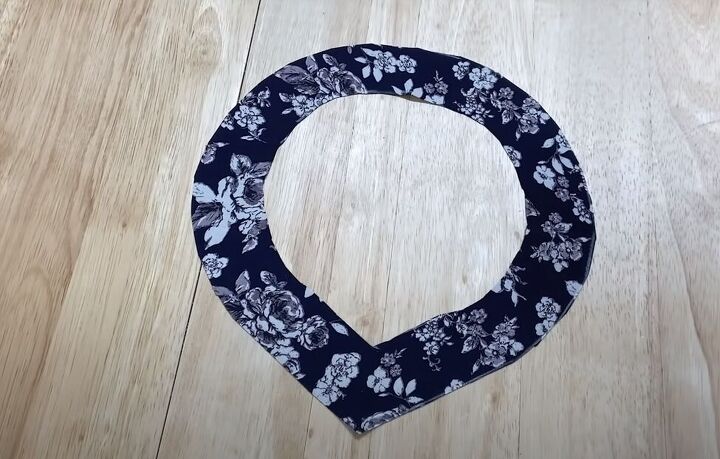
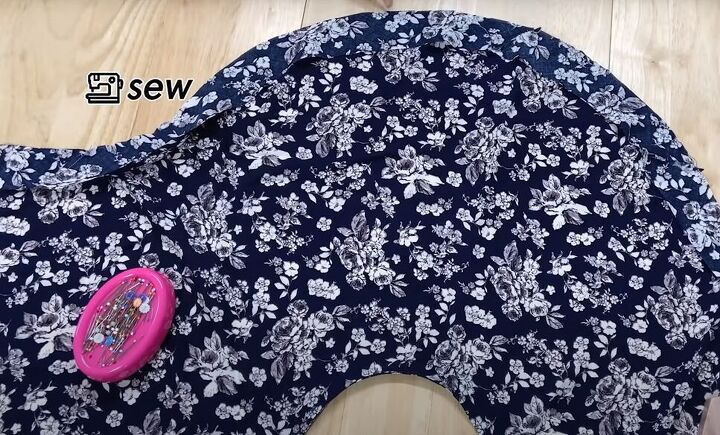
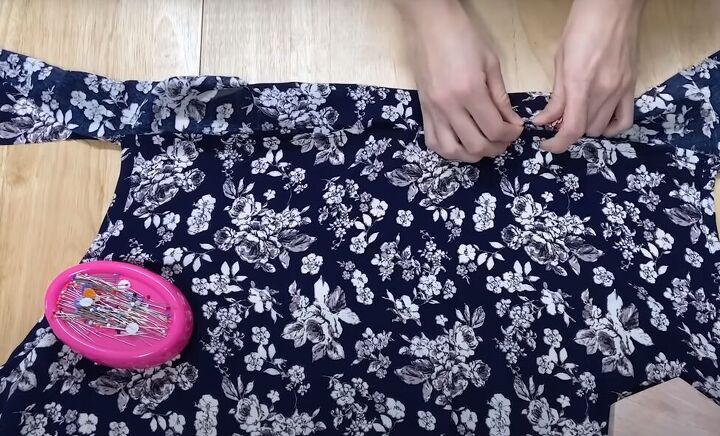
With right sides together, pin the facing to the neckline of the top and then sew it in place along the inside edge.
Snip into the seam allowance all the way around so the facing will lay smoothly inside your top.
Fold the interfacing to the inside of your top.
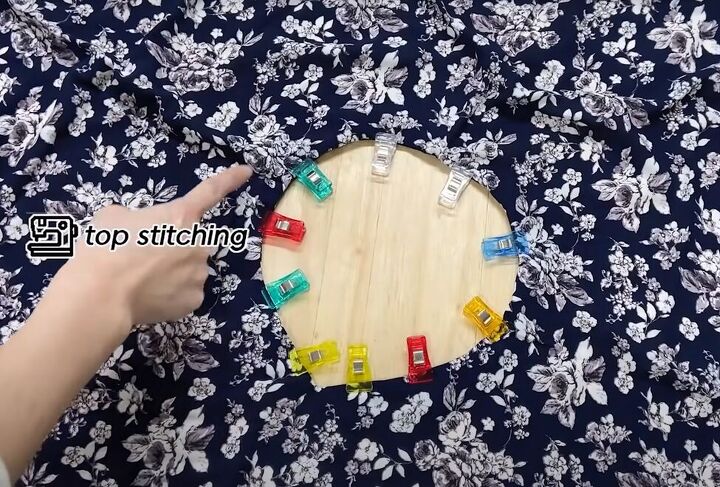
Pin it in place and topstitch it around the neckline edge.
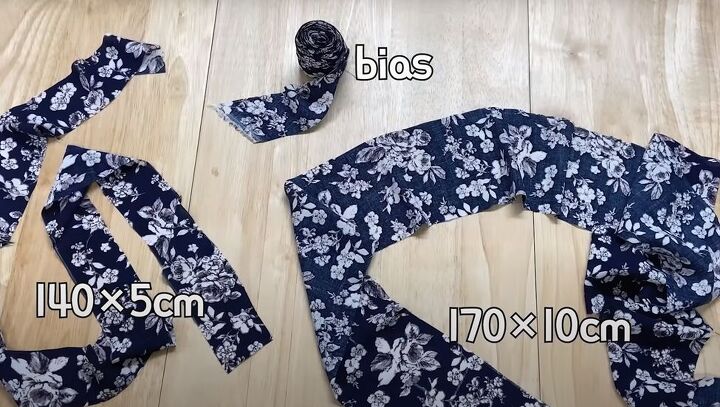
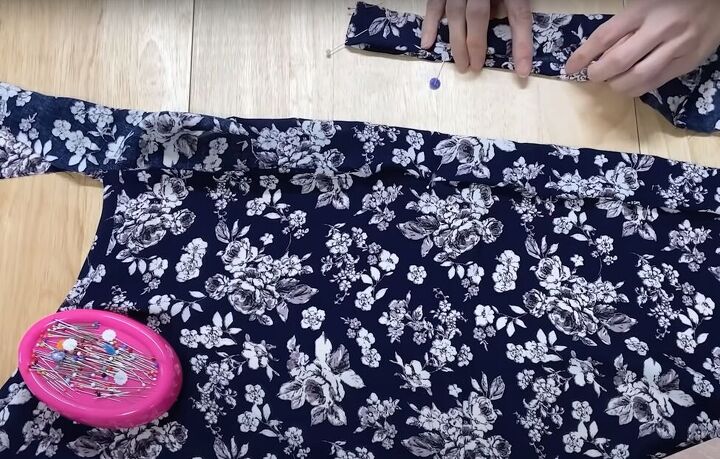
4. Cut the fabric bias tape
Cut 2 strips of fabric, one measuring 140 x 5 centimeters (55.1 x 1.9 inches) and the other one measuring 170 x 10 centimeters (66.9 x 3.9 inches). Cut the rest of your fabric into a long length of bias tape.
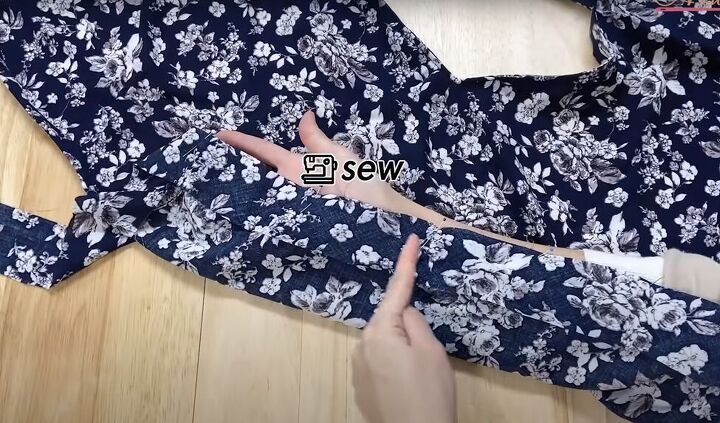
With the right sides together, sew one strip of bias tape along each side of your top.
Tip: if you look for the V at the front of the neckline, you’ll be able to tell where the front, back, and sides of your top are.
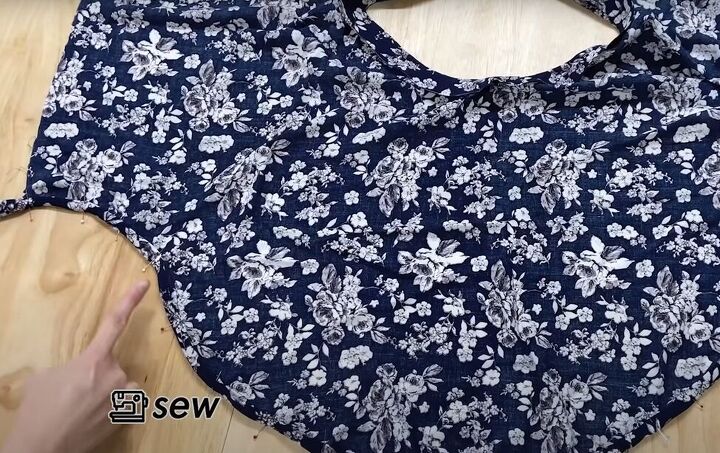
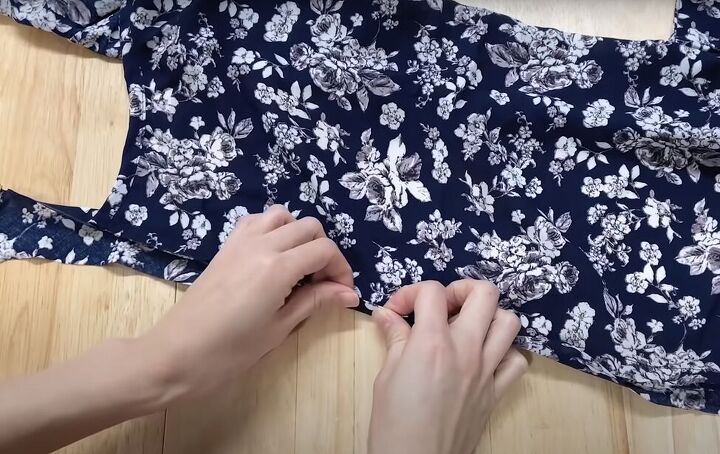
Turn the bias tapes in, then fold them up from the outer edge twice. Pin them in place and then sew.
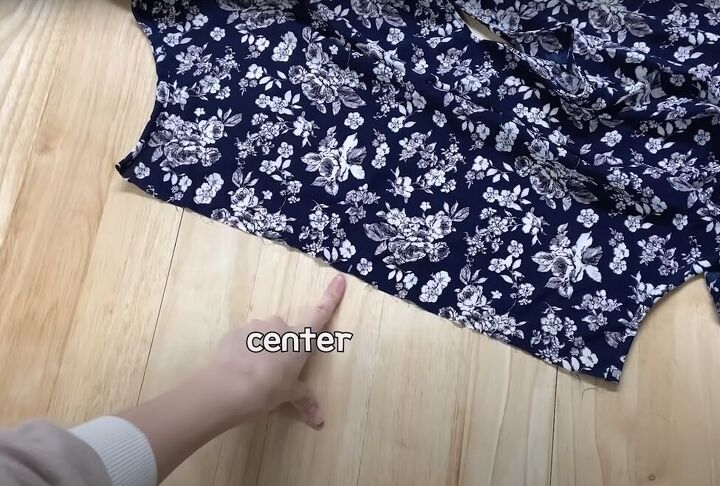
Using the V in the neckline as a guide, mark the center of your top at the bottom of the front and back.
5. Make and attach ties to your butterfly top
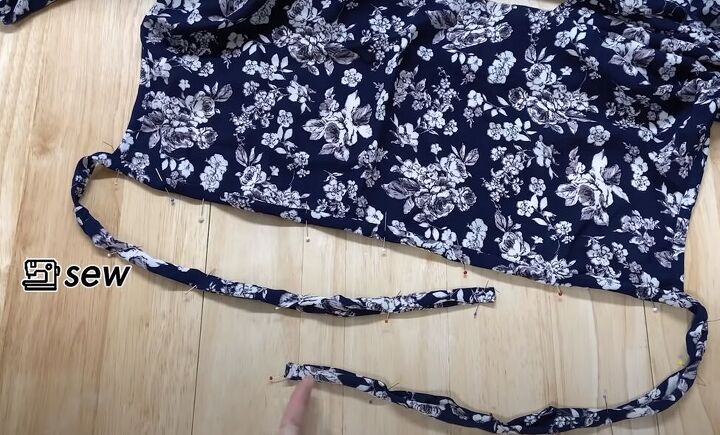
With the right sides together, pin the 140 x 5-centimeter (55.1 x 1.9-inch) strip to the bottom of the front of your top, aligning the center of the strip to the center of the front of the top.
Sew the bias in place along the bottom edge.
Fold in and pin those strips of bias just as you did for the side pieces.
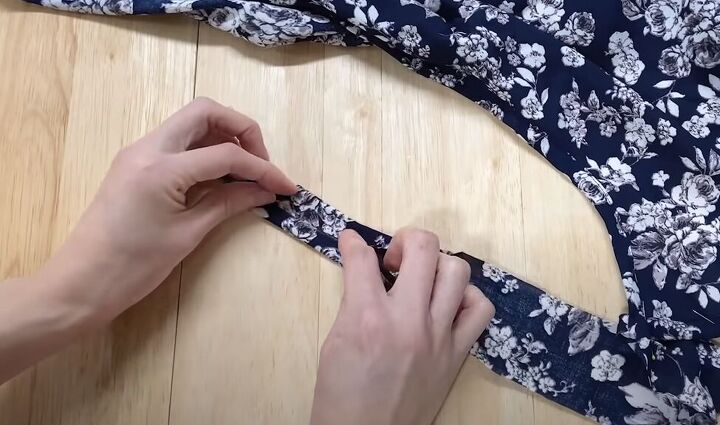
For the ties that extend beyond the top, fold each side into the middle and then fold it in half.
Sew the ties at the ends and along the open edge.
With right sides facing, pin the 170 x 10-centimeter (66.9 x 3.9-inch) strip to the bottom of the back of your top on the wrong side. Then fold the strip in half lengthwise. Fold under the edge and pin that edge to the right side of your fabric.
For the ties that extend beyond the ends of your top, fold in both edges and then fold the strip in half.
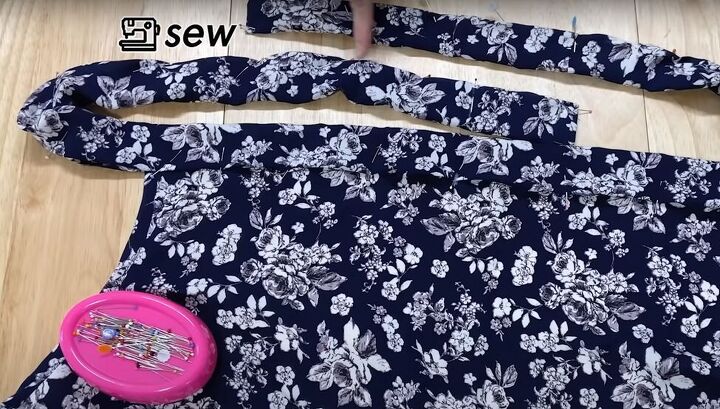
For the front and back ties, sew both ends of the ties closed and sew the ties down along the open long edge.
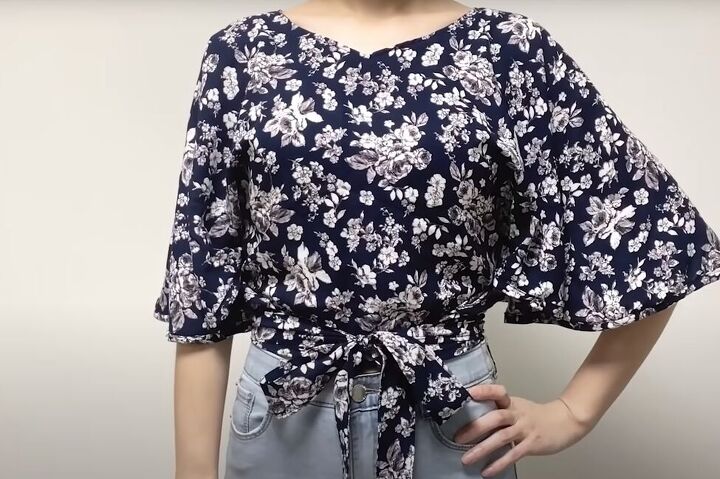
DIY butterfly top tutorial
Wrap the ties from the back to the front and make a bow. And now you’ve got a beautiful, light, flowy butterfly sleeve top. I hope you try making this and let me know, in the comments, how yours turned out.
The author may collect a small share of sales from the links on this page.


Comments
Join the conversation
I LOVE this design! Thank you for the tutorial. I have a question, though. I don't do anything with 100% polyester fabric- though I will use a blend. Is there some reason you specified polyester? And, is it stretch or woven polyester. That was 2 questions! Thanks 😊
Best,
April Iris McLeod
It is a great idea! I also do not use polyester but I think cotton would be fine and much cooler-I am in Florida- so it is hot most of the time! Thank you for this pattern!