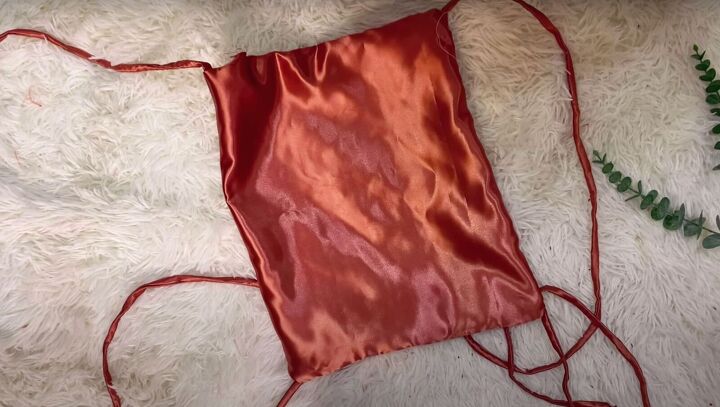
2 Sexy, Backless DIY Satin Tops You Can Make Quickly & Easily

This season, gorgeous satin and silky tops are all the rage! These tops are beautiful, trendy, and easy to make! In fact, we’ll show you two sewing patterns for tank tops using satin!
Let’s get starting making your own pretty DIY satin crop top.
Tools and materials:
- 1 yard of fabric that drapes well
- Sewing machine
- Scissors
- Safety pins/pins
- Measuring tape
- Iron
- Tailor’s chalk
DIY satin crop top 1
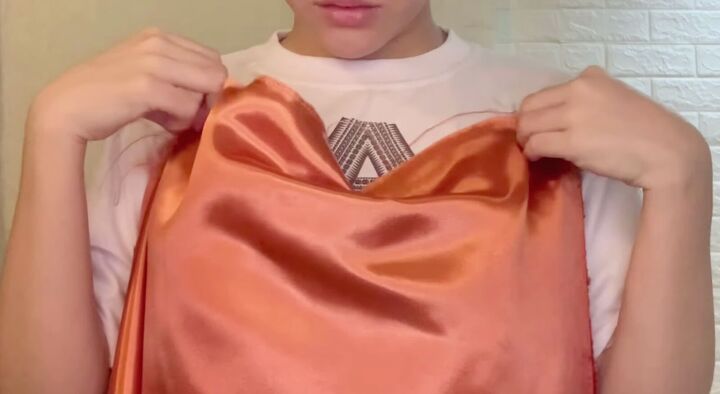
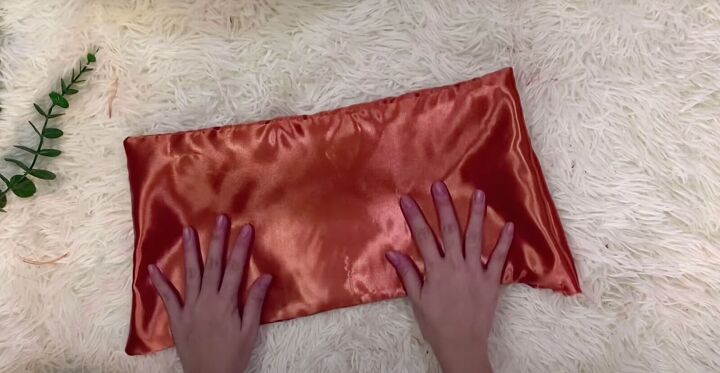
1. Measure yourself
Measure the length of the fabric against you by holding it up at the corners at your shoulders. The length depends on what you want. Once you’ve determined what’s best, mark the fabric.
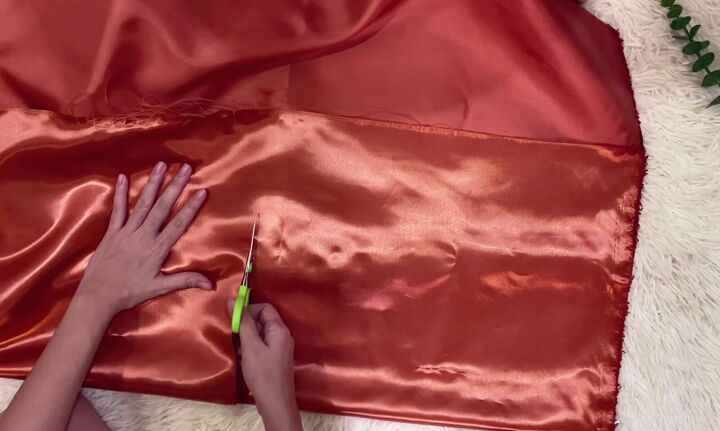
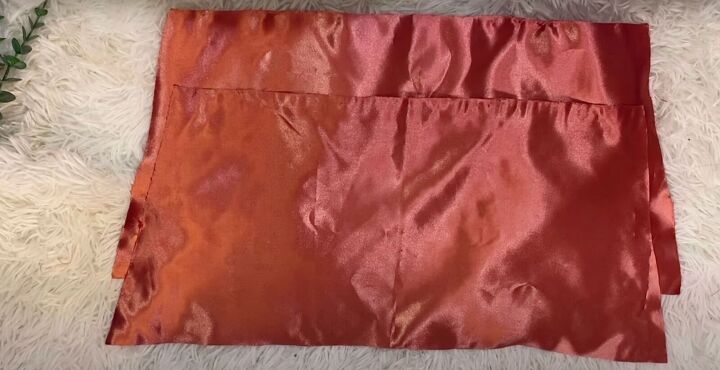
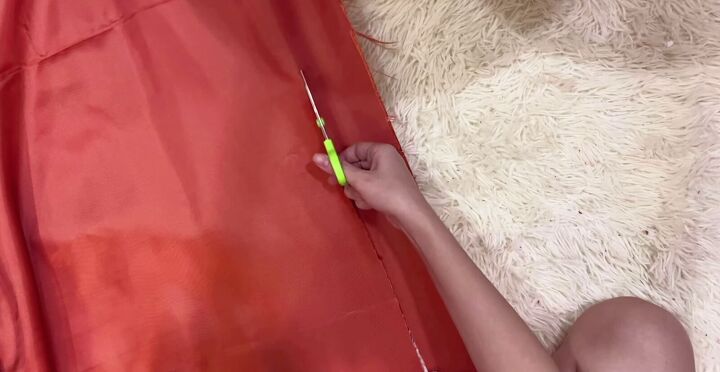
2. Make the bodice
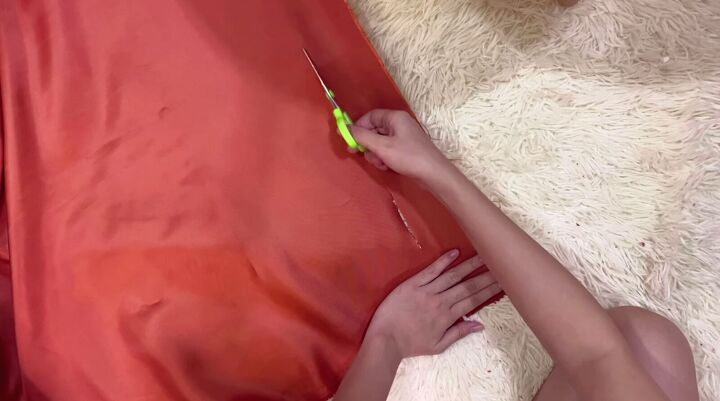
Fold the fabric over to your desired measurement and cut. Trim any selvage or fraying on the fabric for a nice clean finish.
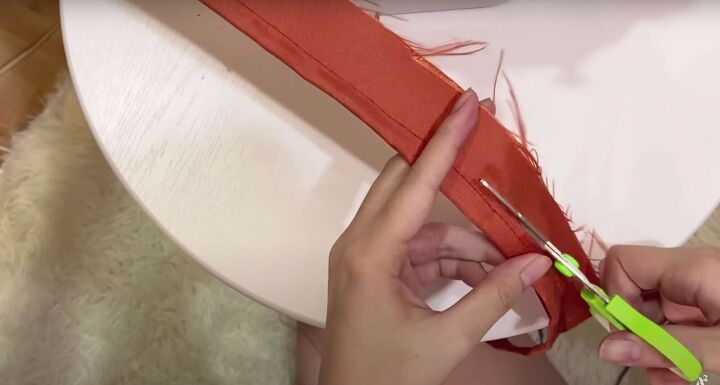
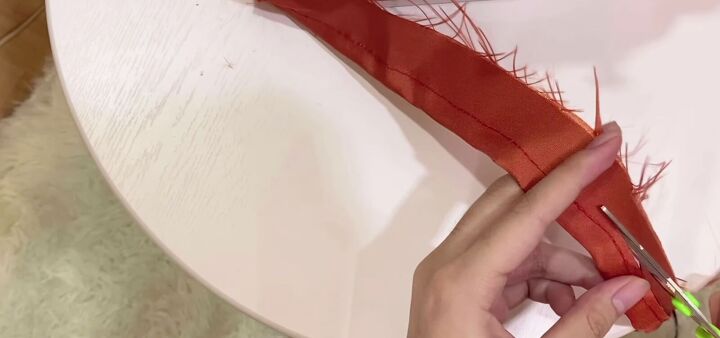
3. Make the straps
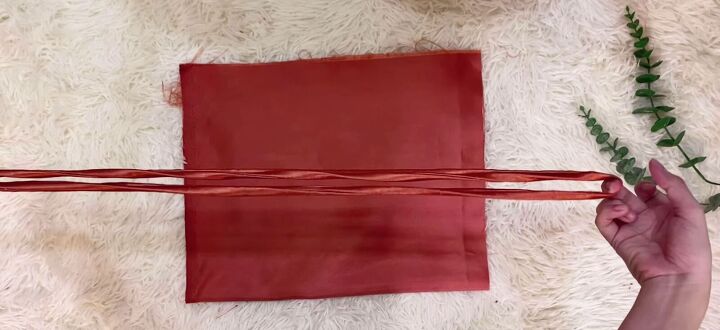
Measure 2 inches unfolded (1 inch folded) of the fabric along the length of the yard. Cut this very long piece.
Fold the fabric in half, right sides together. Pin to keep the fabric from slipping. Sew along the length, close to the folded edge for a narrow strap. Keep the short ends open.
Trim the excess fabric. Insert a safety pin or a loop turner (if you have one) to turn the strap inside out.
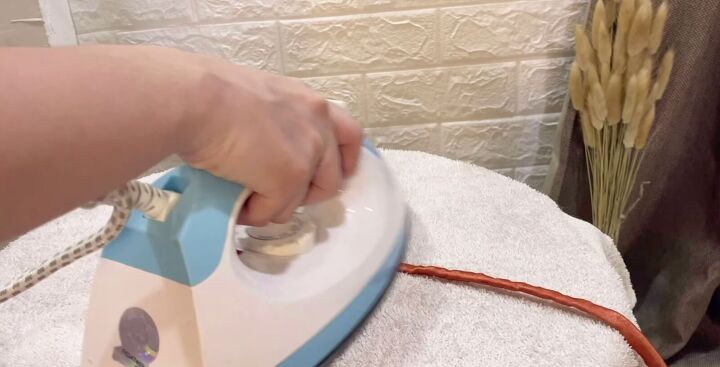
Give the strap a good pressing with the iron.
4. Attach the straps
Fold the long strap in half and then in half again to create 2 loops.
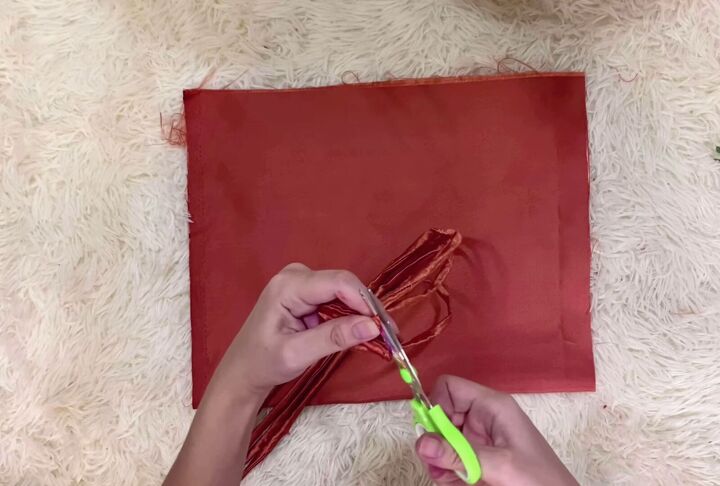
Cut at the top to create 4 equal-sized straps. Place the fabric so the right side is facing up.

Lay the straps at each of the corners and cross them like an X. Then fold the the fabric in half so the straps are sandwiched in.
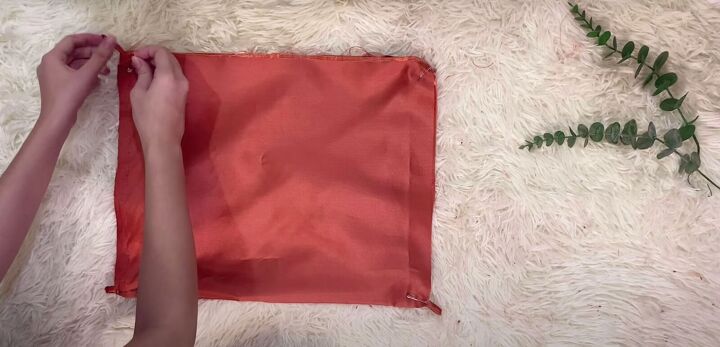
Clip or pin the straps and the fabric in place. Sew all around the 3 edges, with a ¼-inch seam allowance, leaving a 2-inch space unsewn. Flip it inside out through the unsewn space.
You’ll see all the 4 straps in place.

Tie the top straps around your neck and the bottom straps at your desired length in the back. It’s a perfect top!
DIY satin crop top 2
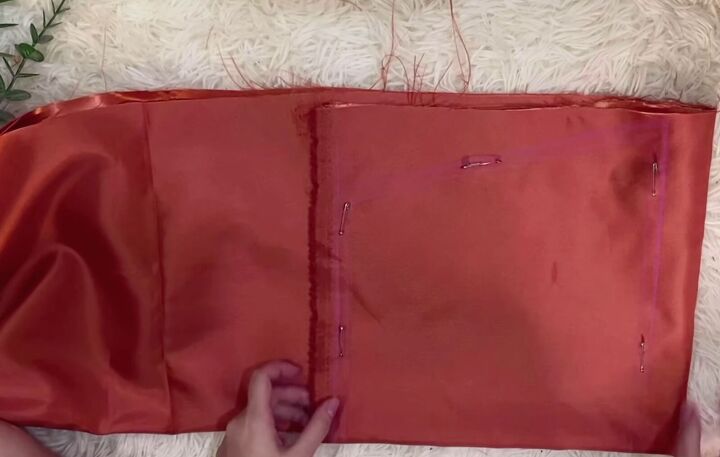
1. Make the pattern
Fold the fabric in half lengthwise. Measure your bust to determine the length and width. Then, fold from the outer corner inward to match those measurements.
Trace a perpendicular line. Use the tailor’s chalk to draw the pattern. Leave a ¼-inch seam allowance on all sides. Draw 2 straight lines and one slight diagonal line at the open edge of the fabric.
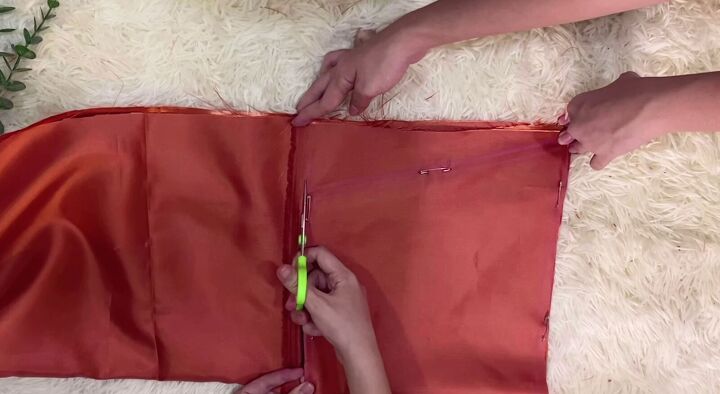
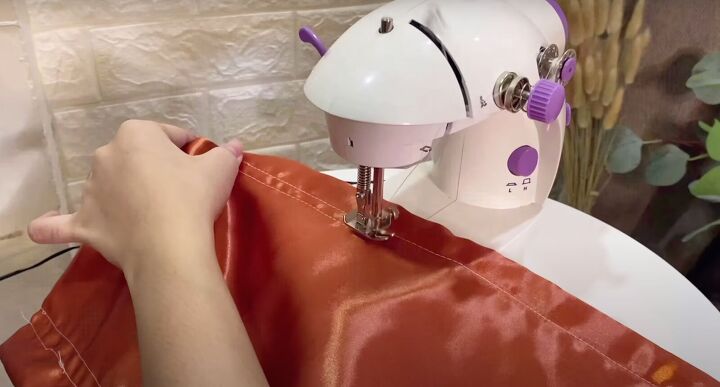
2. Sew the top
Fold the fabric twice keeping the pattern intact. Pin through all four layers.
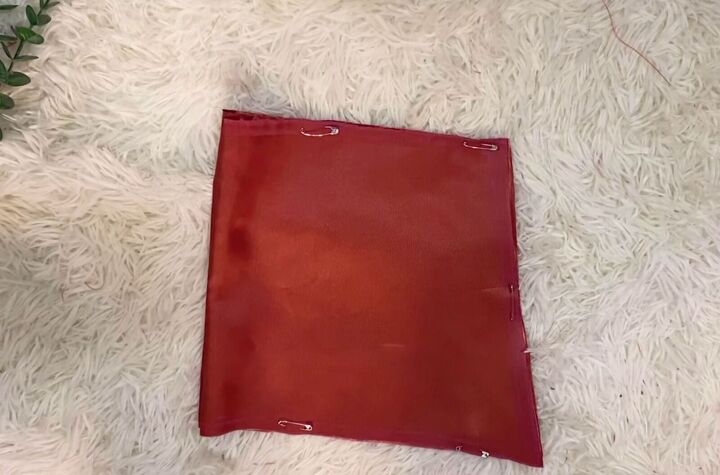
Cut out the piece.
Take out the pins. Open up the fabric. You’ll have 2 symmetrical trapezoid shapes. Place them right sides together.
Sew using a straight stitch, with a ¼-inch seam allowance, leaving a small space unsewn to flip it inside out. Once it’s flipped inside out, iron the piece well.
3. Make the straps
Measure 2 inches along the length of the fabric. Cut out the piece. Fold in half, right sides together. Pin in place. Sew close to the close to make a narrow strap.
Trim the excess seam allowance. Use a safety pin or other turning tool to flip the strap inside out. You should have a very long strap!
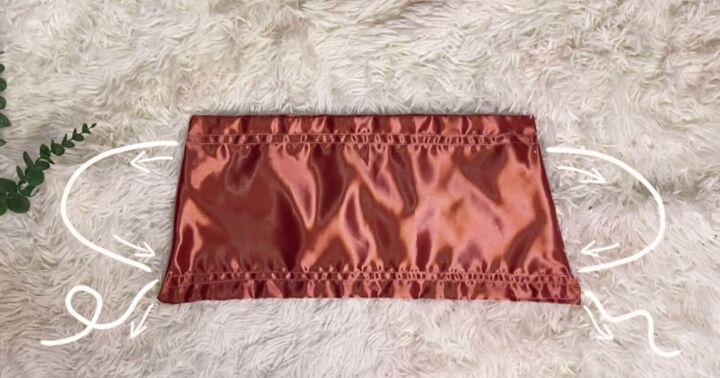
4. Make the channels
Measure about 1½ inches down from the very top of the fabric. Sew a straight stitch across the fabric. Then sew about ¼ to ½ inch down from that seam to create a channel or tunnel for the strap.
From the bottom of the top, measure 1½ inches upward. Sew a straight stitch across and follow the same technique to make a second channel.

Open the side seams right at both channels on both sides. Attach a safety pin to the strap and feed the very long strap through both channels.

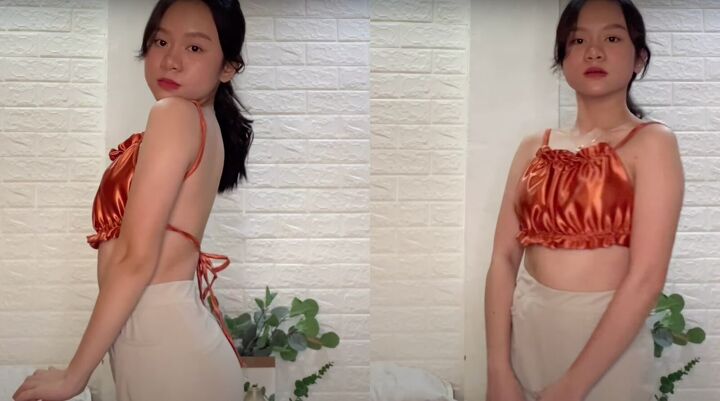
Place your arms through the two loops and tie it in the back. You’re done!

DIY satin crop tops tutorial
There you have it! Two beautiful DIY satin tops for you to wear anywhere! Please let us know in the comments which one is your favorite.
Let us know if you made either or both of them and what colors you chose. We love hearing from you!
The author may collect a small share of sales from the links on this page.


Comments
Join the conversation
I like the 1st top, on the right. Cute idea. Can work with granddaughters as a teachable project. Thanks