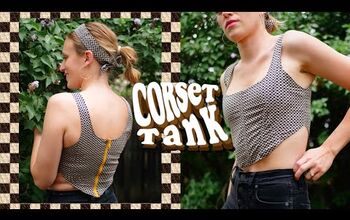
How to Sew a Corset Top

In this tutorial, I’ll show you how to sew a corset top. The top has a shirred back, and I’ll also show you how you can adjust it to make a lace-up back with loops. Let's get started!
Tools and materials:
- Pattern
- Scissors
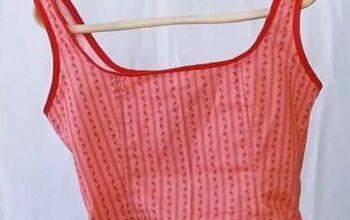
- 1-meter fabric
- 1-meter lining fabric
- Interfacing
- Loopturner/safety pin
- Thread nippers
- Sewing machine
- Iron
- Pins
- Fabric marker
- 2-3 meters elastic
- Ribbon
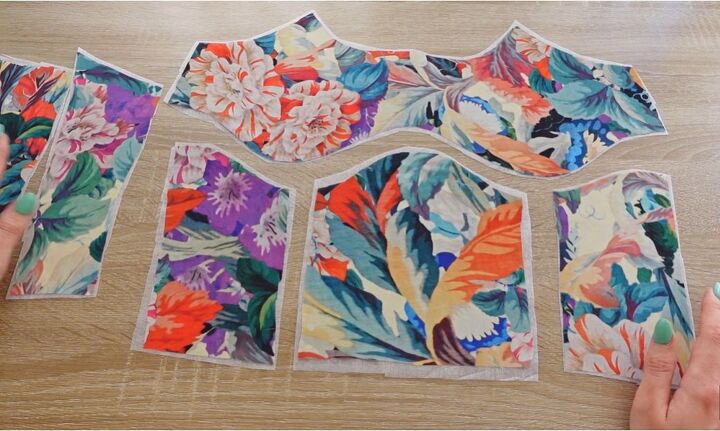
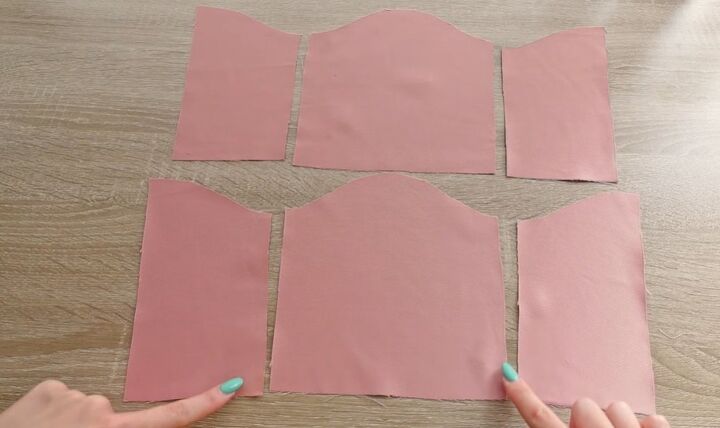
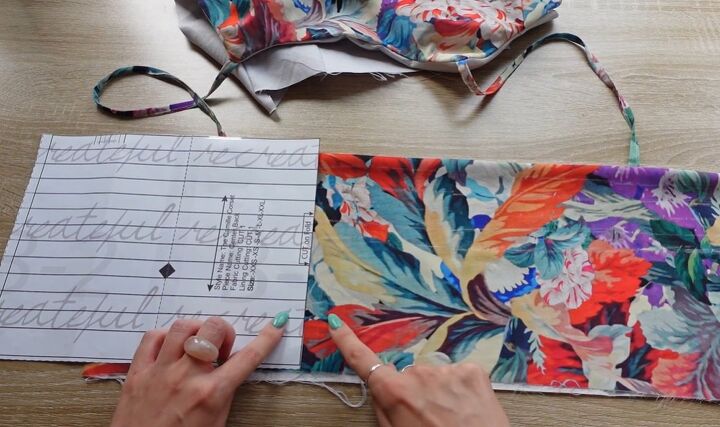
1. Cut the pattern
Print out the pattern at 100% scale. Then assemble it without any gaps between the pattern lines.
Trace the patterns onto your fabric and cut it out (it includes seam allowance). Make sure to cut the front bust piece and front centerpiece on a fold.
If you are working with a really light fabric, I recommend ironing some interfacing on to give the pieces more stability.
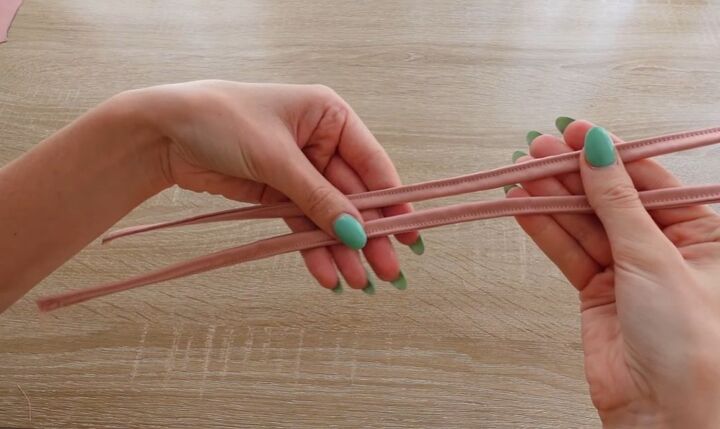
2. Sew the straps
Fold the straps in half and sew along the entire edge.
Then use a loop turner or safety pin to turn them right sides out.
When done, topstitch the strap down.

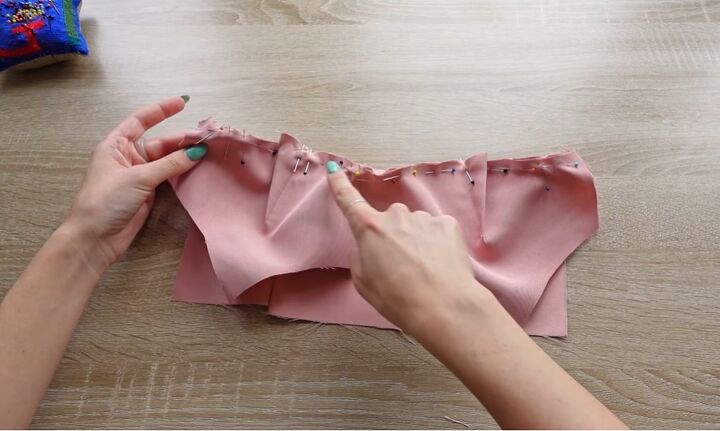
3. Mark and sew the darts
Mark the darts onto both front bust pieces.
First, mark the peak of the dart onto the fabric and then mark the sides of the dart and connect them with the peak.
Pin the dart in place, making sure you align both lines with each other, and then sew along the dart.
Then, iron the darts so that they lay flat. You want to iron the fabric after each stage of the process so that the fabric is flat before you continue.
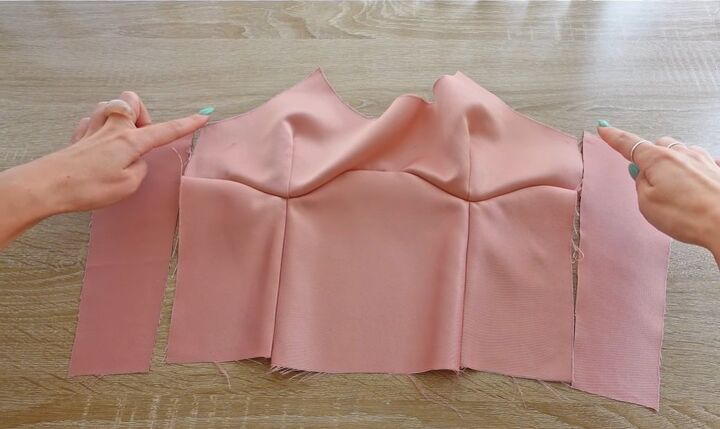
4. Sew the front pieces
Sew the front side seams by sewing the front and side pieces right sides together.
To connect the bust piece to the other front pieces, fold both pieces in half and mark the middle with a marker.
Then align those markings and pin the front pieces together exactly with the middles of both pieces touching.
From here, pin outwards to the sides, slightly easing the fabric along those curvy lines.
5. Sew the edge
Proceed to sew along the edge. Like with any curved seam, we need to clip the seam allowance to allow the fabric to lay nice and flat.
Repeat all of these steps for the lining fabric.
6. Attach the back pieces
Attach the side back pieces to the top by sewing them with the right sides together.
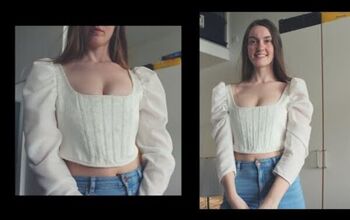
If you are making the lace-up version, you would now also attach the remaining back pieces as well.
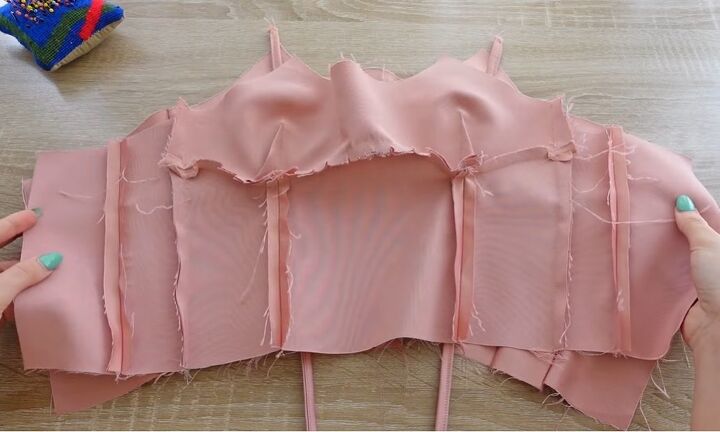
7. Attach the straps to the front
For the shirred back and the lace-up back, the next step is to attach the straps to the top by sandwiching it between the lining and the fashion fabric. Make sure the stitching is pointing inwards.
Place the lining layer on top and pin all along the top seam. Then stitch this in place, and clip the seam allowance of the curvy edges. Turn the top right side out.
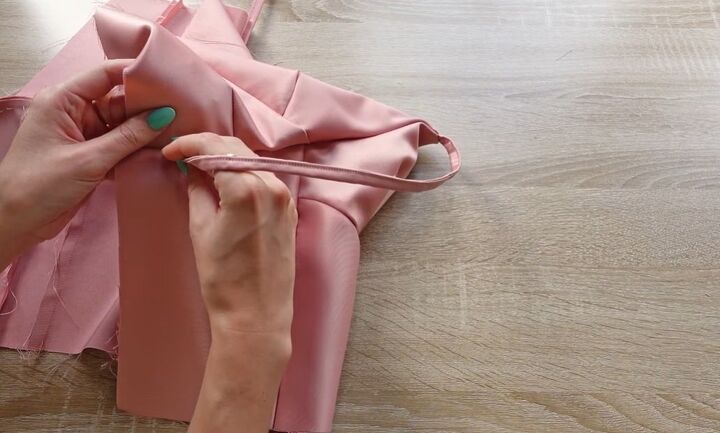
8. Attach the straps to the back
For the lace-up back, you can already attach the straps to the back at this stage.
Seam-rip the stitching along the top edge of the center back piece right in the middle. Once it's sandwiched between the layer, close the gap.
For the shirred back, you can now work on the back pieces. Mark the strap notch from the pattern onto the fabric pieces.
Then, sandwich the other end of the straps between the fashion and lining fabric, making sure they are not twisted.
Pin the straps down and then close the entire top edge of the center back piece.
10. Create the channels
To create the shirred back, you will need six bits of elastic which are about 1cm wide. To determine the length, measure under your bust and halve that measurement.
The top row of the pattern is the seam allowance, so the second row down is where we start to insert the elastic. Mark the channels for the elastic onto the back piece.
Use the pattern as guidance and take the seam allowance into account. Then topstitch 11 rows of stitching through the outer and lining fabric, which will leave you with a quilted back piece.
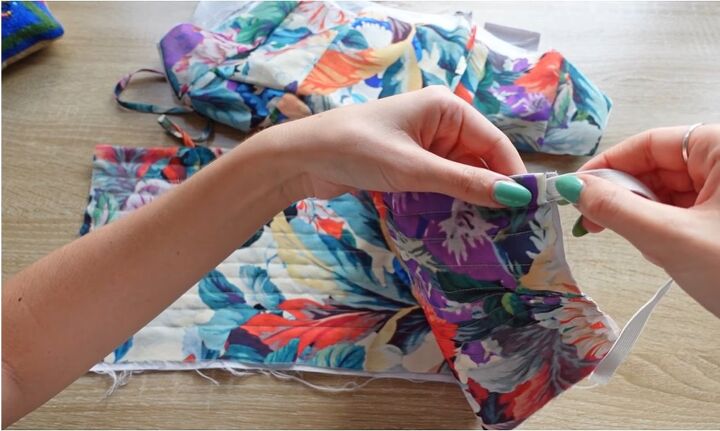
11. Feed in the elastic
Next, start feeding the elastic through the channels using a safety pin.
Be sure to pin the elastic down at either end, so it stays in place. Do this for all of the pieces of elastic but skip a channel each time.
When done, secure the elastics on the sides by stitching along the side of the back piece.
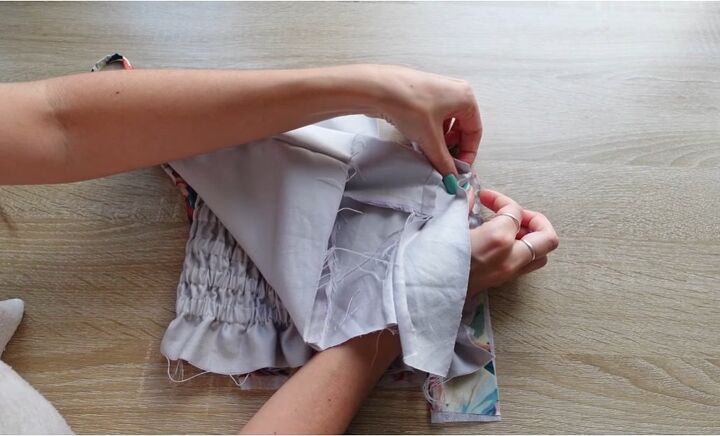
12. Attach the front and back pieces
Make sure that the straps are straight, then close the side seams of the top by folding the front piece over the back piece with the right sides facing.
Then, sew this shut.
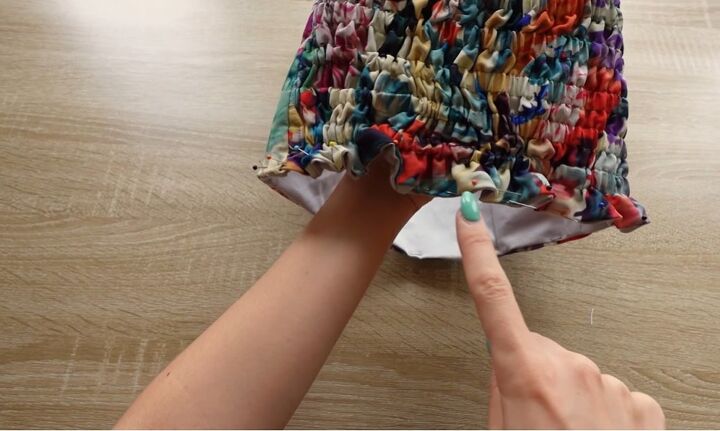
13. Hem the bottom
Fold the raw edges inside the top and then top stitch all around the top.
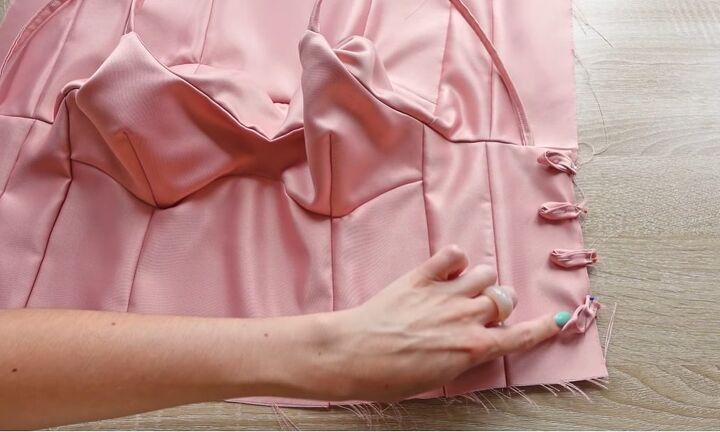
14. Make loops and attach to top
Cut eight small rectangles of about 6x4cm. Then fold them in half and sew them right sides together.
When done, turn them right sides out and topstitch the loops. Attach the loops to the top by folding them in half and then pinning them to one side of the back and top stitching it down.
Then, fold the other side of the top over and close the seam by sewing along the edge.
Clip the corner of the seam allowance and turn the top right side out.
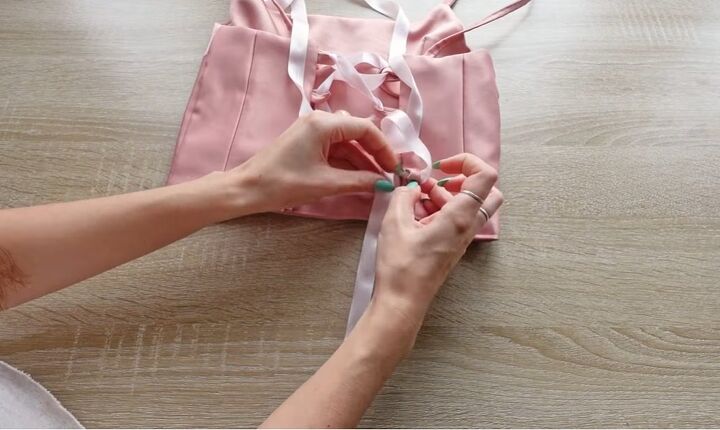
15. Add the ribbon
Finish by feeding the ribbon through the loops.
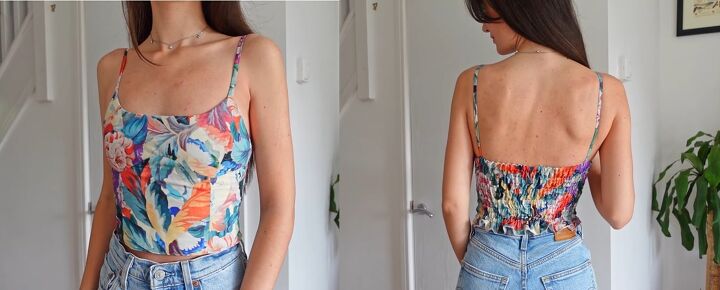
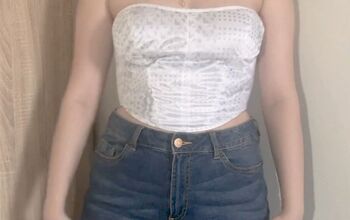
Here is the final outcome. I really love these corset tops so much, the bust piece creates a nice shape and the shirred back makes it comfortable and wearable for everyday life.
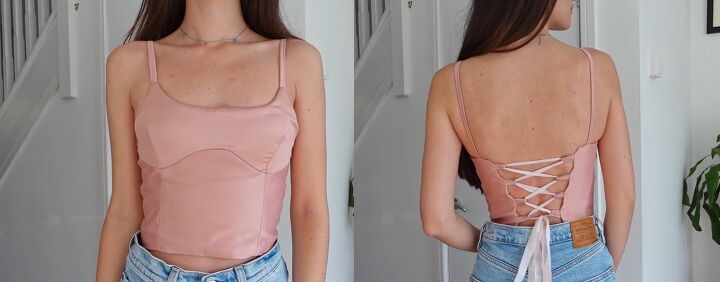
The laceup back is also very pretty and a little more fancy.
The author may collect a small share of sales from the links on this page.


Comments
Join the conversation