How to Sew an Elegant Square Neck Top

In this tutorial, I'm modifying a square neck top pattern so I can wear it with a regular bra.
I'd been wanting a particular knit fabric for some time, and finally found it on sale.
I decided to make up a test long sleeve square neck top in another, less expensive fabric, because of the alterations I was making. This is how I went about it.
Tools and materials:
- Pattern
- Knit fabric
- Paper for printing
- Highlighter
- Ruler
- Design ruler
- Scalpel
- Scissors
- Notch cutter (optional)
- Tailor's chalk
- Pins or fabric clips
- Sewing machine
- Serger (optional)
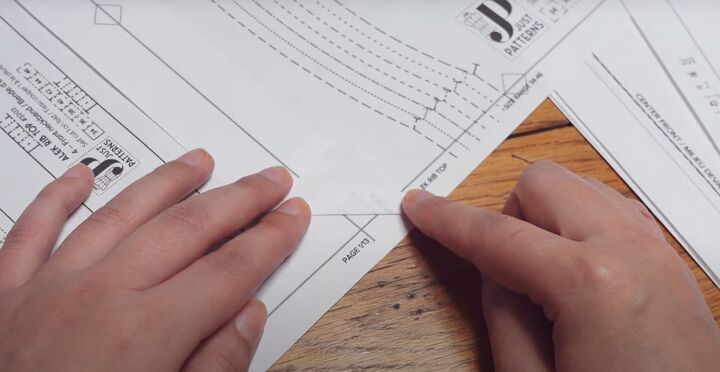
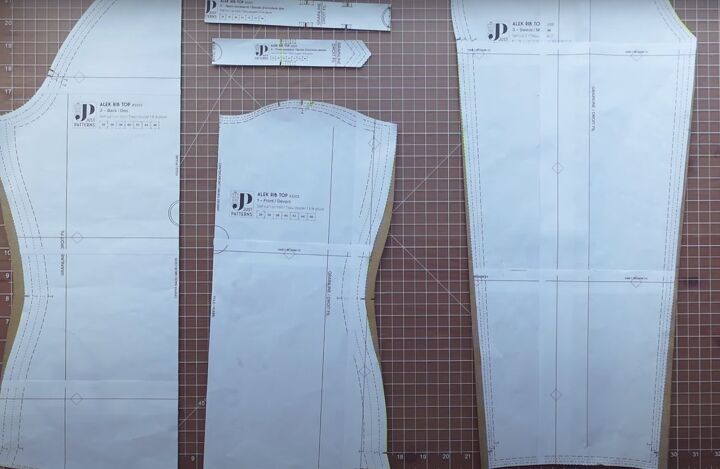
1. Print and tape pattern together
I printed out all sizes of the pattern and taped the sheets together. I folded the corner of each page to make it easier to line up the sheets.
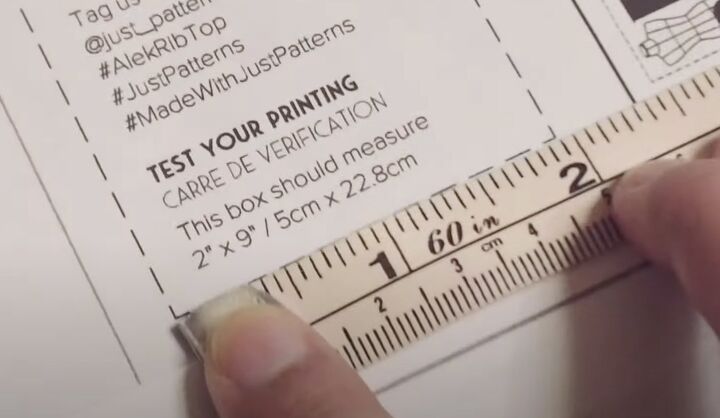
I discovered a printing scale on the pattern and realized that my pattern was slightly smaller than it should be.
2. Modify the pattern
The instructions show you how to make various alterations to the pattern. I decided to make the neckline modification for more coverage.
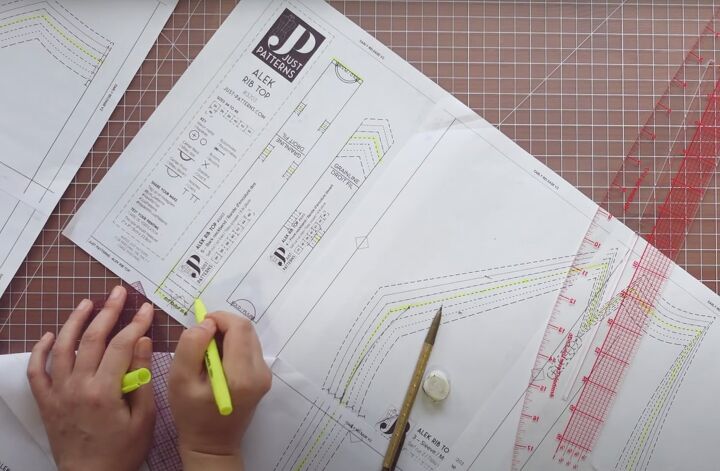
I highlighted my size on all the pattern pieces.
Then I followed the very detailed instructions to transfer the alterations I wanted to the pattern.
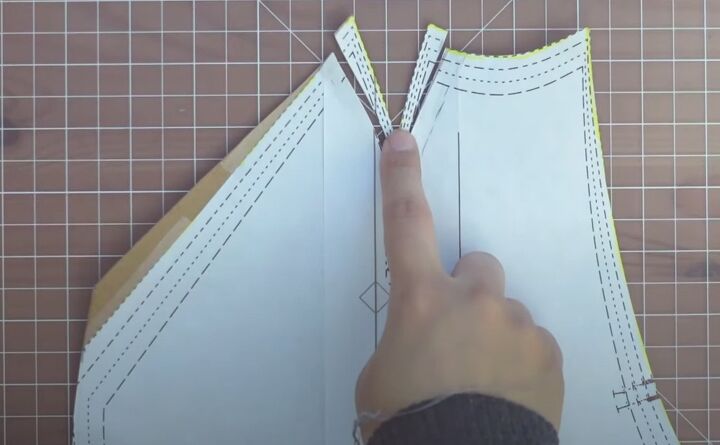
I had to modify the top of the sleeve, the neckbands and the front body.
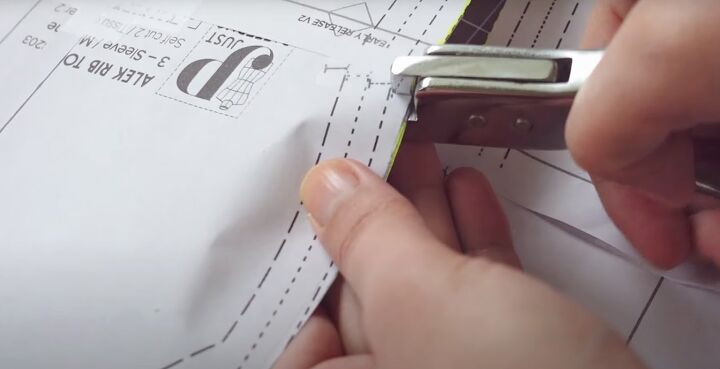
3. Cut out pattern
I cut out my size from the printed pattern using a scalpel. I notched the pattern on each piece as I cut it, so that I wouldn't forget to do it later.
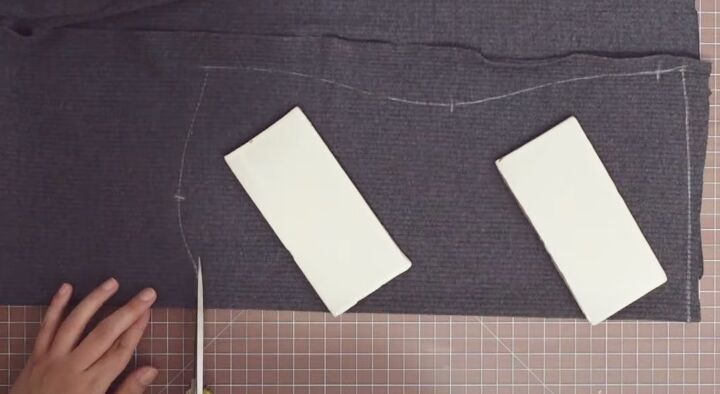
4. Cut fabric
I cut out the pieces from my test fabric. I traced around each piece with tailor's chalk and marked the notches before cutting it.
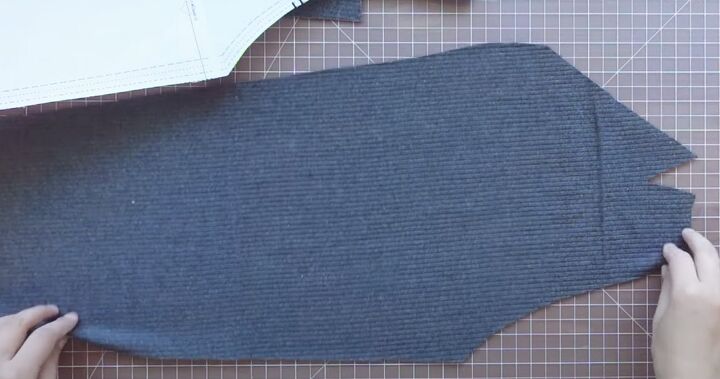
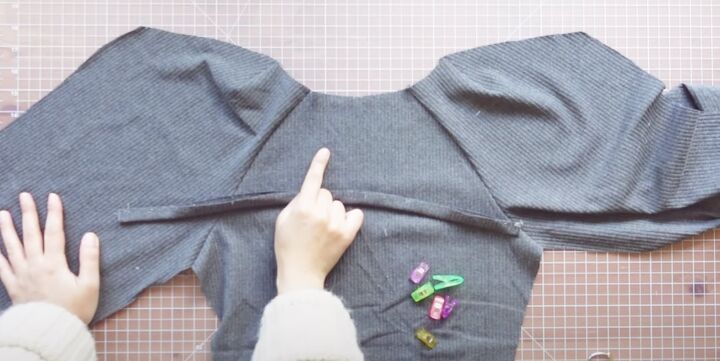
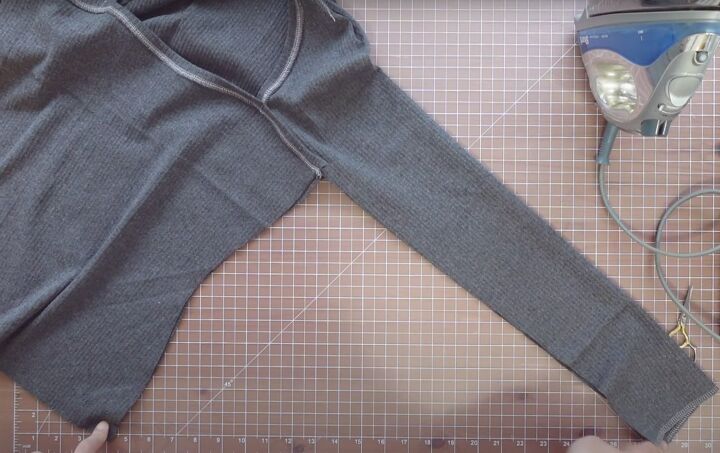
5. Sleeves and back bodice
I pinned and stitched the shoulder darts on each sleeve.
I attached the sleeves to the back bodice, matching the notches.
Double notches usually indicate that the piece should be joined to the back along that edge.

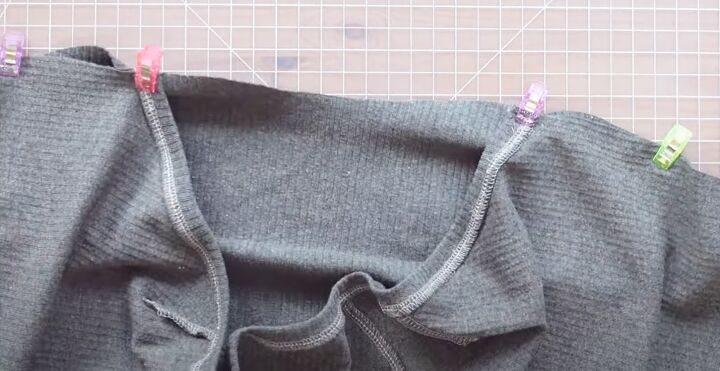
6. Back neckband
Here, I made a major mistake! I attached the back neckband to the wrong side of the back neck edge instead of the right side.
I've been sewing for 35 years and I still make these mistakes, so don't get discouraged.
When I realized what I'd done I took a short break, and then went back and removed the neckband and re-attached it to the right side.
I top-stitched the back neckband using a very small zigzag stitch, then steam-ironed it.
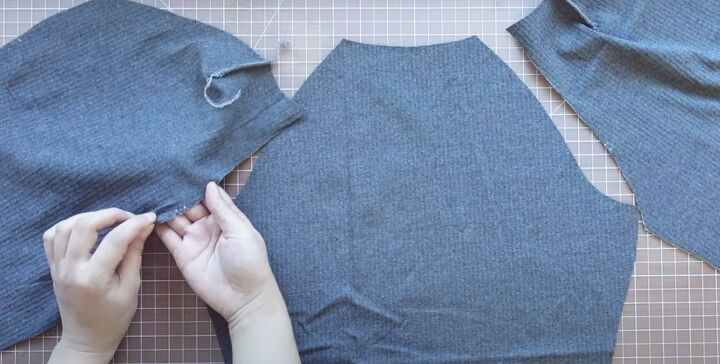
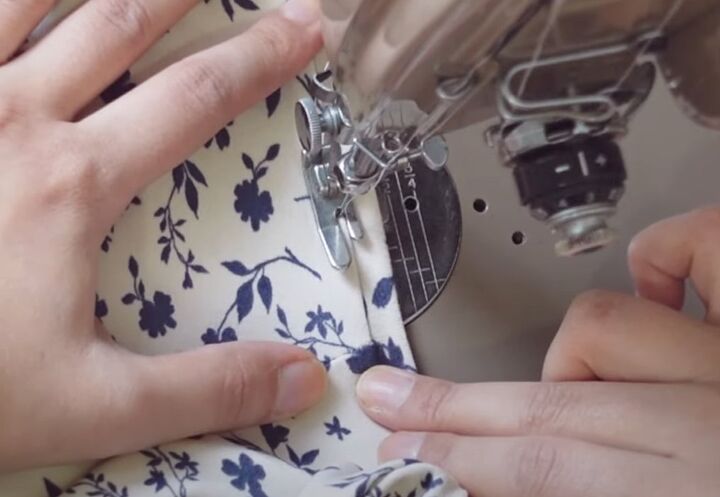
7. Sleeves and front bodice
I clipped the top of the sleeve to the front bodice, matching the notch on the sleeve to the edge of the front and the notch on the front to the edge of the neckband.
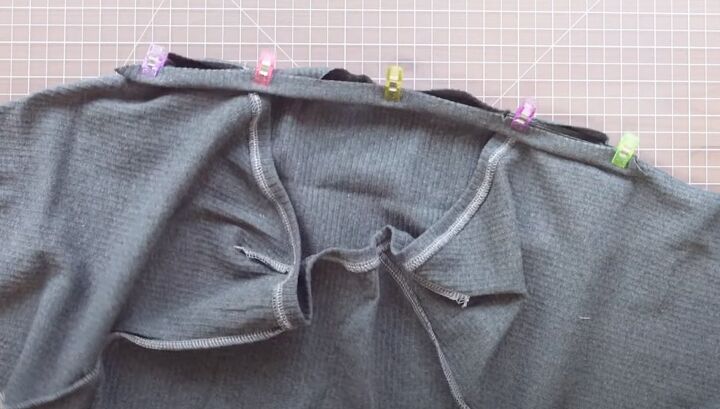
I joined the front neckband to the right side of the front to meet the top of the sleeve.
I sewed everything together, catching the top of the sleeve between the neckband and the front bodice. If you prefer you can baste the seam first.
I top-stitched across the front seams and steam-ironed the neckband.
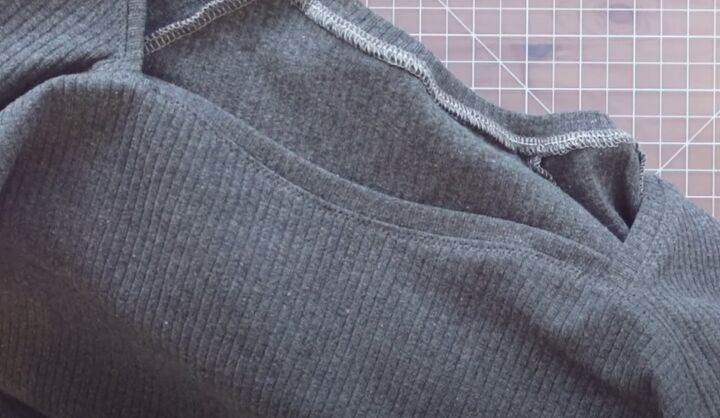
8. Side and sleeve seams
I joined the top together along the side and sleeve seams.
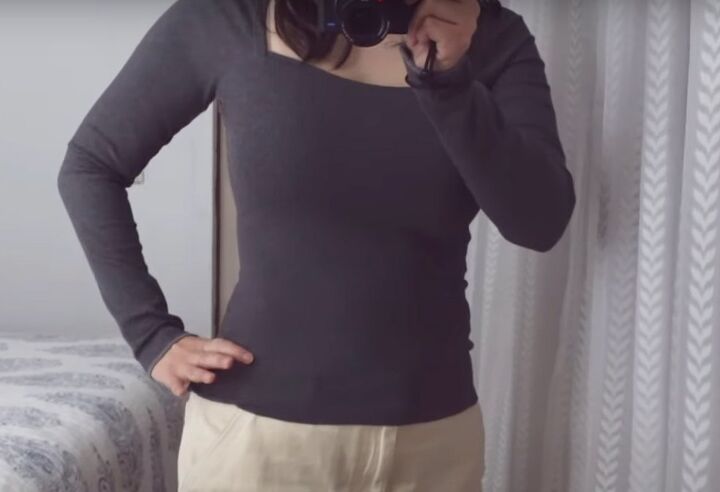
9. Fitting
I tried on my test garment. I really liked the overall shape, but I still felt that the neckline was too wide and the side seams and sleeves were a little tight.
10. Further modifications
I added 3/8" on each side of the sleeve at the hem and tapered it to the underarm.
I added one inch to the front edge of the sleeve head and tapered it to the shoulder.
I shortened the back neckband by 5/8" and added 1/2" to the waist and tapered it in both directions.
11. Second test
I made up the second trial version and tried it on.
I was much happier with the fit overall, but wanted to adjust the shoulder by taking it in by about 1/2" at the neck edge.
I made the shoulder dart wider to accomplish this.
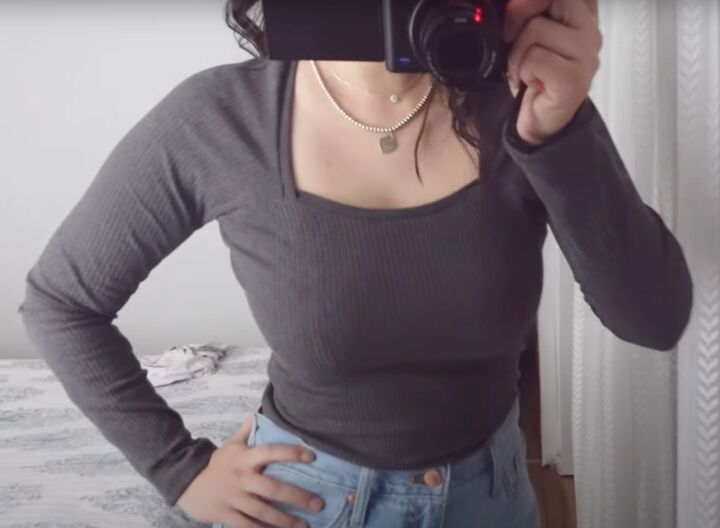
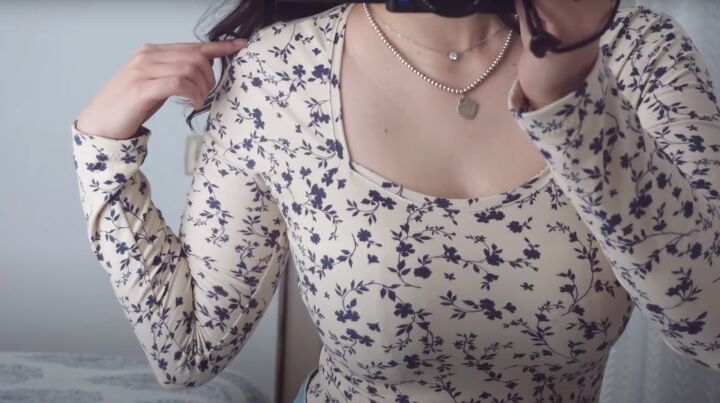
12. Final version
I made up the top in the final fabric. The final change I made was to top-stitch the neckline with a regular straight stitch instead of the small zigzag stitch.
I used a regular zigzag stitch to finish the sleeve and lower hems instead of the twin-needle finish suggested.
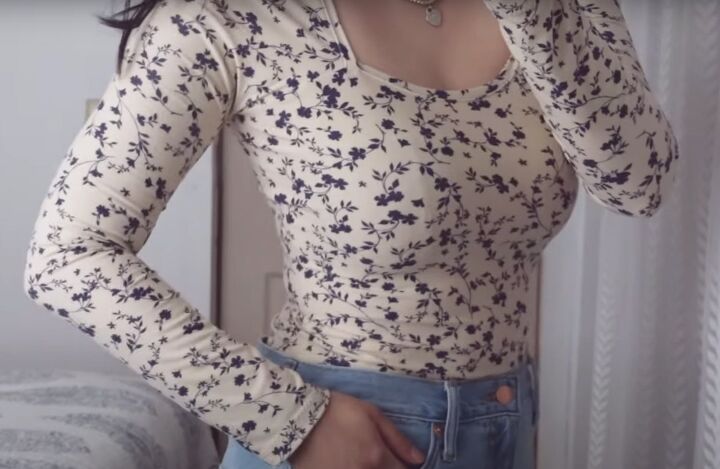
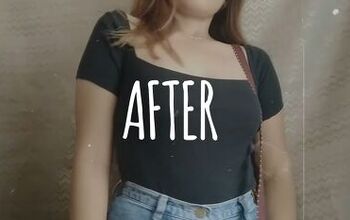
DIY square neck top
The shoulder modification turned out well and although the neckline is smaller than the original, I feel more comfortable in it.
I'm very happy with the final look of my square neck long sleeve top!
Don't be afraid to modify a pattern to make it fit you exactly as you want, but do try your alterations on a test garment first.
If this tutorial was helpful, please let me know in the comments below.
The author may collect a small share of sales from the links on this page.


Comments
Join the conversation