Easy Vintage Christmas Hairstyle Tutorial

For this tutorial, we’re doing vintage Christmas hairstyles! I’m going to show you how you can achieve a cute hairstyle for Christmas in just four easy steps. Let's jump into it.
Tools and materials:
- Pomade
- Brush
- Styling spray
- Bobby pins
- Hair elastic
- Silk scarf

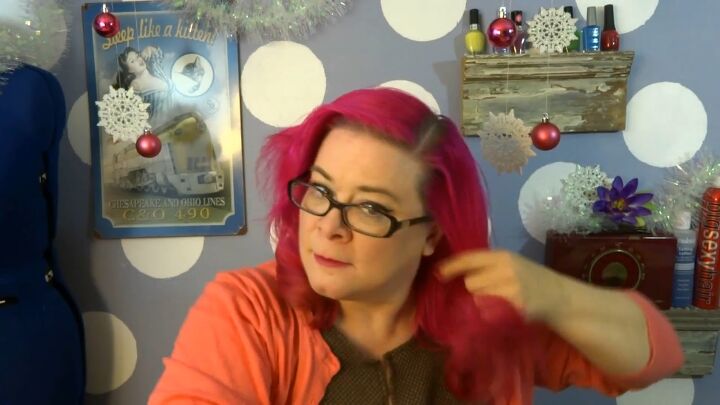
1. Brush and distribute pomade throughout your hair
We need to get rid of the frizzy volume on our hair and return to our smooth, silky curls.
To do that, you’ll need a styling brush—I’m using a Denman brush—and styling pomade.
I’m using a water-based pomade, so it’s very light but if you have thick, very curly, or coarse hair, you’ll want to use a heavier, wax-based pomade to bring back the curl.
So, go ahead and brush through your hair and distribute your pomade throughout your hair.
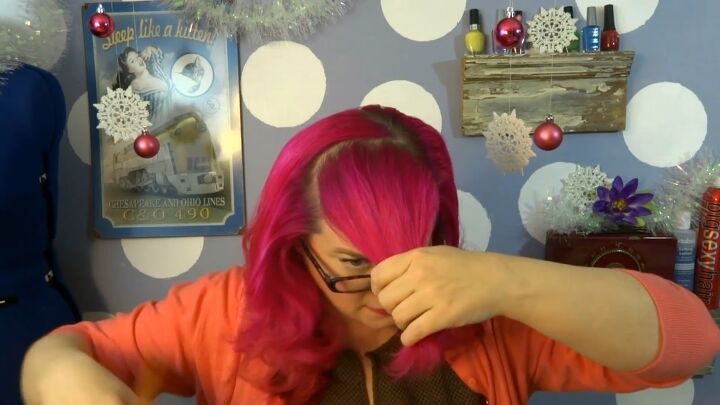
2. Part hair
Use your brush to give yourself a deep side part.
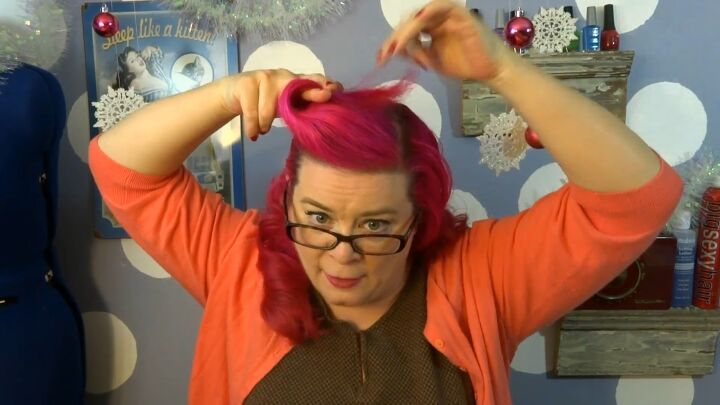
3. Section the crown
We’ll be styling the crown first, so section it off.

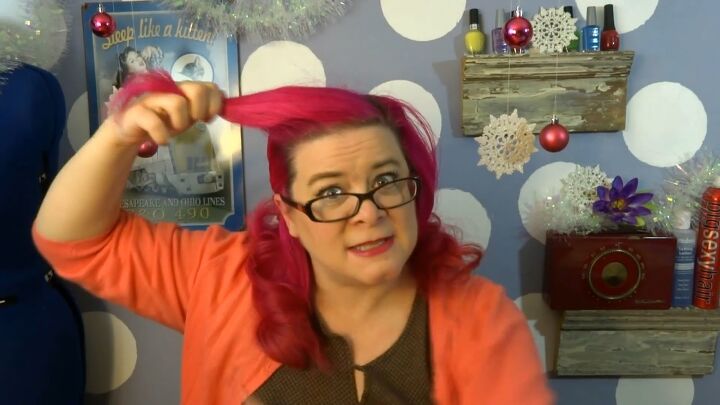
4. Backcomb
Now we’re going to backcomb the section. Pull it off to the side and pick up individual sections and backcomb them separately.
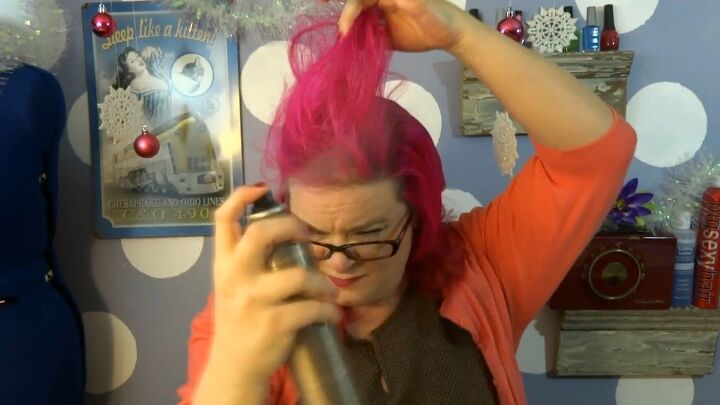
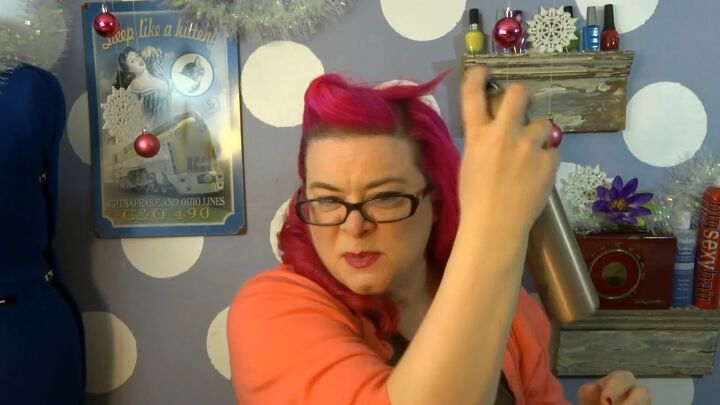
5. Apply styling spray
Once you’ve finished backcombing, spray the section with a styling spray.
6. Brush the section
Lightly brush the outside so it looks neat.
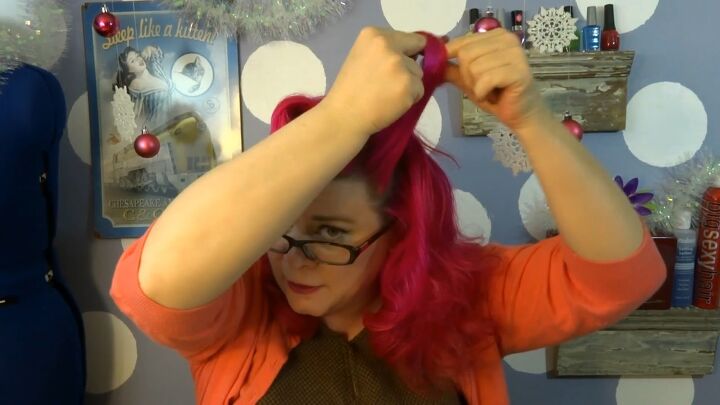
7. Loop the hair to create a poof
Bring the section off to the side. Halfway through, place your fingers and fold the hair across them.
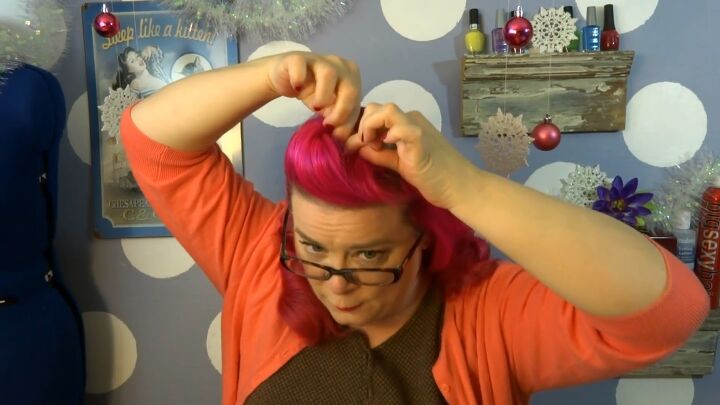
Bring the hair down to meet the base of your head. Essentially you’re looping the hair to create a nice poof.
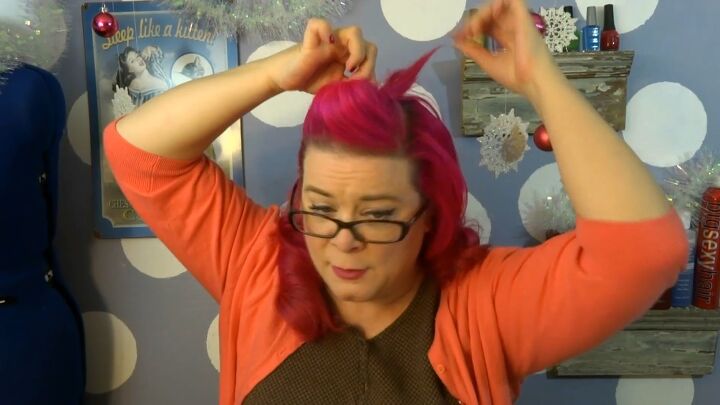
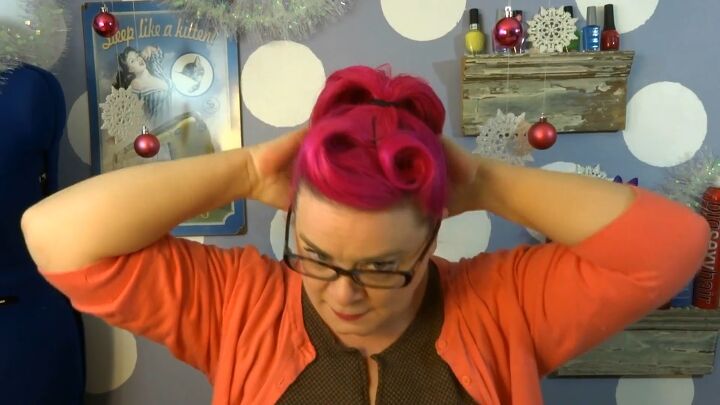
8. Twist your ends
Give your hair a slight twist so the ends are pointing towards the back.
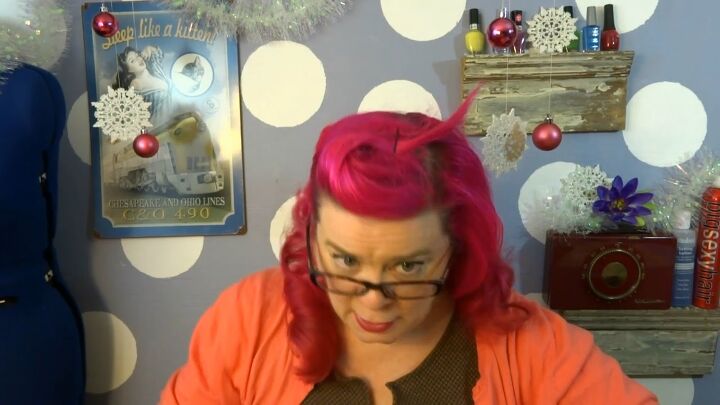
9. Pin hair
Use bobby pins to pin the loop down. If you’re worried about the bobby pins slipping, you can cross them.
10. Spray the loop
11. Create a loop in the front
Take a small section of hair right in the front. Wrap it around two fingers near the end and then roll it to the base.
When you get down to the base, pin it with bobby pins.
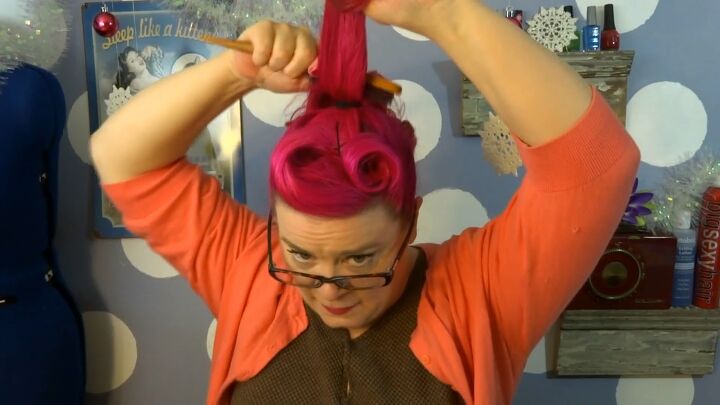
12. Put your hair in a ponytail
Use a hair tie elastic to tie your hair back in a ponytail. Make sure everything’s smooth and there are no bumps.
I’m going to bring it right up to the back of the top of my head so that it nicely incorporates the ends of my hair from the front.
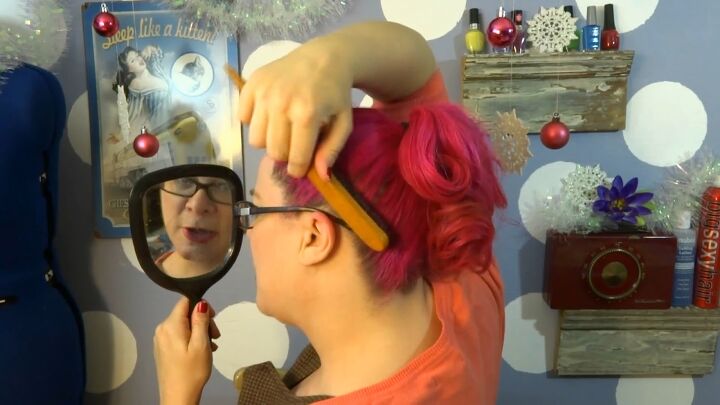
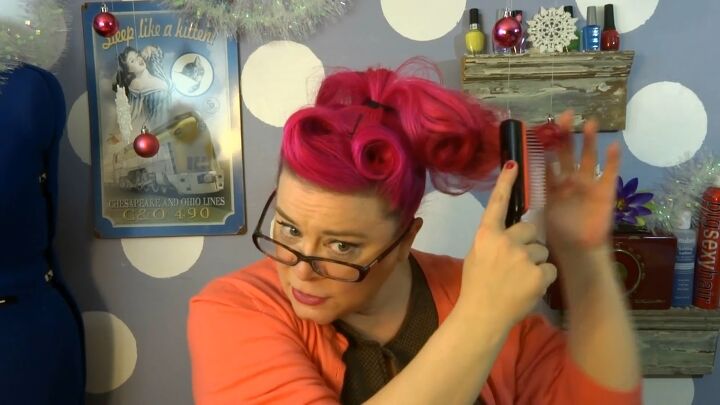
13. Brush out any gaps
View the style from the side to make sure there are no gaps. If there are, run your brush right through there to get rid of them.
14. Backcomb the ponytail
You want to make sure your ponytail has some good volume back there, so lift the top layer of the ponytail and backcomb right at the base of it.
15. Smooth the curls
Take the curls from the ponytail and smooth them out.
Twist them around your finger to give them a little life and bounce. This is a great way to revitalize old curls.
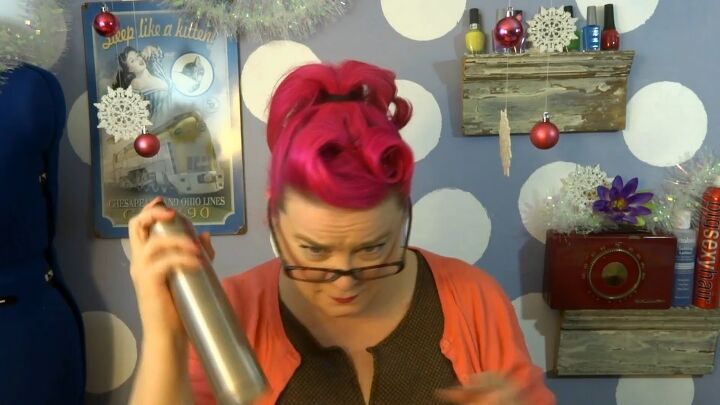
16. Spray again
Spray the entire hairstyle again with the styling spray.

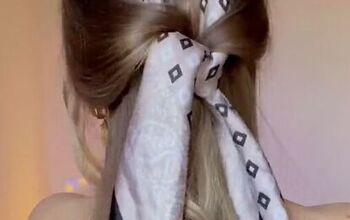
17. Tie a scarf around the ponytail
The last step is the flourish. Take a nice, silky scarf, and wrap it around your ponytail, then tie it in a bow.
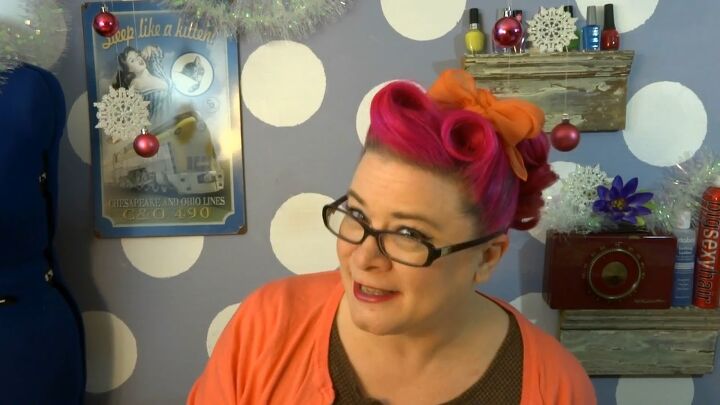
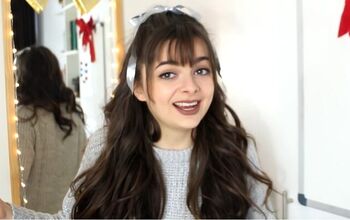
Vintage Christmas hairstyle
That’s it! Here’s the finished holiday hairstyle.
Now you’re ready to run downstairs, open your presents, and get your picture taken for the rest of the day with this super easy, fun, and playful look.
I love hearing from you guys, so go ahead and leave me a comment!
The author may collect a small share of sales from the links on this page.


Comments
Join the conversation
Cute