Quick and Easy Wig Install Tutorial: How to Install a Glueless Wig

Today, I have the opportunity to review a wig with you. If you have a wig at home that you're ready to wear, this tutorial is for you.
Follow along to check out the easiest wig install tutorial that looks natural and beautiful.
Tools and materials:
- Wig set with edge control brush and hair band
- Hot comb
- Wide tooth comb
- Hair mousse
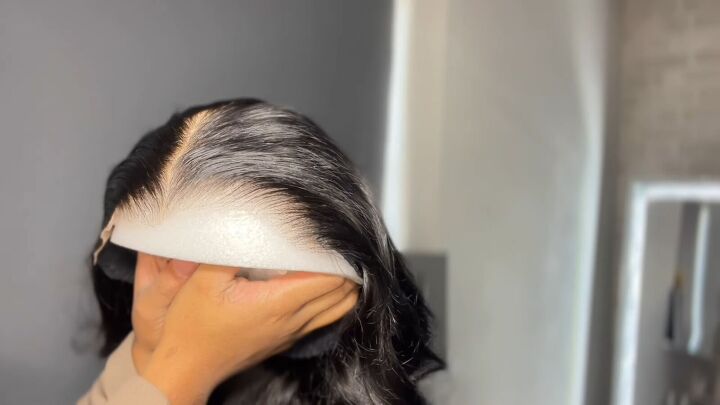
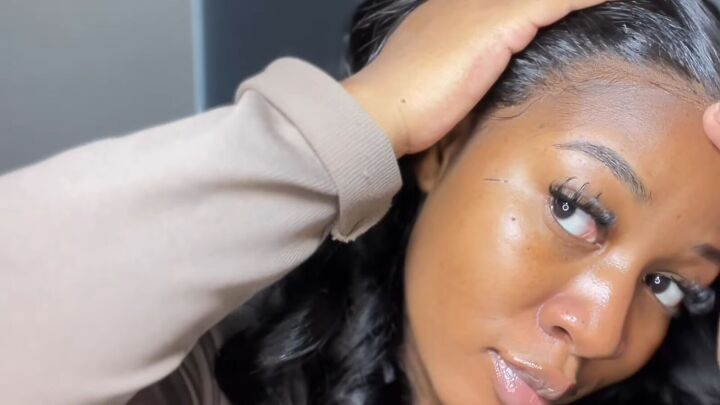
This is what the hairline looks like right out of the box. You guys cannot tell me that it doesn’t look absolutely flawless:
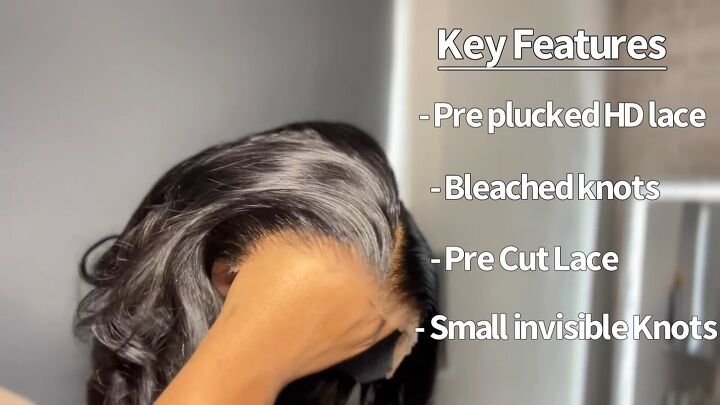
Here are a few key features that you should look for when buying a wig for a natural look:
I highly recommend this glueless wig install for someone who has never installed a wig before because it’s super simple.
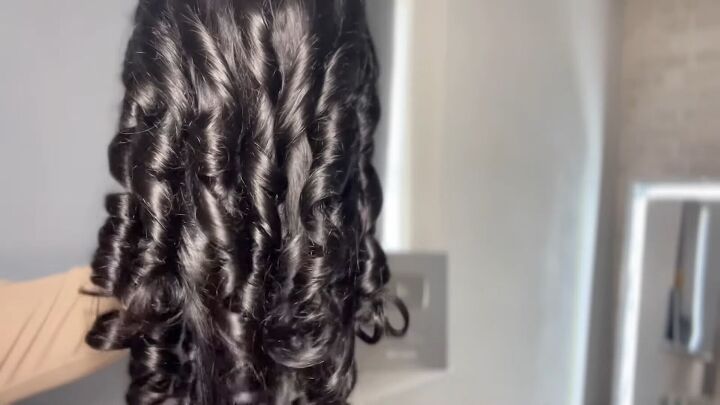
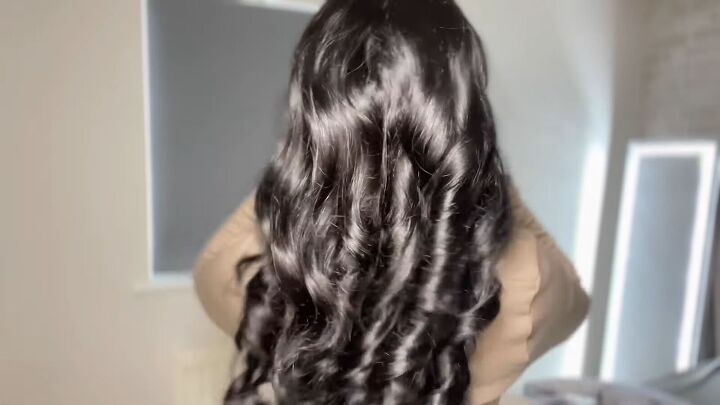
My first impression is that the curls are beautifully bouncy and soft and there is no hair shedding.
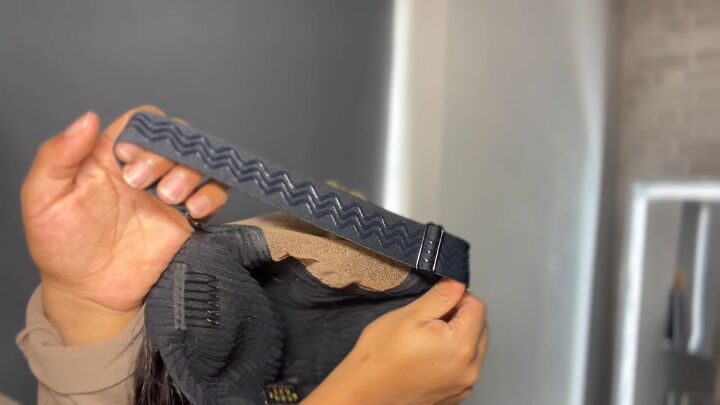
Here’s a close-up of the cap construction. It’s made with this no slip adjustable band which is what made this glueless wig so secure.
1. Put on your wig cap
Start by putting on your wig cap.
Since this is a glueless wig, you want to ensure that your wig cap fits perfectly. I’m using a medium wig cap in 24”.

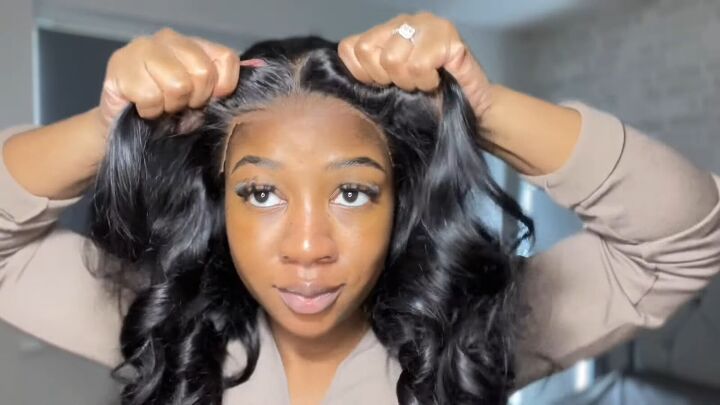
2. Position the wig
Next, position the wig on your head, over the wig cap, so that it’s nice and snug.
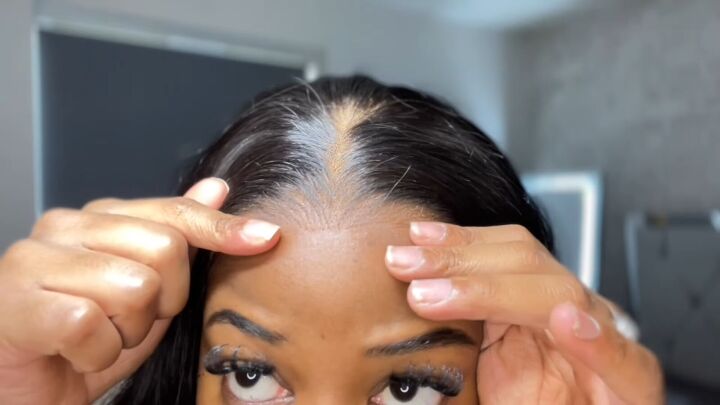
Take a look at how perfect this lace match is! I don’t even need to put makeup on it.
This brand did such a good job plucking the lace because it looks like a natural hairline.
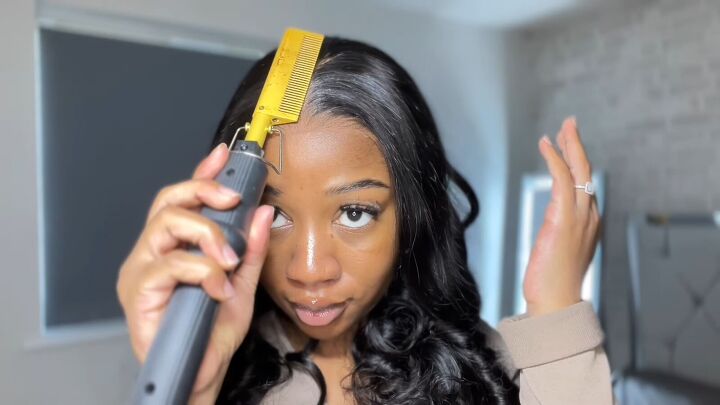
3. Flatten the part
Run a hot comb along either side of the parting to make it a bit flatter.
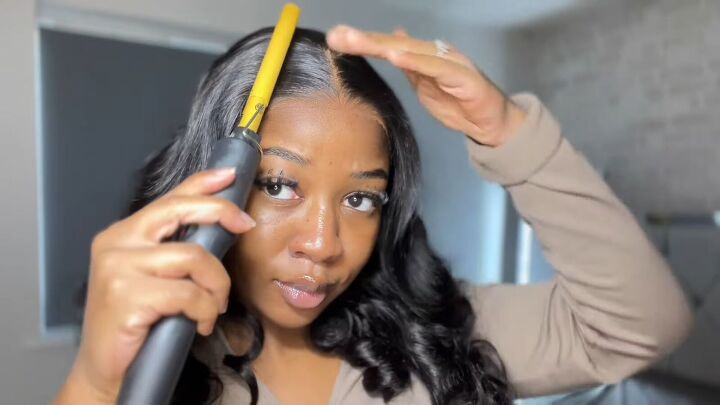
You can even lay the hot comb directly down the length of the part.
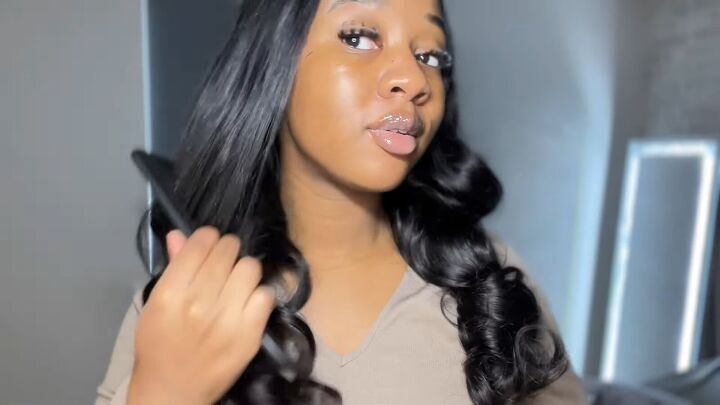
4. Soften the curls
Use a wide tooth comb to gently brush out the curls.
Since this glueless wig is of such a high quality, the curls still retain their bounce, this just softens them.
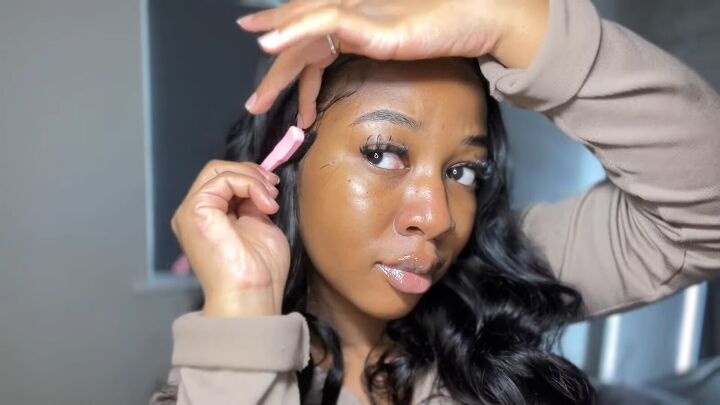
5. Apply hair mousse
Use the tiniest bit of hair mousse on a small brush to lay down the edges.
This makes the glueless wig install look more natural and further helps to hold the hair in place.
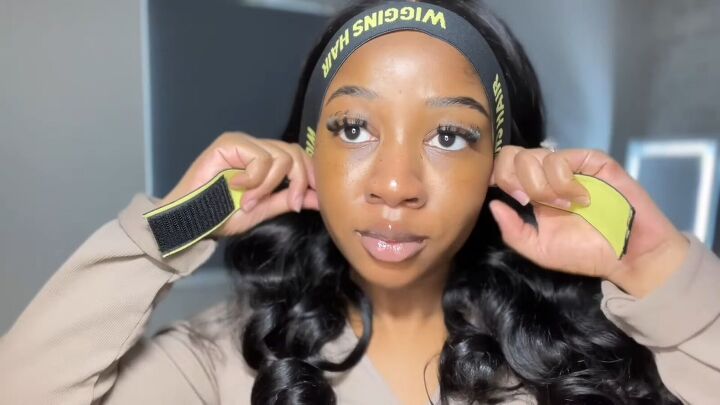
6. Secure the glueless wig
Use the included wig band to press the front of the wig in place.
Here is the final look for this glueless wig install:

It even looks natural from the sides:
The curls stayed like this for a few days:
How to install a glueless wig
I hope this wig install tutorial has shown you how simple it can be to have flawless looking hair!
What do you think? Comment down below.
Next up, check out my ultimate shower routine for glowing skin.
The author may collect a small share of sales from the links on this page.


Comments
Join the conversation