The Queen’s Gambit DIY Pinafore

The Queen’s Gambit is one of the most-watched series of the year! I must admit, I only watched it because it had become so popular but once I started I couldn’t help but binge. One of my favorite elements of the show is the costumes! I wanted every piece for myself. I decided that I had to have Beth’s pinafore as part of my wardrobe. Sew along with me as I recreate this stunning piece!
Tools and materials:
- Fabric
- Pattern paper
- Measuring tape
- Pins
- Marker
- Scissors
- Sewing machine
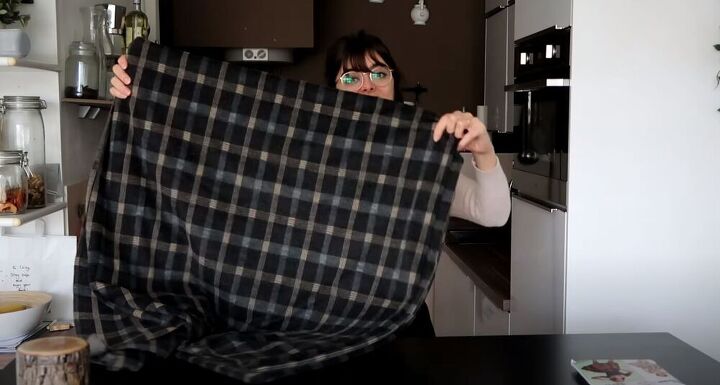
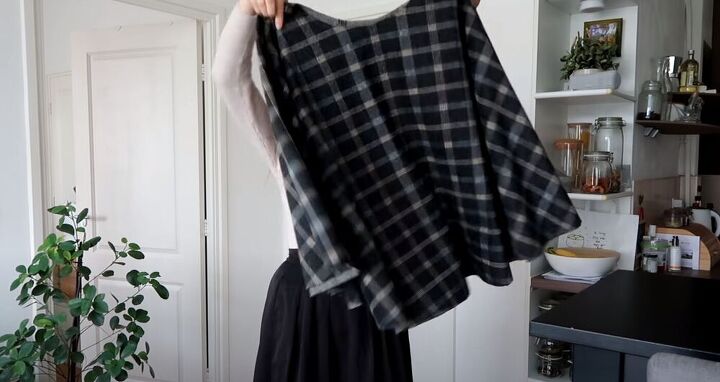
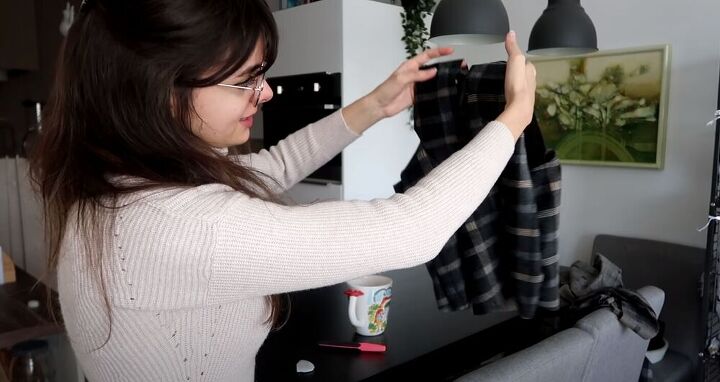
Choose the right fabric
To recreate this beautiful pinafore, I went out and looked for a fabric that looked just like the one in the show. I found this material and bought 3 meters of it which would be more than enough for this sewing project.
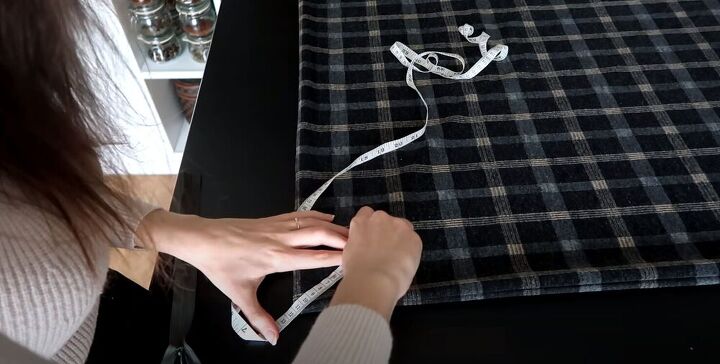
Make a circle skirt
The first step to recreating Beth’s pinafore was the circle skirt. I folded the fabric and started drawing along the radius at the corner.
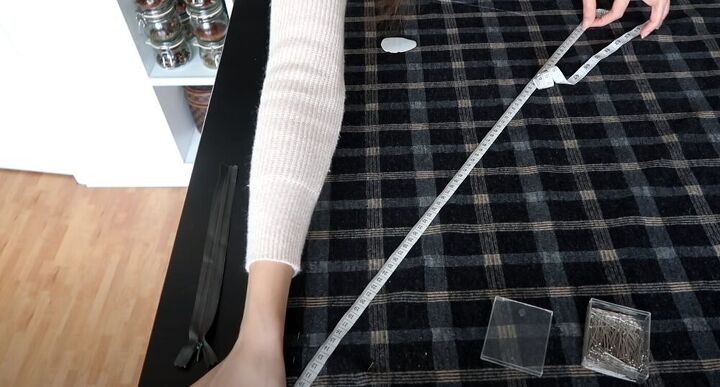
I then measured and did the same for the length of the circle skirt.
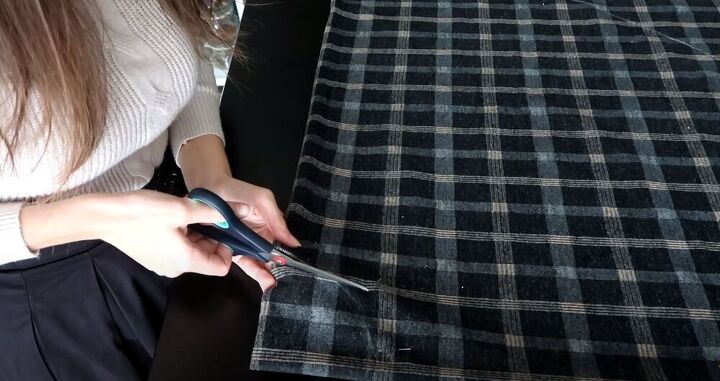
I then went shear and cut along both curves that I had drawn on the fabric.
After cutting, I was so happy with how the circle skirt looked and I couldn’t wait to continue working on the piece.

Create a bodice pattern
I was trying to figure out how to go about making the bodice for this stunning pinafore when I remembered that I had a pattern for a vest that would work perfectly.
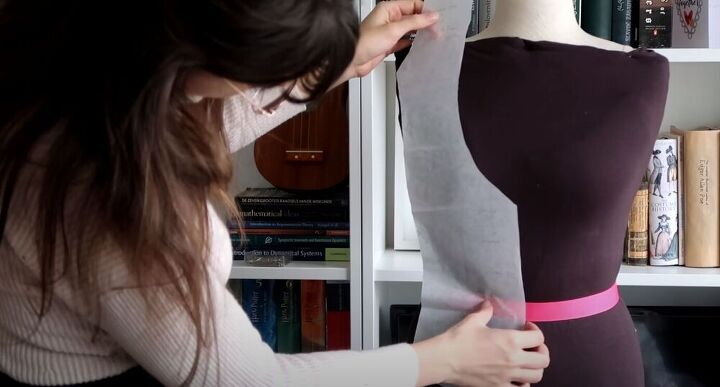
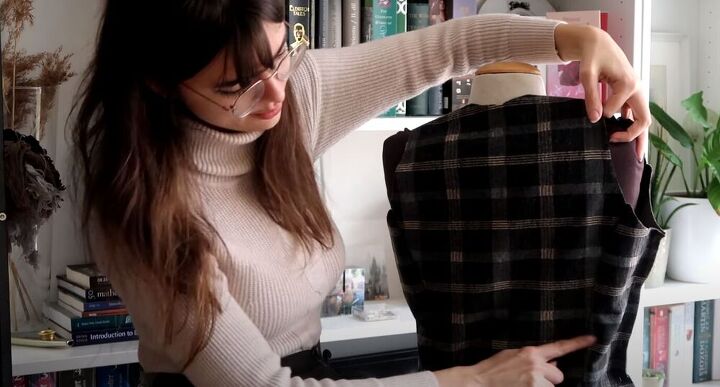
I started by pinning the pattern pieces onto my mannequin.

I then placed the pieces on the wrong side of the fabric and traced around them.
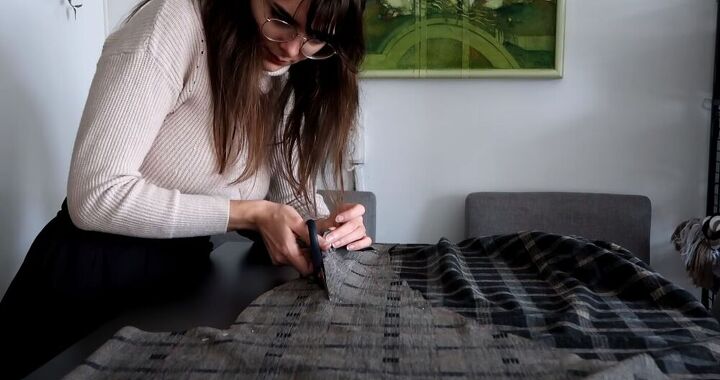
Cut the bodice pieces
I carefully cut out all the pieces I would need for the bodice.
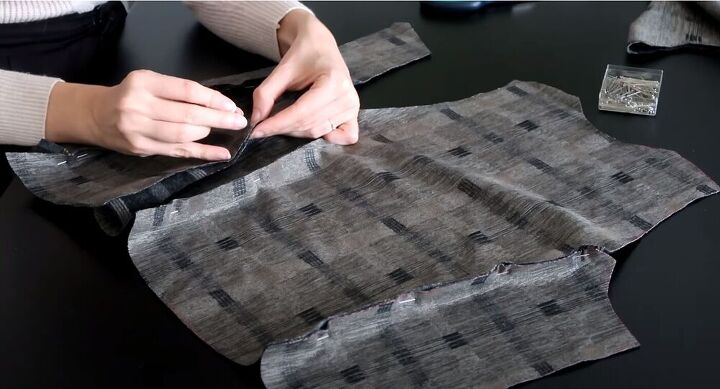
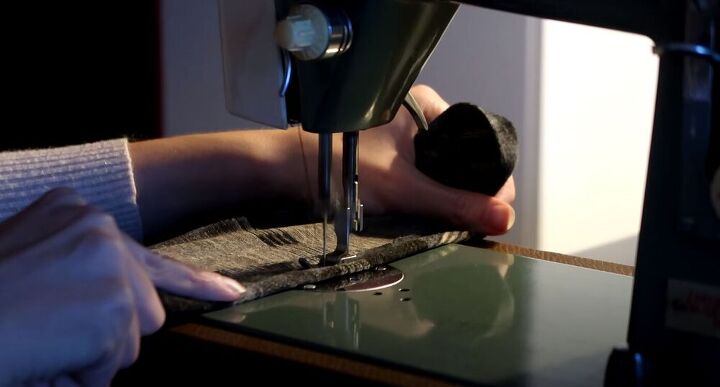
Sew the bodice
I then started pinning the bodice together. I made sure to pin all the pieces, right sides together.
I was so pleased with the progress I had made. Before sewing, I tried the bodice on my mannequin and on myself to make sure that it would fit.
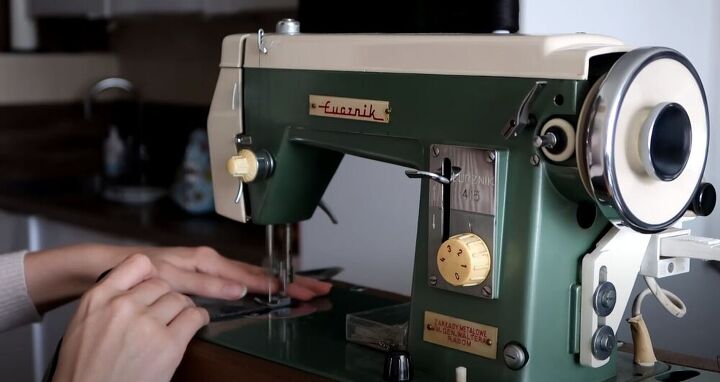
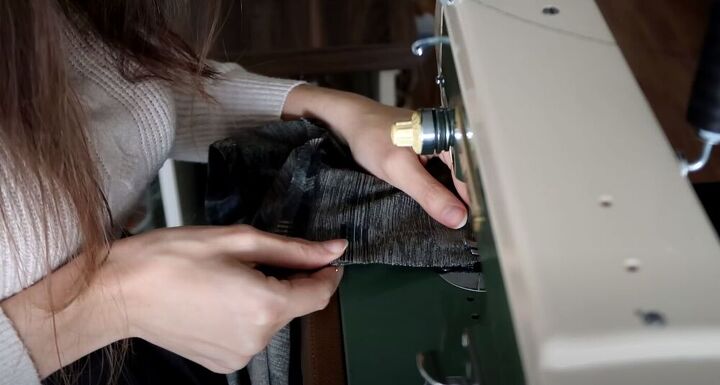
I moved on to sewing and I made sure to leave some of the side seam open so that I could attach a zipper later.
After sewing the bodice, I realized that my pattern didn’t match up on the different pieces. I’m not sure if there is a trick to it or if it comes with experience but it is definitely something I want to try and fix for my next project.
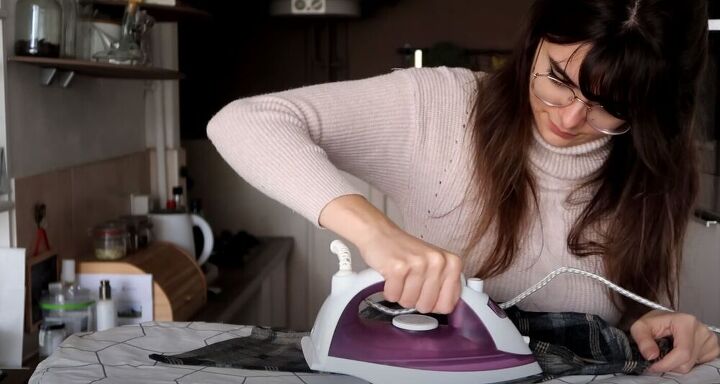
Finish the bodice
Next, I pressed all the seams in the bodice to get a more professional finish.
I debated what to do with the finishing for the bodice. I decided I was a little bit too lazy to line the raw edges and because I used a fabric that hardly frays, I simply hemmed the raw edges.
Sew the pinafore
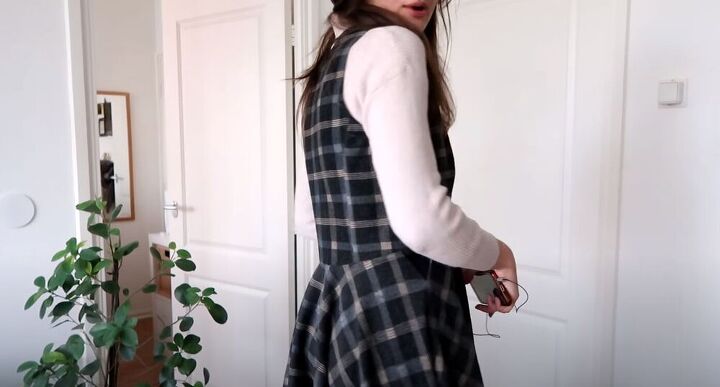
I sewed the bodice and skirt together and I was so happy with how the pinafore was looking. I decided to raise the waistline at the back a little bit and it definitely helped give the pinafore a more fitted look.
Finish the pinafore
Lastly, I added in the zipper and hemmed the bottom of the skirt to give it a really nice, neat finish.

I am obsessed with my The Queen’s Gambit inspired pinafore! Let me know what you think about this sewing DIY project in the comments!
The author may collect a small share of sales from the links on this page.


Comments
Join the conversation
did you cut your hair, looks really cute.
Great job! Good style!